
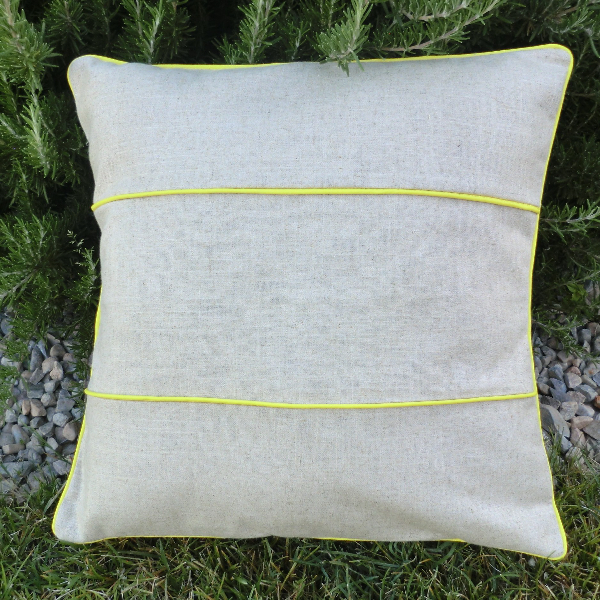
Piping-striped linen pillow
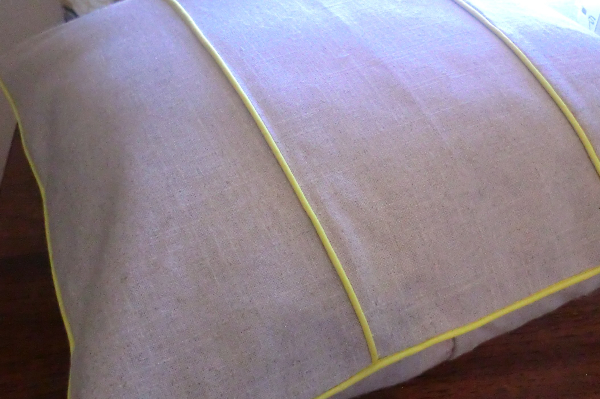 If you are a regular reader, you might have noticed that I love classic linen with bright, bold piping or serging. This pillow utilizes the piping not just around the edges but also as stripes across the pillow front. It’s simple to do. I made this pillow cover with an envelope opening on the back, which is my favorite pillow cover closure.
Supplies

The pattern
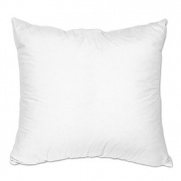
You need three pieces for the front. First, determine the exact size of your pillow form. Let’s say it’s 18″x18″ as an example. Divide that by 3, so that’s 6″. The top/bottom pieces will be 18″ wide by 6″ high, plus 1/2″ seam allowances on top and bottom. So that’s 18″x7″.
For the envelope back, take a pattern piece the exact size of your pillow form (say 18″x18″) and find the halfway point vertically. Then add a couple of inches for overlap and hem. Cut two of those.
The process
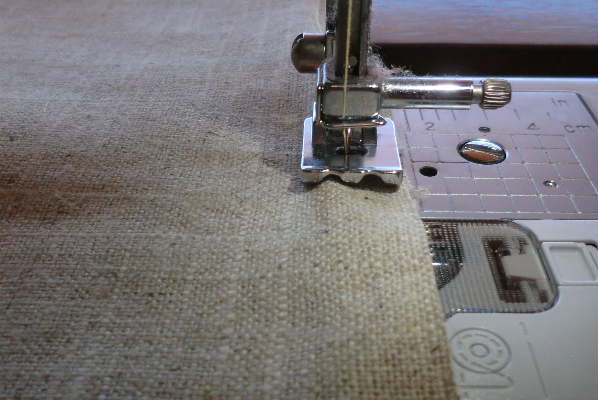
For the envelope opening, hem the overlapping edges of each back piece by folding over a little bit and pressing…
… then folding and pressing again.
Stitch over these edges. Set these pieces aside for now.
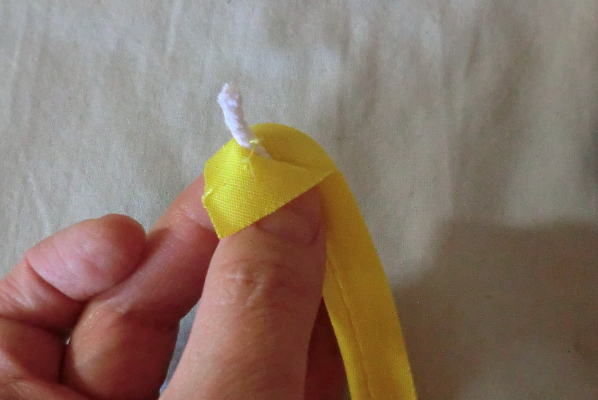 Cut two pieces of piping the width of your pillow. Break the stitches on either end of each piece and cut out about 1/2″ of piping — just the white cording, not the fabric. This will reduce bulk in the seams. Close the piping fabric back up.
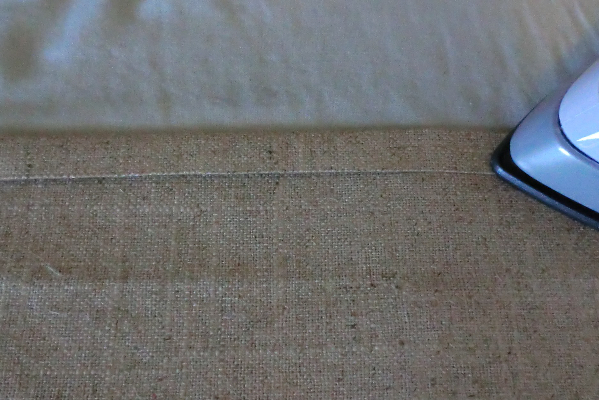
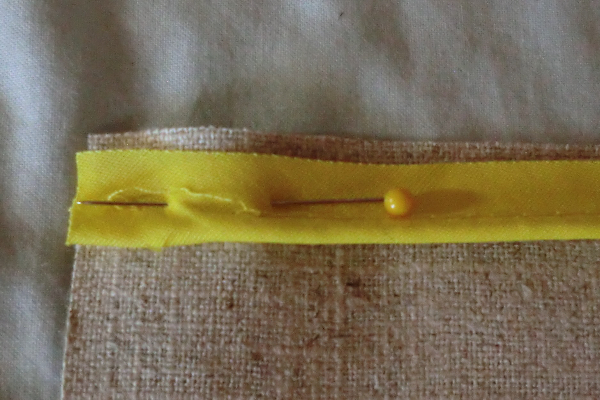 Lay the piping on either long edge of your center piece and stitch in place using a piping foot. You want the piping about 1/2″ away from the edge.
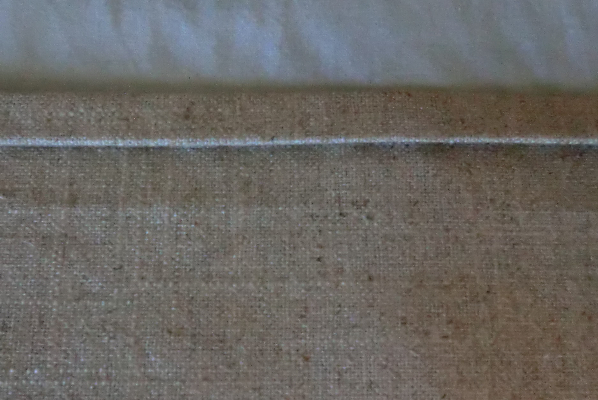
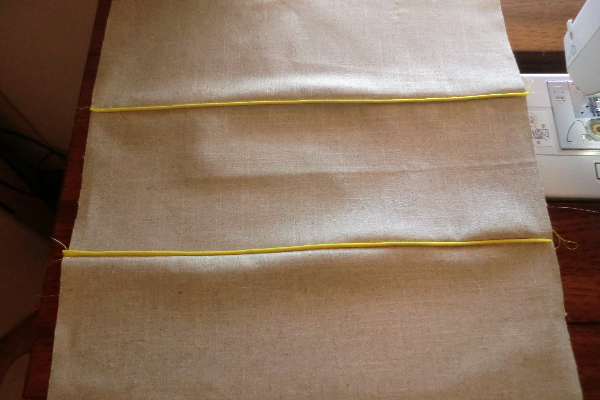
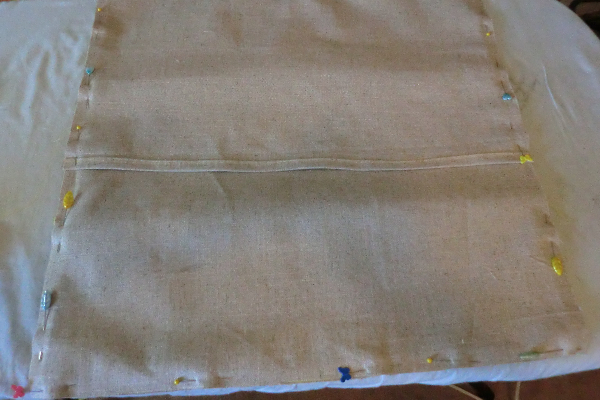
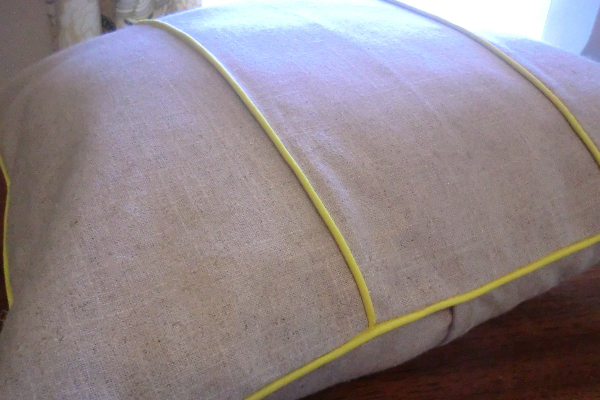
 You’ll get something like this for the middle piece.
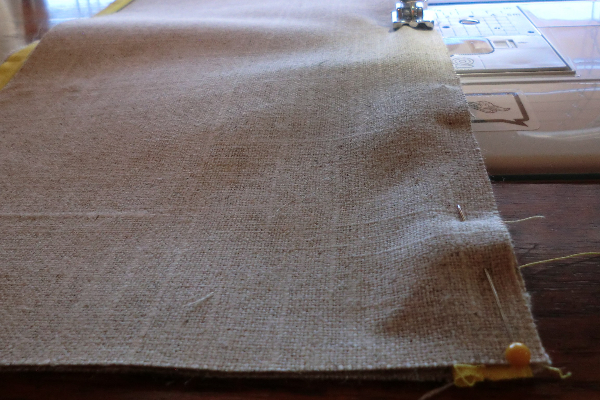 Lay one of the other front pieces on top of the center piece. Using the piping foot, stitch the two pieces together. Repeat on the other side.
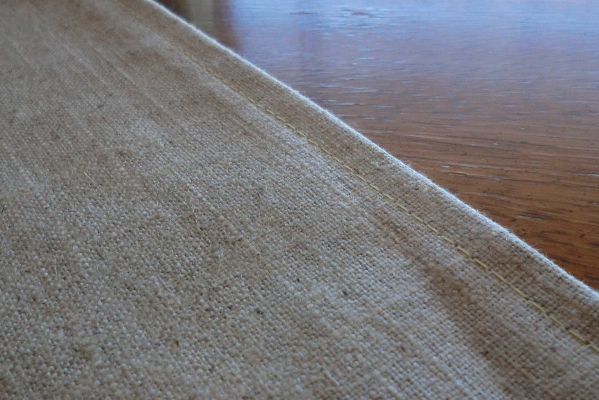
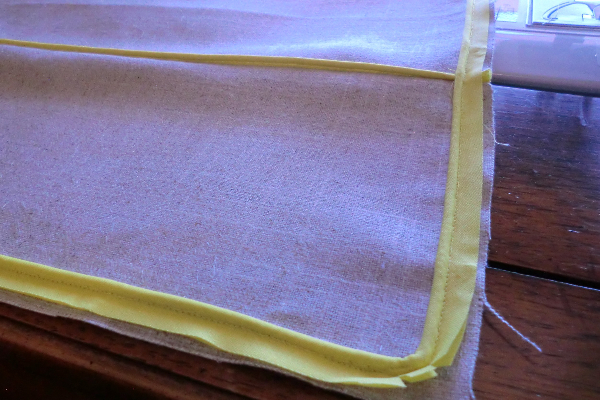
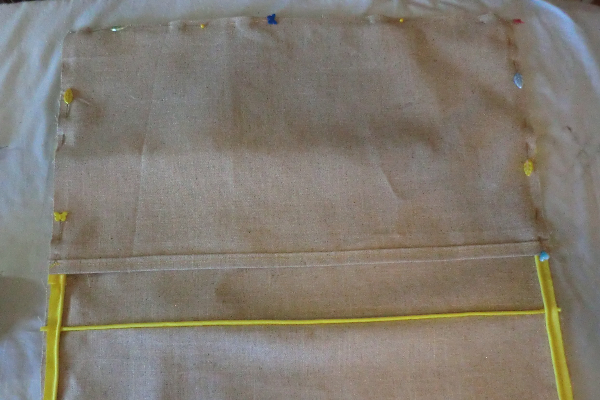
 Open it up and press. You’ll get this. At this point, your piping may have interfered with having perfect 1/2″ seam allowances, so check that your front pillow piece is the right dimensions and trim a little if necessary.
 Pin more piping around the outer edge of the front piece. Join the edges as seen in this tutorial.
 Lay one back piece right-sides together on the front piece and pin around the edges.
 Then lay the other back piece on top of that and pin.
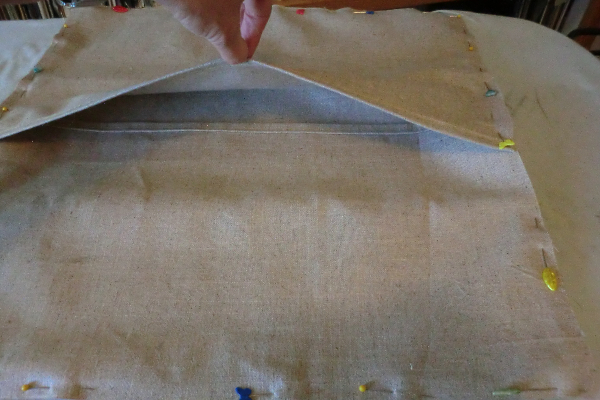
There will be an opening like this that overlaps.
 Using the piping foot, stitch all the way around, following the piping.
 Turn right-side out and poke out the corners. Insert your pillow form.

