A little shearling jacket (Oliver + S Secret Agent Trench Coat pattern)
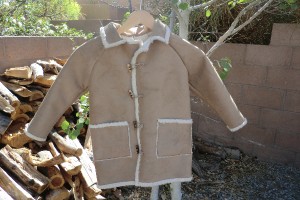 We carry a shearling fabric that I thought would be fun to make a jacket out of. It obviously shouldn’t be lined, so I asked my friend Suzanne, owner of Hip Stitch in Albuquerque, N.M., a neat little sewing lounge, if she had any pattern ideas. She suggested this one, which is really an unlined trench, but I changed a lot of things to suit this material.
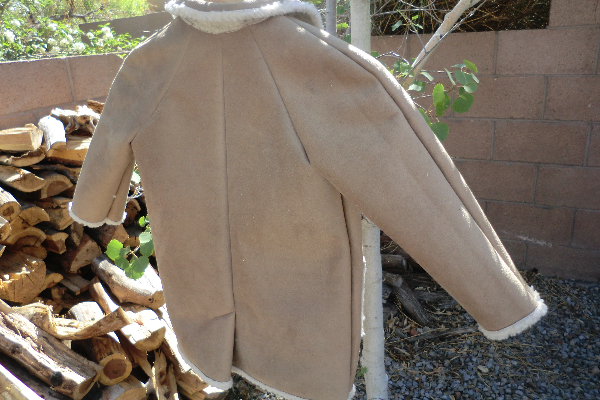
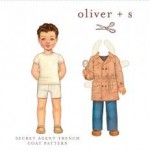
This pattern is by Oliver + S, and the name of it is the Secret Agent Trench Coat. It has boys and girls versions and includes the following sizes: 6-12 months, 12-18, 18-24, 2T, 3T, 4 (all in one pattern). I made size 4 because I have a little boy and I thought he could grow into it. I hope that he also grows out of his stubborn attitude, which is why I have photographed this hanging on a tree instead of on a mini model.
Supplies


Yardage depends on the size made. I also didn’t need to cut out all of the pieces because of the nature of the material. For instance, I left off the shoulder and sleeve flaps and all facing pieces. Leather cord can be found in the jewelry supply sections of most craft stores.
I found sewing with this material much easier when I used a walking foot and the longest stitch length on my machine.
The Process
I made some changes to the way I put things together because of the fabric I’m using. Here are some of the things I did differently.
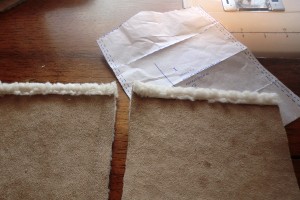
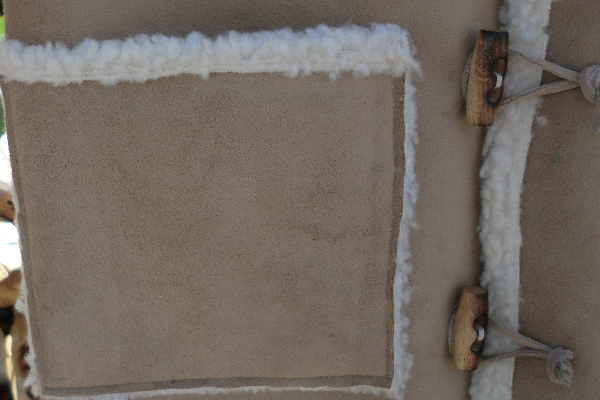
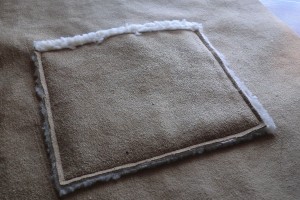
For the pockets, I simply used one pocket piece (x2 — but no lining), but cut off the pointed top (see pattern piece at top of picture) to make it a straight edge. Then I turned over the top edge and stitched so that the fleece side was peeking out.
I then positioned my pocket according to the pattern and stitched around the sides and bottom. Then I trimmed, mostly just trimming the faux suede portion, close to the stitching.

The sleeves were sewn according to the pattern, but I left off the shoulder flap, whatever that is supposed to be (I really wasn’t sure!), and for hemming, I turned up the bottom to the outside and stitched. The sleeves are two pieces, and I found it easier to hem the pieces and then sew the side seams together after, which is opposite of how you’d normally do it, but it helps with the bulk.
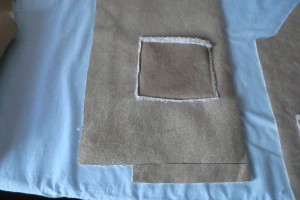
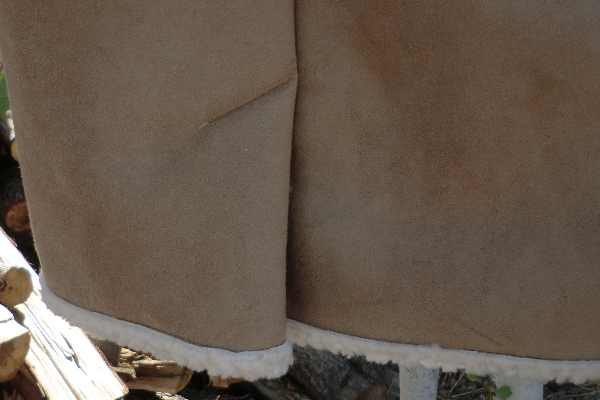
See that piece at the bottom that is cut off? I forgot to take a picture before cutting it, but that’s how the pattern piece looks. That weird shape is for the purposes of adding the front facing, but I’m not using a facing, so I didn’t want that. I just cut it off either side and trimmed an equal amount from the back pieces.

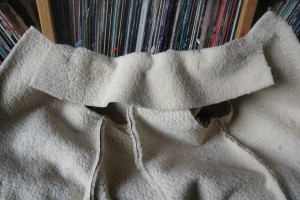
I sewed the back together as instructed (two pieces) and did the pleat as instructed, too. Then I turned up the bottom edge from inside to outside and stitched. The pleat is a little bulky, but it works.
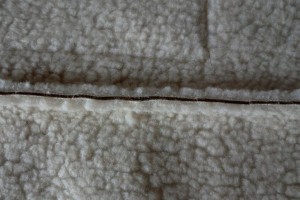
If you’re curious about what the inside of my seams look like, they look like this. I stitched and then trimmed. I also pressed the seams open, but that doesn’t really work on this fabric. It still helped from the other side, though, so do it anyway.
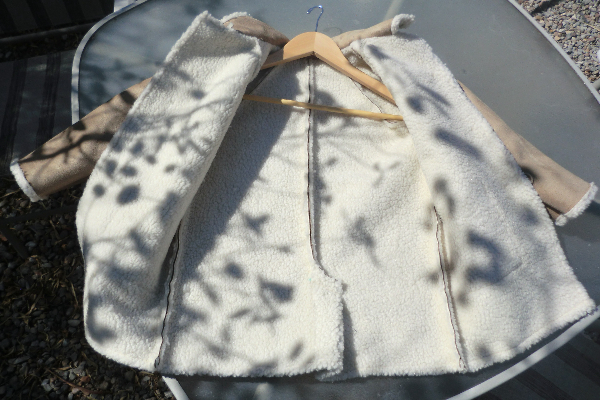
For the collar, I simply used one collar piece and attached it as shown. Then, after sewing, I flipped it over so the suede side was showing and the unfinished seam would be hidden under the collar. Then I hemmed the collar and the fronts of the jacket as I did the other pieces, by flipping the fuzzy side outward and stitching.
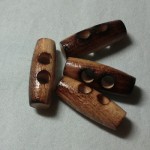
Finally, I attached toggle buttons and used suede cord as loops. See photos below.
Other Views