
Adding Extra Seating
 Have you ever needed extra seating during family gatherings? Well, if you have a fireplace that isn’t being used, I have a solution for you. During this blog, you will learn how to cover 4″ foam for extra seating.
SUPPLIES NEEDED:
Foam, fabric, zipper, and sewing machine.
 The fabric used for this project is Soft Knit Aloe. Just let me say, this fabric is easy to work with and great to sew.
PROCEDURE:
First step in creating my fireplace cushion was to make a pattern of the hearth. I placed the pattern on top of my 4″ thick piece of 24″ x 75″ foam and drew the pattern on the foam. Next I used a electric filleting knife and cut the foam to match the pattern.
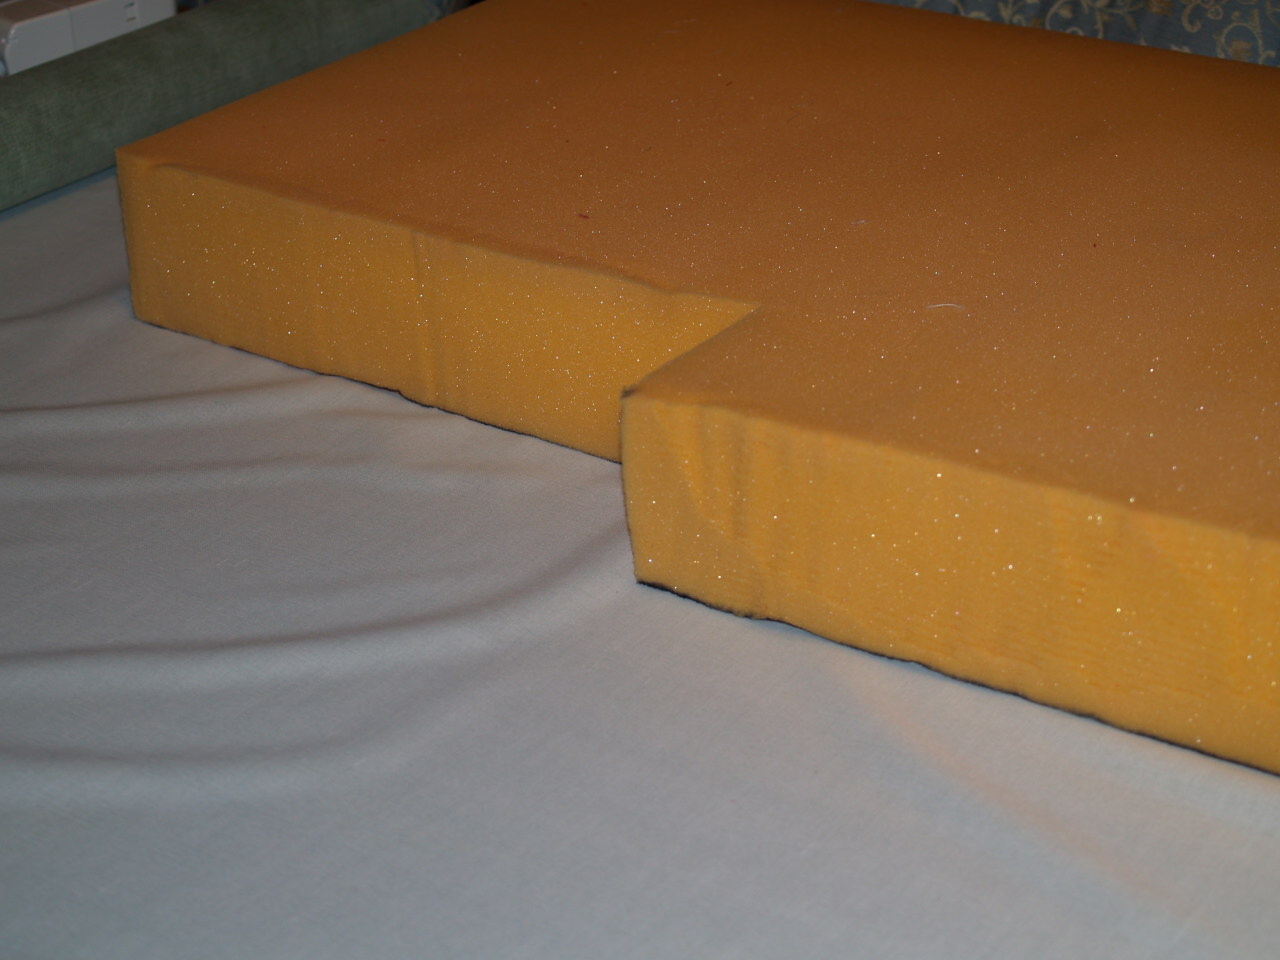 As you can see in the photo, when I drew a pattern of the hearth I added a four inch section that fit perfectly into the fireplace opening to help make sure the cushion will not move.
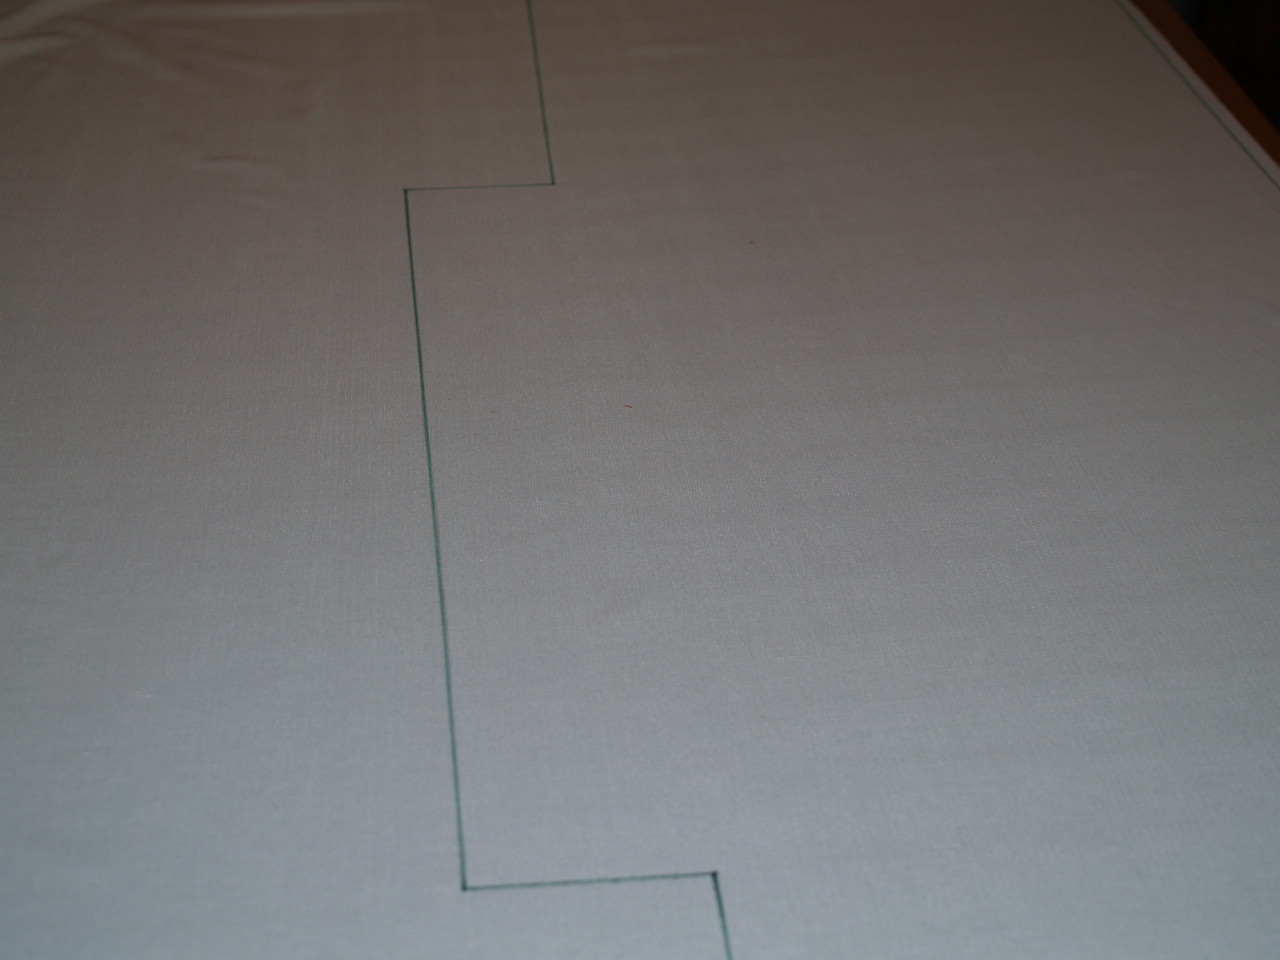 Now transfer the shape of your foam unto the backside of your fabric. You will need to cut a top and bottom.
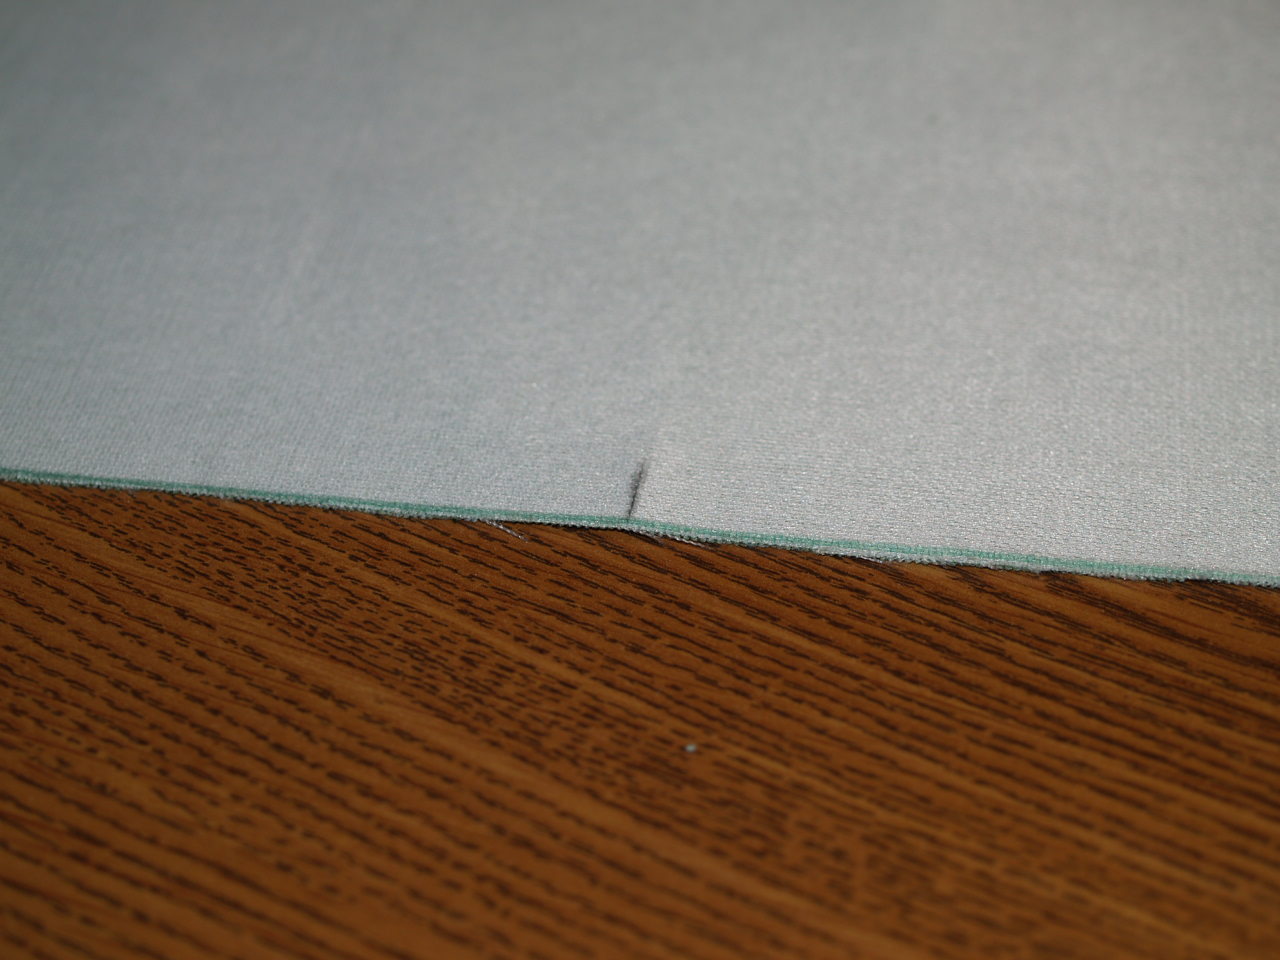
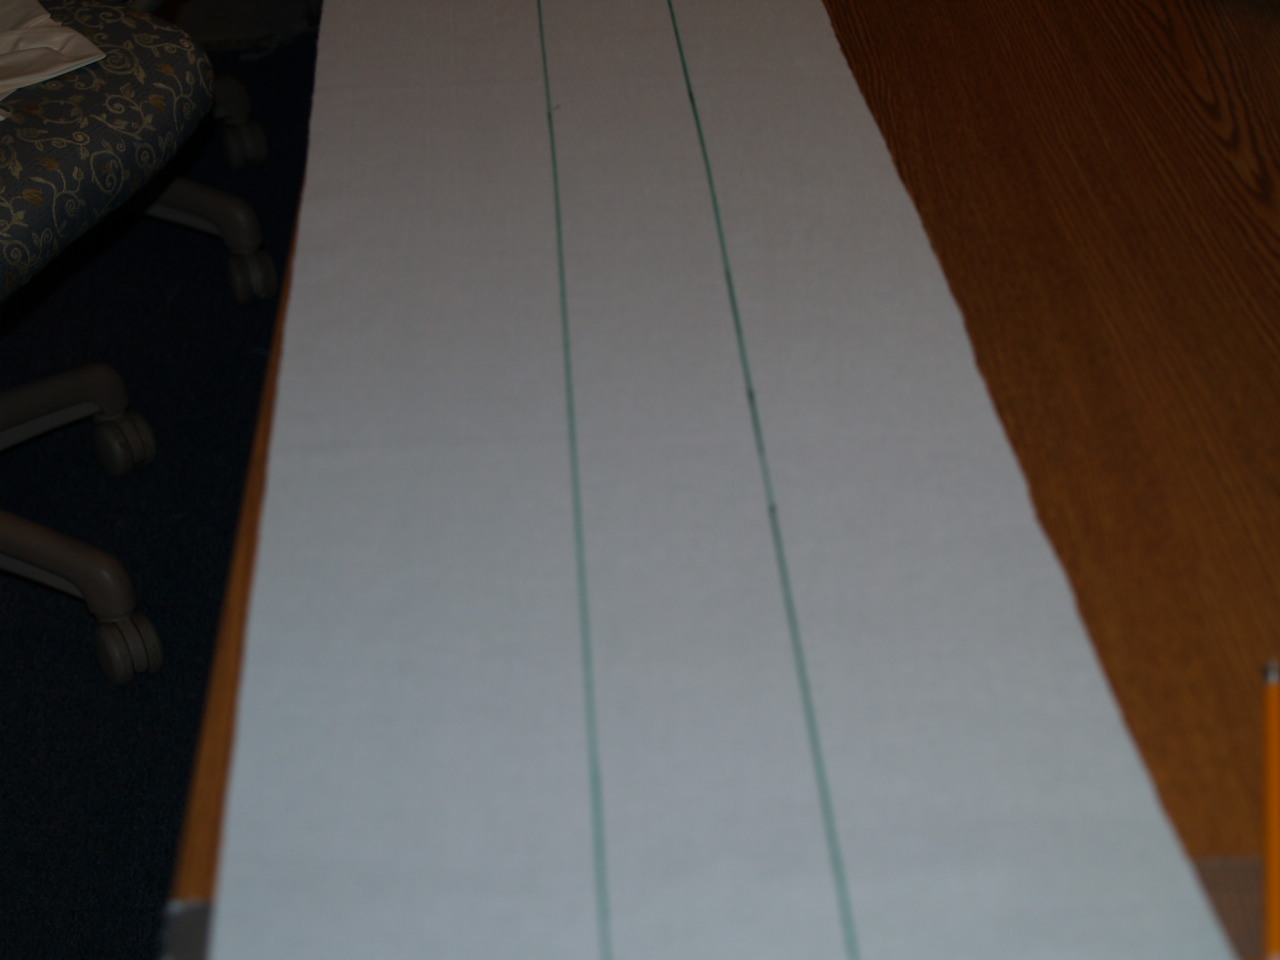 Next you will need to measure around your foam so you can cut out the side panels for your boxed cushion. As you can see in the photo I have two different sizes drawn on the back side of my fabric. The reason for the two sizes is because I will be adding a zipper to my cushion. I made my cuts 5″ and 3″. The 3″ section will be used for the zipper area.
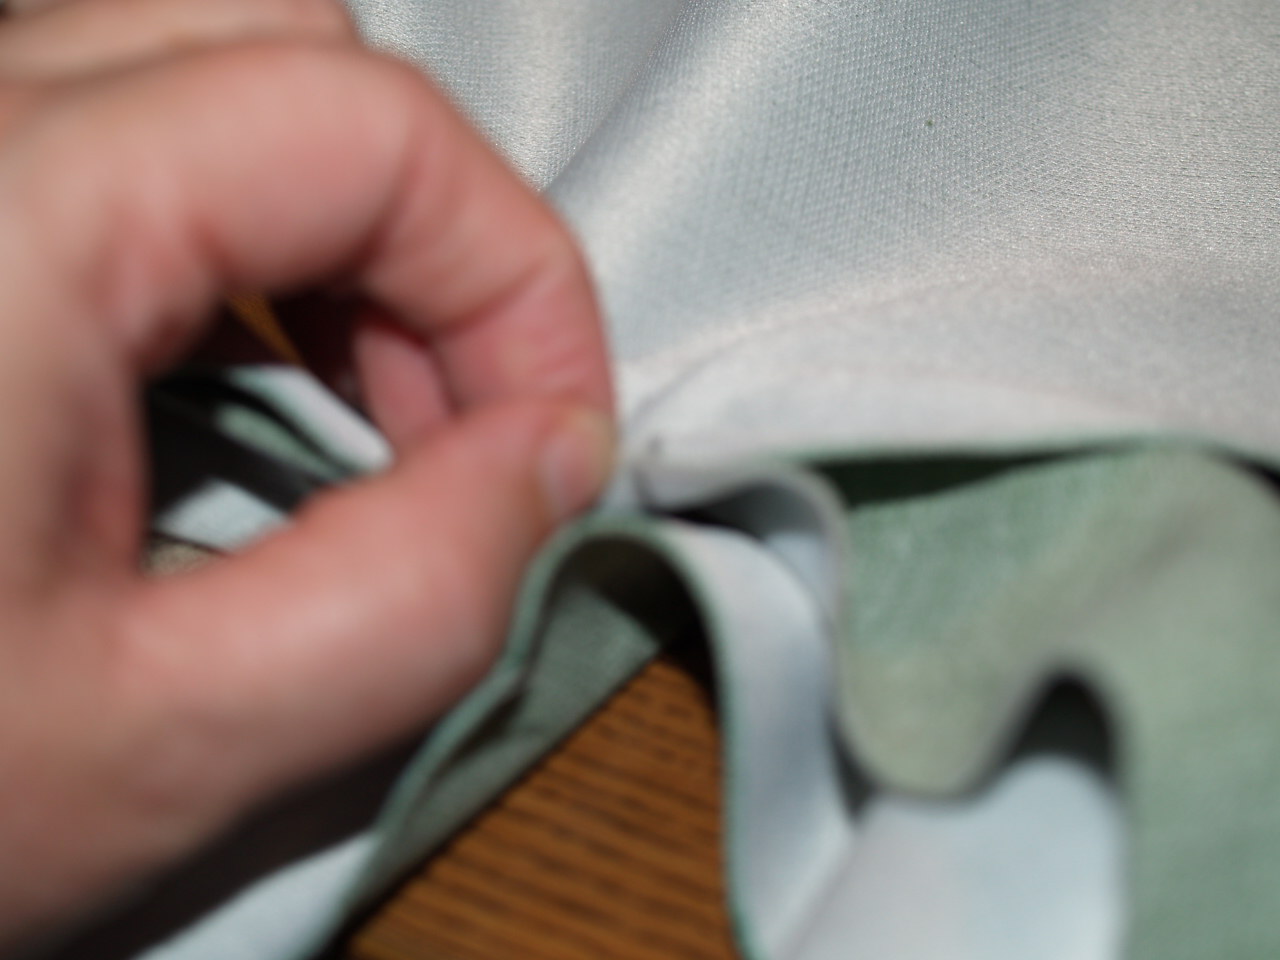
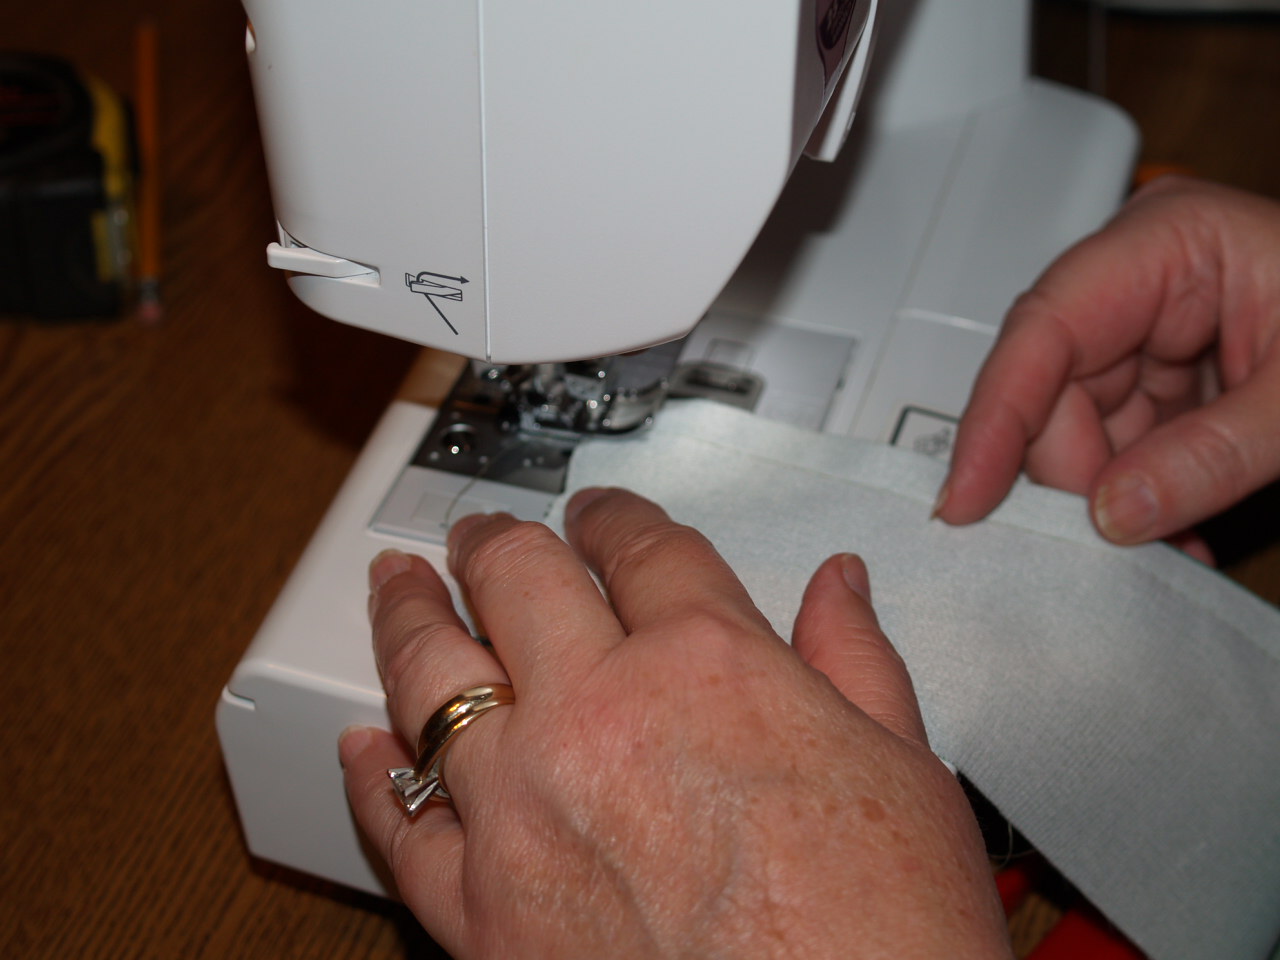 To add a zipper baste stitch 2 pieces of 3″ fabric face sides together. I usually press the fold open to place my zipper in and pin it but this fabric laid so well that all I had to do was start stitching. After you have stitched down the zipper use your seam ripper to remove the baste stitching.
After you have your zipper section and your 5″ section of fabric stitched together start pinning to your top piece of fabric. First step in this is to find your center of your box fabric and you cushion top fabric and mark . Start pinning. The better you pin the easier this part will be to sew.
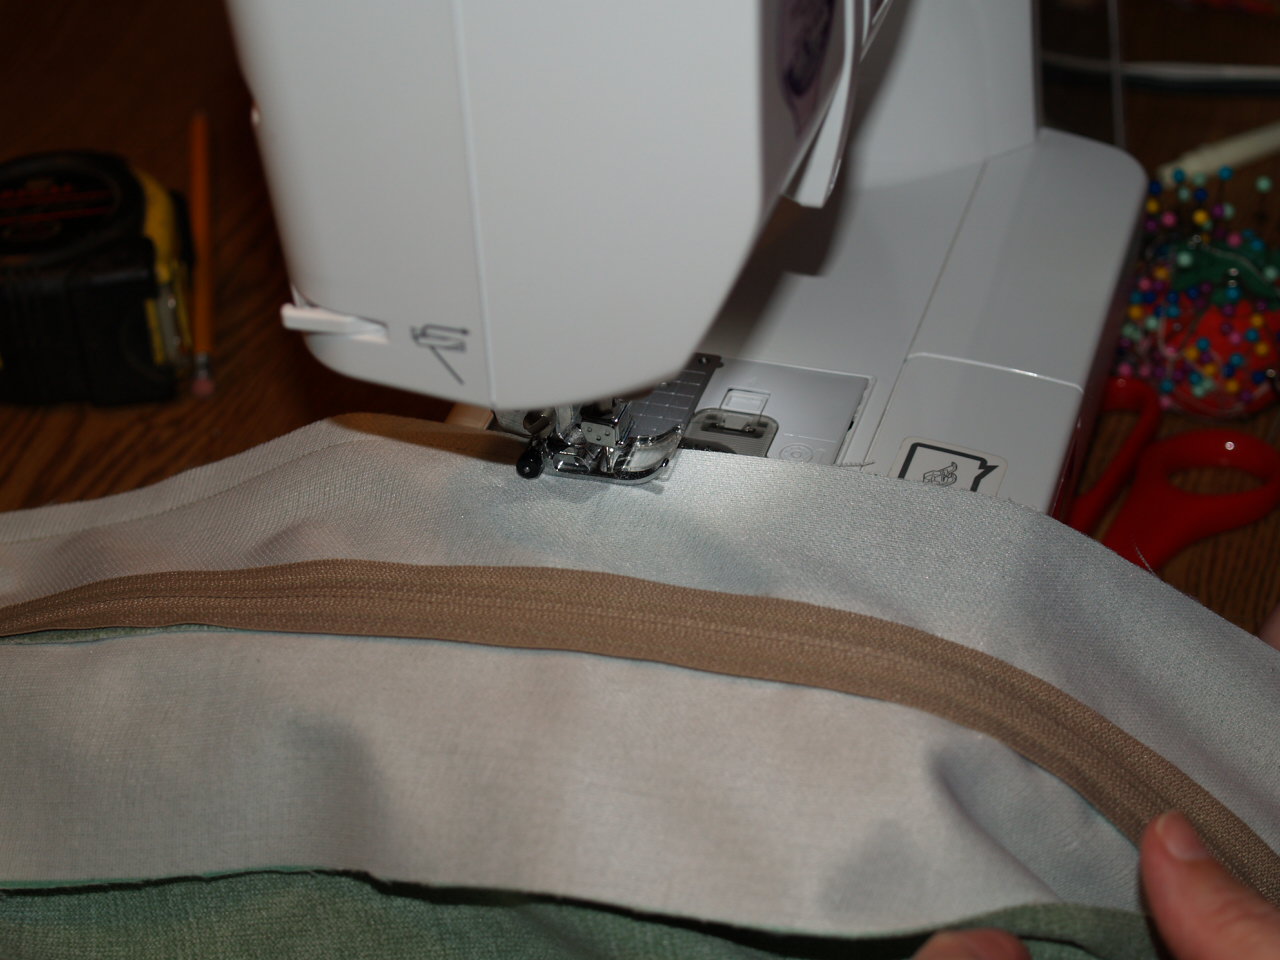
This photo shows me stitching the box to the cushion top. Once you have finished with the top repeat all these steps for the bottom of the cushion.
As you can see, this is a great seat for children and our beloved pets!!
Happy sewing until next time!

