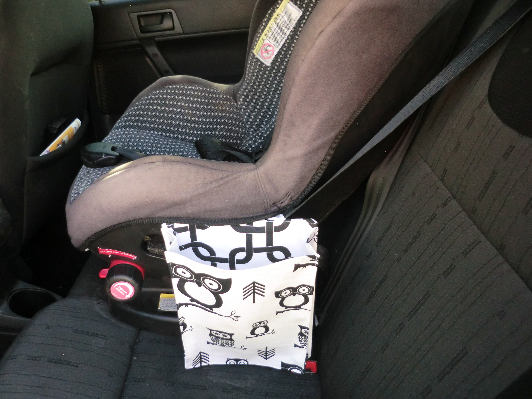
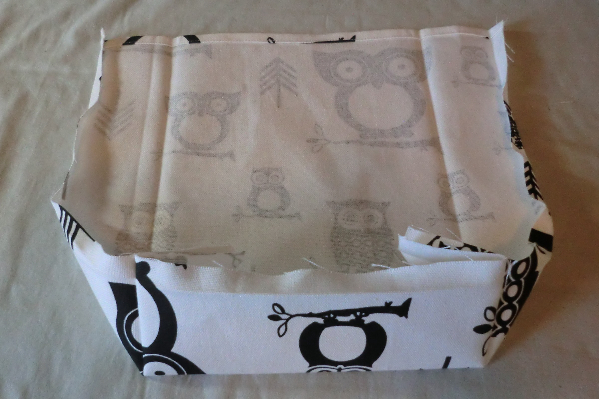
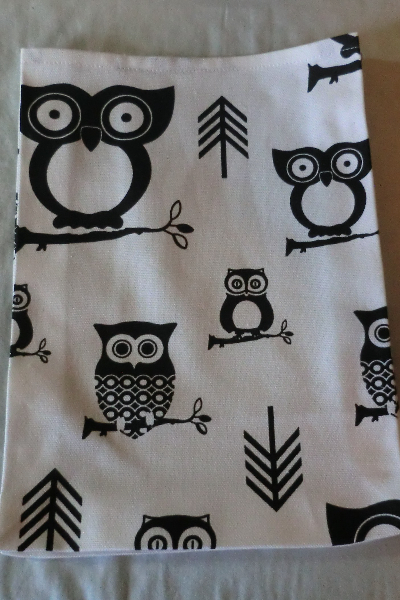
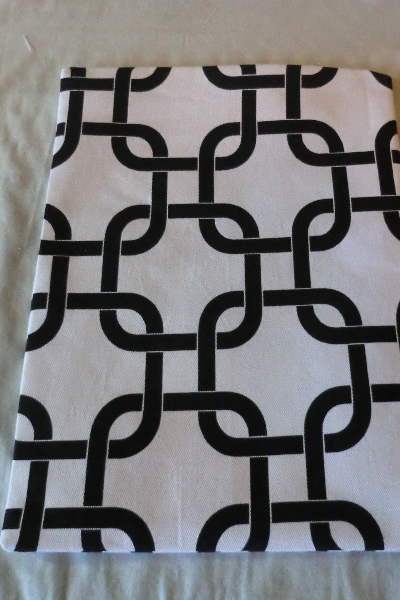
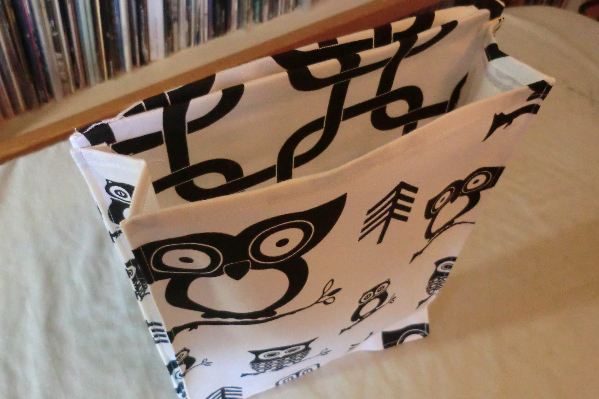
Car seat panniers with cargo pockets
 If you have a small child in a car seat, you have probably found yourself wishing there was a way to safely store things within their reach. One thing I regret is buying one without good, solid cup holders. At least having a little bag will provide a place to slip a sippy cup within reach. These dual bags can also hold books, toys and snacks. Best of all, they can easily be removed for washing. Cargo-style pockets allow for expandable space.
Supplies


The pattern
These are the measurements for my car seat, so you might want to check yours to make sure it will work for you. The bag will go underneath the cover, so measure from the edge of the cover (where it goes over the outside edge and where the bag will peek out from), over the side, across the seat and over the other side. Mine measured 25″. If this won’t work for you, substitute your number for mine when making calculations.
I’m going to call the piece that goes under the seat the “strap,” because I don’t know what else to call it. My strap piece was 26″ long by 6″ wide (including .5″ seam allowances). Cut two pieces that size.
The bags were made up of a cargo pocket sewn to a back piece. The back piece measured 8.5″ x 11.5″ (wxh). The cargo pockets measured 12.5″ x 13.5″ (wxh). Cut two each of fabric from each of those dimensions, plus one of interfacing such as Craft Fuse from the back piece.
The process
 Cut a square out of each bottom edge equal to the seam allowance, which is 1/2″.
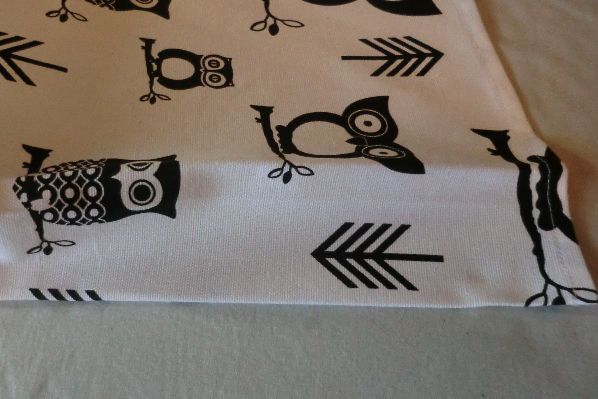
Not shown: Hem the top edge by turning over 1/4″ and pressing, then turn over another 1/4″ and press again, then stitch.
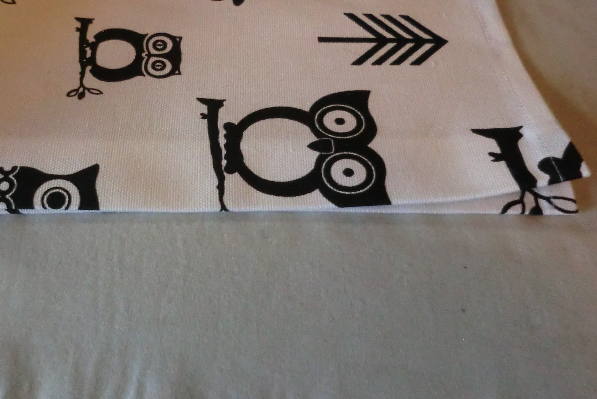
Shown above: Press up the seam allowance around the bottom and sides (1/2″).
 Fold over another 2″ and press along the bottom and sides.
 You’ll basically get this.
 Unfold it. The bottom corners will look like this.
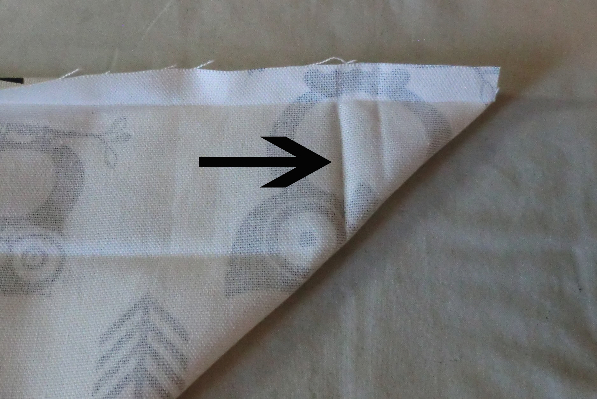 Fold up the bottom edge so it matches with the side. See that crease where the arrow is pointing? Sew along that crease. Then cut the triangle off. Repeat on the other bottom corner.
 It will form a boxed bottom (I haven’t cut my triangles off yet in this picture).
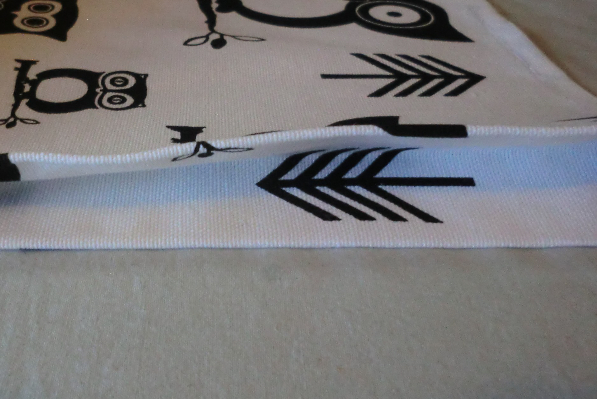
 This view is of the side edge. At the bottom of the photo is the crease where the 1/2″ seam allowance is turned under and pressed. The crease above that is the 2″ crease mark.
 Take the top crease and match it with the bottom one, creating a bit of a pleat and press.
 If you open it up, it looks like this.
 Here it is from the outside…
 And here it is from the inside.
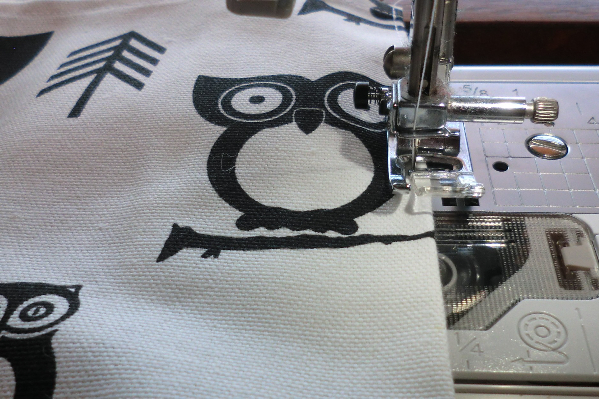 Separate the top fold from the bottom and top stitch right along the edge of the top crease ONLY. Do each side/bottom separately — in other words, don’t try to pivot at the corners. Take it off and start the next side separately.
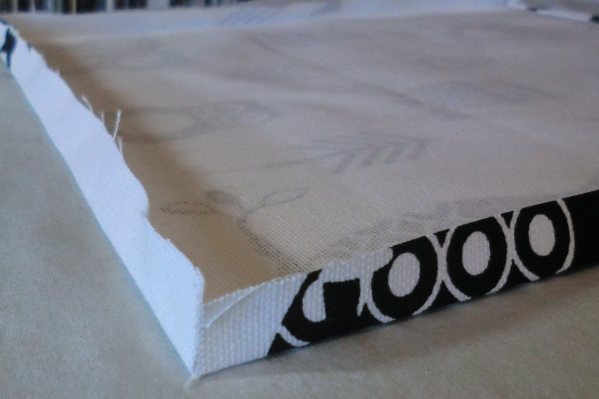
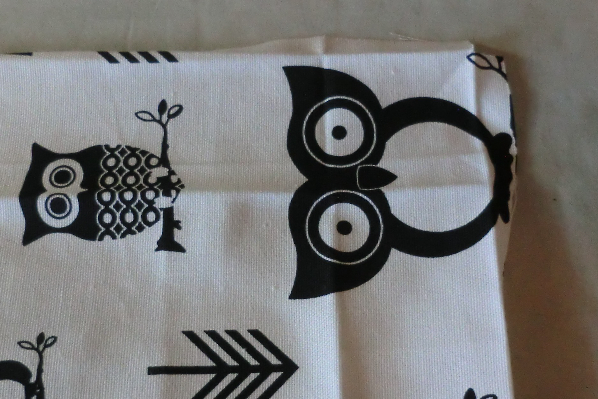
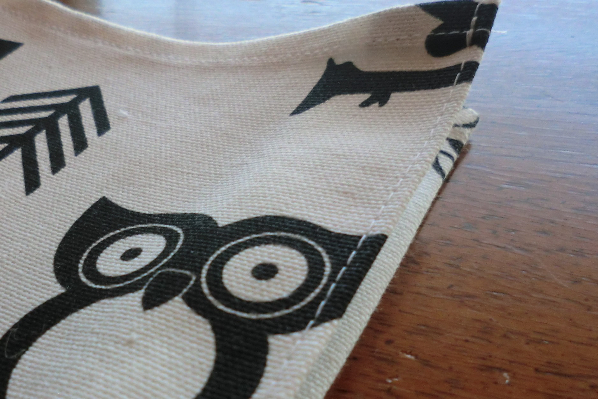 You’ll get this nice finished top crease all the way around.
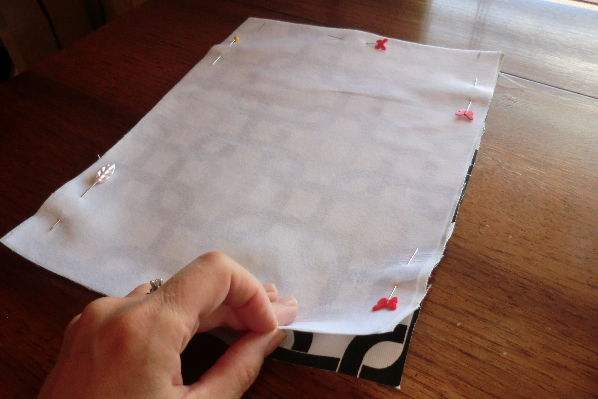 Now it’s time to create the back that we will sew this pocket to. Fuse the interfacing to one “back” piece. Then place the pieces right-sides together and stitch around the two sides and bottom. For the top, stitch a few inches in from either side and leave the rest open.
 Turn right-side out and press.
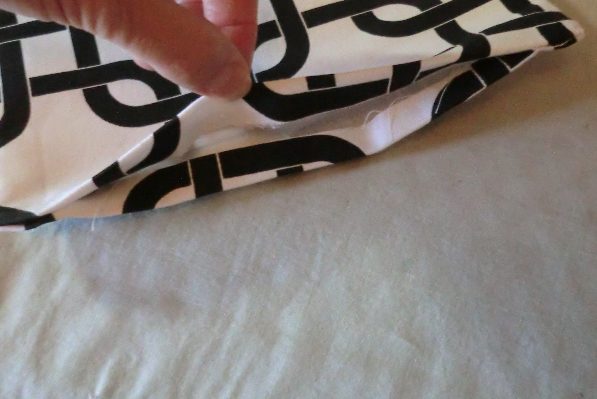 Here is the hole that you left and turned it through. Turn under the seam allowance when pressing.
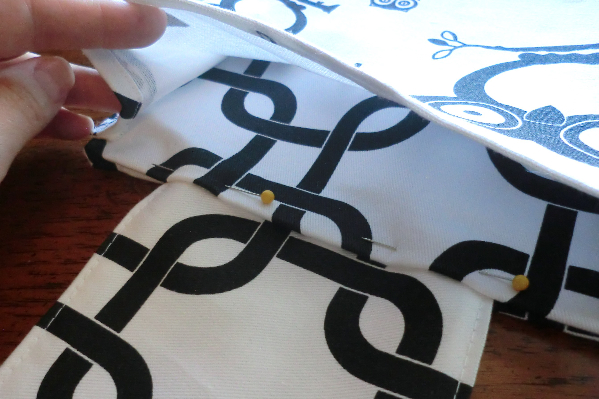
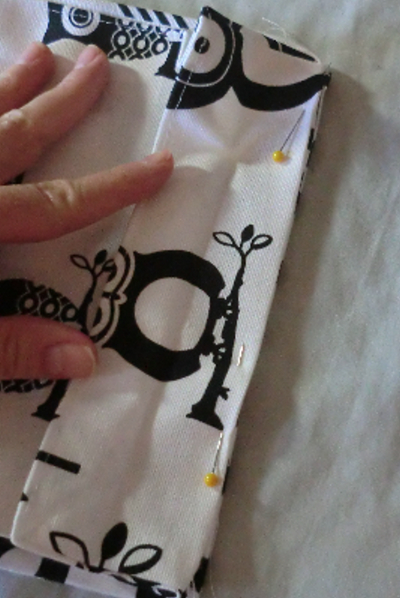 Lay your cargo pocket on top of this piece, aligning your bottom crease with the edges on the sides and bottom.
 Pin in place all the way around.
 Stitch the pocket to the back piece just inside the edges by top-stitching. Again, it works better if you do each side separately and don’t try to pivot at the corners.
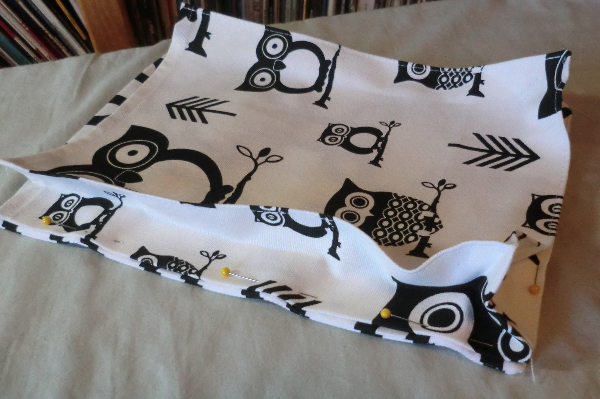
 You’ll get this. Repeat on other pocket.
 Stitch your “strap” pieces together (right-sides together) along either long side. Turn right side out, press and top-stitch.
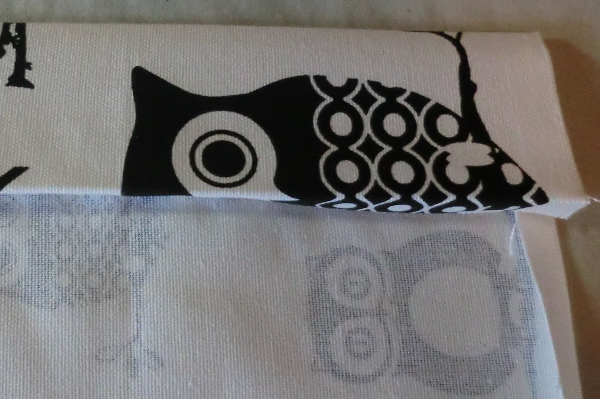
 Place each short end into the hole left on the pocket “back” pieces. Pin in place. Top stitch the top edge of the bag closed.
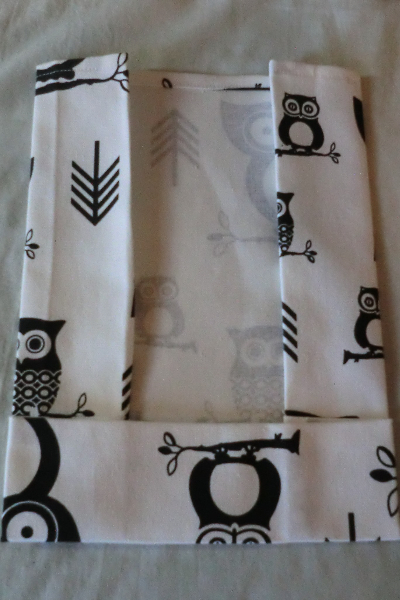
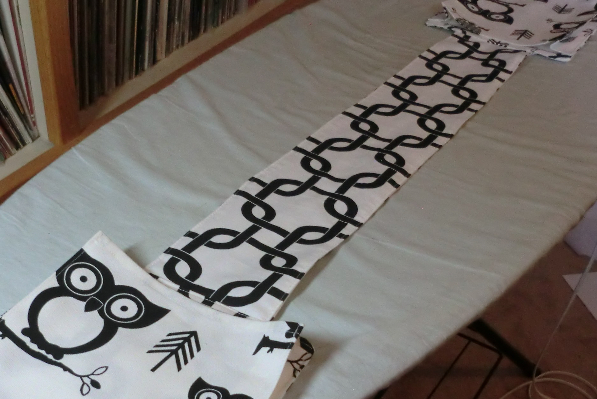 Now you have a long strip with an expandable bag on either end.
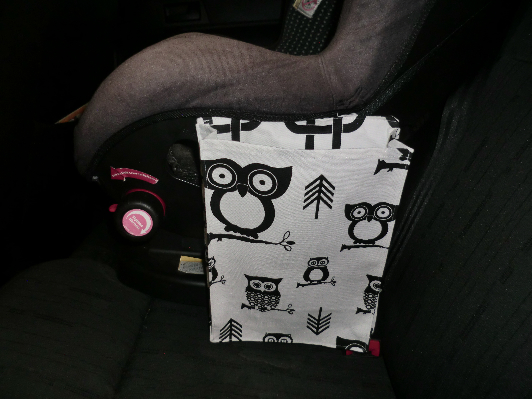 Run the “strap” portion underneath the seat cover. My seat cover has a few hooks that I undid in order to do this.