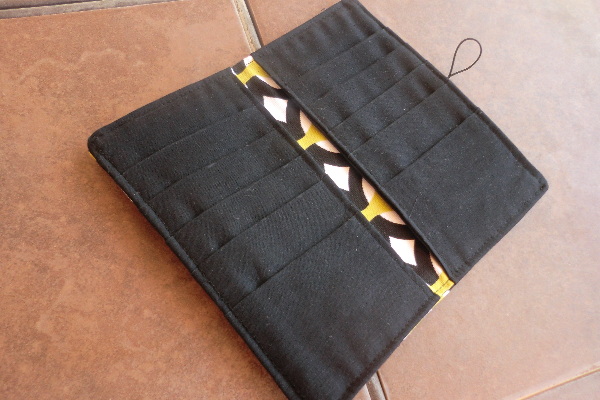
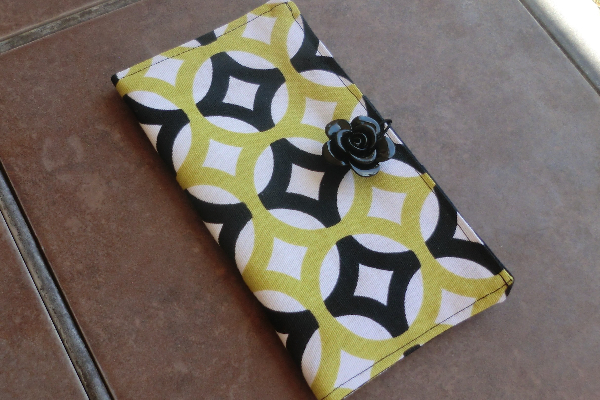
Card wallet with pockets

This project may look a bit familiar to you. It’s like the loyalty card holder, but revamped. Someone asked about adding a pocket. I thought, “You know? That’s just what I need right now!” A place for all of those store points cards and a place to stick my coupons. I decided to redo the project and add some pockets. I don’t know if this is just what the reader was looking for, but I hope it’s useful.
Supplies


The Pattern
Outer piece: cut 1 – 9.5″x8.5″ (WxH)
Lining piece: cut 1 – 9.5″x8.5″
Pleated piece: cut 1 – 10.25″x26″
Pocket lining: cut 2 – 5″x8.5″
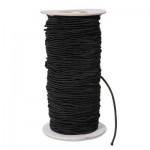
Cut one piece of elastic about 3″ long.
1/2″ seam allowances.
The Process
I wanted to improve on my other tutorial, but this fabric turned out to be awful to photograph in good detail. My apologies! You can also see the Loyalty Card Holder tutorial for the pleated portion and then return for the rest of the tutorial.
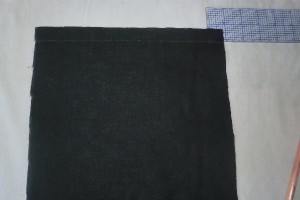
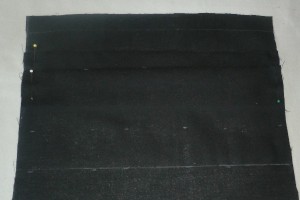
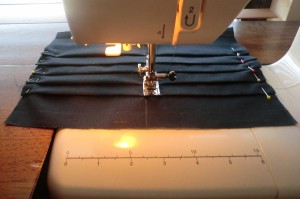
Take your pleated piece and make a line 3/4″ from the top edge.
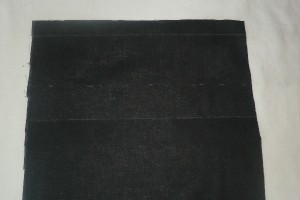
From there, measure down 2.5″ and 4″. I decided for this version to make my 2.5″ lines dotted and the 4″ lines solid.
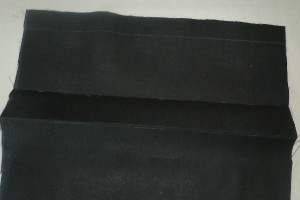
Press on each line as shown. I used my ruler to fold the fabric on the line and then carefully slid it out before pressing.
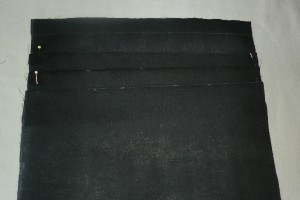
Pin the pleat in place.
From the top edge of the fold you just made, measure down another 2.5″ and 4″ and repeat the pressing, folding, pinning process for that pleat.
Keep going!
Eventually, you’ll run out of space for any more pleats. I actually made a final pleat but realized I wouldn’t have enough room for a seam allowance to complete the project, so I undid that last pleat. You should get five pockets. This means you’ll have a few extra inches to work with, which I purposely included in the pattern. You’ll trim that in a moment.
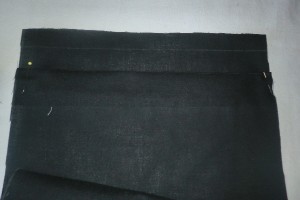
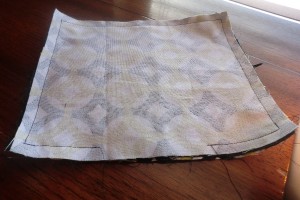
So, since your outer piece measures 8.5″ tall, measure 8.5″ down from the top of this pleated piece and draw a line.
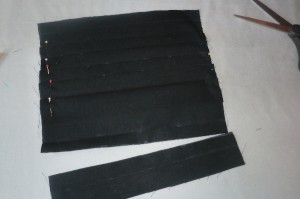
Cut off the bottom at that line.
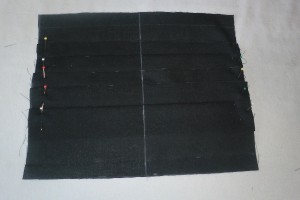
Now draw a line right down the center.
Baste just on either side of this line to secure the pleats. I did it about 1/4″ on either side of the line.
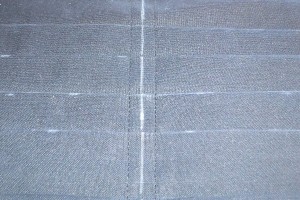
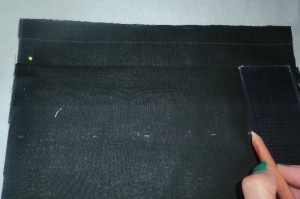
This one *might* win worst picture for this blog post.
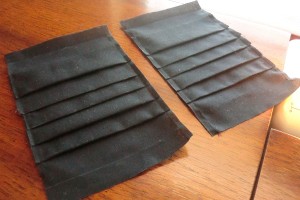
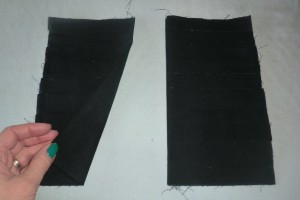
Cut on that center line so you have two equal pieces.
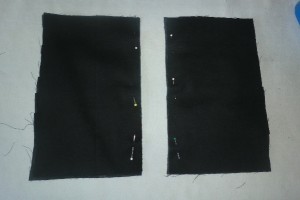
Take your pocket lining pieces and place them right-sides together on your pleated pieces. You’ll only sew along the inside edge of each piece, as shown by my pins in the photo above.
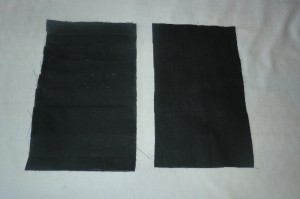
Flip the pockets right-side out and press. So only the inside edge is finished at this point.
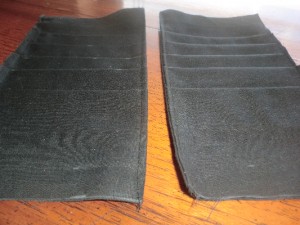
Top stitch close to the edge of each of those seams. Stay within 1/4″ or your pockets can end up too narrow to fit cards when you are finished.
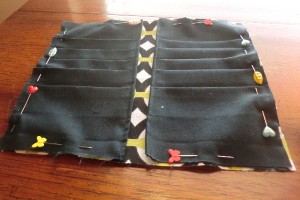
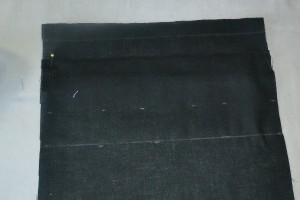
Place each pocket as shown on your lining piece and pin around the edges. Baste at 1/4″ from the outer edges.
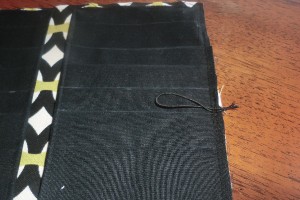
Fold your bead cord elastic in half, forming a loop and baste in place as shown along the right side of your lining piece, with the loop facing inward.
Place your outer piece on the lining piece, right-sides together and sew all the way around, except for a few inches at the bottom for turning right-side out. Trim the corners well (not shown).

Turn right-side out and push out the corners, then press.
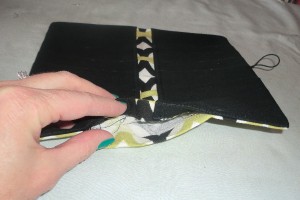
When you do this, your opening’s seam allowance will get pressed in as shown. Turn the project over so that the outside is showing and top stitch within 1/4″ of the outer edge.
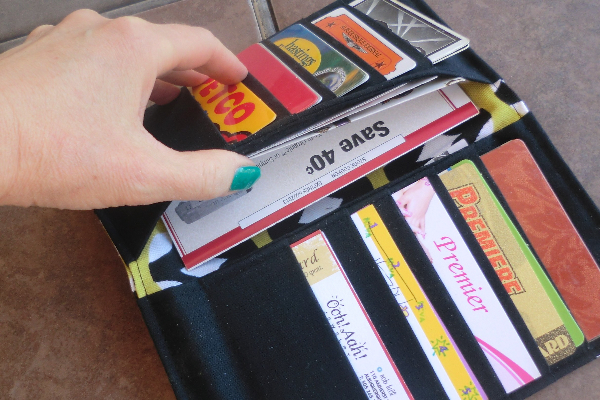
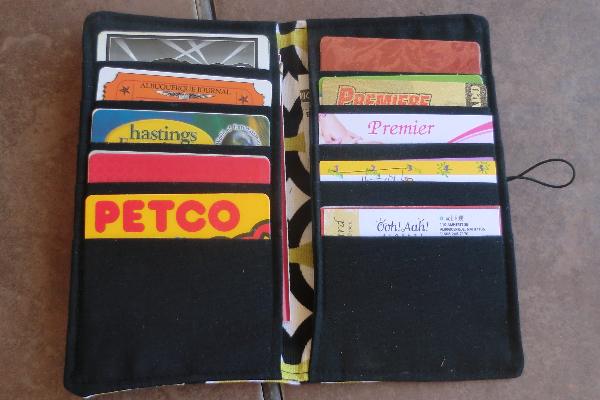
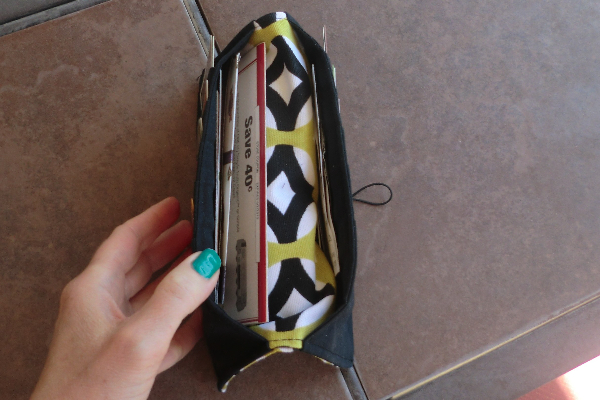
Other Views