Cargo pockets
 This tutorial will show you how to make a cargo pocket, or a pocket that has some depth. This is part of a bag tutorial that I will put up in the next few weeks, if you’d like to see the finished product. I’ll link to it here when it’s finished.
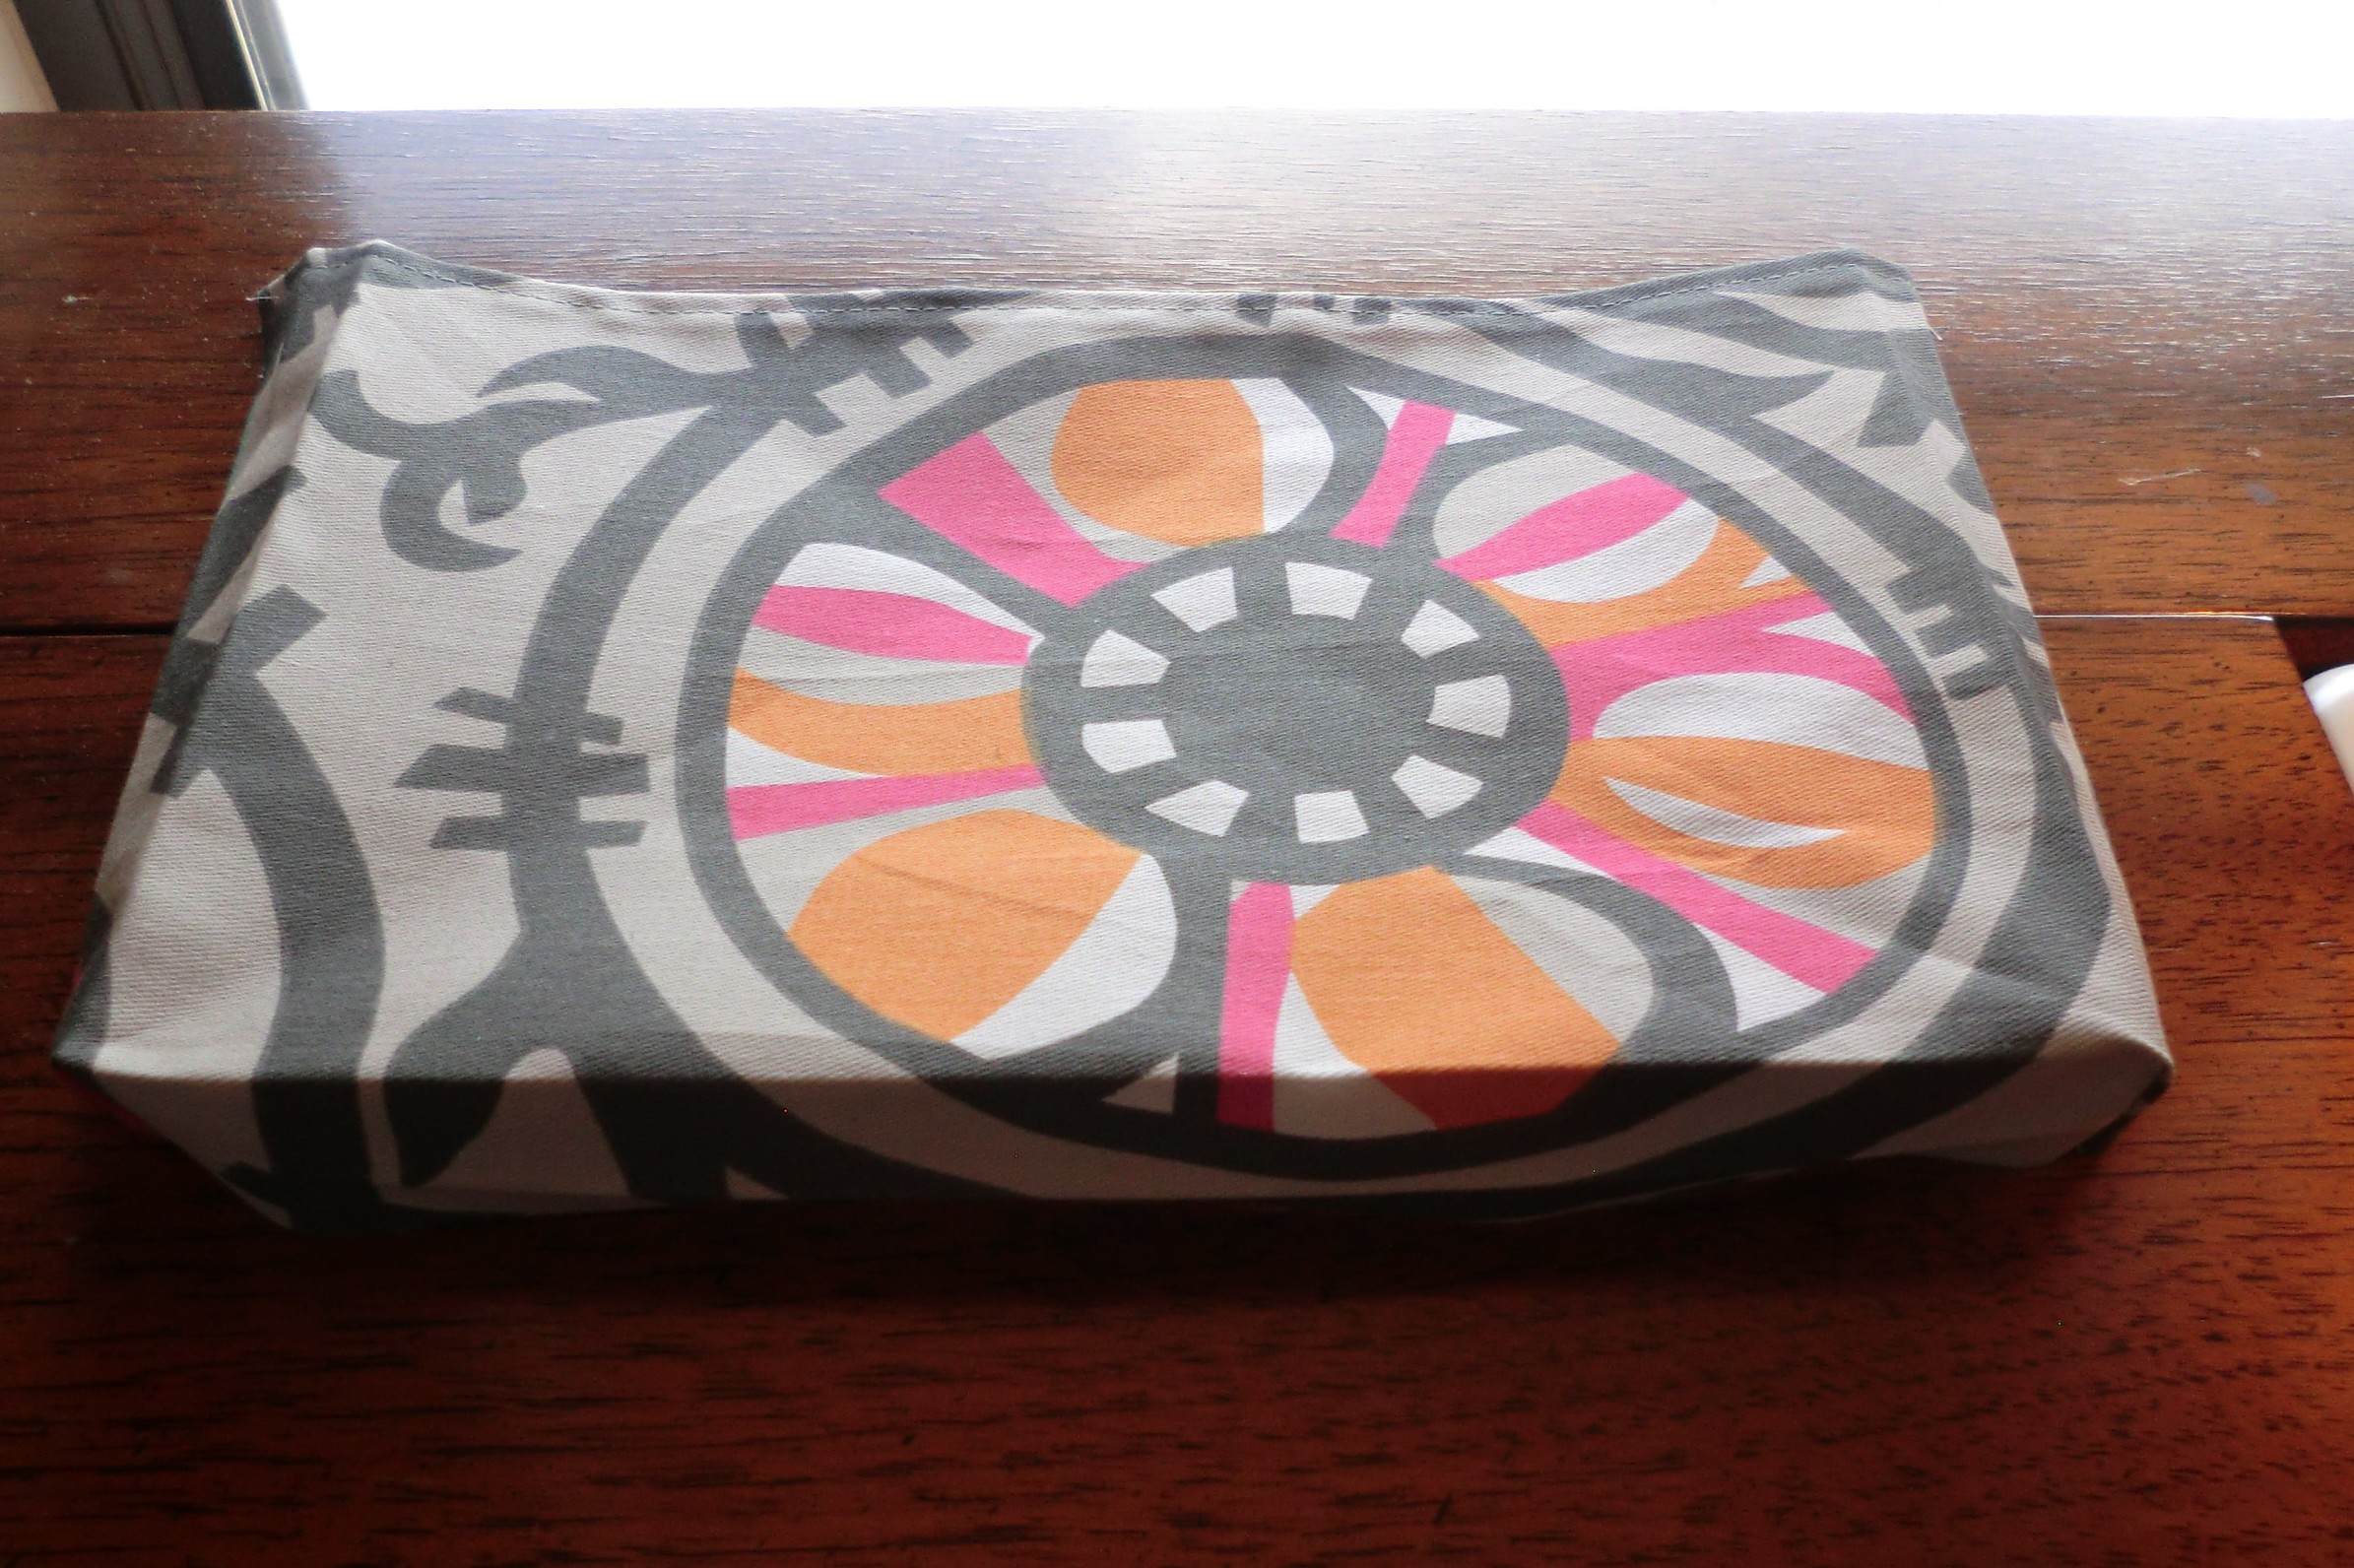
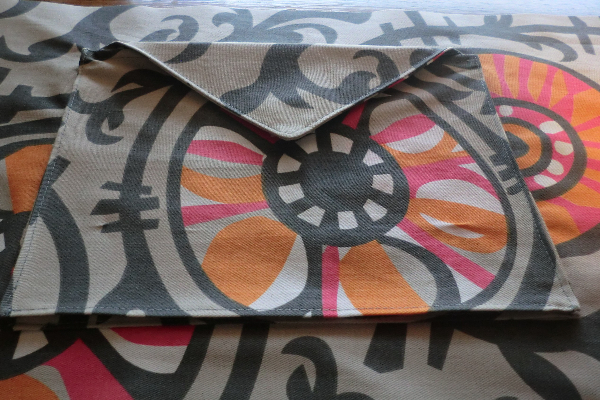
This pocket is a little more finished looking than a typical pocket, and it holds more stuff, too.
Supplies

Pattern
You can make this pocket any dimensions you please. If you’d like to use my pocket, feel free. The pocket measures about 10″w x 7″h.
There are two pattern pieces:
For the pocket itself, cut out a rectangle (mine was 12″w x 9″h). To do this, figure out your finished pocket dimensions, then add the depth you’d like to have your pocket have (I did 1/2″) all the way around. Then add 1/2″ seam allowance all around, then cut out corners equal to your seam allowance (so for me it was 1/2″x1/2″).
For the flap, figure out the final width of your pocket (10″ for me). Draw a triangle that wide at the top and however deep you’d like. Then add about 1/4″ along the long, straight edge for where you sew it to the bag and fold it over, then add 1/2″ seam allowance all around.
Cut 2 out of the flap piece and 1 out of the main pocket piece. Also, it’s good to use some interfacing on the flap.
Process

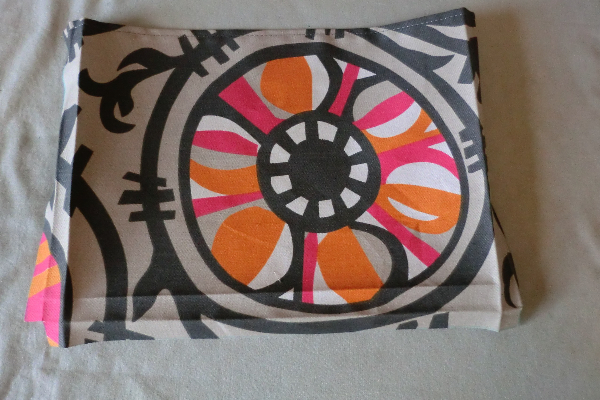
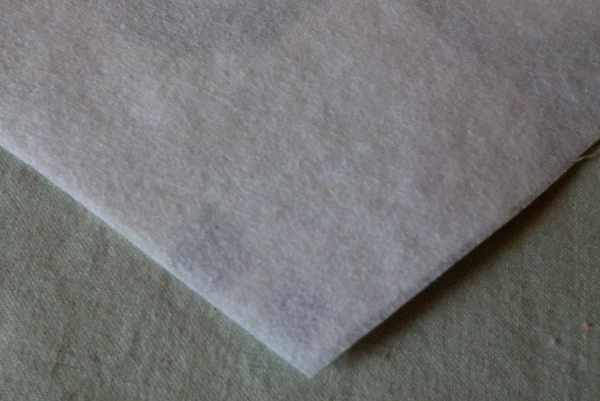
Here is my starting pocket piece.
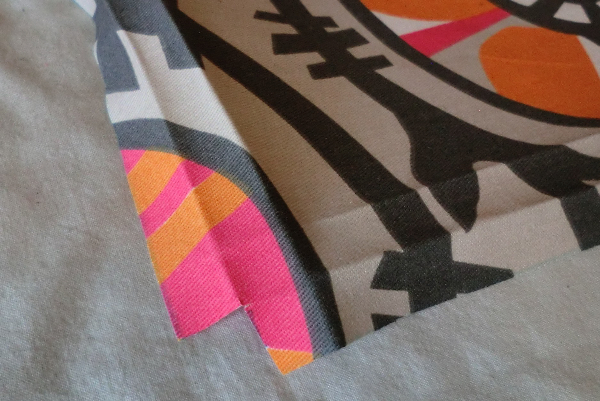
Cut out squares at the bottom two edges equal to the seam allowances (1/2″ in my case).
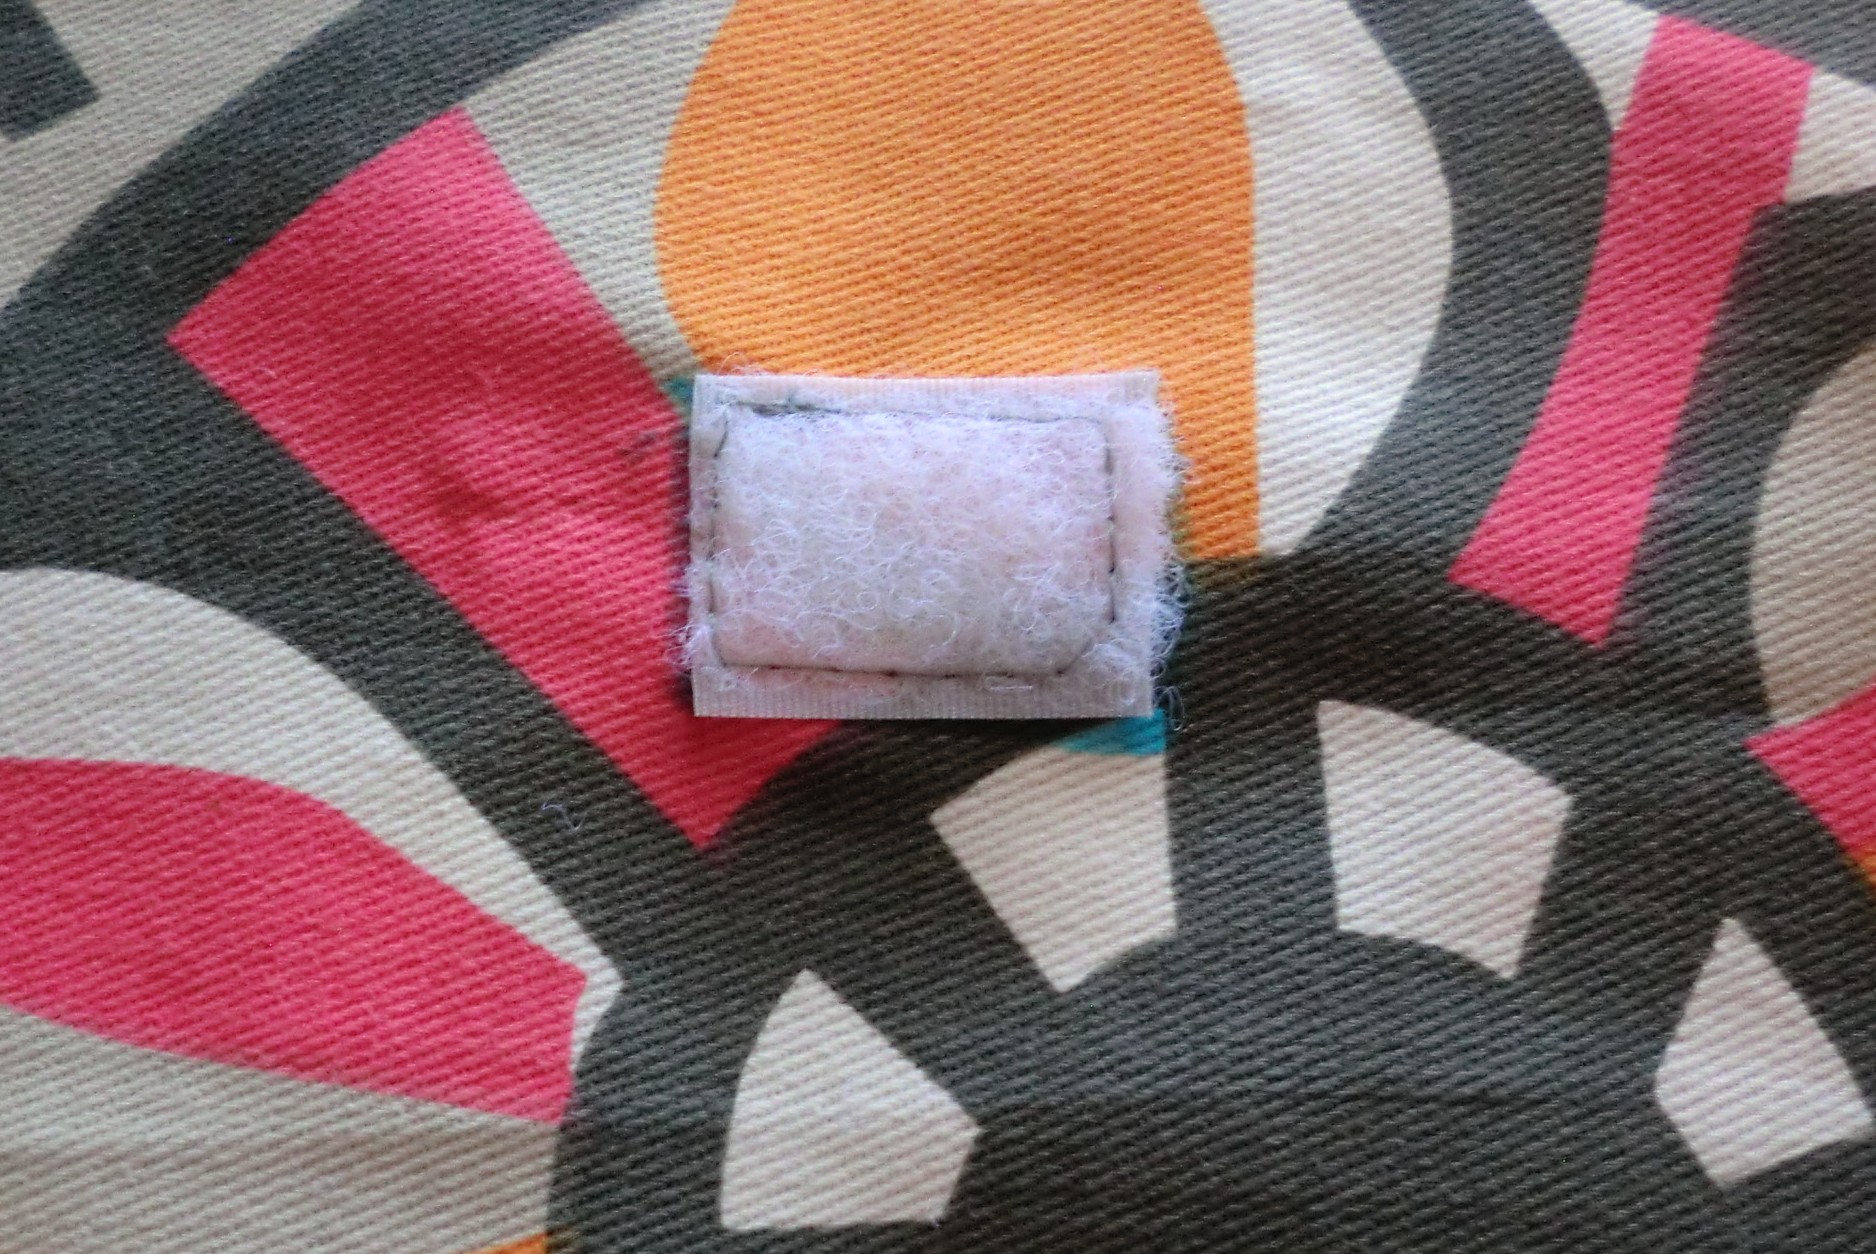
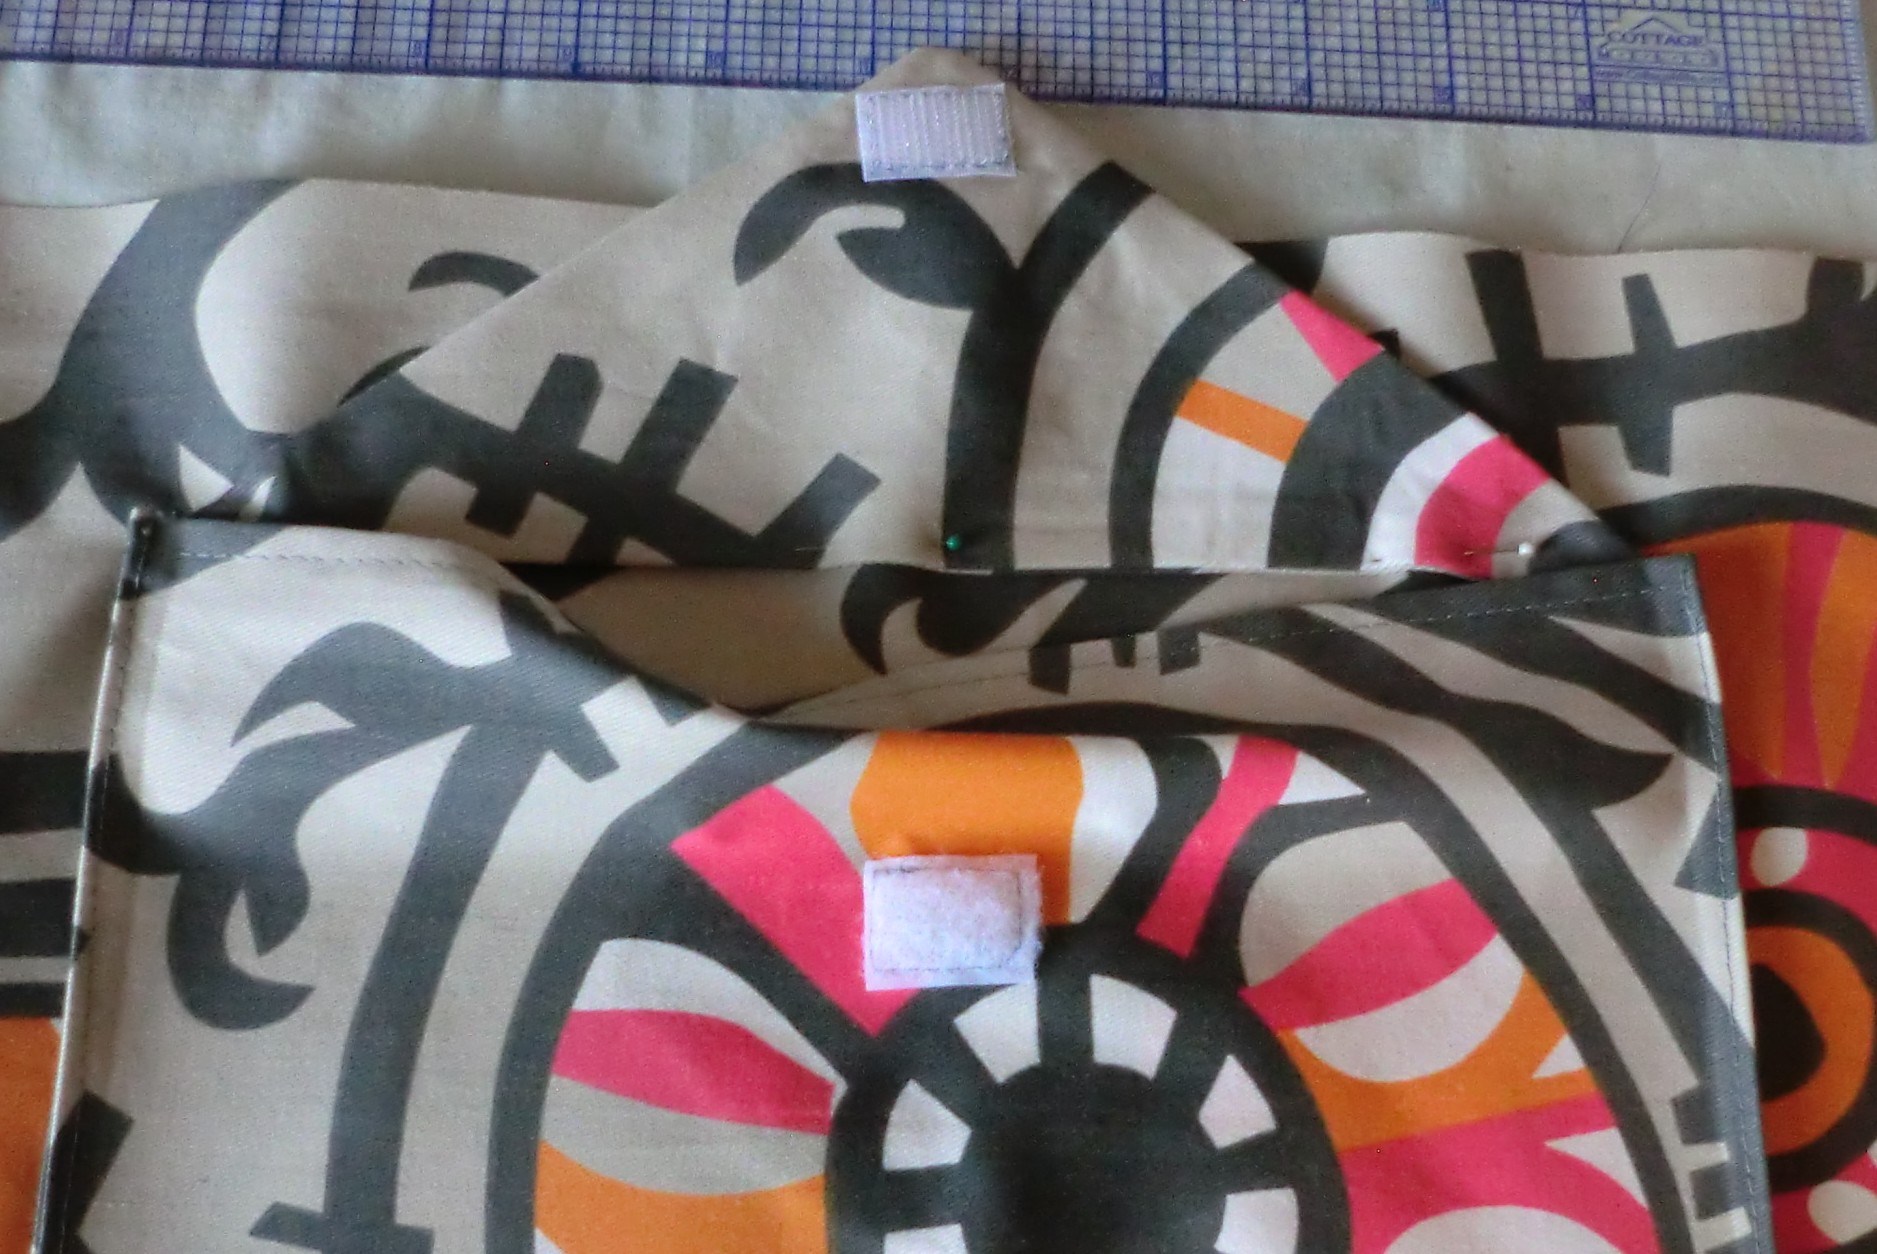
Sew one of your Velcro pieces in the center of the pocket. Mine was about 2.25″ from the top. Yours will depend on how big your flap is and where you choose to place your Velcro on the flap.
Hem the top. Fold over the top edge and press 1/4″. Fold over and press another 1/4″.
Stitch the top hem.
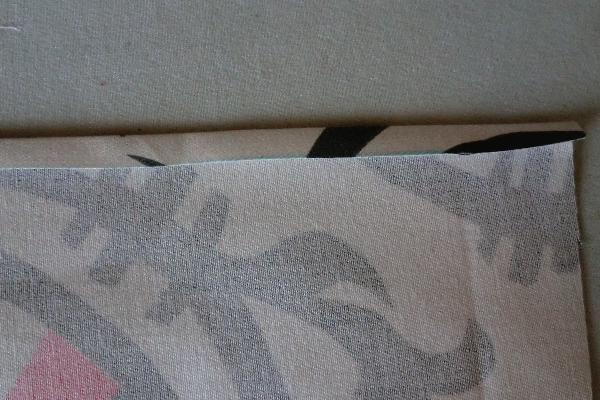
Fold over and press each side and the bottom along the seam allowance (1/2″).
Fold over and press again however far you determined your pocket depth to be (for me, 1/2″).
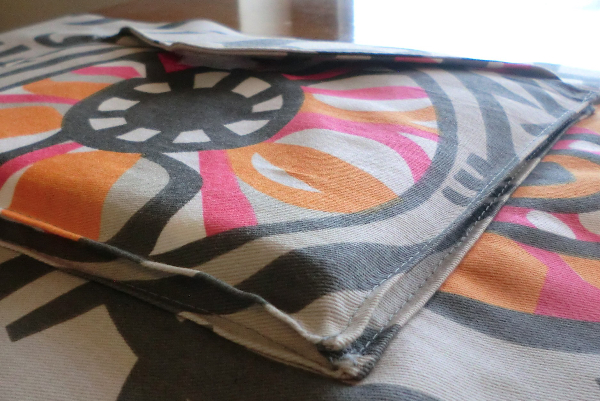
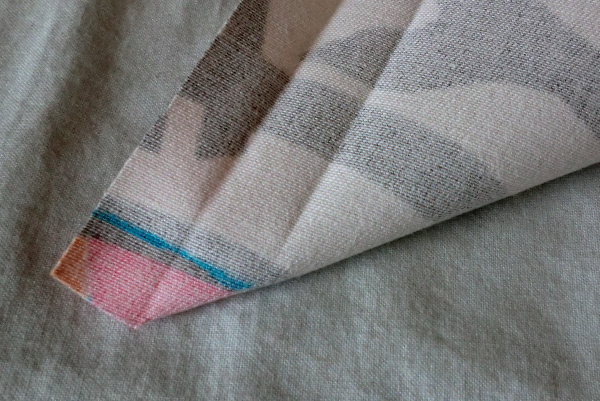
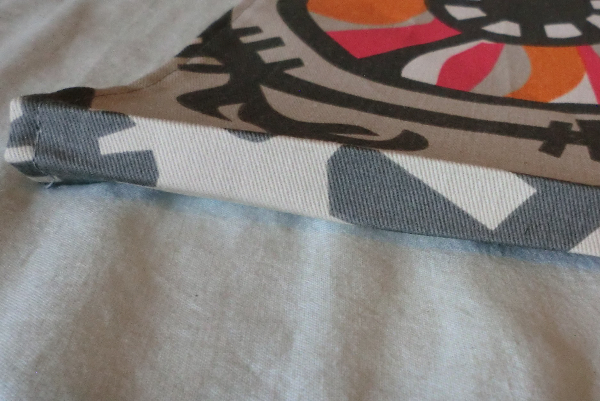
You’ll get something like this.
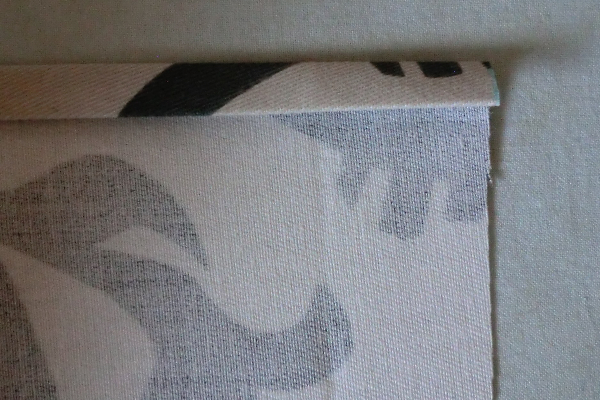
Here is a close up of the pressing lines.
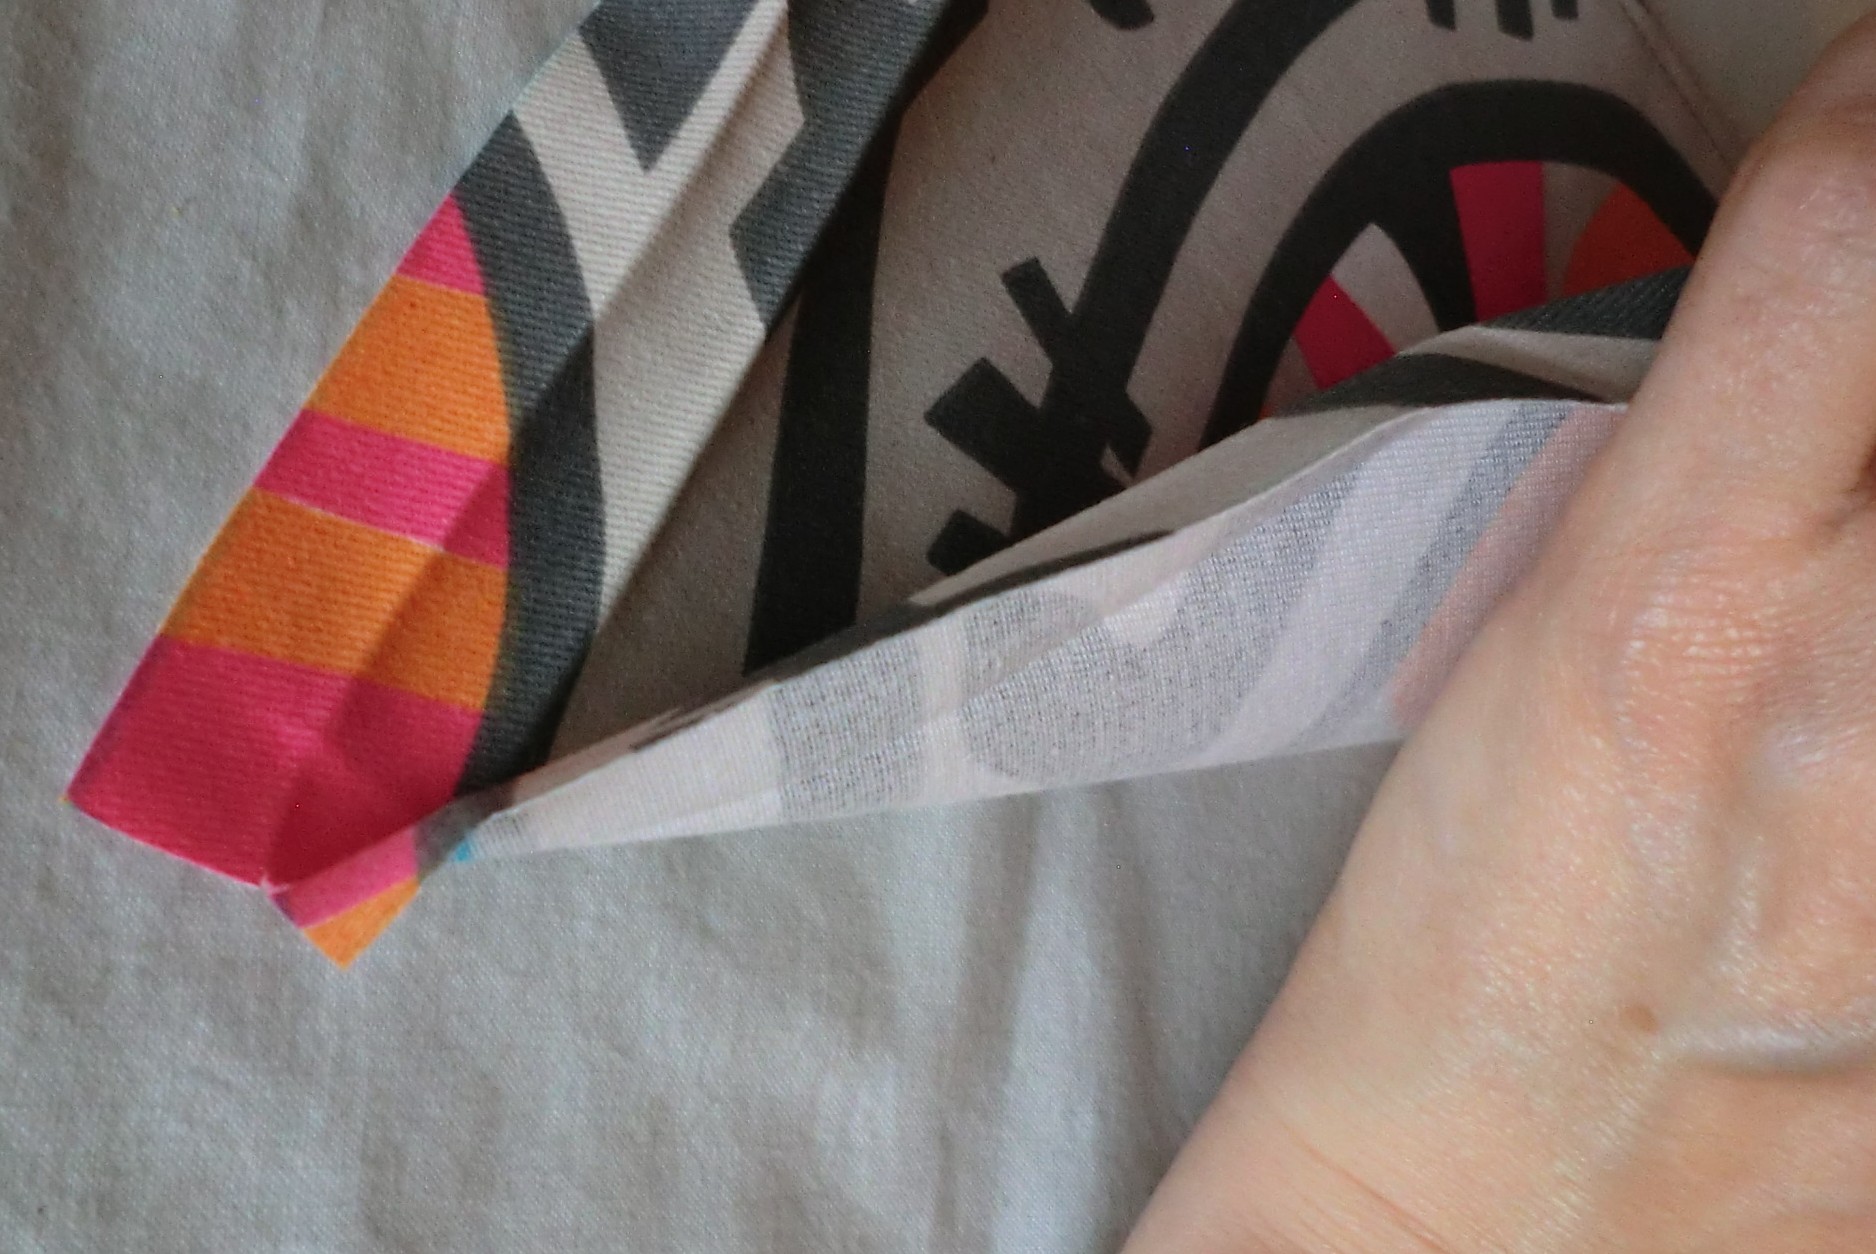
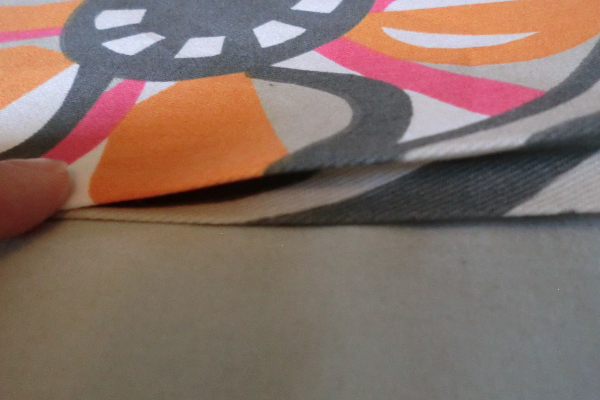
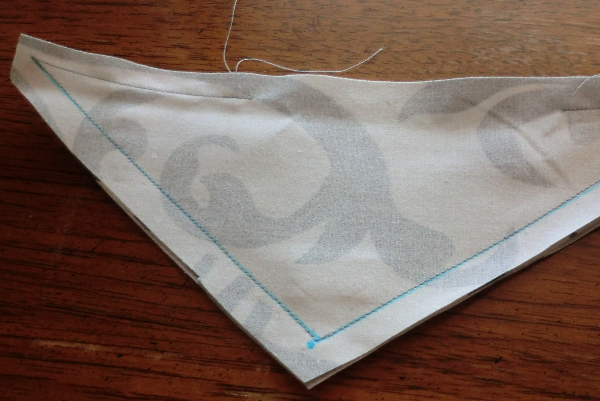
Fold over at that corner, right-sides together…
You’ll sew along that crease — I marked it in blue to make it more visible.
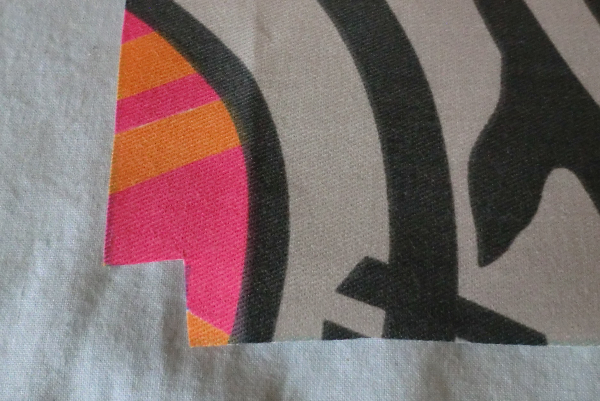
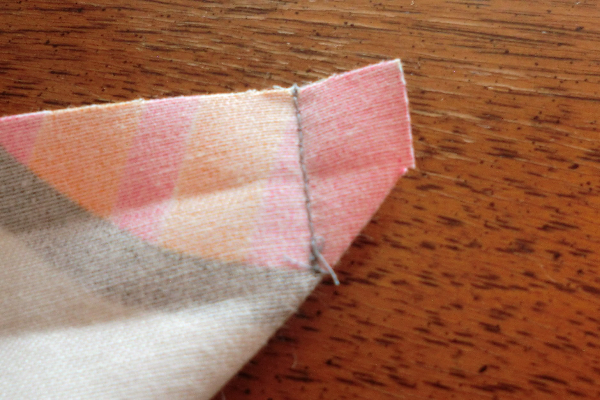
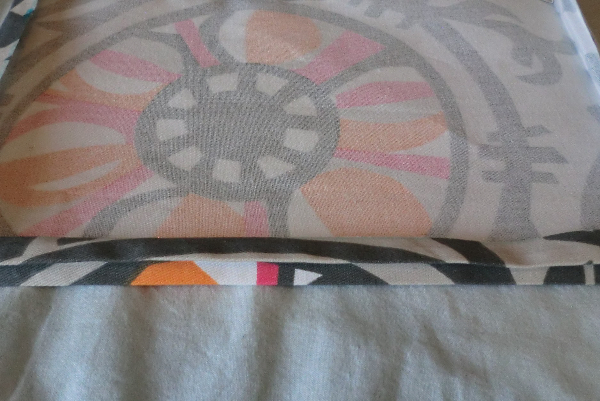
At left, you can see the corner I made. Repeat on the other bottom corner.
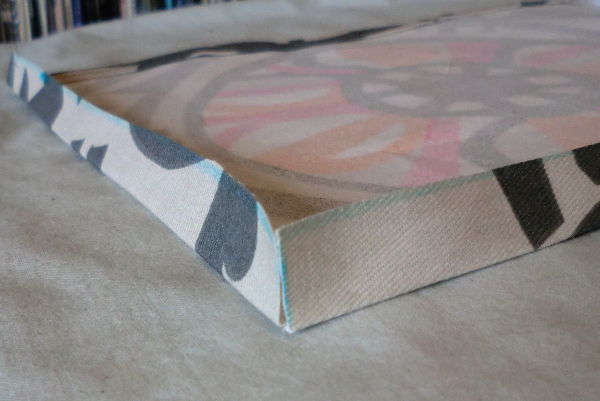
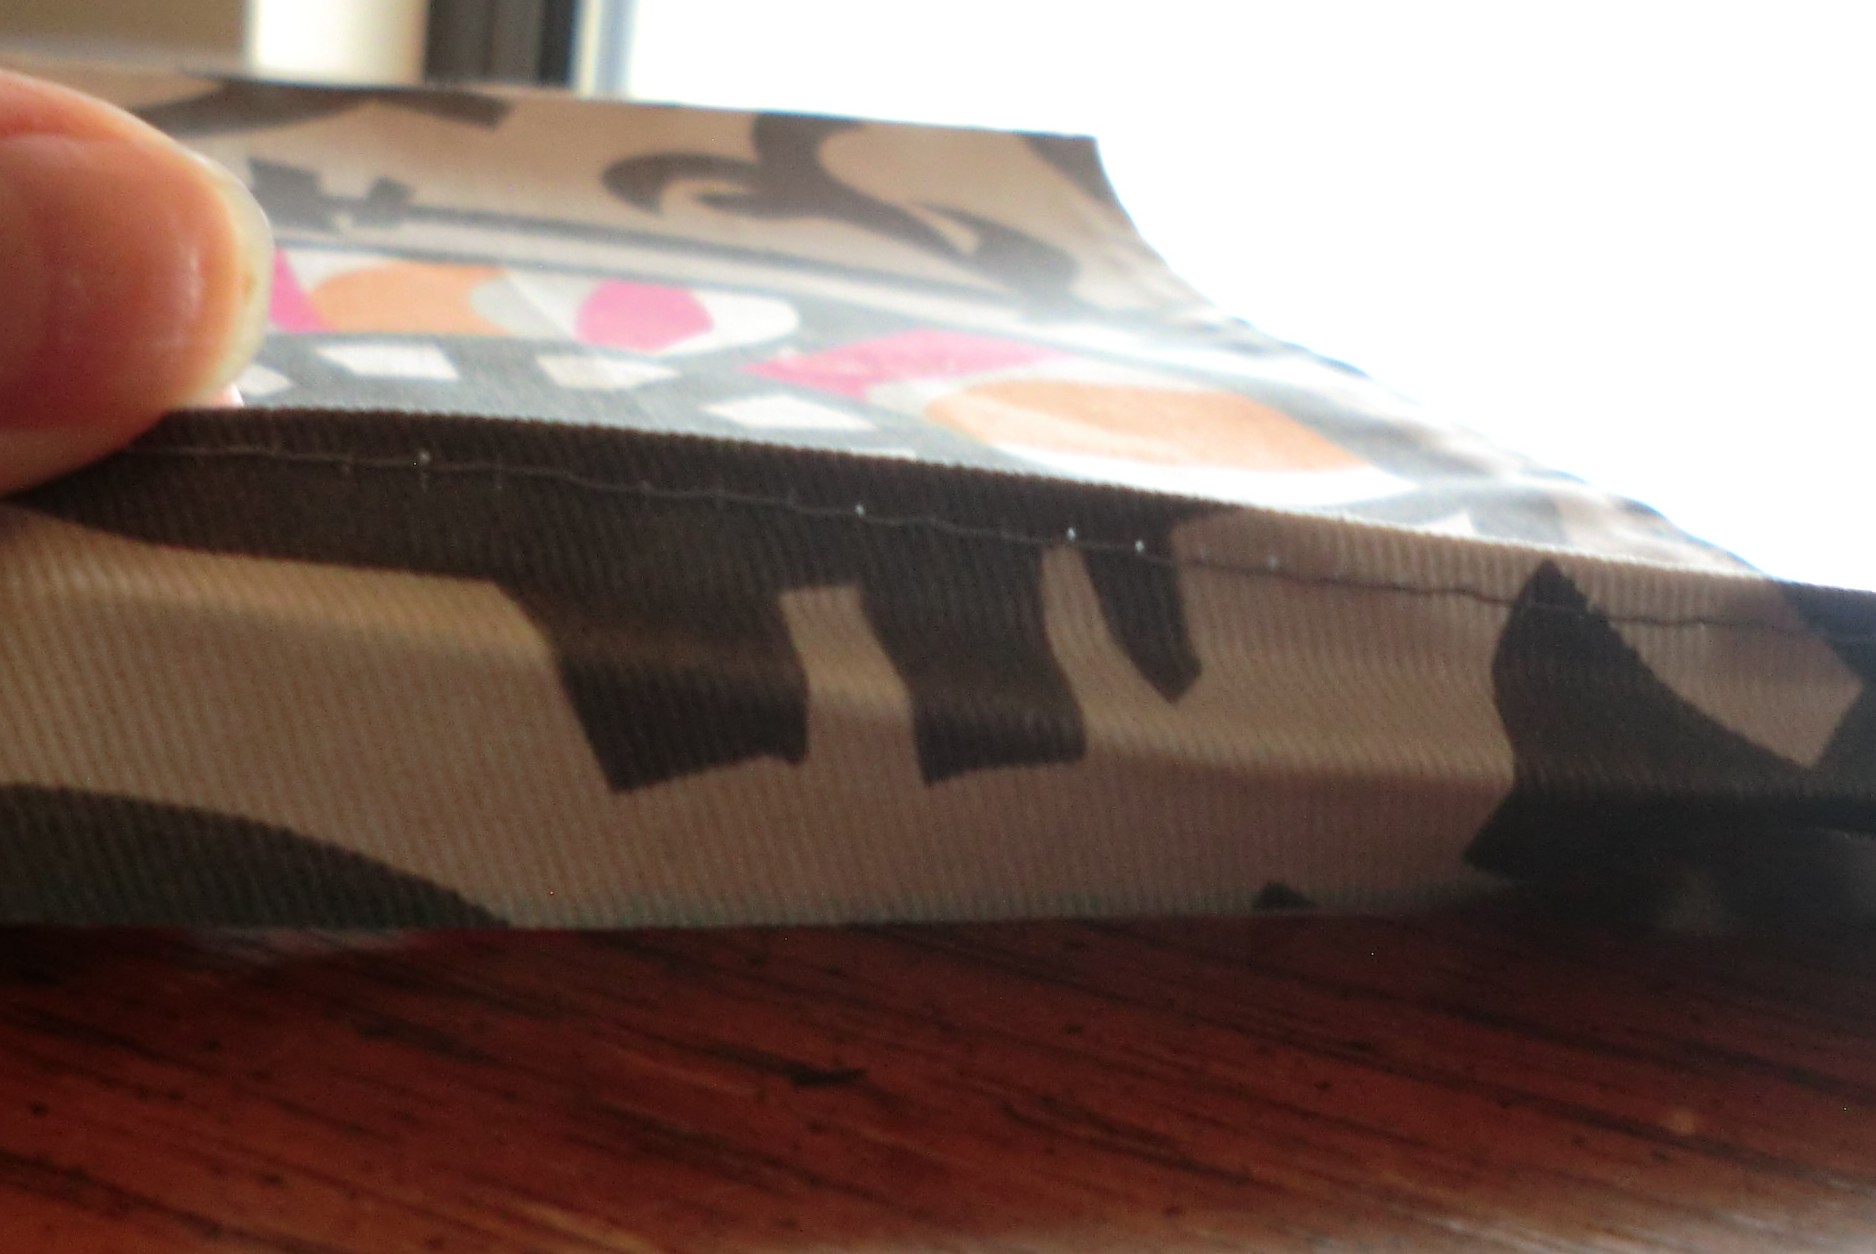
You get a little boxed bottom, like above.
Close up.
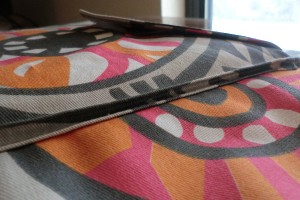
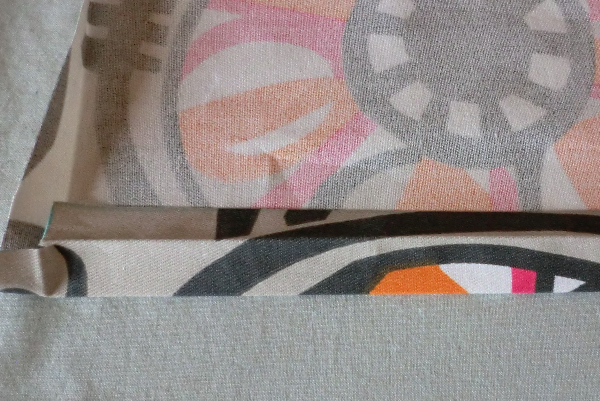
Now, bring the two creases together and press, forming a little pleat.
Another view, above.
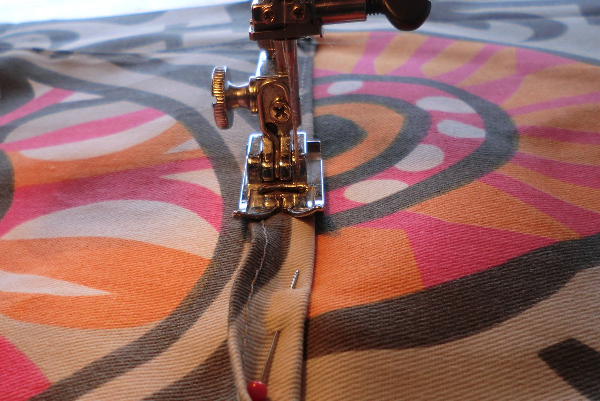
Separate the pressed edges and stitch only on the top one. You’re basically top-stitching along the upper crease. Do each side individually so that you don’t catch any folds of the fabric as you turn corners.
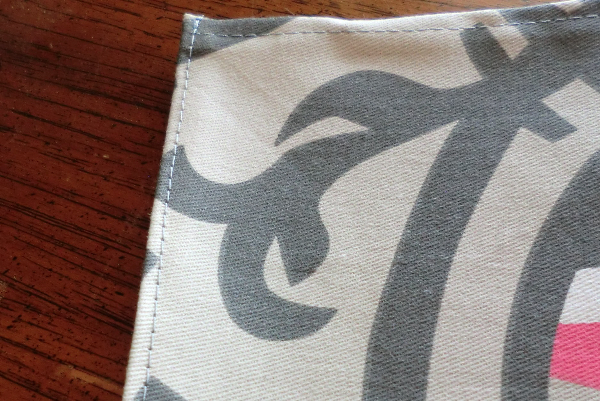
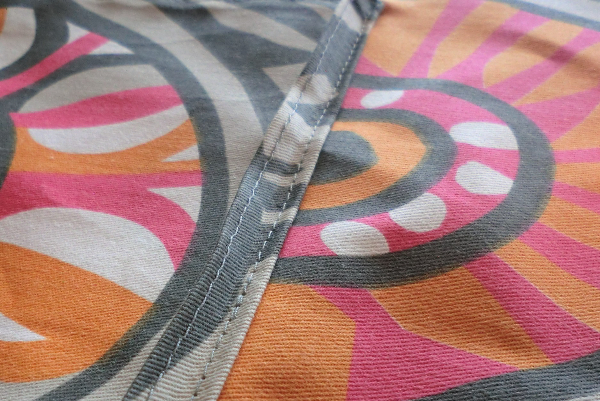
End result. The other crease is hidden underneath but is not stitched.

Pin the bottom crease to the bag.
Stitch, one side at a time.
You’ll get this, above. Now align the creases again and press your pleat back in.
Adhere the interfacing to one flap piece.
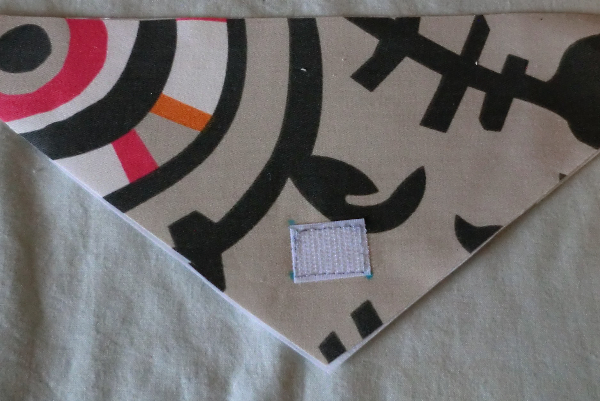
Using the designated marking, sew the other piece of Velcro onto the flap piece that will face down.
Place flap pieces right-sides together and stitch all the way around. I like to backstitch at each corner. Leave an opening through which to turn it along the long side.
Trim the seam allowances, especially near the corners. Turn right-side out and gently poke out the corners. Sometimes it helps to carefully tease them out with the end of a pin. Press the flap, turning in the seam allowances of the opening.
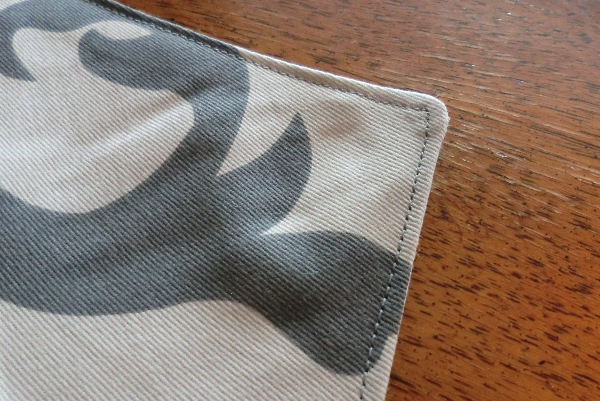
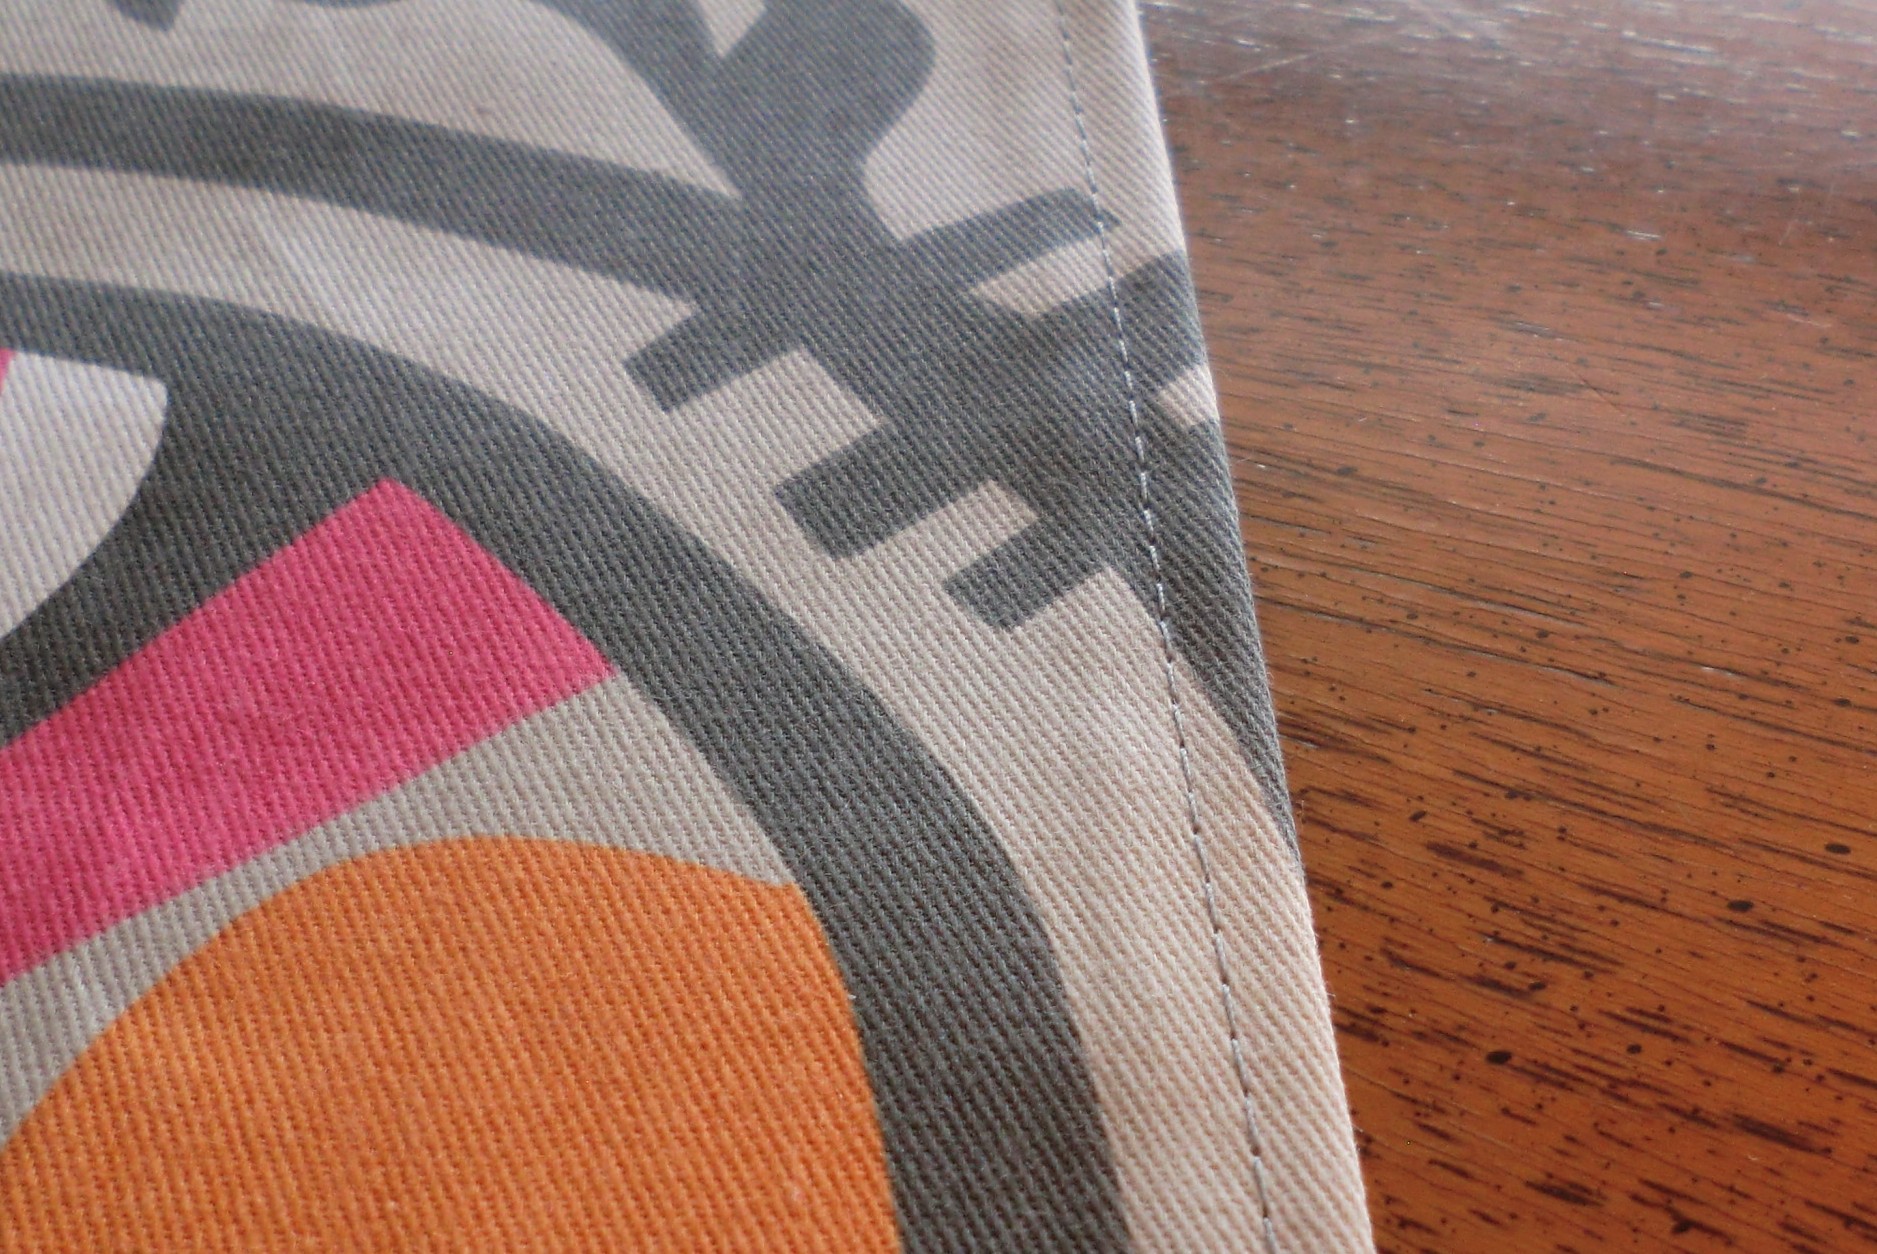
Top stitch along the shorter edges of the flap.
Stitch along the long edge to secure it above the pocket.
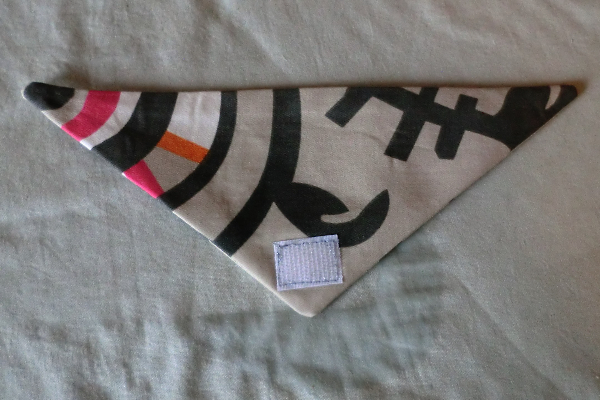
Press it over.
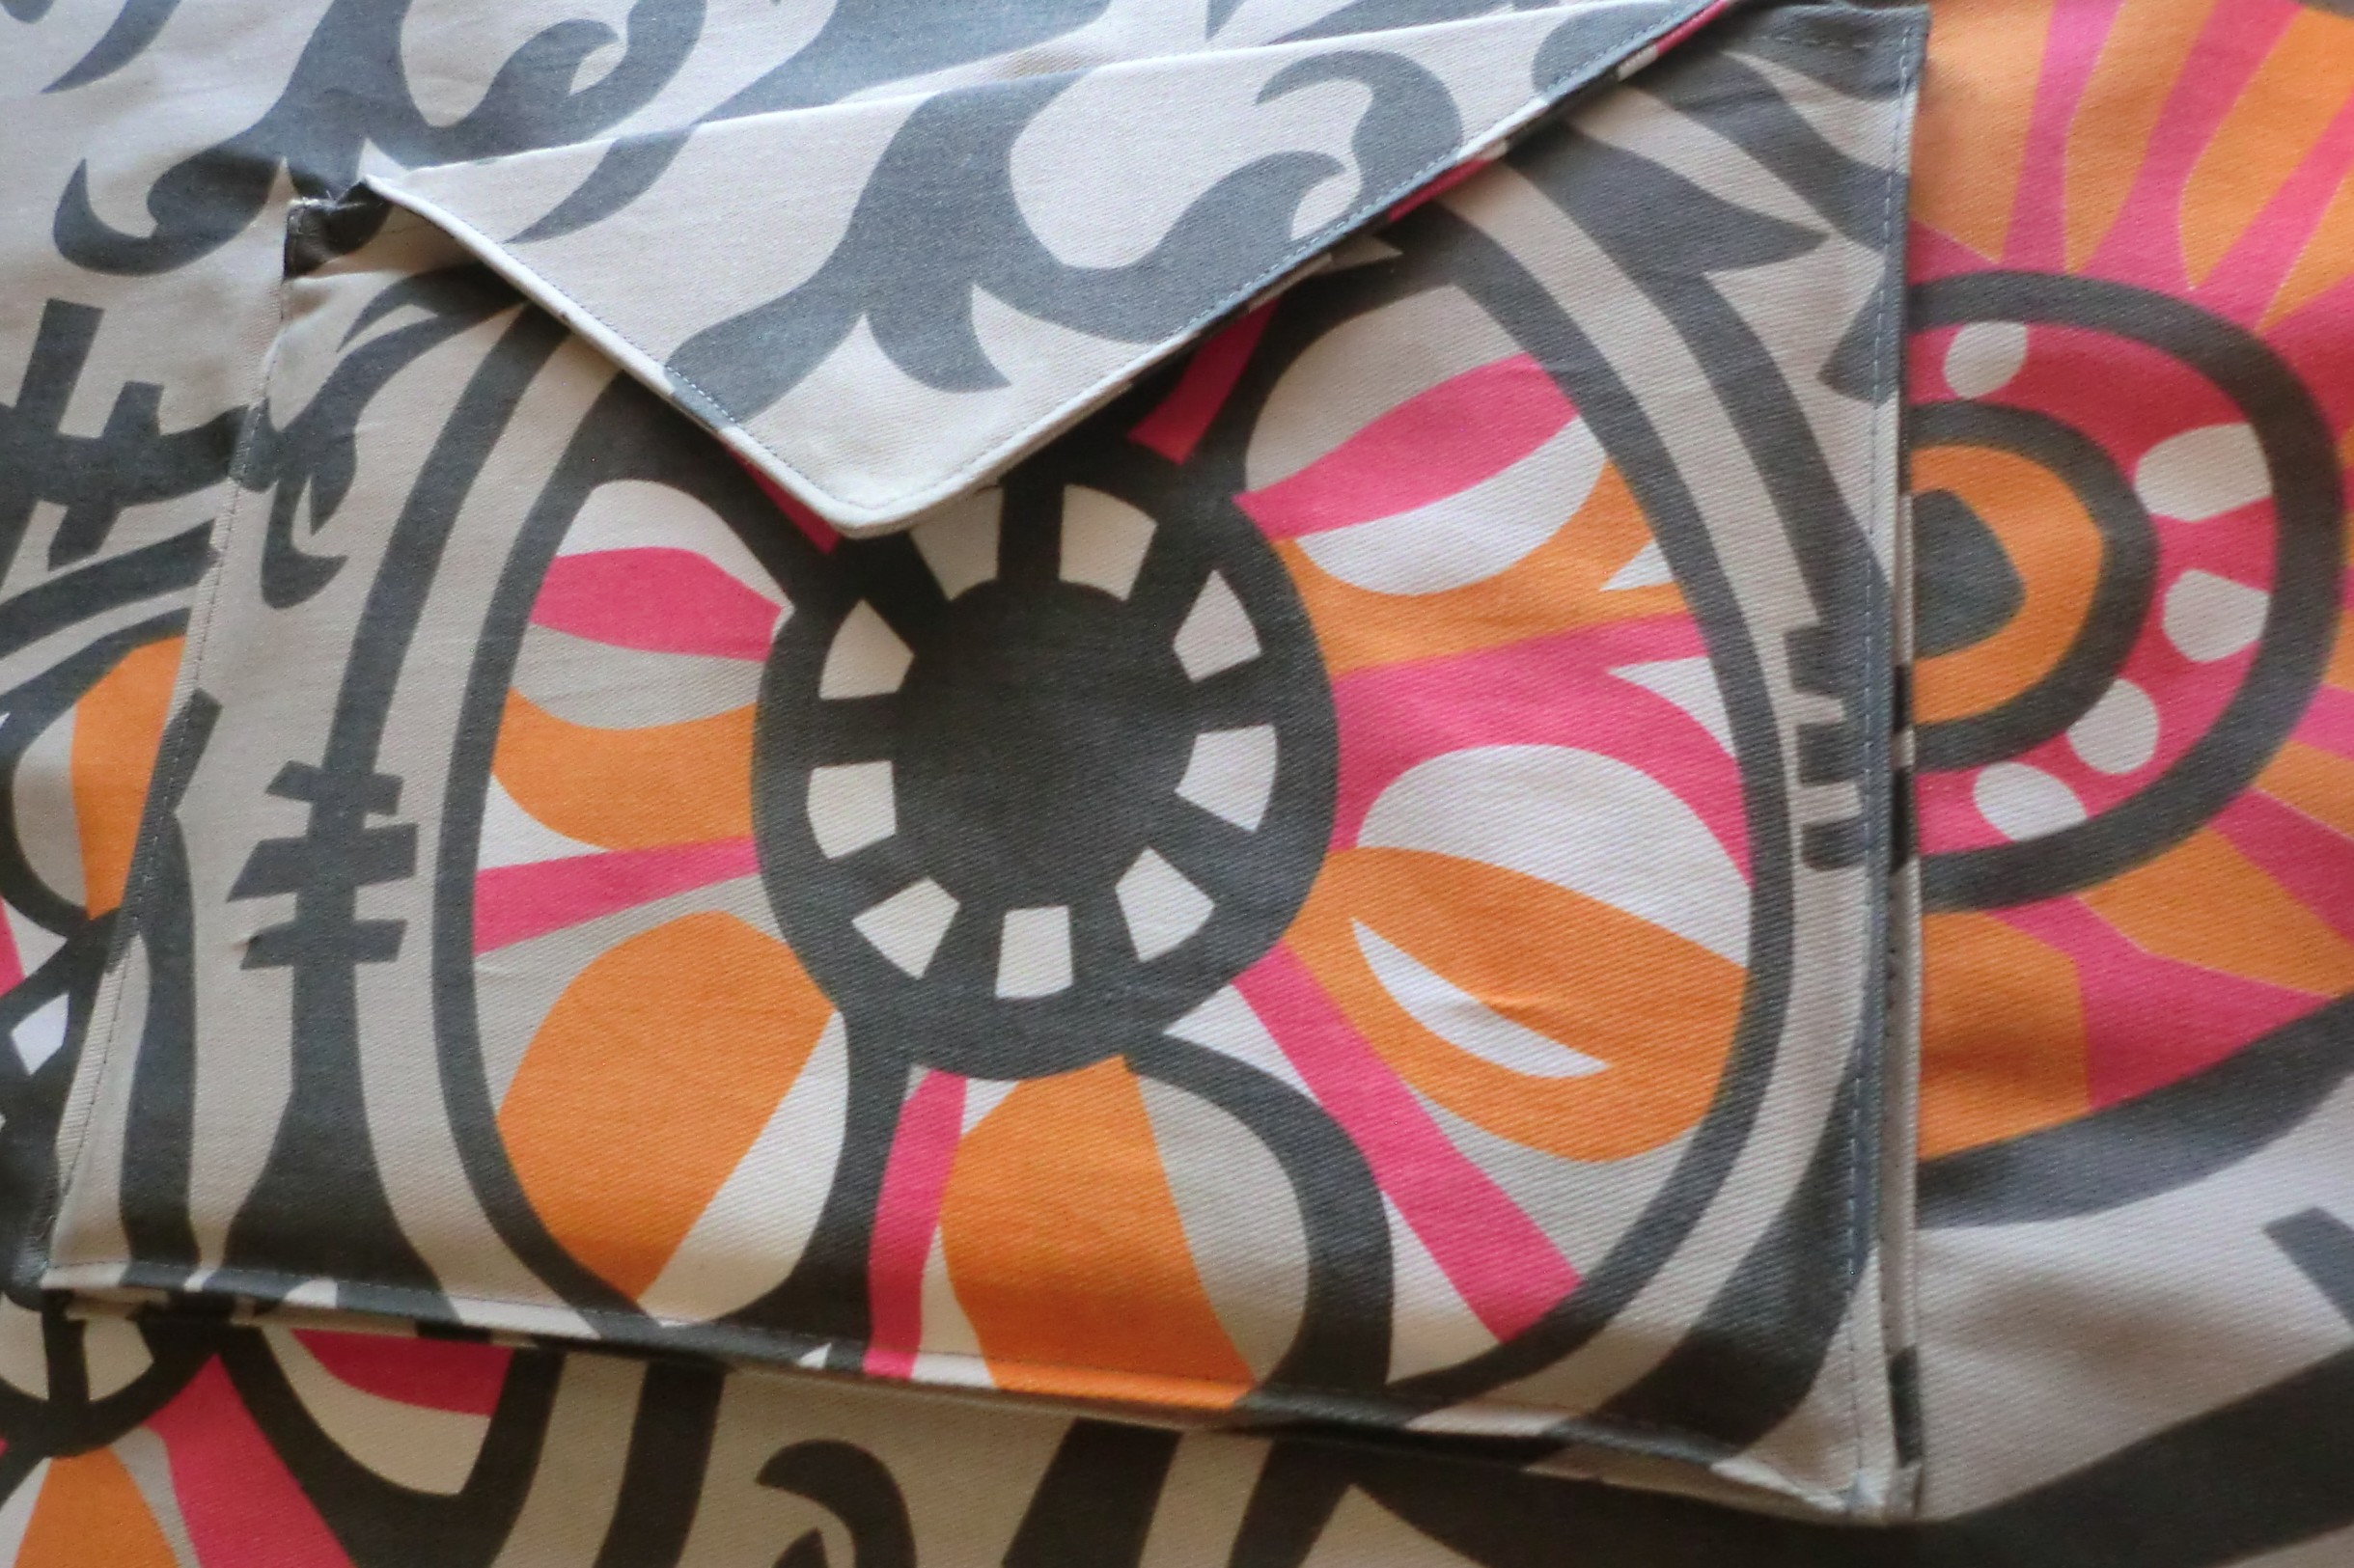
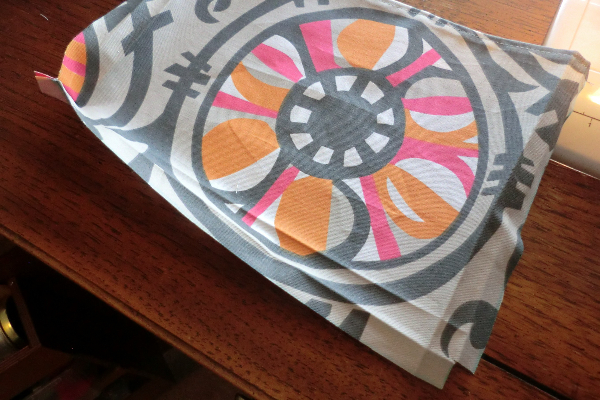
Other views