
Of all the projects we post to our Pinterest, this particular one has gotten a whole lot of attention. So, in response, I’d like to first thank Robin Vines Smith for the original publication, and offer an update based on a similar project. Like Robin said, most people think adding a pocket to a garment, retail or otherwise is simply not possible or too difficult. Fact is, adding pockets to a garment isn’t all that difficult. To be truthful, it’s easier when your garment has a side seam. But you can do this with a little tweeking even to a…

During this blog, I will demonstrate how to make this lovely Christmas apron!

During this blog, I will demonstrate how to match seams when your draperies need to be more than one panel width wide.

Honestly, I had a hard time titling this post. It was sort of hard to describe what I was talking about in a few words. Let me try in more detail: You know when you make a lined bag and you leave a hole in the lining through which to turn the bag right-side out at the end? And then you need to turn the seam allowances of the hole in and press it and sew it shut? Well, this is a nifty, simple little trick that automatically turns the seam allowances in for you for easy sewing.

A welt seam resembles a flat-felled seam but is less bulky. Rather than folding over and pressing the “top” seam allowance, it is simply finished with a serger, zigzag stitch or pinking shears and then stitched down. It provides a nice look on the inside of garments, especially on fabric like this that shreds madly. (This view is from the wrong side.)
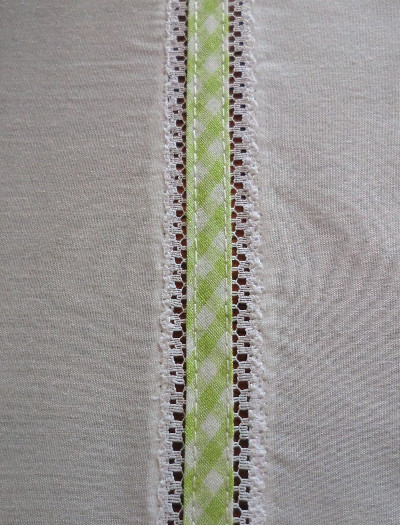
Isn’t this sewing technique pretty? You can take a regular piece of fabric and a piece of lace and turn it into this. You’ll need lace that’s the same on both sides (not straight on one edge and scalloped on the other). It’s best if the lace is actually straight on the edges, but the lace shown here has a tiny scallop and worked OK. This lace is so cute. I got it at an estate sale. I felt sort of bad rifling through an old woman’s things — precious things she’d saved for years. I bought some lace but…
Sometimes you’ll have a seam where one piece is slightly longer than the one you are attaching it to. This requires you to ease in the seam. You do this by placing long gathering stitches along the area you need to “shrink.” Then you very carefully gather and distribute the ease until the two sides match up. I’ll show you.

A turned and bound seam finish is a quick and easy way to finish seam allowances and make the inside of your projects nearly as pretty as the outside. In the past, we’ve talked about self-bound seams, slot seams, Hong Kong seams, bound seams 1, bound seams 2, flat-felled seams, and French seams.
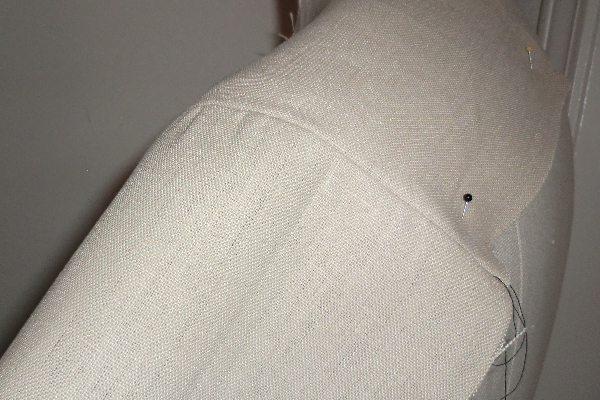
Here’s a simple little post about working with knits. Knits are stretchy. In many ways, that’s a good thing for certain uses. And many sewing machines have stretch stitch functions that provide a little more give in the seams. But where do you NOT want give? Places like shoulder seams or V-necks are a couple of examples. Have you ever hung a knit garment only to find the shoulder stretching out when you go to wear it? When sewing, stabilize these seams for a quick, easy solution to stretching.

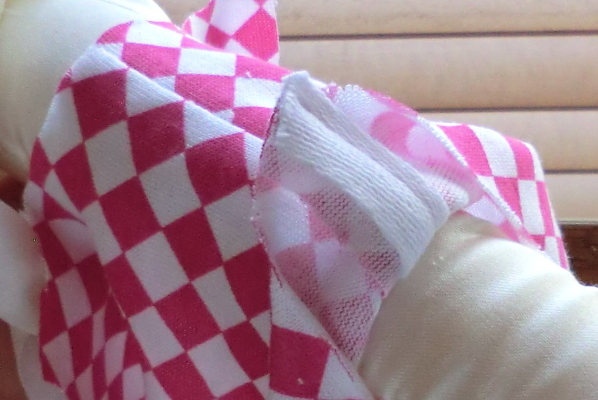
The self-bound seam has a similar effect to a French seam. It’s a great technique on sheer fabrics where you can see the underside of the seam.

