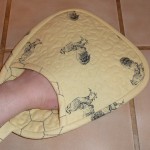
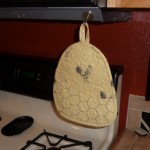
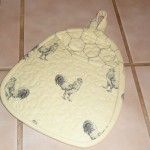
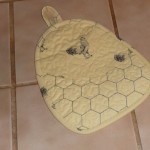
Chicken or the egg quilted potholder tutorial
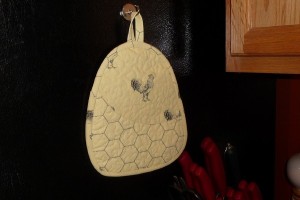
| You can make your own oven mitts and potholders for practically nothing. And why do we love sewing, people? Because we can choose our own fun fabrics, that’s why. We aren’t limited to the options at Target. We are limited only by our imaginations! Who knew handling hot pots could be so inspiring and exciting? Let’s go try it out. |
Supplies
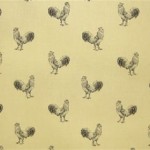
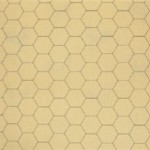
(Click fabrics for direct links for purchase at Warehouse Fabrics Inc.)
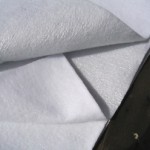
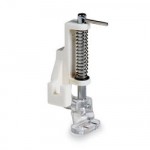
| I used less than a quarter of a yard of each fabric. Use a heat-resistant batting like Insul-Bright. It’s sort of got silver specs in it and makes a crinkly sound. This batting will provide extra protection from heat, and if you want to be extra careful, use a double layer (I highly recommend two layers. I have made a few, including this one, with one, and I think it would be better with two). The darning foot is used for free-motion quilting, but if you prefer to quilt in straight lines, you can use a walking foot. If you don’t have either of these, don’t worry — we’ll make do with something you’ve got. | ||||
The pattern pieces
Click below for printable PDF files of the pattern pieces. Be sure to print at true size.
Oven mitt pattern piece 1a
Oven mitt pattern piece 2a
Oven mitt pattern piece 3
The process
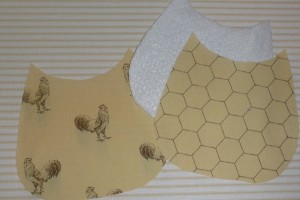
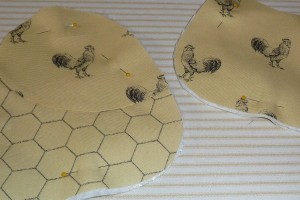
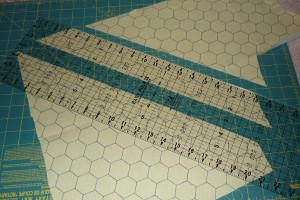
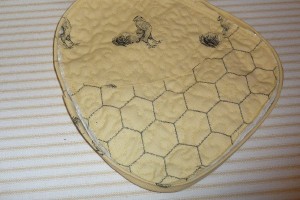
| You’ll need two pieces of the “oven mitt top” plus 1 layer of the heat-resistant batting cut from the same piece. |
|
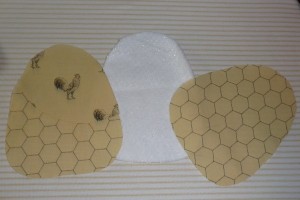
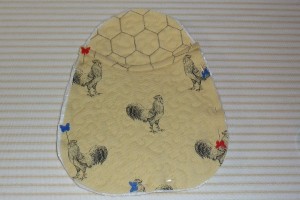
| You’ll need one fabric piece of the “oven mitt base” and one each of the “oven mitt back top” and the “oven mitt back bottom.” Cut two pieces of the heat resistant batting out of the “oven mitt base” pattern piece. |
|
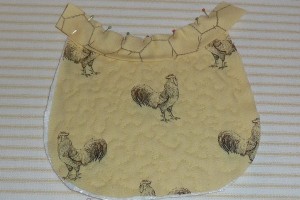
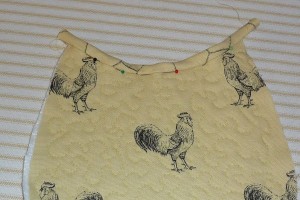
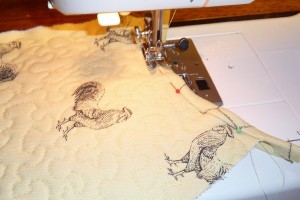
| You’ll start by sewing the bottom of the mitt together. These curved pieces can seem tricky, but it’s not hard. If you’re not sure how to line up these pieces nicely, please refer to this quick tutorial I created for this project. | |
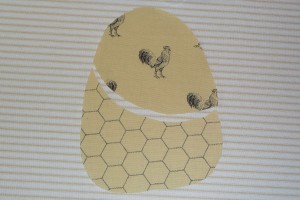
| Now make quilt sandwiches. First, place your “oven mitt base” piece face-down, topped with the insulated batting pieces, then place your “back bottom” piece face-up (that’s the piece with the curved seam and left in the photo). Now pin in a few spots to secure it. Do the same thing with the “oven mitt top” pieces. |
|
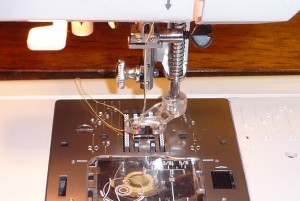
| I like free motion quilting. I will do a more in-depth tutorial on this eventually. Basically, you need a darning foot. You have to lower the feed dogs on the machine so that you are completely in control of moving the fabric.
(If you don’t want to do it this way, you can quilt any old way you want. You can draw lines with a fabric marker and quilt in a grid if you like. A walking foot is best for this, but if you don’t have one, just use a regular presser foot.) |
|
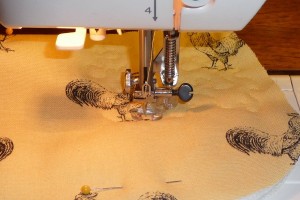
| Make a few stitches in place at first (the fabric won’t move unless you move it because the feed dogs are dropped). Then just push the pedal and start moving your fabric so that your sewing little squiggles.
I highly recommend that you do a test run on a quilt sandwich made from scraps and mess with the tension until it looks right from both sides. I find that pressing the pedal so the machine is sewing fast and then moving at a steady but moderate pace produces good results on my machine. |
|
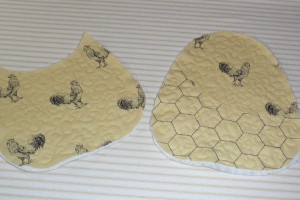
| Both sides quilted. |
|
| Now it’s time for the binding. You’ll want bias-strip binding for this because of the curved edges. Cut strips of 2.25″ wide binding from the scraps of fabric. I pieced together alternate strips from both fabrics and ended up with about 62″, which had plenty left over. If you need more detailed instruction on cutting bias strips, please see this post. |
|
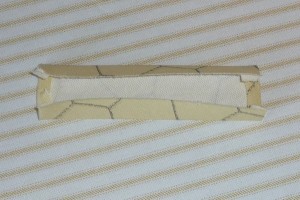
| As shown in the above link, your strips should be folded in half and pressed. Cut a piece to go along the curved top of the “oven mitt top,” leaving a little extra on each side to trim after sewing. The raw edges of the bias strip and the oven mitt top are lined up. The folded edge of the strip is pointing down. Sew a quarter-inch seam along the top. Press away from this side. |
|
| Turn the binding to the other side so that the folded edge of the strip is just past the seam you just sewed. You’ll pin from the front along that very seam, but check the back to be sure that you caught the folded edge of the strip in the pins, and that it’s consistently even. | |
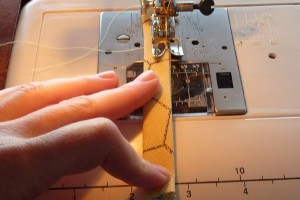
| We’re going to take the easy way out of finishing the binding, which is to machine sew by stitching in the ditch. The alternative is to hand stitch, which I’m going to do on the other part of the binding at the end.
Here, you’ll stitch right into the seam from the front, catching the loose part of the binding that’s been folded over onto the back. It’s really hard to make this look perfect from the back side, which is why for most things I quilt, I hand stitch the back side so it’s pretty. In this case, the back of this will be the inside of the potholder and not too noticeable. Trim off any excess on the sides. |
|
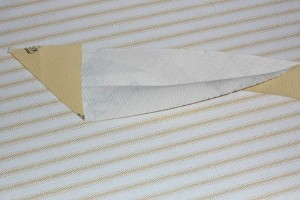
| As for the rest of the binding, your strips should be pressed in half longwise, and at one end, you’ll fold over a corner like this and press. Then trim the triangle off, just leaving a quarter or half-inch or so. Fold the strip in half all the way to the end. | |
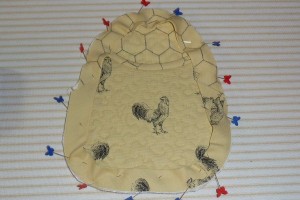
| Pin all of your layers together, with the “oven mitt back bottom” (with the fancy curved seam) facing down, the solid “oven mitt base” facing up, then the “oven mitt top” on top. You can turn this piece either way, depending on how you want the fabrics to show.
Pin around the edge and baste the layers together. |
|
| You know that funny corner I had you do on the binding above? Now start with that piece. I put it on the right side of my potholder. Start pinning the binding around the edge of the potholder, raw edges together. When you get all the way around, measure a few extra inches of overlap and cut. Now unpin the first few inches where the funny corner is and insert the end of the binding inside of that corner. This eliminates any raw edges. I’ll show an even niftier way of doing this in my future binding tutorial.
Now sew all the way around at a 1/4″ seam allowance. |
|
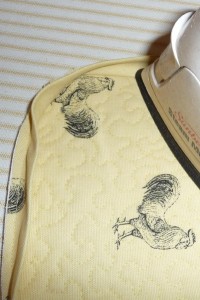
| Press the binding away from the side you just sewed it to. | |
| Then flip it around to the back. Here is where the hand sewing comes in. You can try the stitch-in-the-ditch method if you want, but I chose to slip-stitch all the way around by hand. | |
| Last part — make the loop to hang it by. I took about 4.5″ of extra binding and pressed a little bit of each end inward. There is actually a crease in the center, longwise. I then pressed each raw edge to the center, then folded the whole thing on the center crease and pressed, encasing all raw edges. | |
| Sew the open edge very close to the edge. | |
| Sew the loop to the top of the potholder by hand. |

