Create a Custom-Made Shower Curtain!
Here are step by step instructions for creating that shower curtain you have always wanted but could not find one that screamed that is what I want.
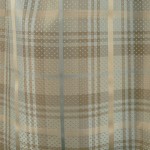
First find a fabric like I did by shopping online at www.warehousefabricsinc.com.
I chose Deluxe Silk Spa. Yes, I can hear you now saying is she crazy for using a silk in the bathroom. The answer would be yes, if it was a bathroom that the shower is actually used. I just wanted to add a pop of color to a small bathroom with a tub.
Supplies
Items you will need include:
Five yards plus repeat of fabric. In the case 5 yards was enough. (Click here to view this fabric, Deluxe Silk Spa.)
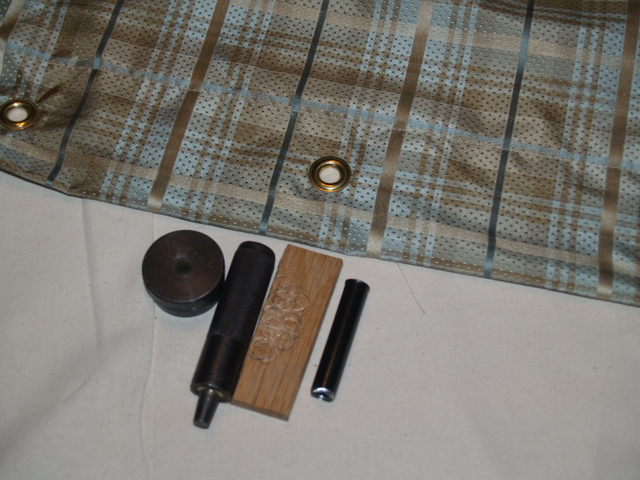
Grommet set with at least 12 grommets.
Thread
Instructions
Next step in creating your shower curtain is deciding the width and length that you will need. My dimensions were 60″ x 76″. I chose to add some fullness to my width because I wanted to end up with a curtain that measured 74″ wide.
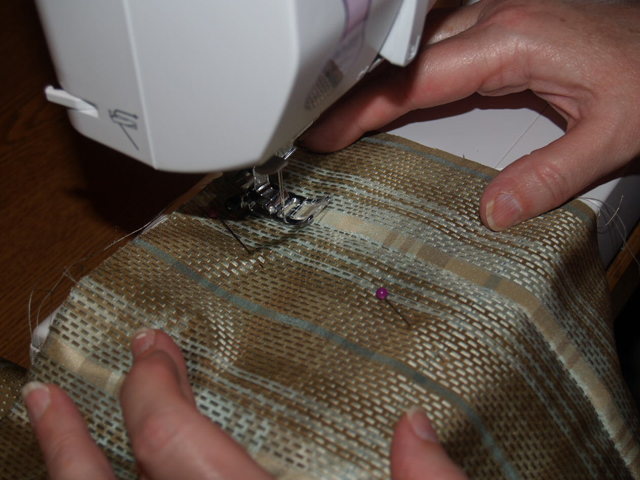
Cut your first panel allowing 12 extra inches in length to allow for your header and hem. In my case I cut my first panel 88″ long. Then match up your print so the next cut will be identical to your first cut. Deluxe Silk Spa has a 4.5″ repeat so I had to allow for that when I matched up my print. So now, I have two cuts of fabric lined up that measures 88″ long. Below is a photo of these two cuts of fabric being sewn right sides together.
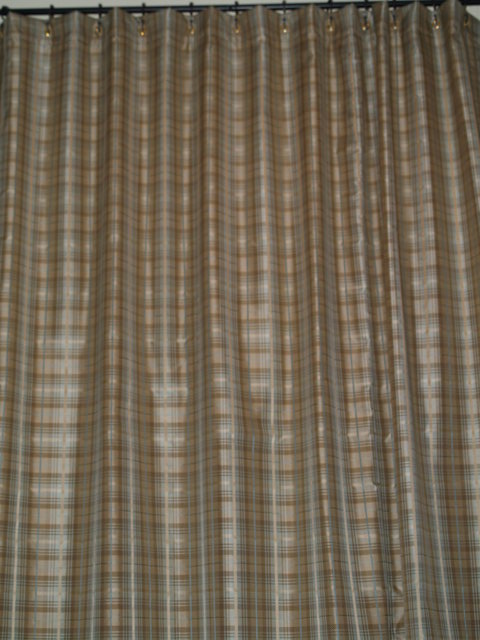
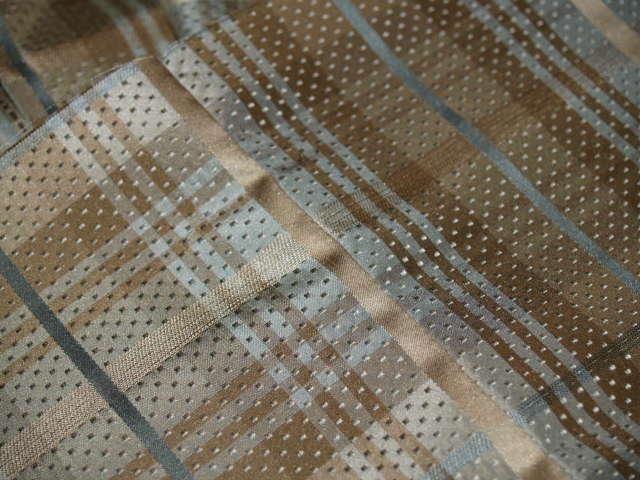 This photo shows the two sides stitched together. If you have aligned your fabric correctly as in this photo you will not see where the two were sewn together.
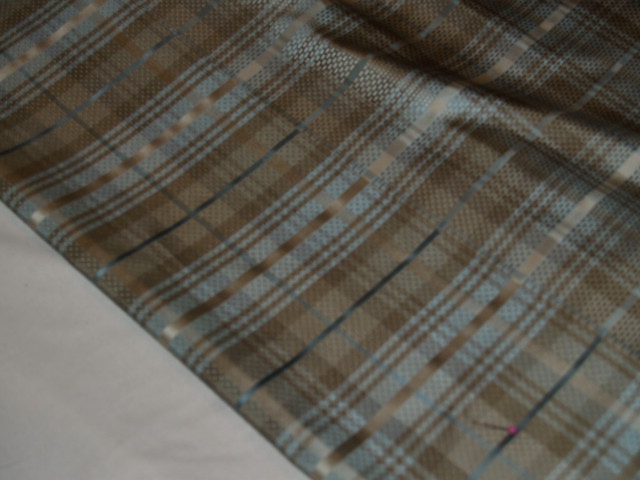
Next step is to cut the width of your fabric. Since I want my curtain to measure 74″ wide when finished, I cut it 80″.
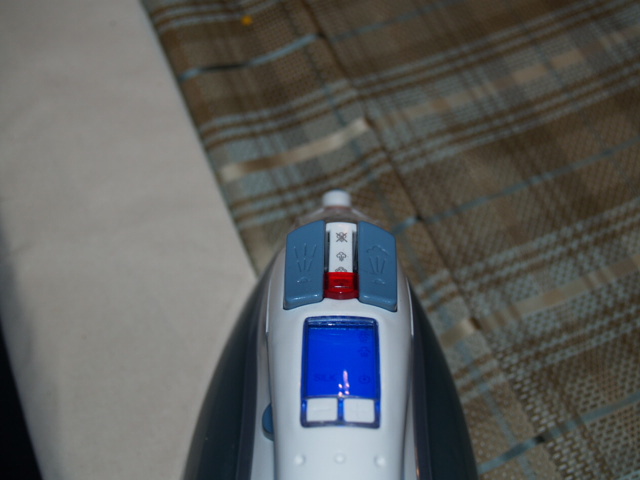
Then, it is time to hem your shower curtain. I begin by measuring up 6 inches on wrong side of fabric then pressing in place. Next, fold the top edge of the fabric just pressed in to create a folded 3 inch hem. Press once again, pin in place then stitch.
Then you will need to hem the sides of the shower curtain. The process is the same for the sides as for the hem with the exception of seam allowance. The side hems will need to be 3″ pressed then folded to the width of 1.5 inches. Repeat this on both sides.
Next you will repeat exactly on the top hem as you did for the bottom hem.
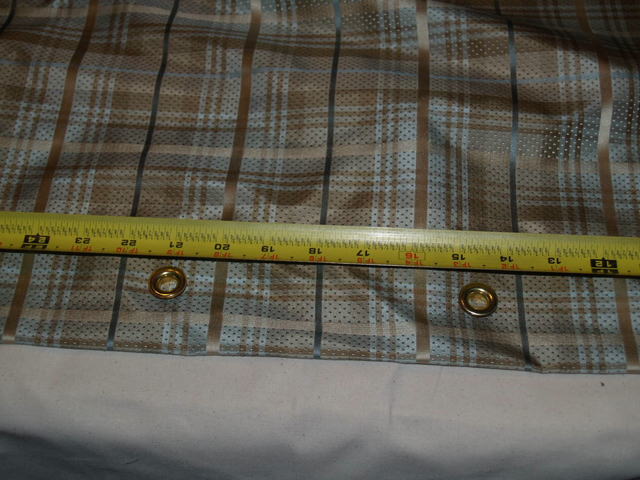
Last, but certainly not least, you will need to measure for grommet placement. The grommets on both side edges were placed 2 inches in, then each grommets were placed 6.3 inches there after. These measurements will vary according to the width you need.
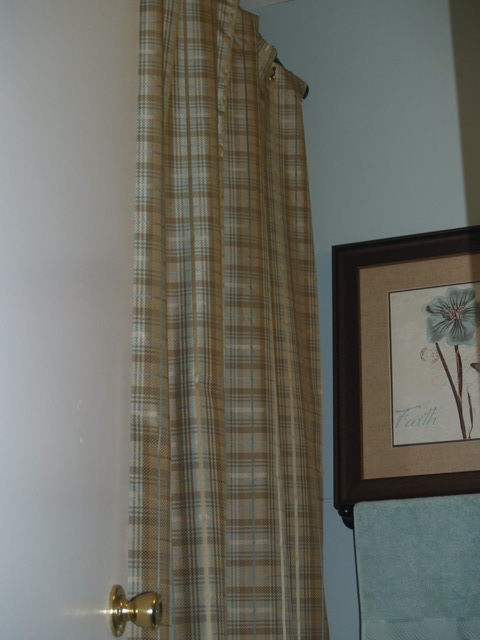
Good luck creating your custom shower curtain. I know I love mine!!!