Embellished linen towels
 Add some pizazz to your kitchen by dressing up some pretty towels. You can start from scratch with linen and cotton fabrics or buy plain towels and use pretty prints to make them fancy.
Supplies

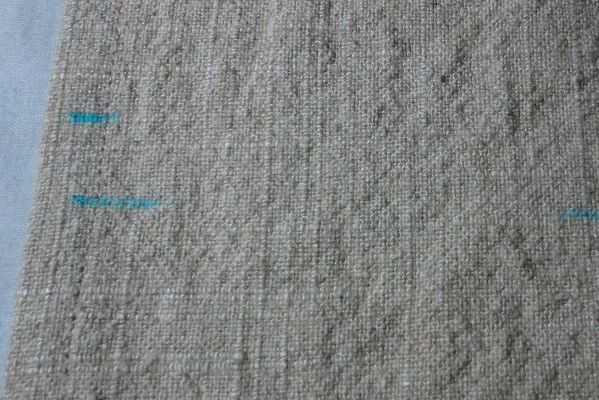
Make sure you prewash your fabrics! They will shrink at different rates and you don’t want that to happen after they are sewn together.
The process
Towel version #1
Cut out your towels using a towel that you have as a guide. Hem each towel using these steps.
Fold over about 1/4″ on each long side and press.
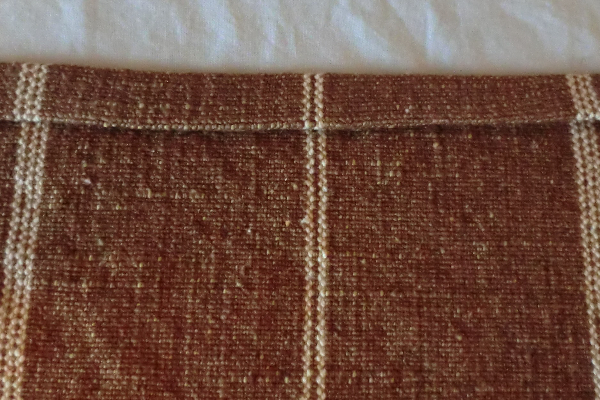
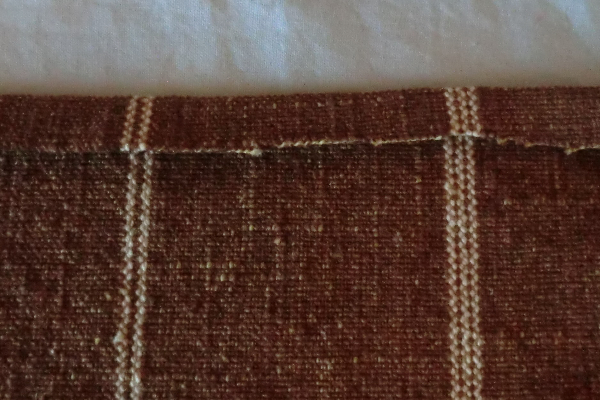
Fold over again and press. Stitch, but start and stop 1/2″ from either end.
Before doing the short sides, trim off the corner. This is possible because you started stitching 1/2″ from the end. We are doing this to reduce bulk.
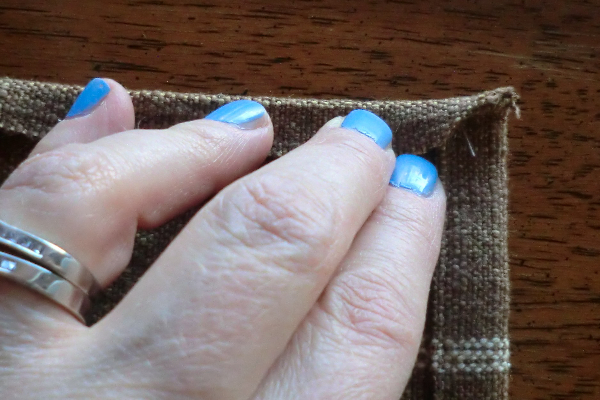
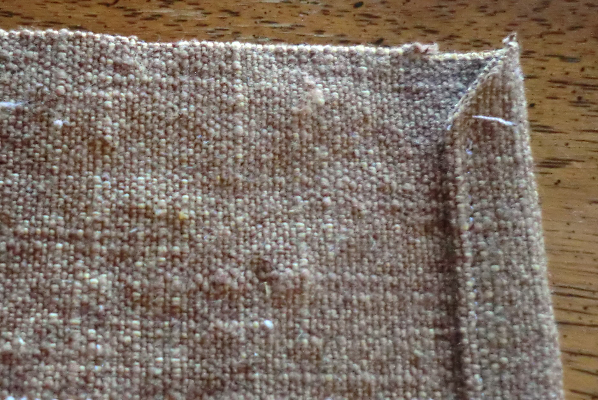
Fold over and press about 1/4″ on the short sides. At the edge, trim a bit of the corner off before turning another 1/4″ and pressing.
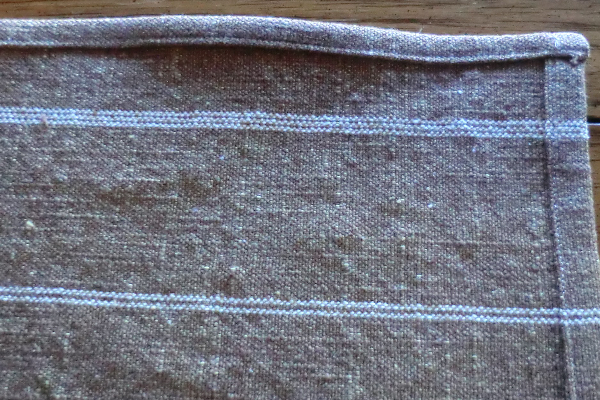
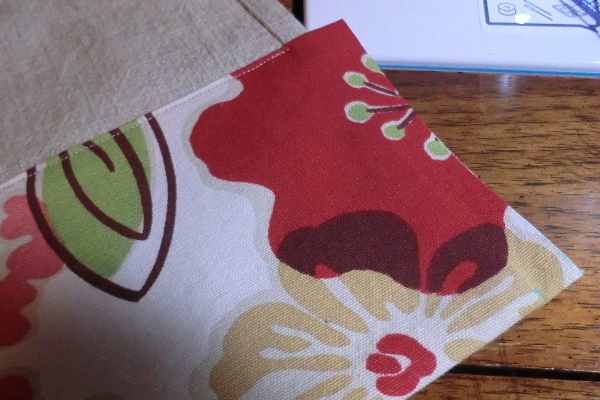
Stitch across both short ends. Do this for all towels you are making.
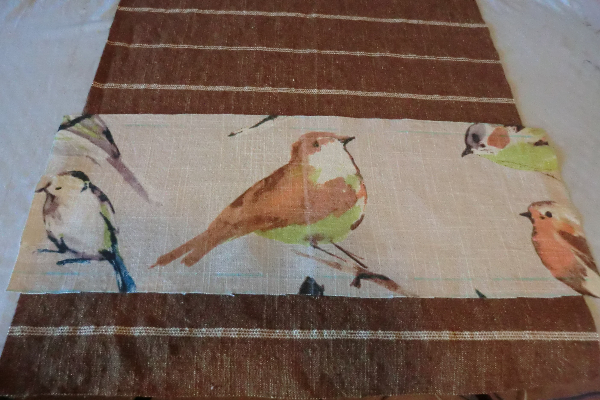
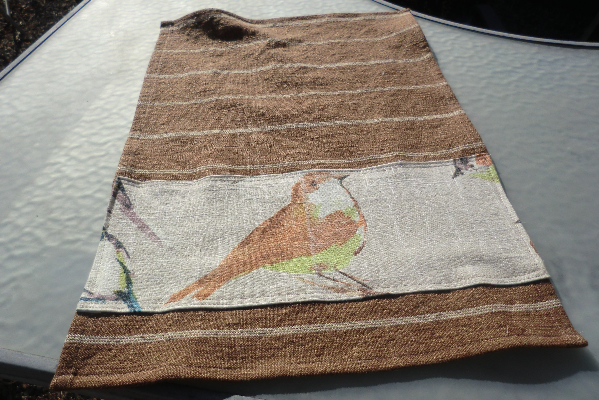
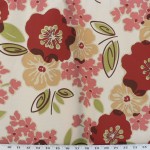
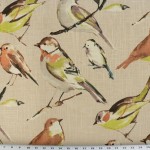
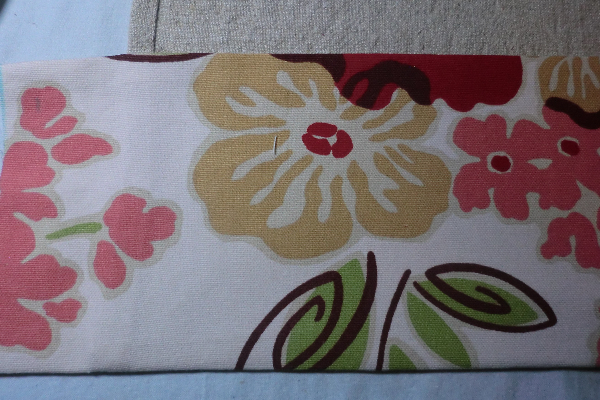
On this towel, I’m just doing a simple band across the towel. Cut out a piece of fabric however tall you’d like it, plus 1/2″ on the top and bottom edges. Leave it a bit long. In the photo above, I haven’t yet hemmed the towel. We will deal with the extra width of the bird fabric later.
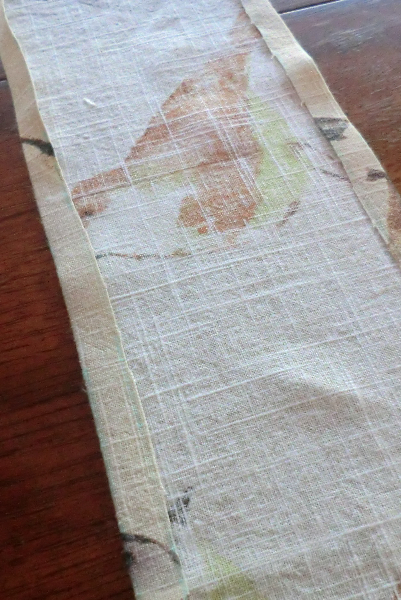
Press under 1/2″ on either long edge.
Pin in place on the towel. Then trim the excess to 1/2″.
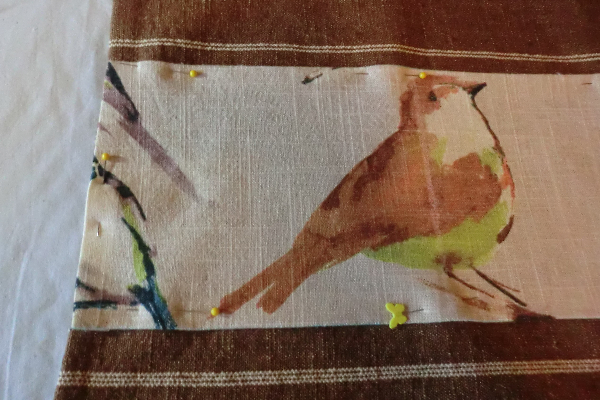
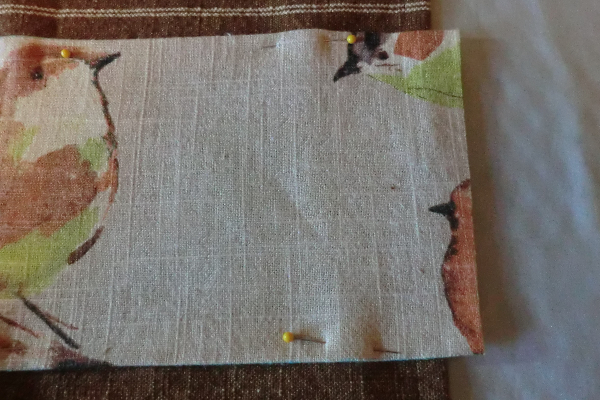
Press the short ends under and pin. (The entire bird piece is on the top of the towel and none of it wraps around.)
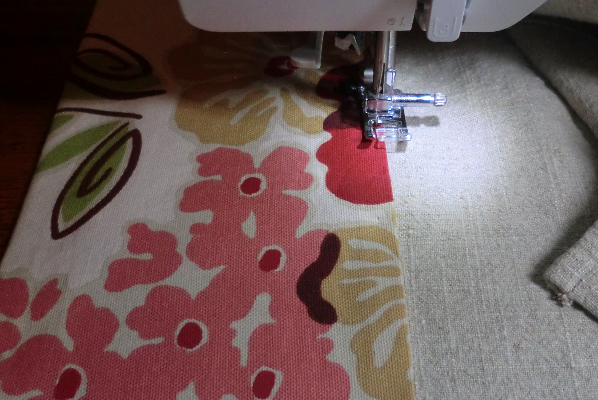
Stitch all the way around. I did two rows because I liked how it looked.
Towel version #2
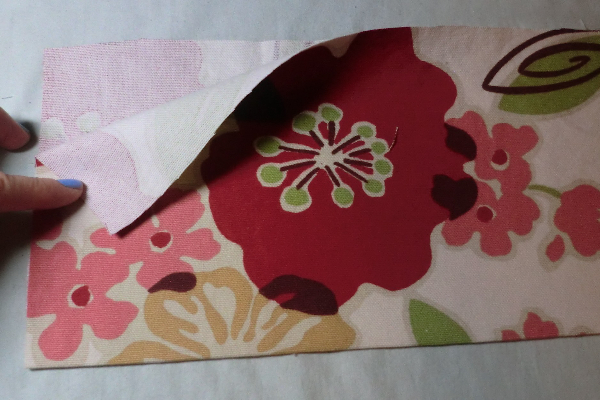
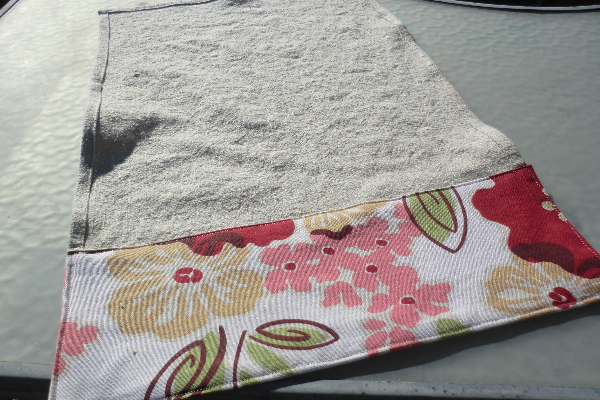
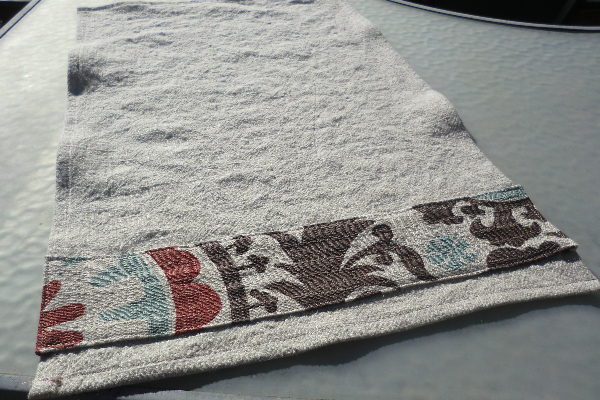
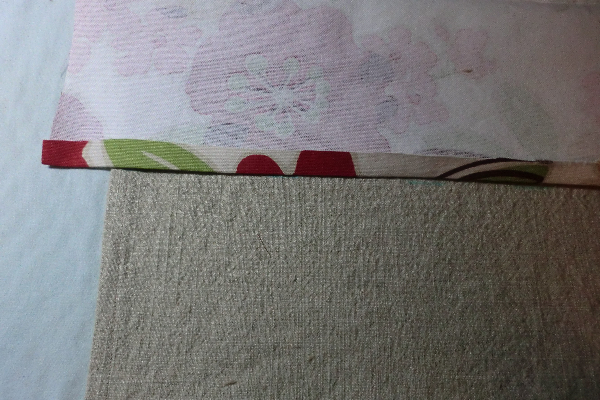
This version will have the printed fabric wrap around the bottom part of the towel. Cut a large piece of fabric twice as tall as you want it and press it in half. It should be a few inches wider than your towel. Again, we will deal with the excess later.
Sandwich the bottom of your towel inside the folded fabric and mark the top edge of the printed fabric.
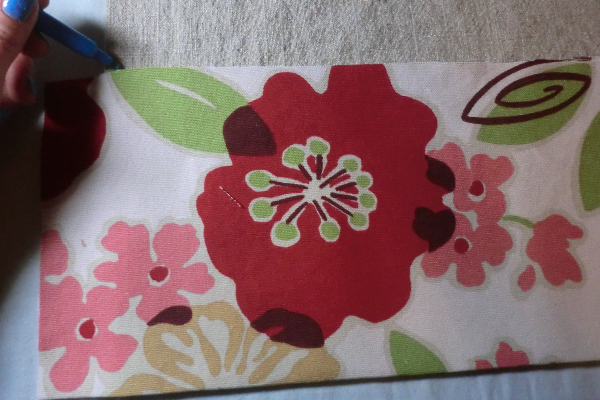
Make another mark 1/2″ below that. This will be your stitching line. Make a few marks for this line across your towel.
Fold under and press the top edge of your printed fabric. Turn that fabric upside down on the towel and line up the crease with the stitching line you drew earlier. The printed fabric is now facing toward the top of the towel. We will flip it down into place in a moment.
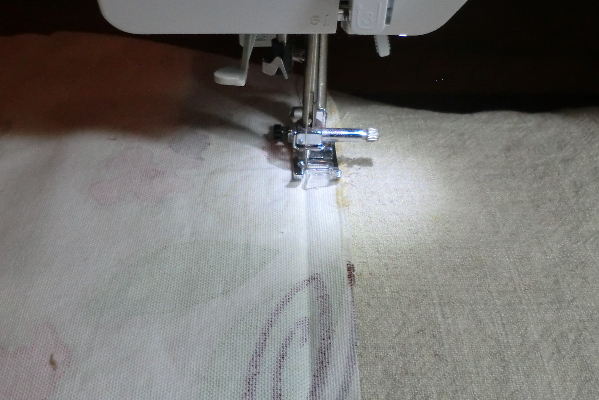
Stitch along the crease on that stitching line. Start and stop 1/2″ from the edges.

Fold the fabric back down and press well.
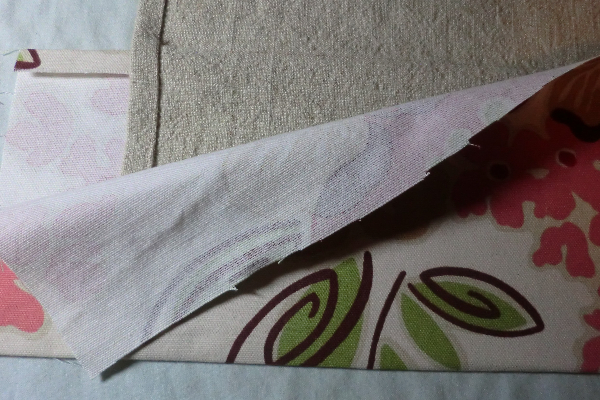
Fold it around to the back side.
Start turning under the raw edge so that the fold aligns with but slightly covers the stitching line from the other side. Press as you go.
Stitch very close to the fold (remember to start/stop 1/2″ from the edges).
Trim the overhang to 1/2″ and then fold under and press. Now pick up where the stitching left off, sew another 3/8 or so and then pivot and continue down the short side, across the bottom and repeat on the other short side.
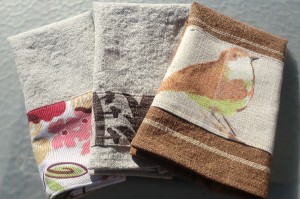
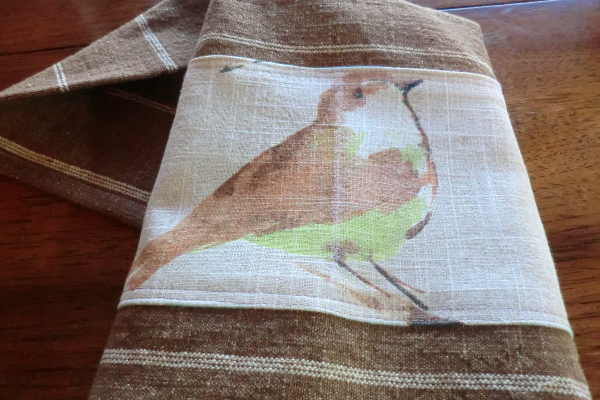
I have shown another towel style in the first photo and below, and that one is an example of the first technique, simply using a narrower piece of fabric. Use your imagination and have fun with it!
Other views