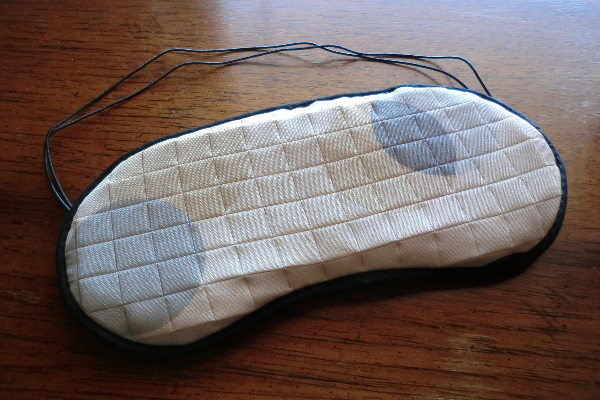
Eye mask
 This eye mask is quick and easy to make. It really is. I’m pretty sure this is the fastest thing I’ve ever whipped up in my sewing career!
I often like to think of myself as looking completely awesome and sophisticated in my eye mask, just like Holly Golightly in “Breakfast at Tiffany’s” sleeping off a night of partying. Reality is more like I share a bed with an insomniac husband who watches TV half the night. Sometimes I just can’t sleep through the flickering. That’s why I love eye masks! As a matter of fact, sometimes the gentle pressure of the mask on my eyes is very soothing.

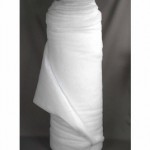
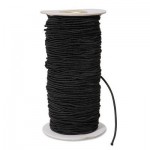
Supplies

The Pattern
Print this pattern and cut two out of fabric, two out of batting and cut two pieces of beading cord elastic 14.5″ long. Or, you can use a thin regular piece of elastic – just one – that same length. Cut a piece of piping xx” long.
The Process
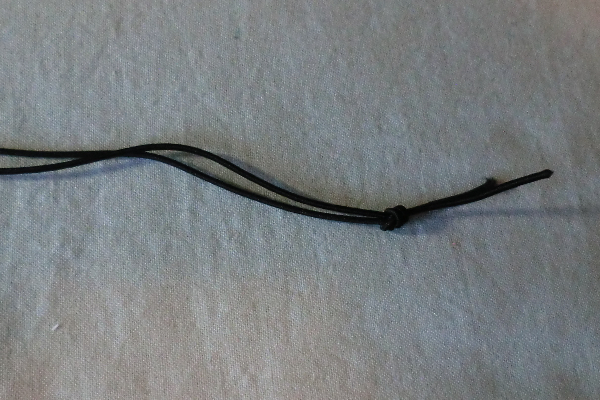
If you are using bead cord elastic, tie your two pieces in a knot at each end. If you are using a thicker piece of elastic, skip this step.

Sew your piping around one piece, joining the ends as shown in this tutorial. I prefer to use a piping foot, but if you don’t have one, just use a zipper foot. As you can see, I set the piping away from the edge just a bit so that my seam allowance wouldn’t be quite so narrow later.
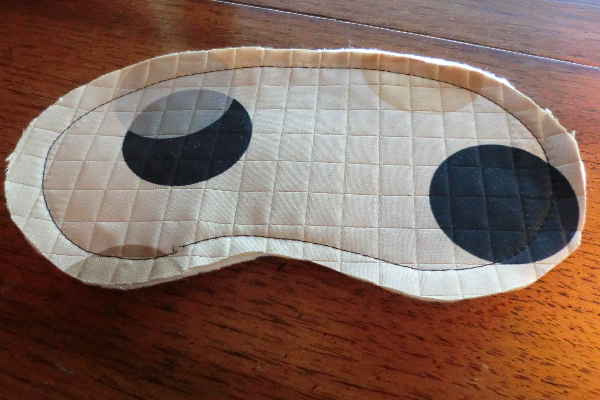
Place the other piece on top of the two layers of batting and baste around.
Use a long stitch because you might need to remove some of this after you finish your project if it shows.
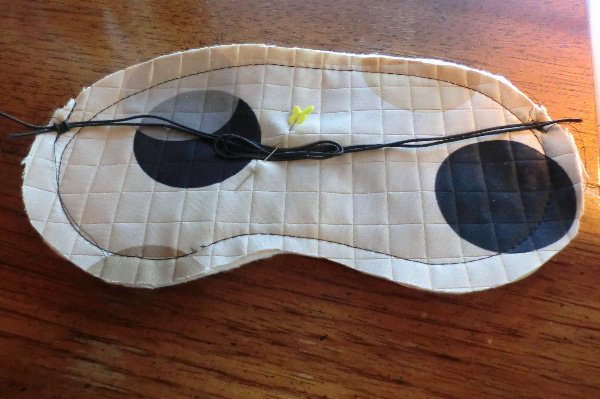
Baste your elastic on either side, closer to the top of your mask, as shown. Then bundle up the excess and pin in the center so that the elastic doesn’t get caught in the stitching when you sew the layers together.
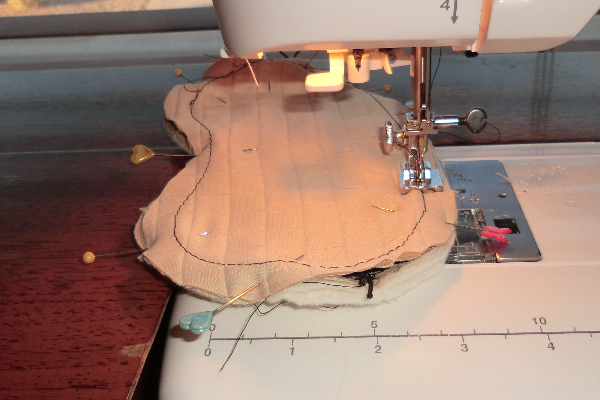
With right sides together, stitch your mask closed, but leave a hole for turning it right-side out. I continued to use my piping foot here because I can’t see the piping in this step, and it helped to follow the ridge. I was initially aiming for a 1/2″ seam allowance, but I really just stitched by following the piping, which was a bit under that. The exact seam allowance doesn’t matter in this project.
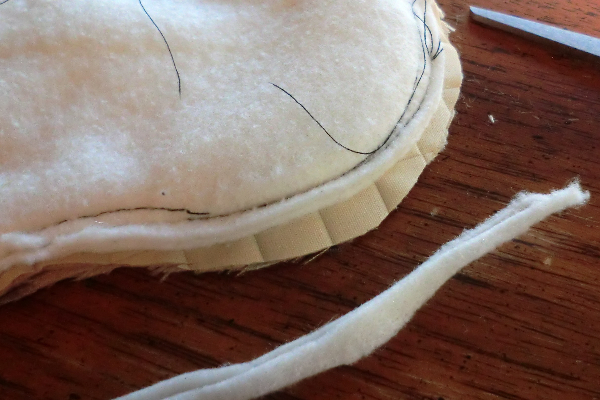
Trim off the excess batting to reduce bulk in your seam.
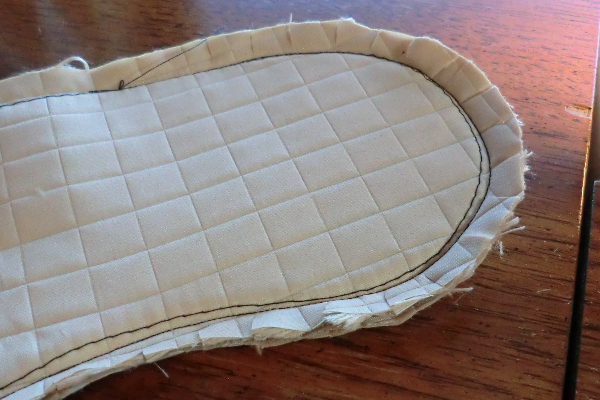
Clip your curves, being careful not to clip the stitching. This helps it lie flat when it’s turned and creates nicer edges.

Carefully reach in the hole and remove the pin that is holding your elastic so that you don’t poke yourself when turning it right-side out. Turn right side out and press.
Fold under the seam allowance of the hole, press and then stitch by hand using a slip stitch.
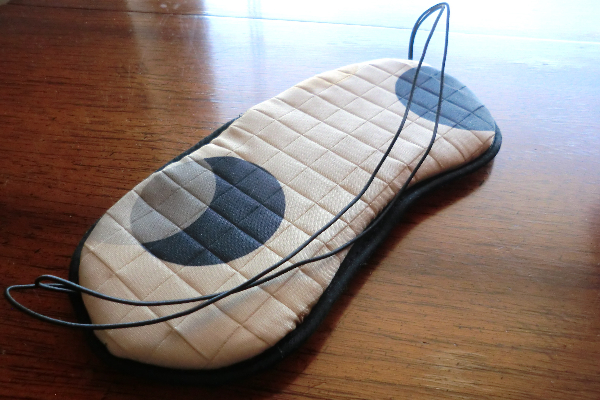
Told you that was easy and quick!
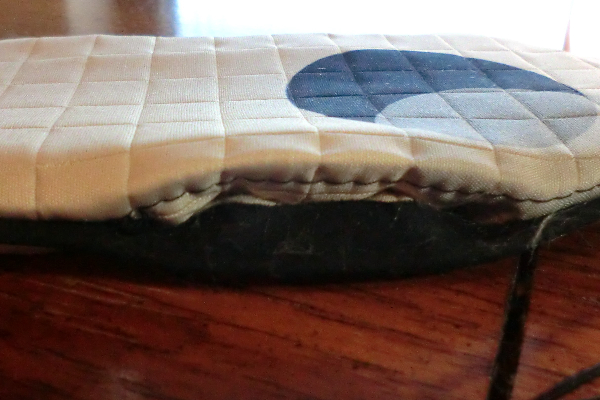
Other views