Fun with prints: reversible place mats plus napkins
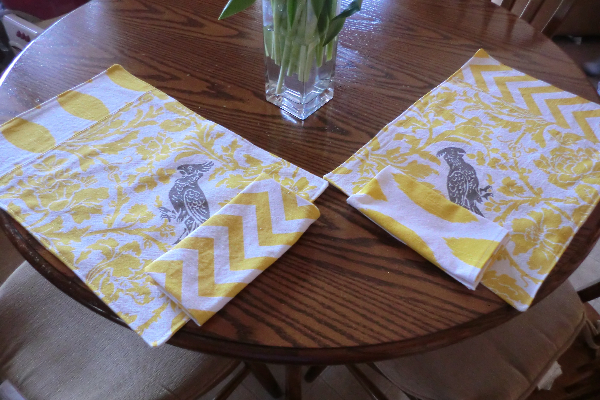
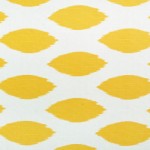
 How about some fun reversible place mats using mix and match fabrics? Our Premier Prints line is perfect for this use since the fabrics are cotton and they come in many complementary prints.
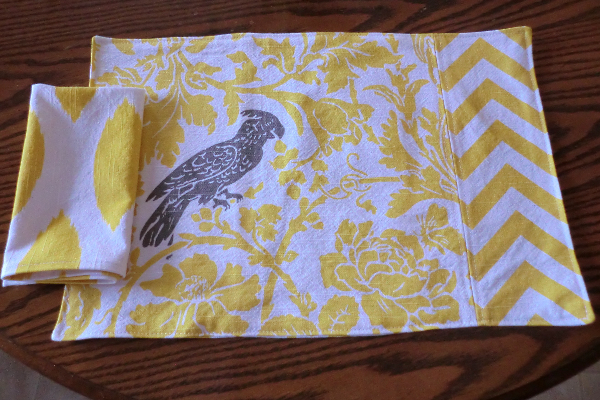
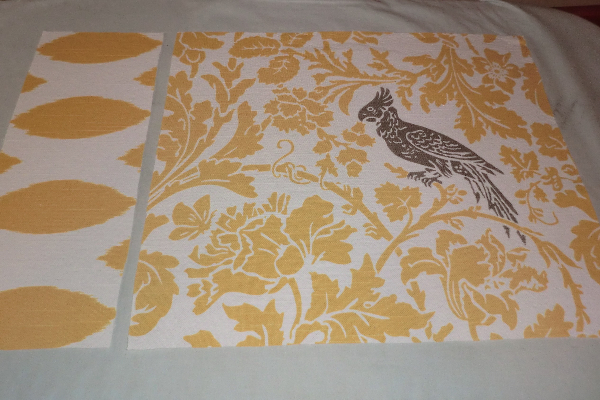
Just choose a few that you love and assemble them any old way you’d like. Use your imagination, or use the instructions I provide here. My only regret is that I didn’t incorporate more of the gray (in the birds). Maybe that would have added a bit of pizazz if used for the napkins.
Supplies

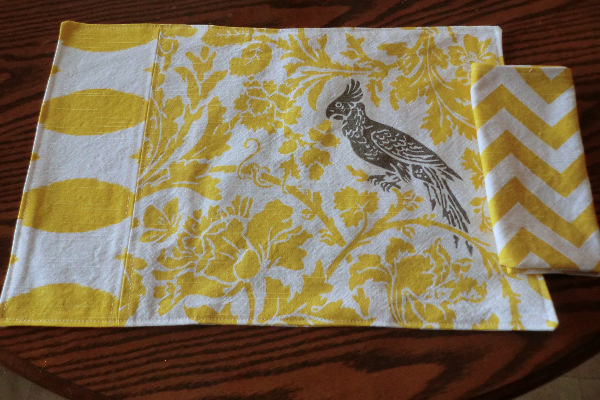
Amounts of fabric I had ranged from 1/3 of a yard to 3/4 of a yard. I used the most of the bird fabric. I had more left over of the other two, so I used those to make napkins.
The pattern
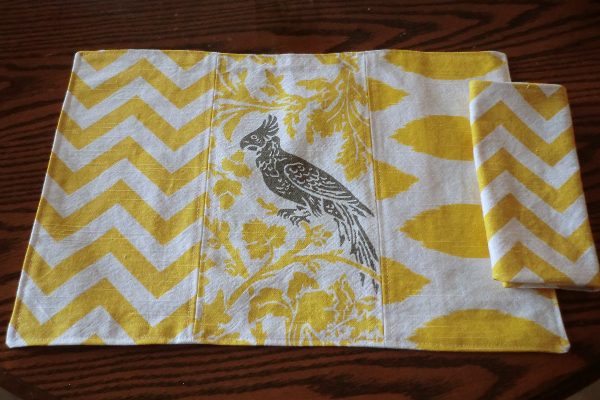
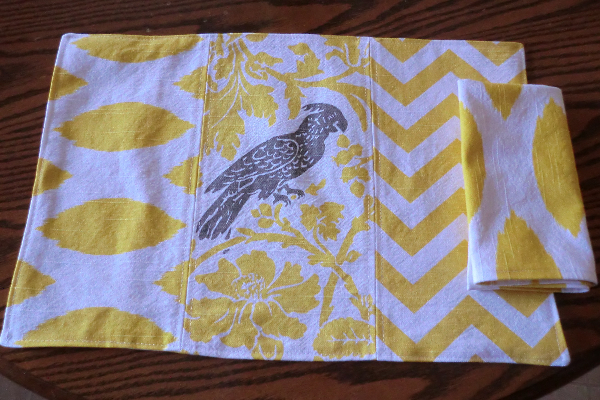
I made my place mats 18″x12″ (wxh)
For the one with two fabrics, I made the smaller piece 5″x13″ (wxh) and the larger 15×13 (wxh)
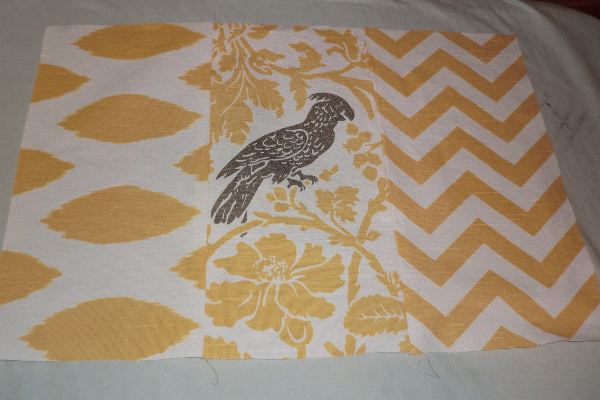
For the one with three fabrics, I made each fabric 7″x13″ (wxh)
My napkins were 16″x17″ before sewing.
The process
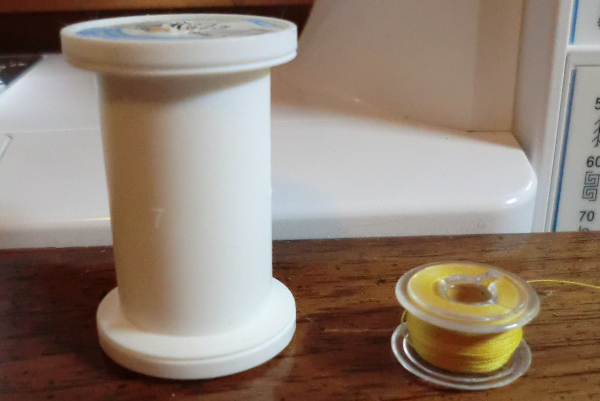
First, select the perfect color of thread that will make nice top-stitching. Then wind a bobbin using the entire spool of thread so that you now have no top thread. Growl loudly, or curse if desired. Then choose boring white thread.
For Side 1, choose two fabrics that you like together, a large and small piece (see instructions above for dimensions).
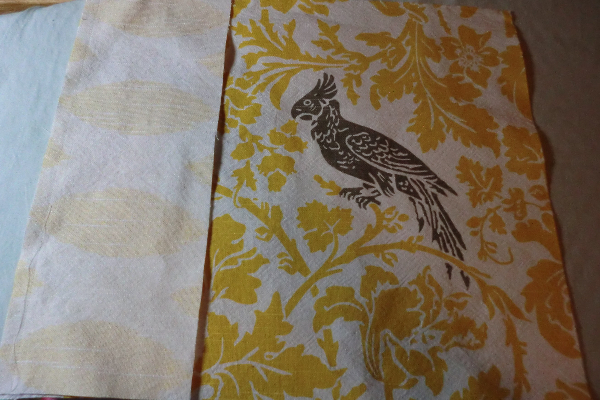
Sew them together, right-sides together, using a 1/2″ seam allowance.
Press seam open.

View from the front.
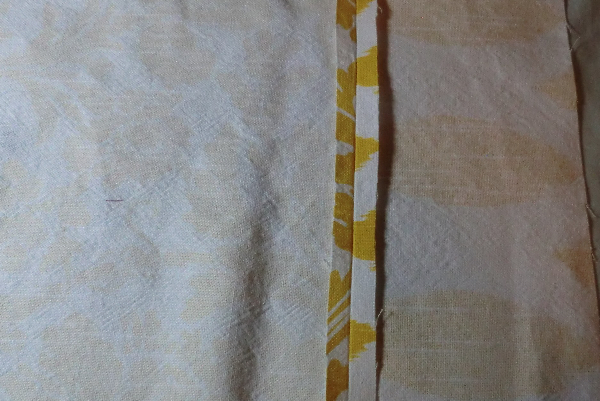
Sew Side 2 together in the same way, only this one has two seams. (Sorry for the lighting. It gets dark so darn early in the winter!)
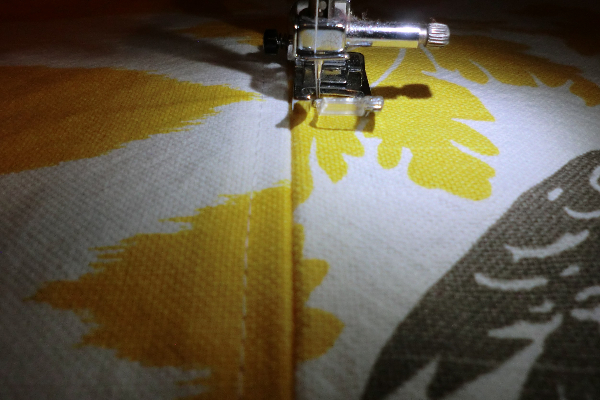
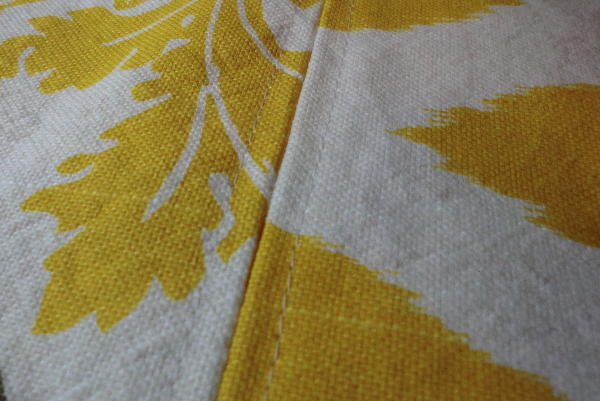
Top stitch along either side of all of the seams.
Repeat this process for as many place mats as you’d like to make.
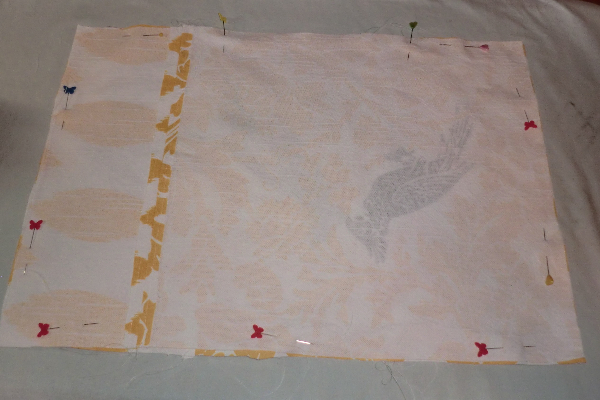
Place two place mat pieces (different styles) right-sides together and pin. Mark an area with pins (see top on mine) where you will start and stop in order to leave a hole for turning.
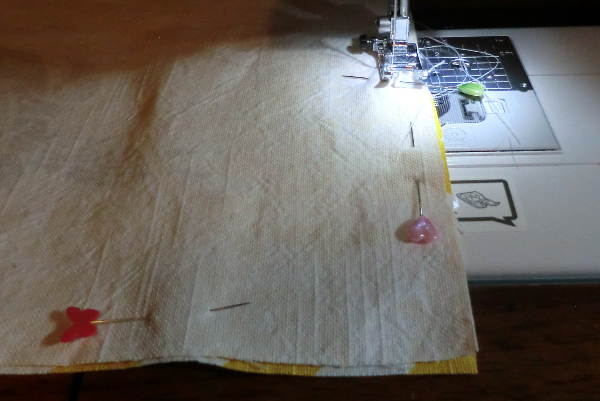
Start at the pin marking the right side of the hole and stitch a 1/2″ seam around the place mat, stopping at the other “hole” pin. At each corner, I recommend you back stitch a little to reinforce it.
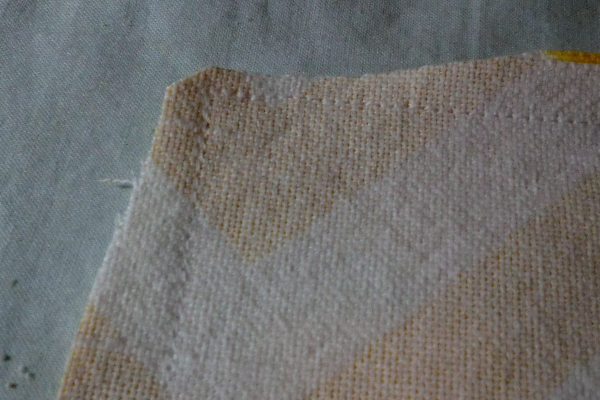
Trim the fabric away from the corners to reduce bulk.
Turn right-side out through the hole and carefully press all of the edges. Press in the seam allowance of the hole, too.
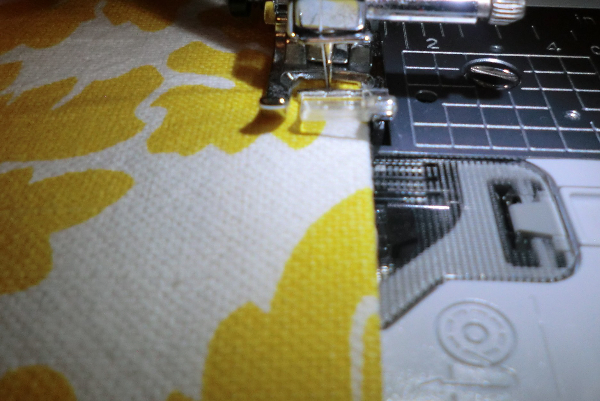
Top stitch about 1/4″ from the outer edge of the place mat, closing up the hole as you do.
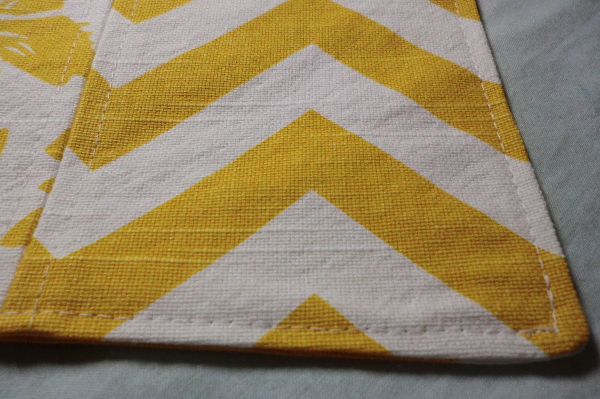
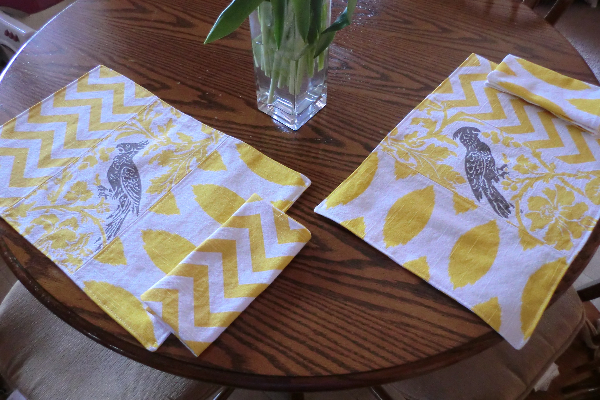
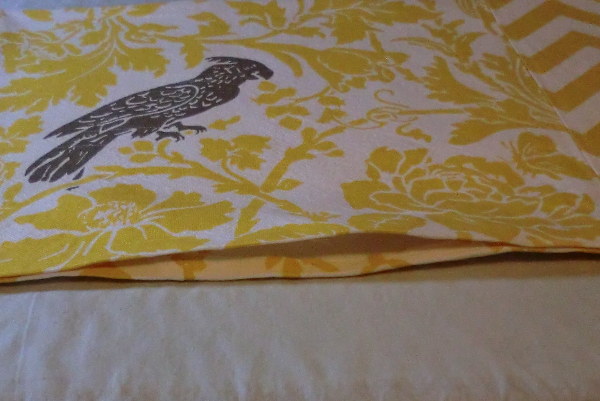
For the napkins (shown below), I simply cut out fabric and used a simple mitered corner method, which you can find instructions on here.

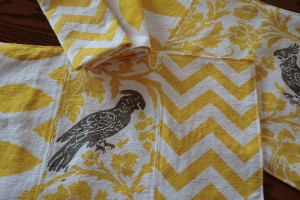
Other views