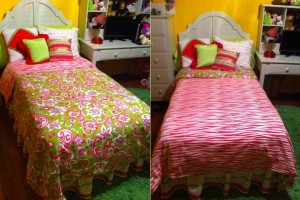
How to make a custom-sized duvet
Supplies
(Click fabrics for direct links for purchase at Warehouse Fabrics Inc.)
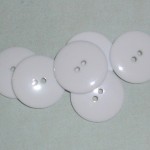
| Please see the “Pattern” section for yardage information. I used six 1-1/4″ buttons for my duvet for a twin size. | |||
The pattern
| You will make a duvet based on the dimensions of your comforter. I’ll show you how to calculate yardage.My twin comforter measured 66″x86″. Comforter sizes are not standard, so I recommend that you measure yours.
Twin mattresses usually measure 39″x75″. Because a width of fabric is only about 45-56″ across, you’ll need to piece several widths together. You do this by having a center panel that’s one fabric width with two other panels sewn to either side. Depending on the size of your comforter and the horizontal pattern repeat (if you’re matching prints), you might need two panels that are full fabric widths, or you may be able to cut one width in half. I will show you below how to match prints. Anyway, I decided that the seams where I sew the fabric panels together would look nicest if they are on the edge of the mattress, so the center piece will be about 40″ and then two side panels. This was my goal, anyway, and it worked fine on the zebra print, which has a small horizontal pattern repeat. On the floral, the repeat was larger and I found that splitting one width of fabric for the side panels was pushing it. I couldn’t line up the pattern on the 40″ mark, so I had to just do it where I could. It still looks just fine. It’s just something to think about. If you want more leeway, order separate widths for each side panel. My formula for calculating your duvet size is as follows: X=length Y=66″+1″=67″+1″ wiggle room=68″ 68″x94″ final measurement for fabric pieces You need top and bottom duvet pieces, which each need two widths of fabric (at least, depending on the size of your comforter). To figure out yardage when you’re matching prints, you simply make one width of fabric the length you need for your project (X) and the second width of fabric is X+repeat. Do that for each side of your duvet where fabric matching is involved. If you’re not matching prints, you’ll need two lengths of fabric the length of X. If it’s a particularly wide duvet, you might need more widths than that. Examining my pattern repeats for the fabrics I’m using (we list pattern repeats in our product listings): For Miami Candy Pink |
The process
 |
 |
| Step one is to piece together several widths of fabric for the top and bottom of the duvet. I recently posted a detailed tutorial on this. Please visit this page for more information. Piecing together patterns creates a flow of the print, as seen above. | |
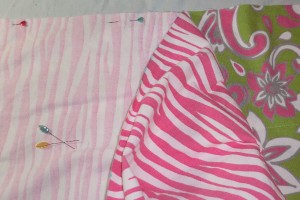 |
In the “Pattern” section above, I discussed how to figure out how big your pieces should be. So once you’ve sewn together your widths, you may need to trim it. Fold it right down the center and line up the two seams. Then measure and trim from the edges until it’s the right width and length.Then pin the top to the bottom along the long sides and the bottom. Or do it one side at a time, if desired, since it’s so big. Sew along the two long sides and the bottom, but leave the top open. |
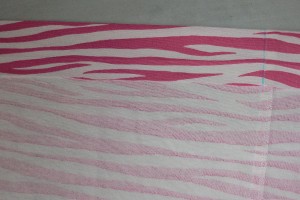 |
Now you basically have a big sack. You’ll make a large hem on the top. Fold it over 3″ and press. |
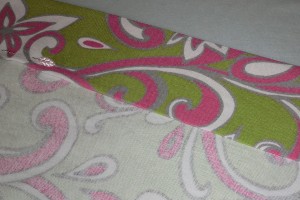 |
Fold it another 3″ and press again. I’m not sure why I switched fabrics on you from the last picture. You get the idea, though. |
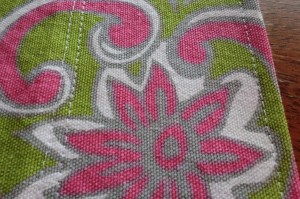 |
I sewed my open edge as shown with a double seam where the fold of the hem is and a single seam at the top. |
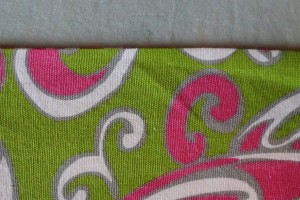 |
With your bag right-side out, press along the seams, smoothing it out for nice edges. Don’t bother pressing the whole thing at this point, just the edges. |
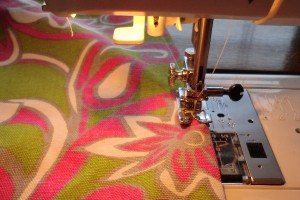 |
Top stitch along the sides and bottoms close to the seam. This will just make it look neater and secure the edges so that one fabric doesn’t roll around to the other side. |
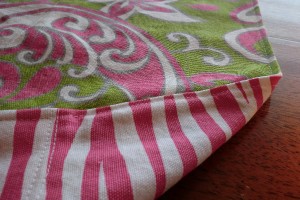 |
This is what I’ve got at this point. |
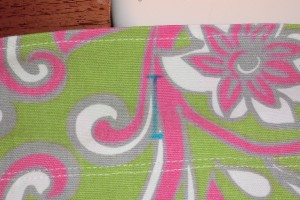 |
I chose to close mine with buttons. I used to have a 1-step buttonhole presser foot, but it broke and now I do them manually. I simply use a clear presser foot and the buttonhole function on my machine. Here’s a tutorialI made showing how to do buttonholes. I measured the diameter of my button plus 1/4″.Obviously, you’ll want to lay out your button placement before starting and mark where you’ll want them all to be. |
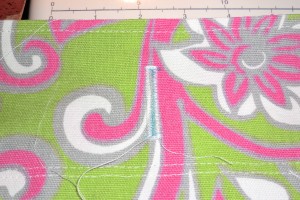 |
Now I’ve sewn my buttonhole. Next, I will very carefully cut the center open. I like to use a seam ripper to make a small hole and then use really tiny, sharp scissors to gently cut it open. Repeat for as many buttonholes as you want to use. I used six. |
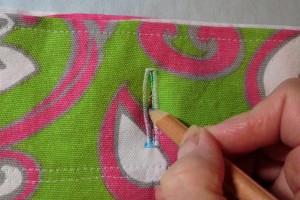 |
Line up the two sides of your duvet so that the ends match up and mark through the buttonhole where your button should be sewn. |
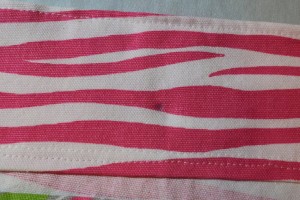 |
Here’s where I’ll be sewing the button. It’s on the inside hem of the bottom of the comforter. The comforter is reversible, though, so it could be that this side is up and the buttons are hidden. |
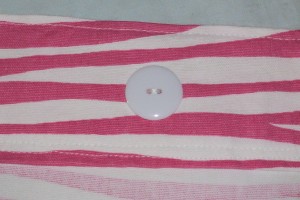 |
I used my machine to sew on the buttons. It’s quick and easy. To do this, use a clear presser foot of some sort and drop your machine’s feed dogs. Some machines don’t have this option. Please see your manual. Mine is a switch in a hidden spot. This prevents your machine from trying to push the fabric through, because you want it to stay in place while you do the buttonhole. You could alternatively try to set the stitch length to zero and that may work, too. (continued below) |
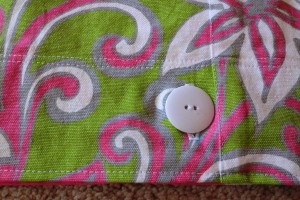 |
Set to zigzag and test by turning the hand crank that the needle will come down in the two holes of the button. Adjust width as necessary. Once you’re sure you will not hit the button itself, go for it. Hit that pedal and sew. The only downside is that you can see the stitches from the outside of that end of the comforter, whereas if sewing by hand, you can try to sew the button through only one layer of fabric. That would be a bit of a pain, though, especially with heavy fabrics. |
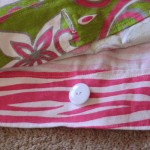
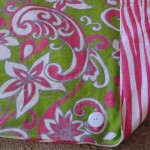
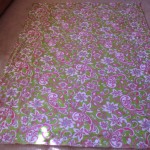
Other views(Click for bigger views)
 |
 |
 |
 |

