
How to make a decorative pillow with a zipper!
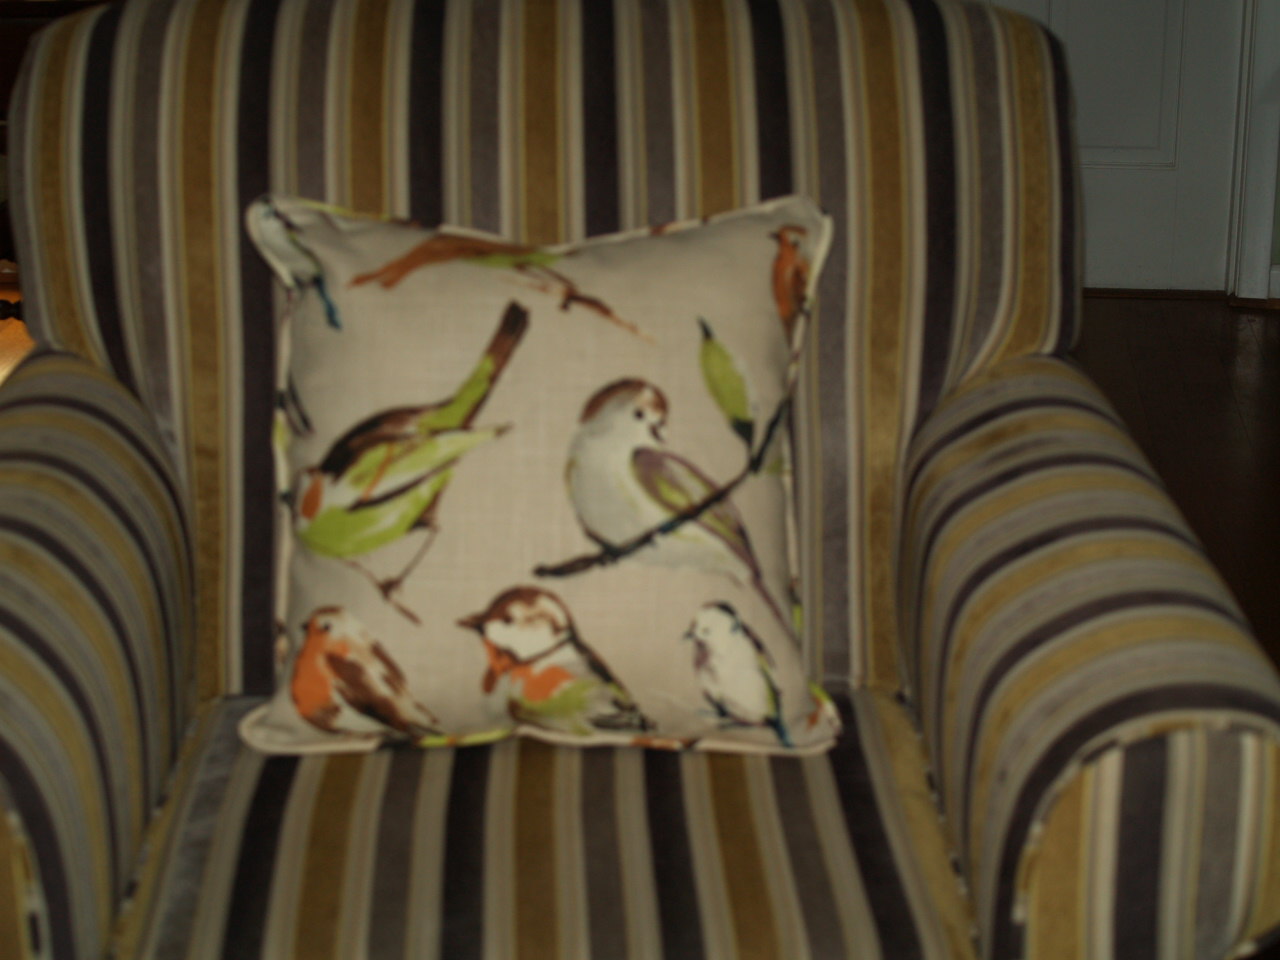 During this blog, I will demonstrate how to make this beautiful decorative pillow!
SUPPLIES NEEDED:

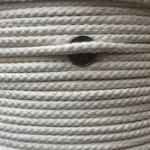
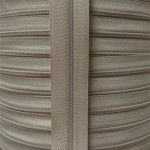
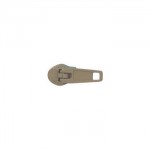
For this blog, I used approximately 1 and a half yards of fabric (which allowed me to make 2-18″ pillows), 4 yards of #2 cotton welt piping, one yard of zipper coil and 2 sliders.
PROCEDURE:
The first step in creating this lovely pillow was to determine the size I wanted. I chose to make two 18″ pillows, so I cut four squares of fabric 19″ square.
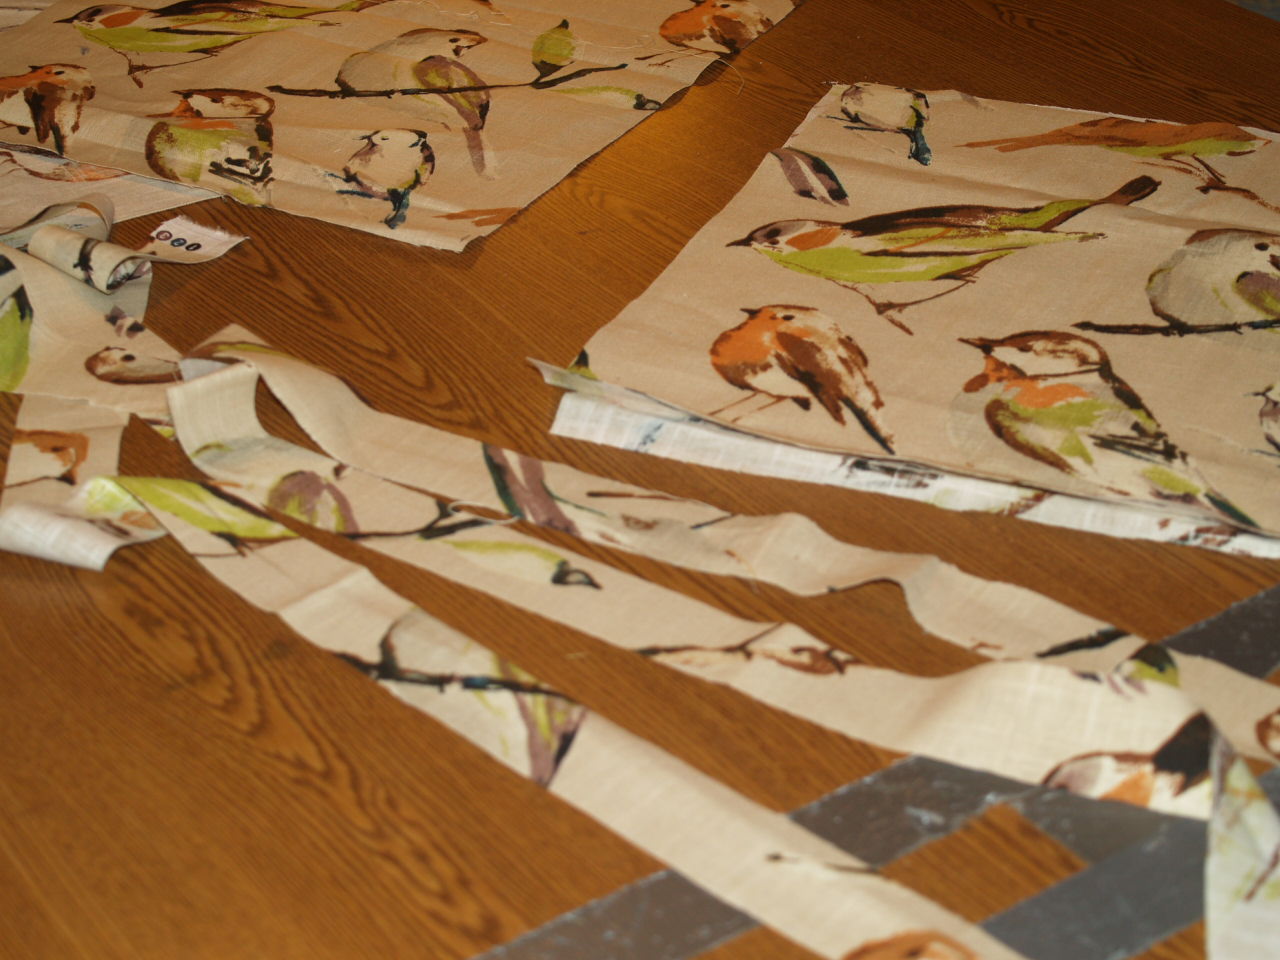 Next I cut my strips to cover my piping. For this you will need to cut at least enough 2 inch strips to cover four yards of piping.
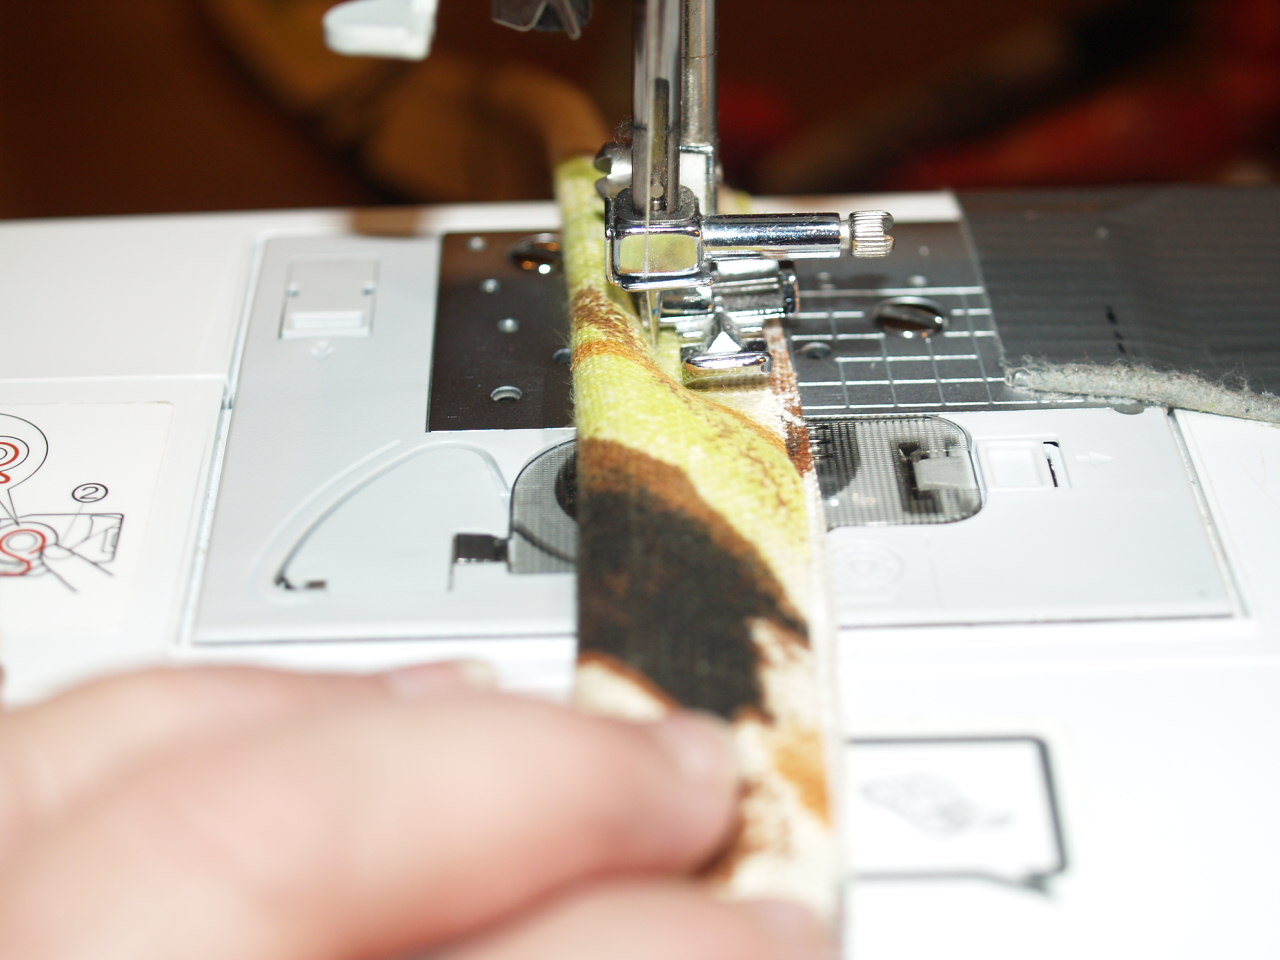 Now it is time to cover your piping with the two inch strips of fabric as shown in the photo. Notice I have my zipper foot attachment on my sewing machine.
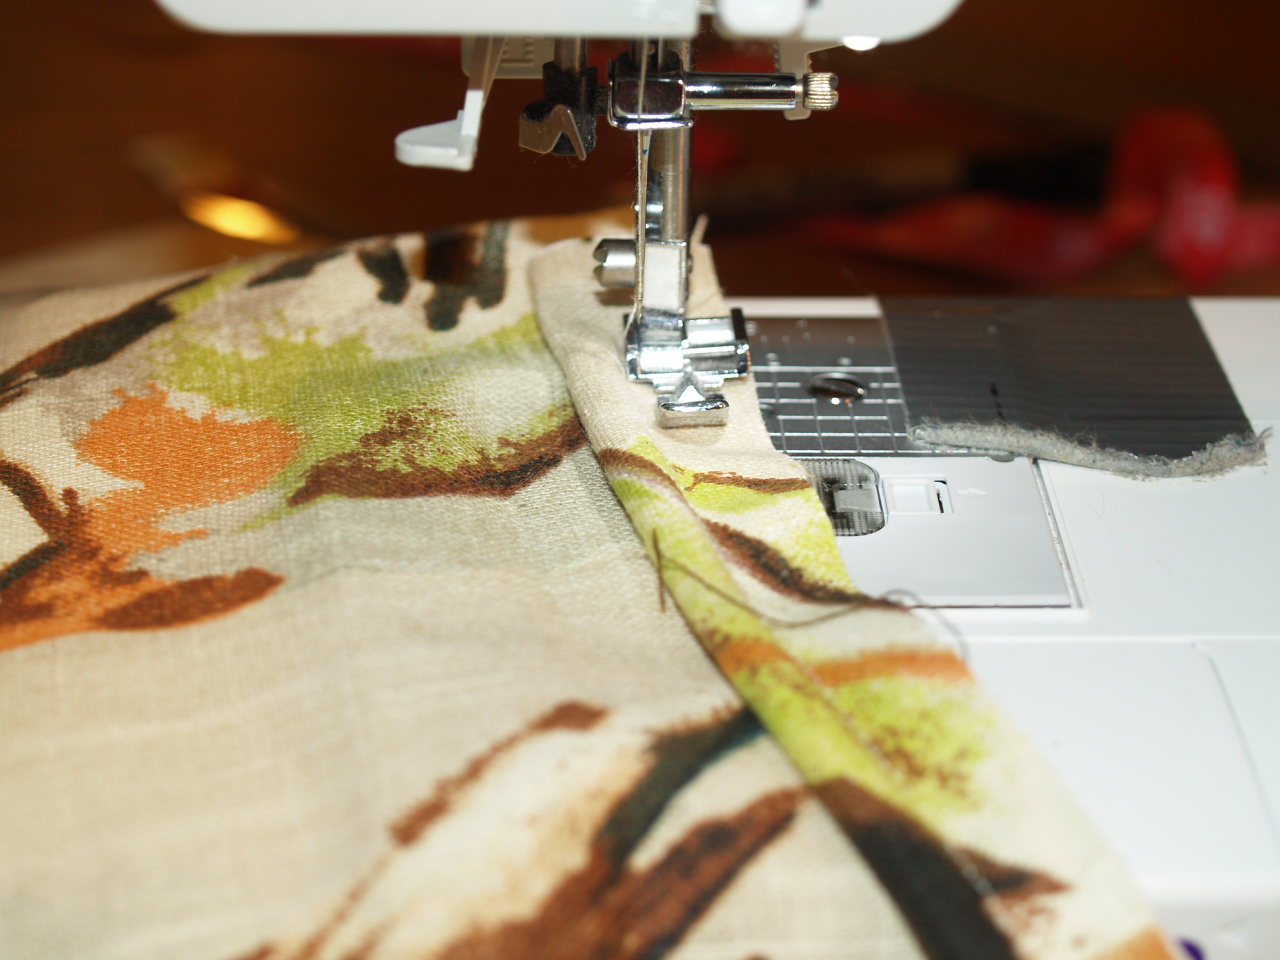 Next, take your covered piping and add this to the face side of one of your 19″ squares per pillow. I use a half inch seam allowance.
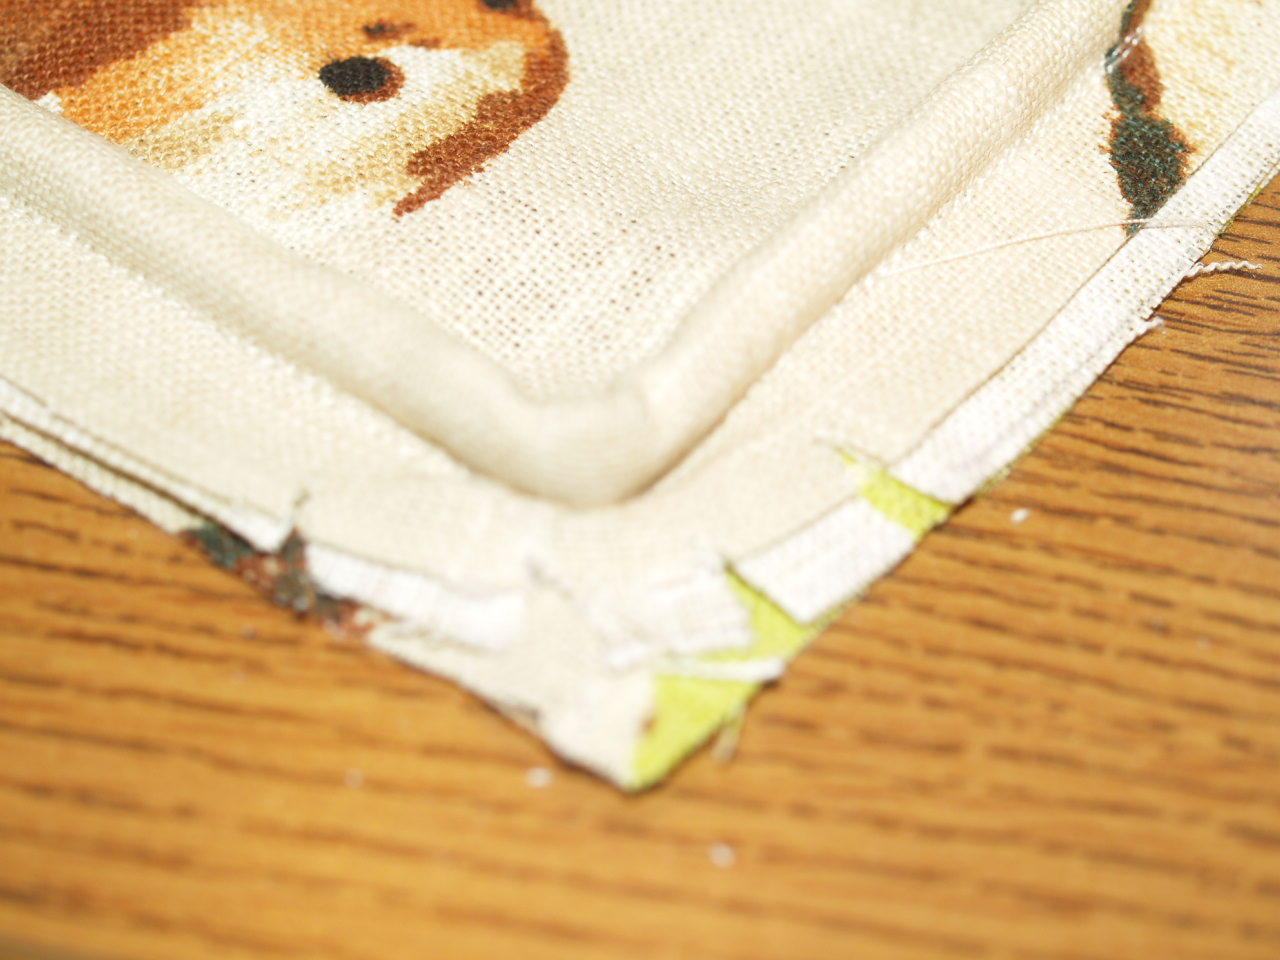 As shown in the photo, if you will clip the corners of the covered piping you will be able to make neater corners.
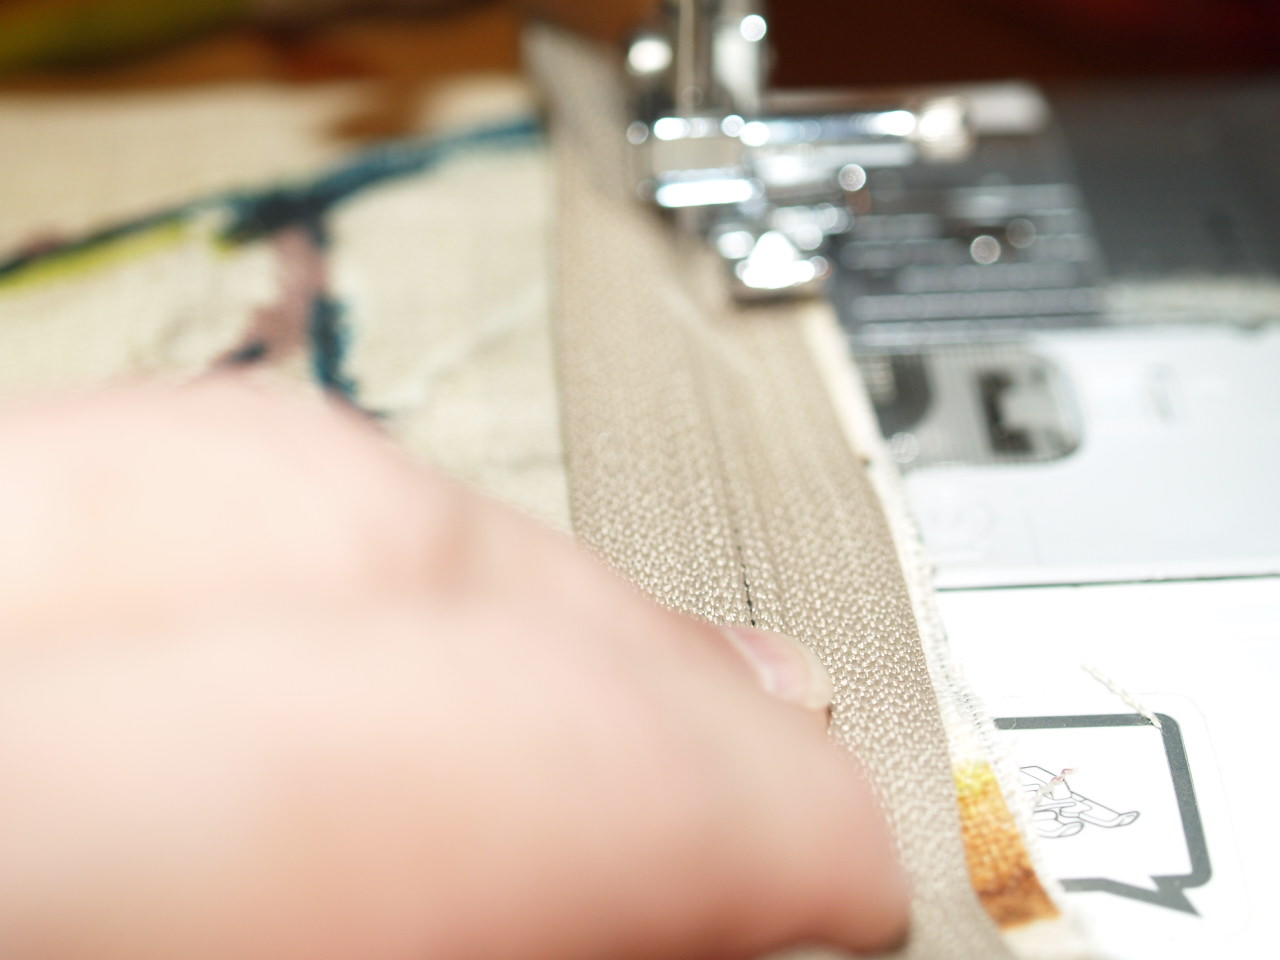
 Next, add your zipper to the bottom of the pillow. When you look closely to the photo, you will notice that the zipper coil is placed top side down close to the piping and stitch as close to the piping as allowed without sewing into the teeth of the zipper coil. For this step you will be sewing the right side of the zipper first.
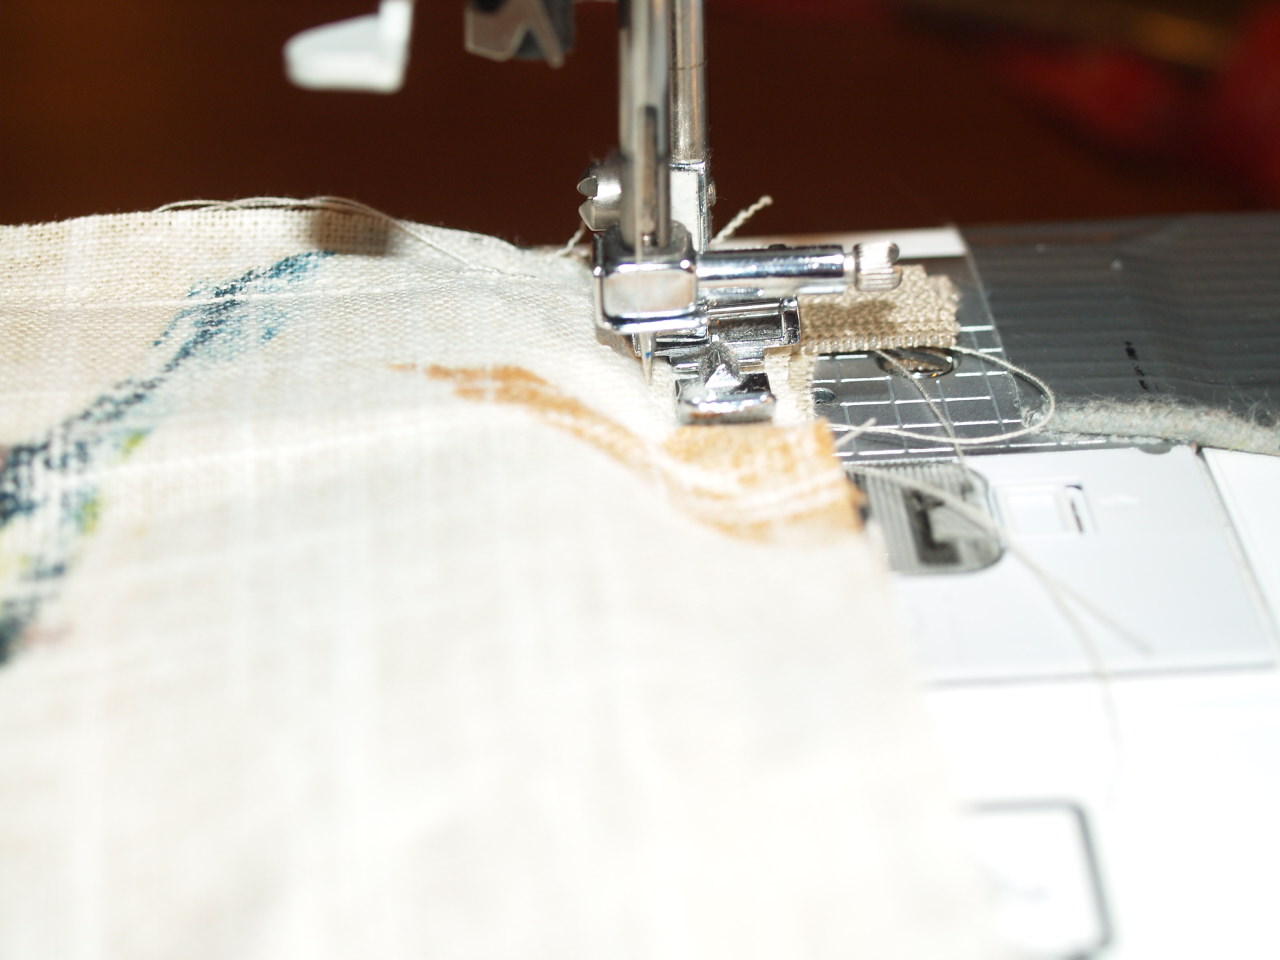
 This photo demonstrates what I was saying.
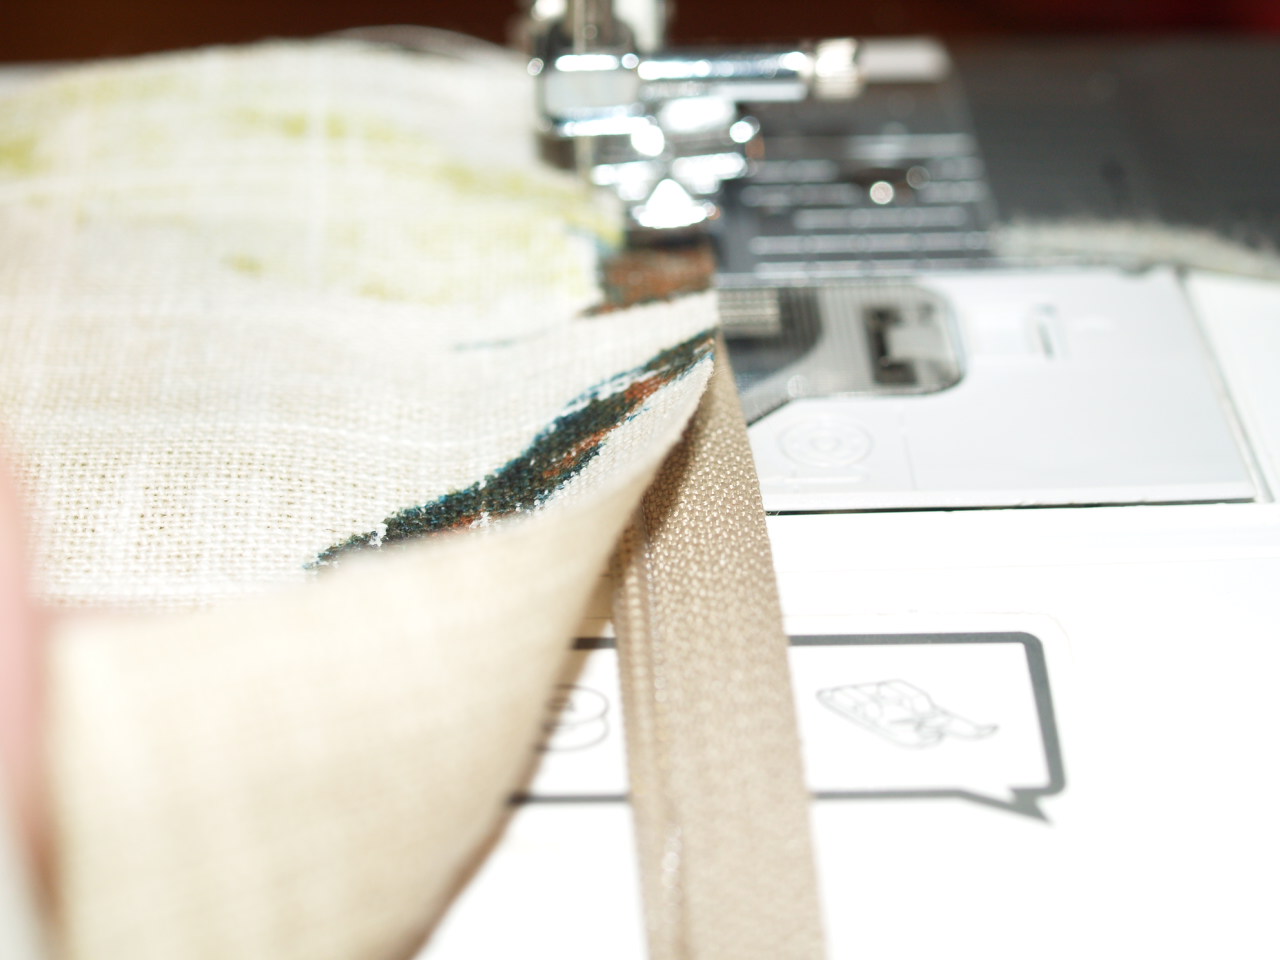 It is time to sew the left side of the zipper now. With the zipper open, as shown in the photo, place the 19″square piece of fabric (pillow back) face side down on the zipper and once again stitch close to the zipper teeth. Caution- do not sew into the zipper teeth.
The last step in creating this beautiful pillow is to sew the front and back together. I always start at right hand bottom corner and work my way around to the left hand bottom corner. Hint- always make sure you have unzipped the zipper enough to allow for you to insert your hand to turn the pillow inside out.
Insert a pillow form and it is finished!
Now you know how to create this beautiful pillow!!
Happy sewing everyone until next time.

