
How to make a slipcover for a parsons chair (Part 2)
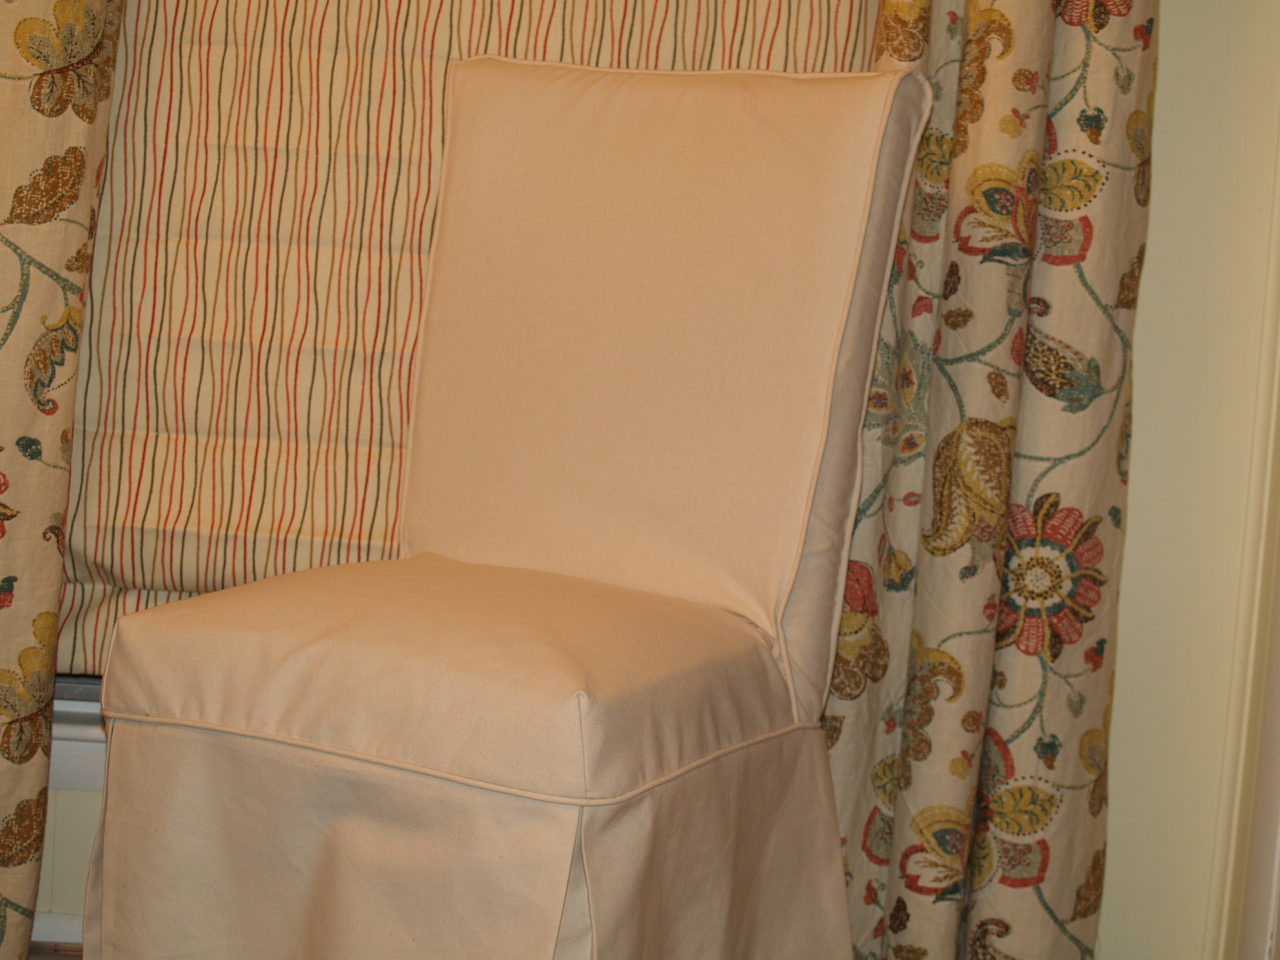
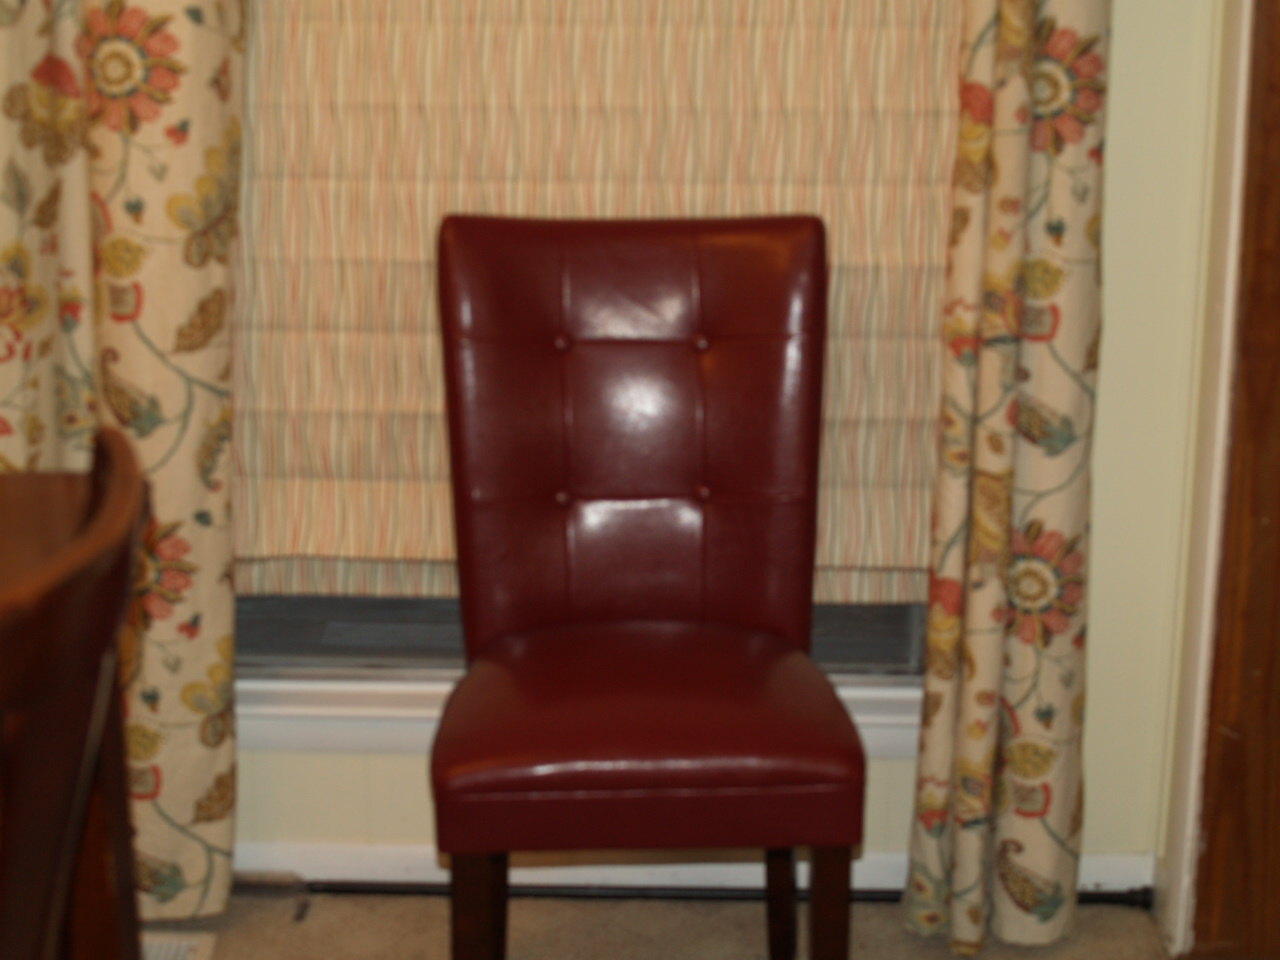 During this blog, I will demonstrate how to make a slipcover for this parsons chair.
SUPPLIES NEEDED:
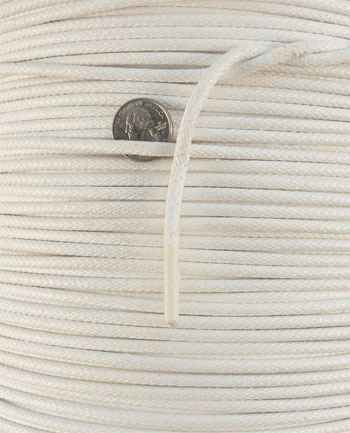
I used approximately six yards of Zen Natural, six yards of piping cord, a zipper head and 10″ of zipper coil.
PROCEDURE:
During part one of the blog for recovering a parsons chair we went through the steps for creating a pattern, so this time we will take the pattern pieces and create something beautiful.
First step is to take all the pattern pieces and cut your designer fabric. Make sure as I stated in the previous blog to cut your fabric adding the half inch seam allowance.
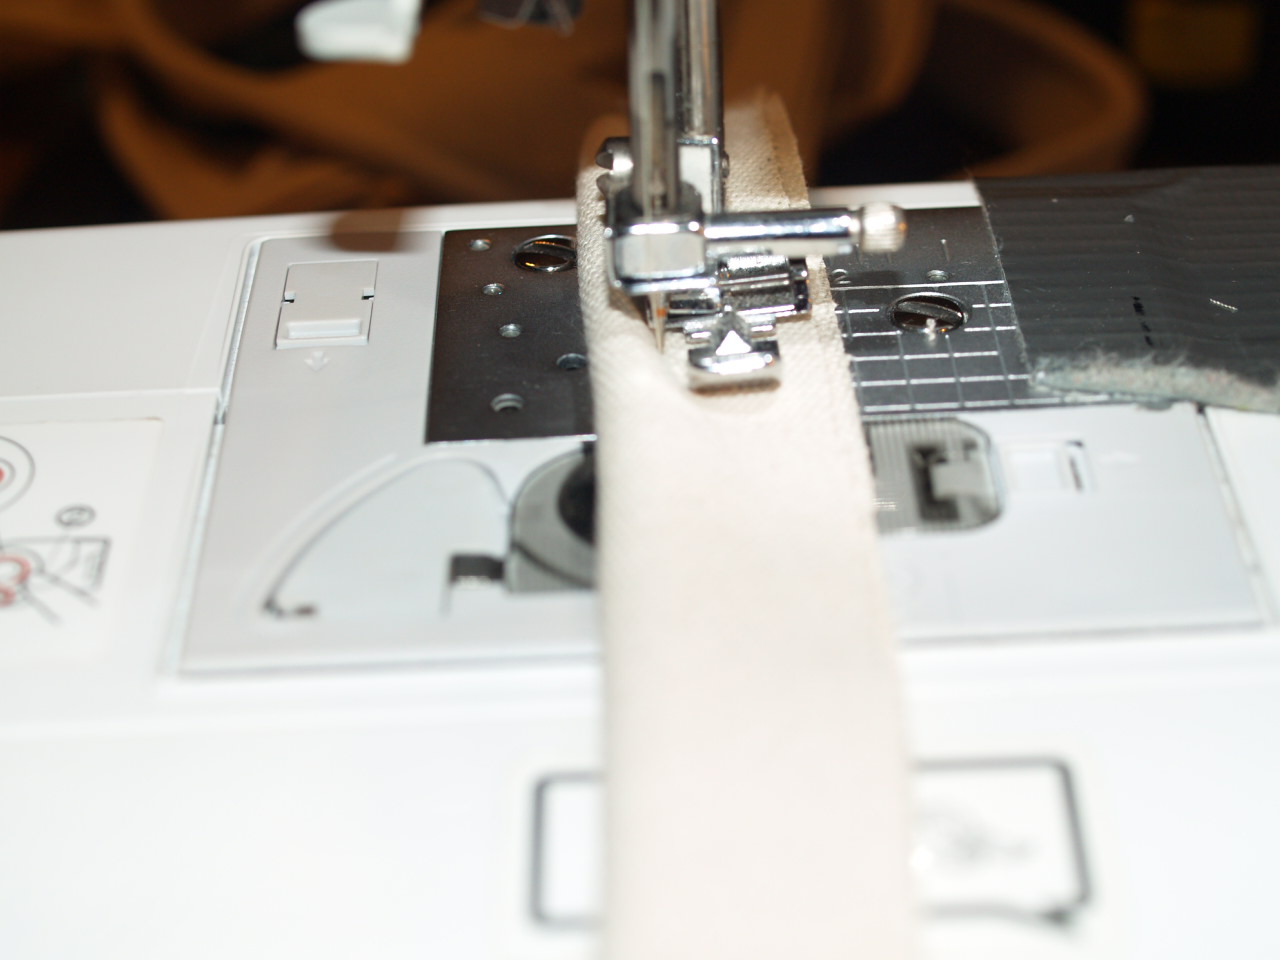
Next step is to make your piping. Cut your strips on the bias so it will be more pliable. Use your zipper foot to create the piping.
For this step, take your front seat back and the back piece and sew together at the top. I added the piping in this seam.
Next take the side panel and add the piping cord to it also.
Now attach your side panels to the chairs front/back panel.
This is how it should look when you have attached your side panel to the front and back sections.
Since my chairs back is wider at the top and more narrow at the bottom I decided to add a zipper so it could fit snug at the bottom.
I have a confession. When I made my pattern and then made a dummy slipcover using scrape fabric I did not do this step and ended up ripping my dummy because I wasn’t thinking about the top being wider than the bottom! Lesson learned.
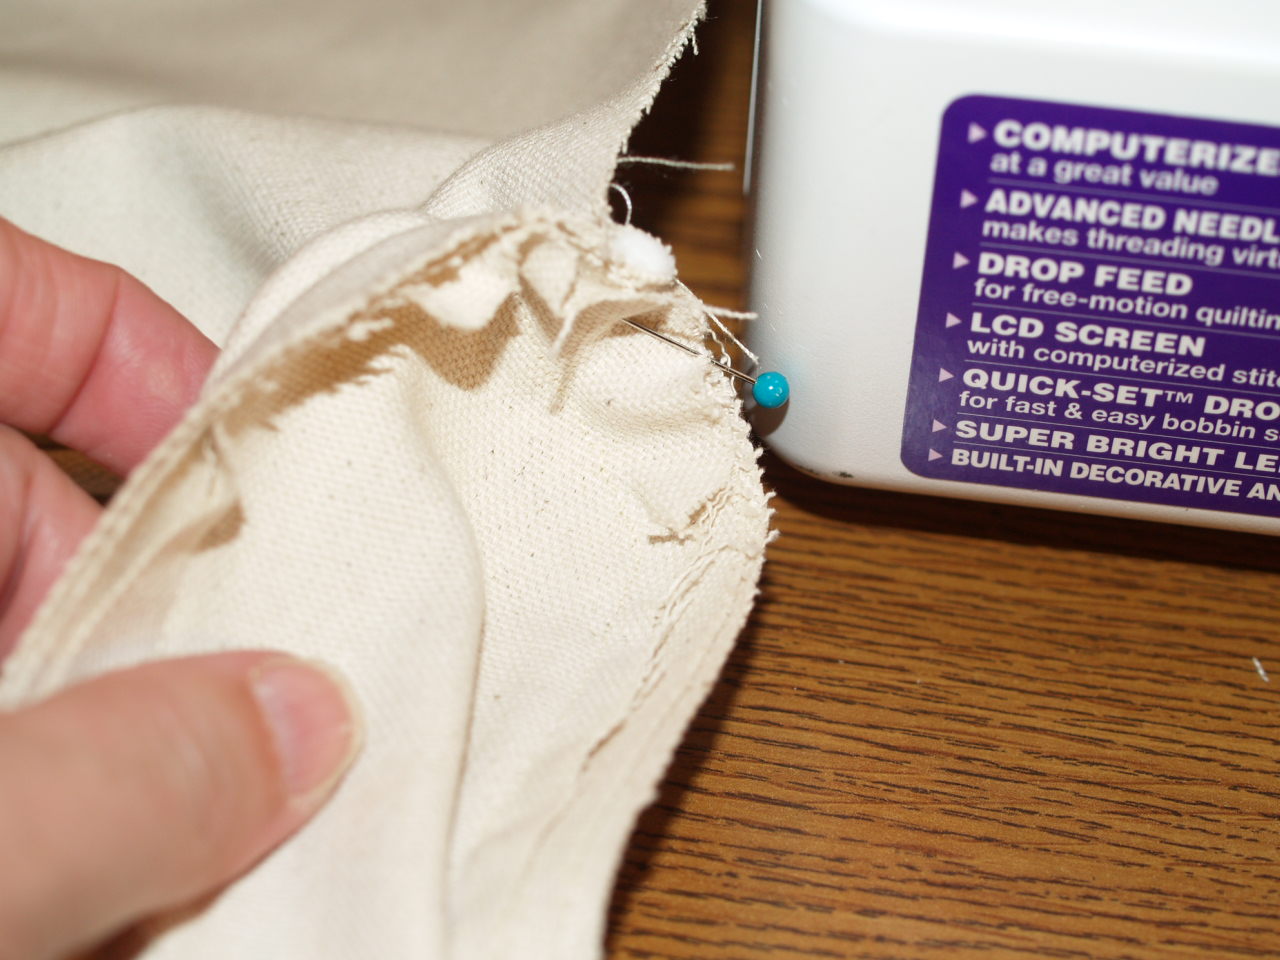
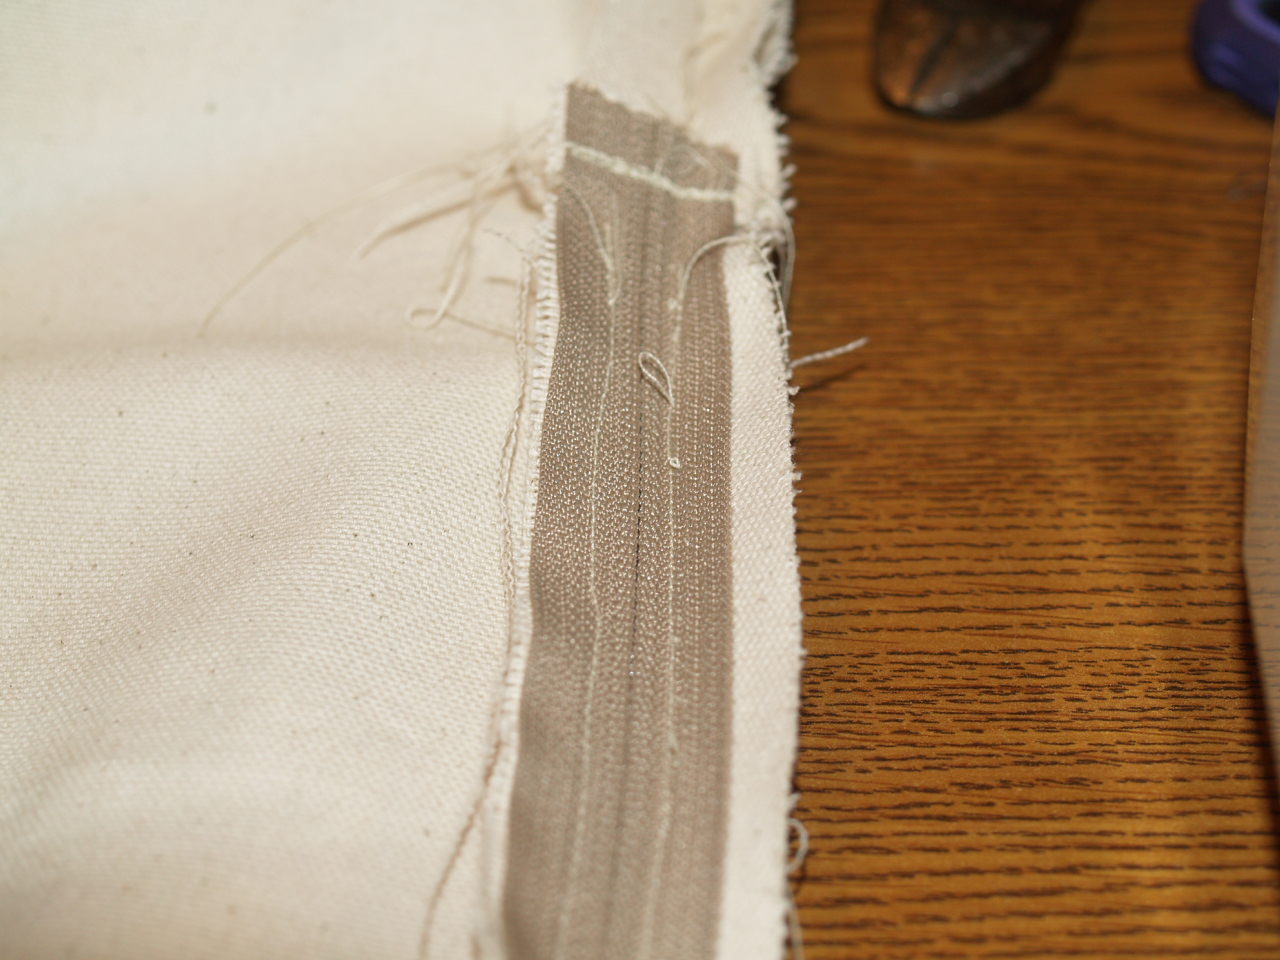
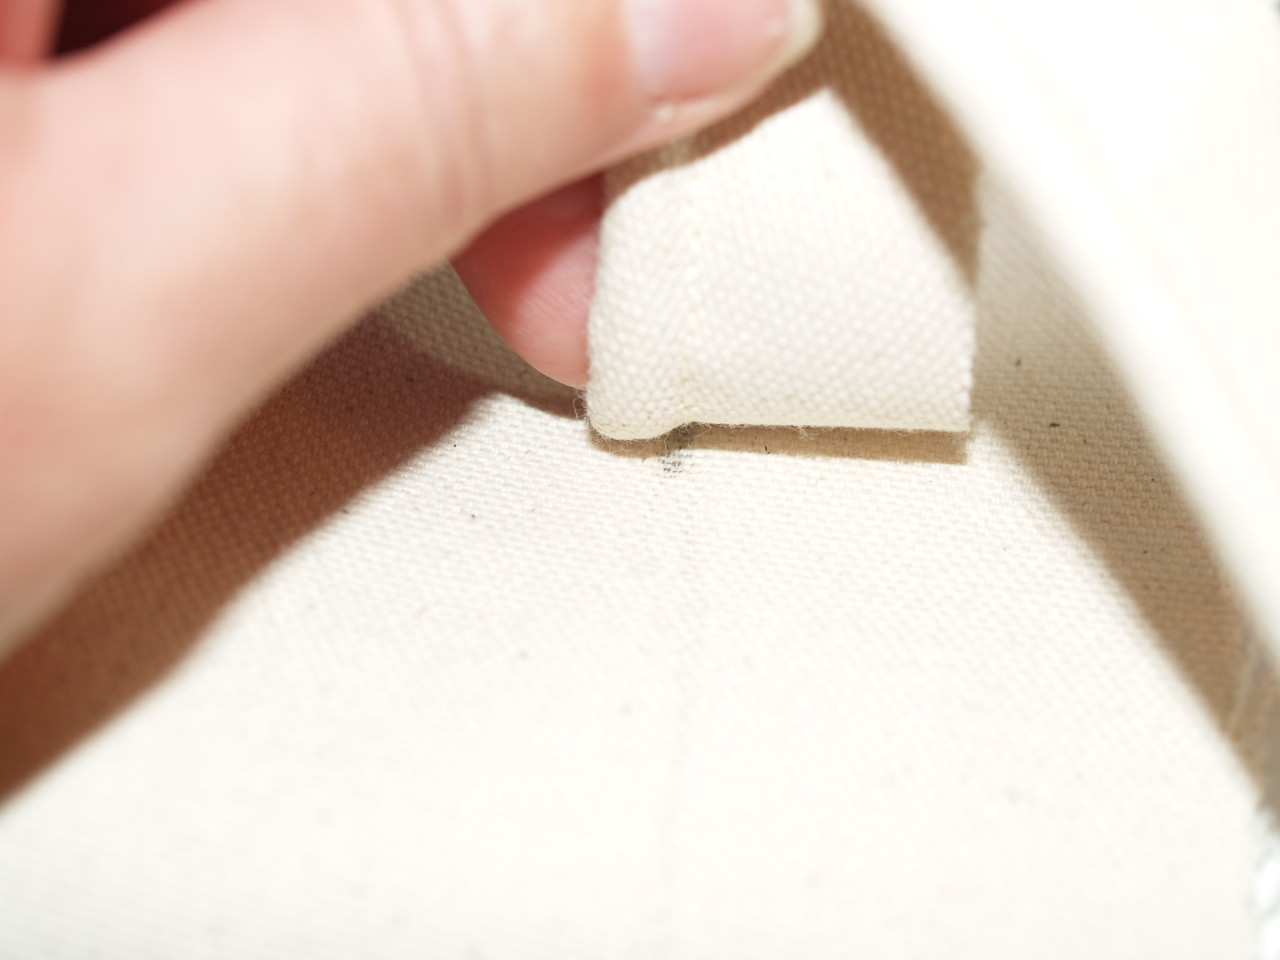
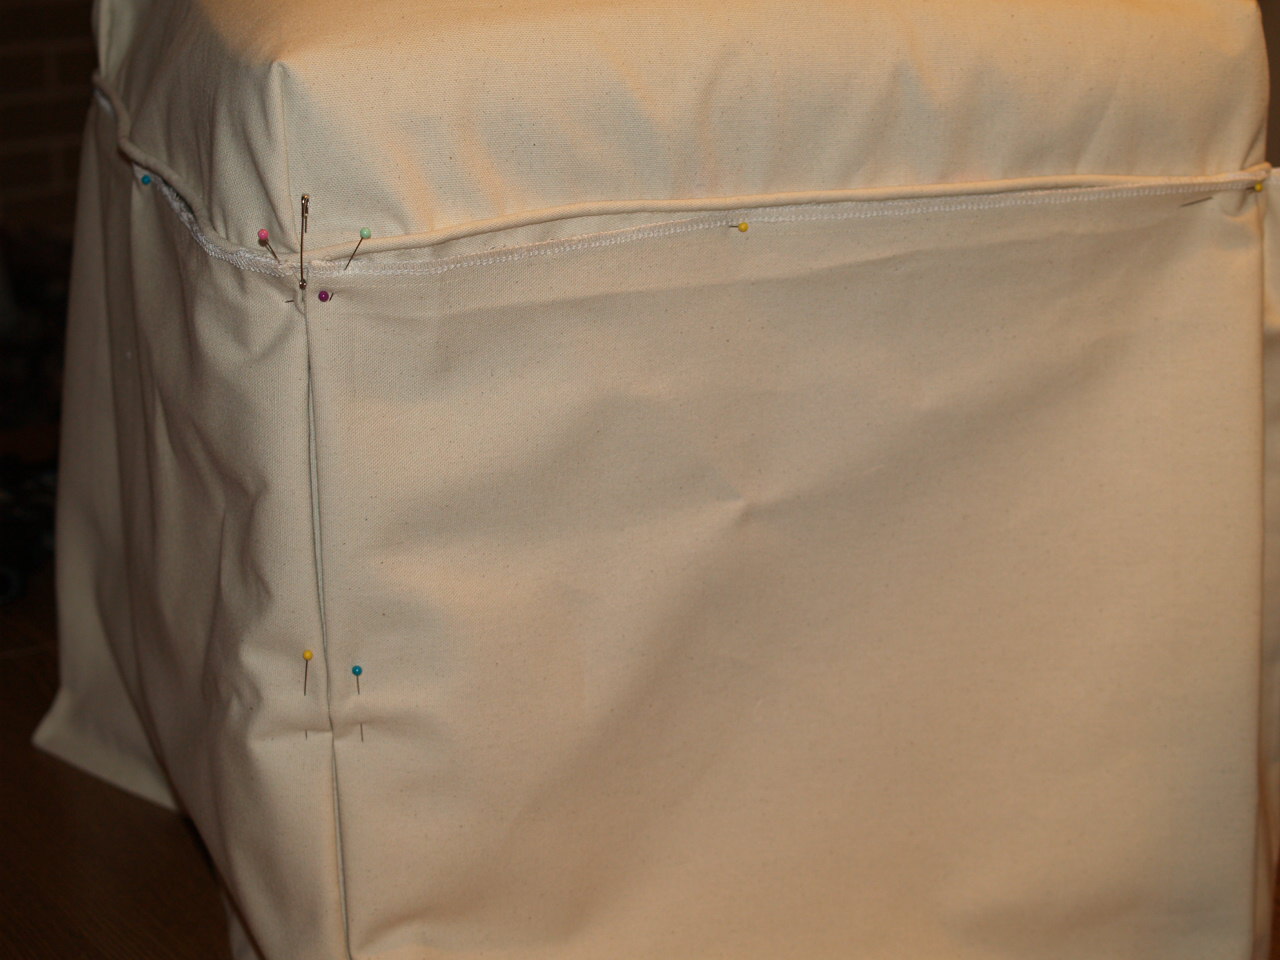
For this step, I added the zipper to one of my side panels at the place where the side connects with the back of the chairs section. I used a ten inch zipper. This made all the difference in the world, no rip! LOL
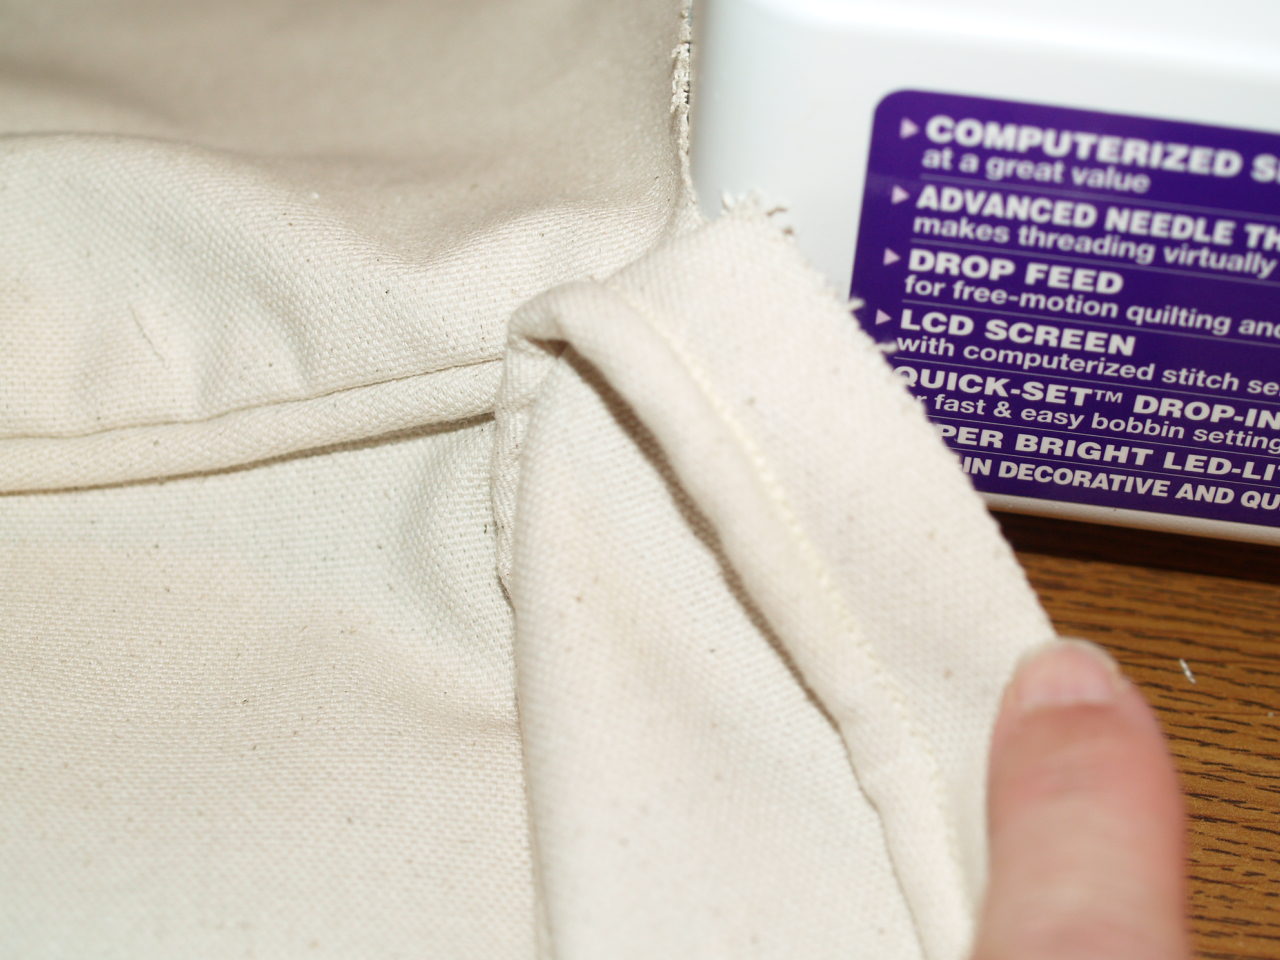
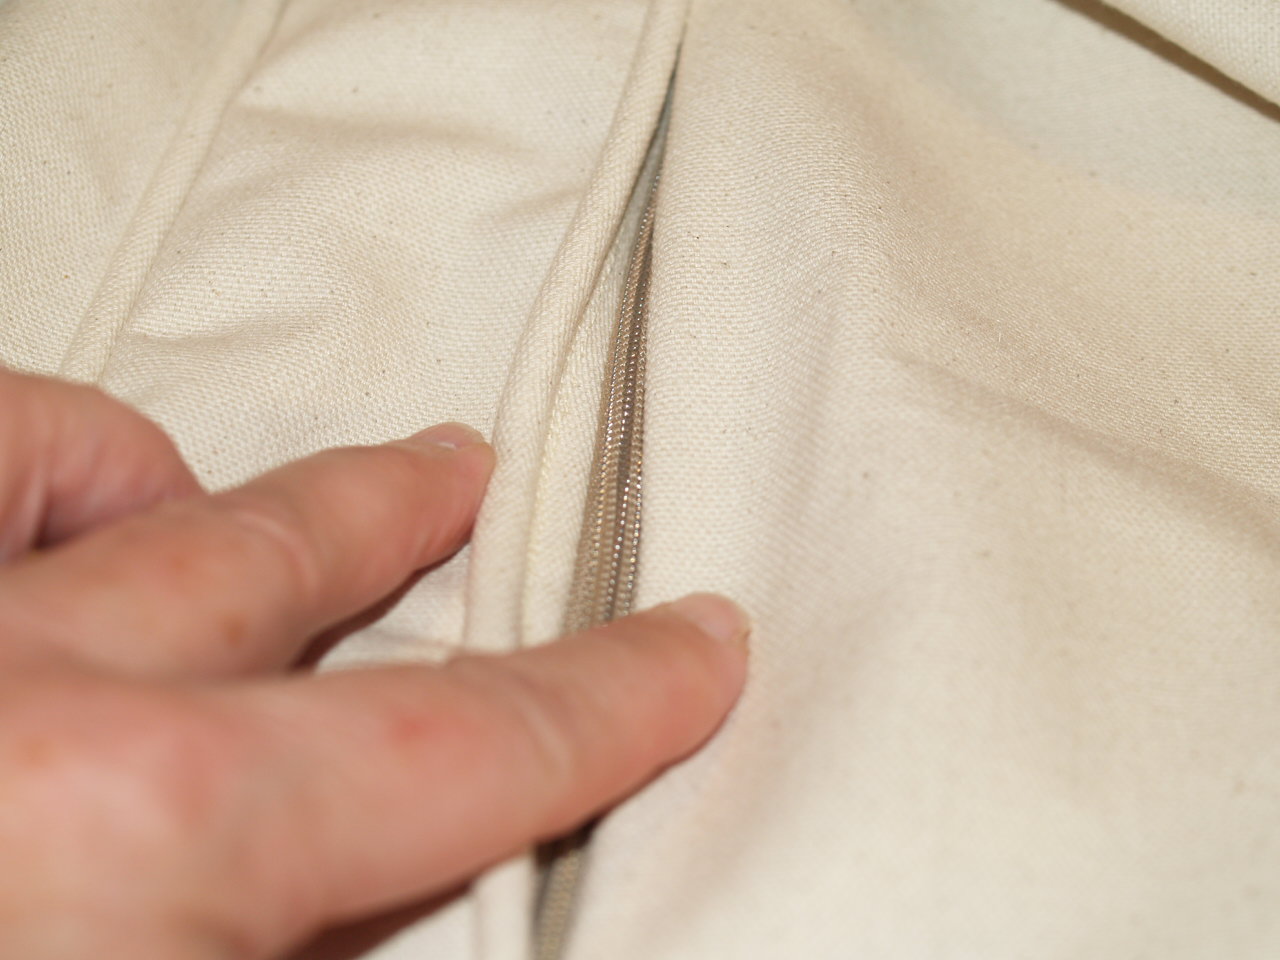 This photo shows the zipper installed.
Next it is time to add the seat section to the chair back section. First make sure you have sewn you darts in the seat front then attached to the chair back.
 Now that you have the seat and back sewn together it is time to measure where you want your pleated skirt to attach. I marked my seat approximately three inches from the top of the seat section all the way around.
 I then attached piping cord along the line that I just drew around the seat bottom.
 Now, measure from the cord to the floor to find the length that your pleated skirt needs to be. My chair measures 15.5 inches so I cut my face fabric 17.5 inches. I am adding a lining to my chairs skirt and I cut this fabric 15.5 inches.
The width of the skirt will need to be 71 inches finished so I added 20 inches for my pleats (wished I had added more so my pleats could have been bigger pleats). It turned out great anyway.

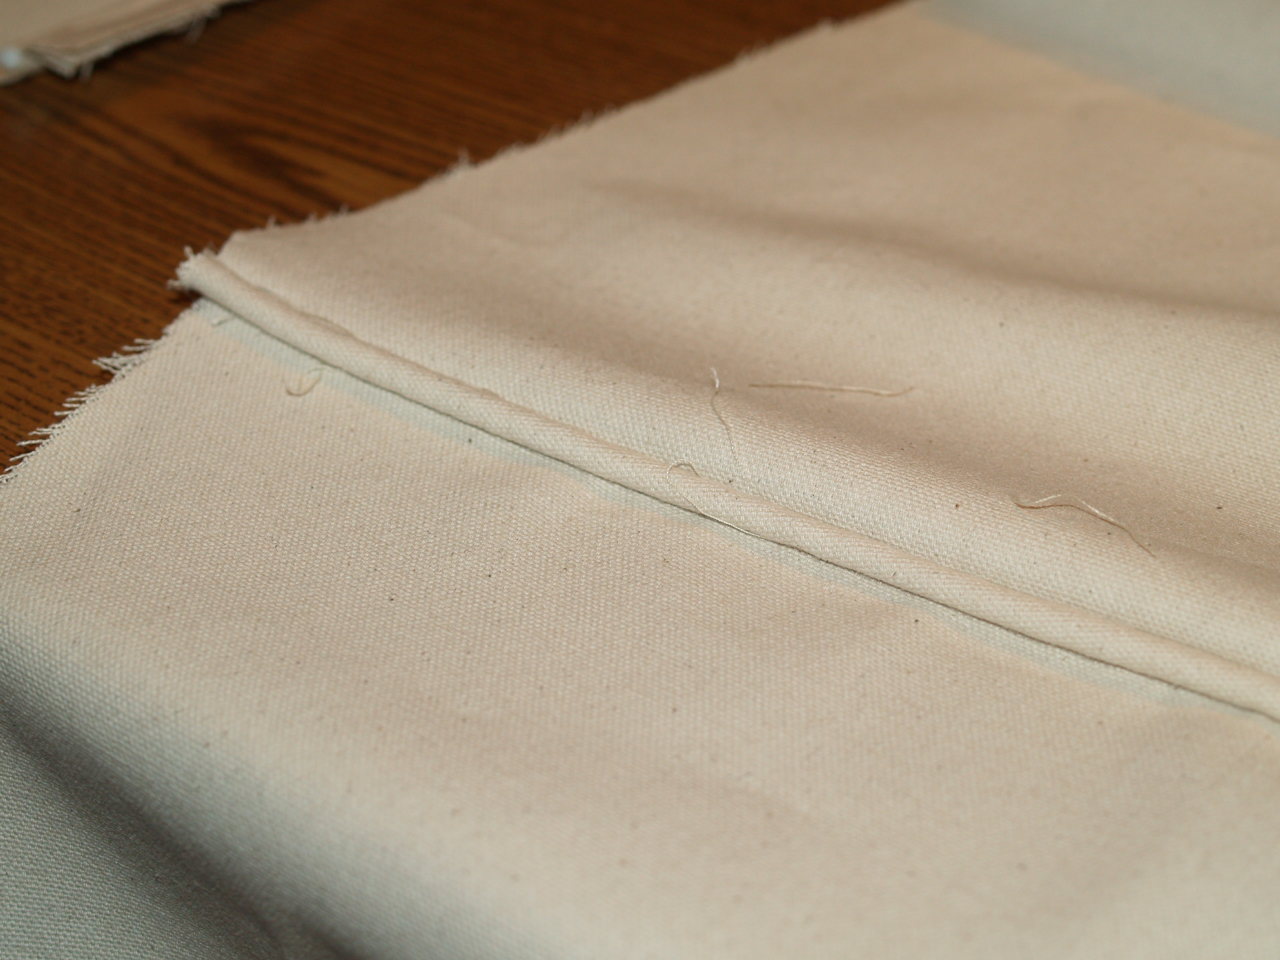
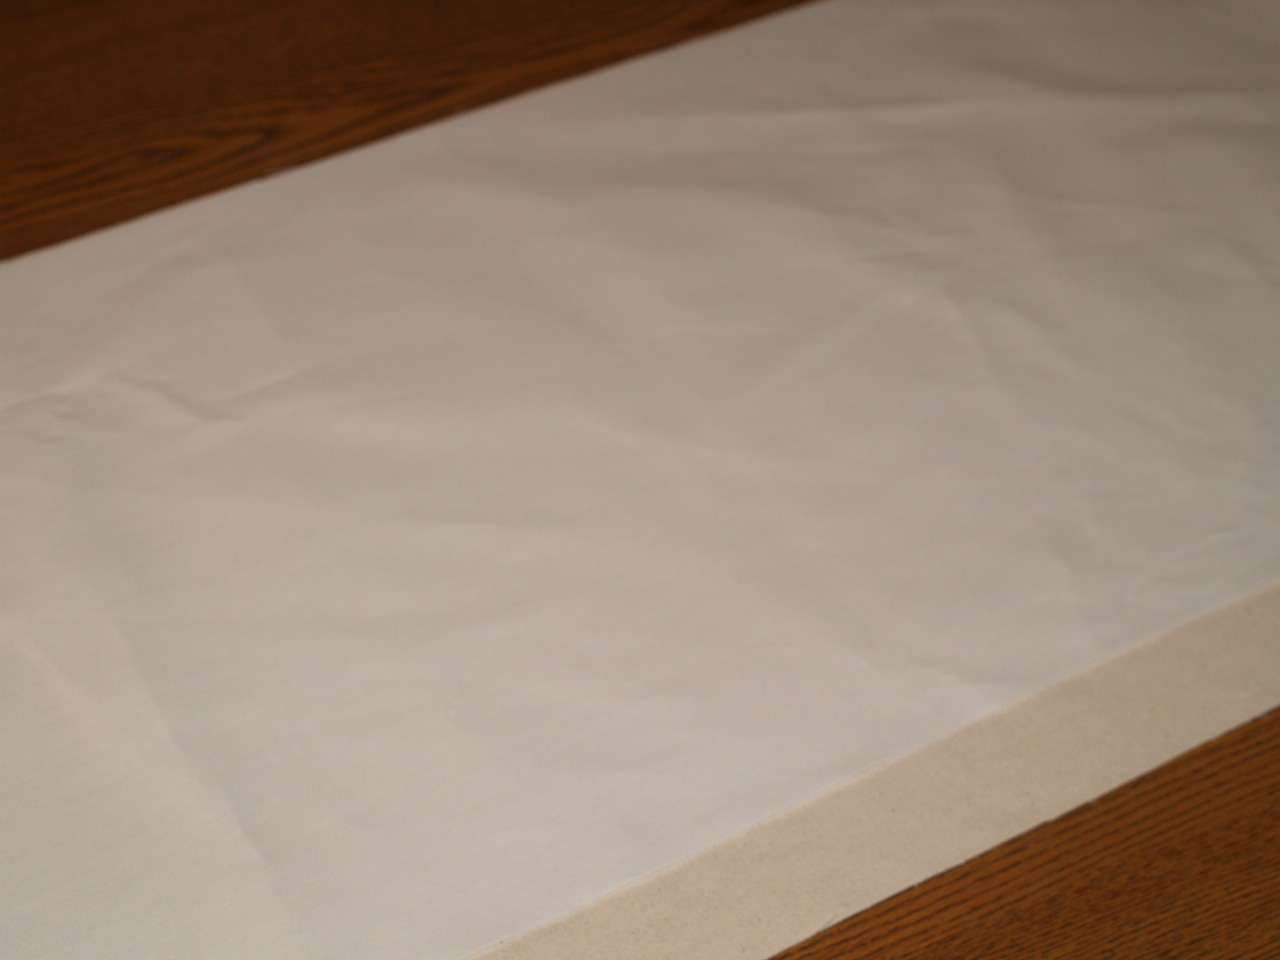
Sew the two pieces together along one of the long sides.
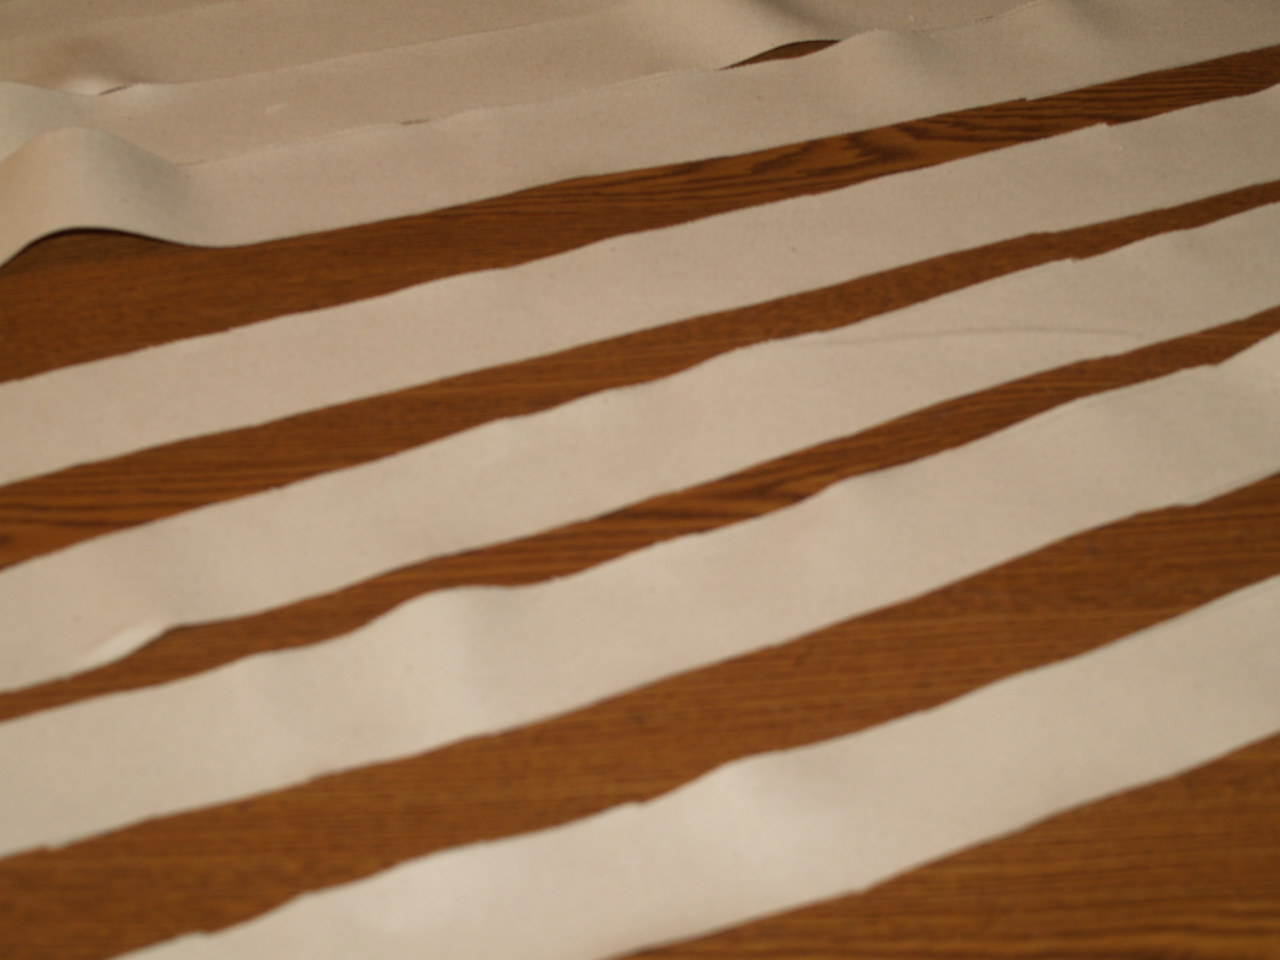
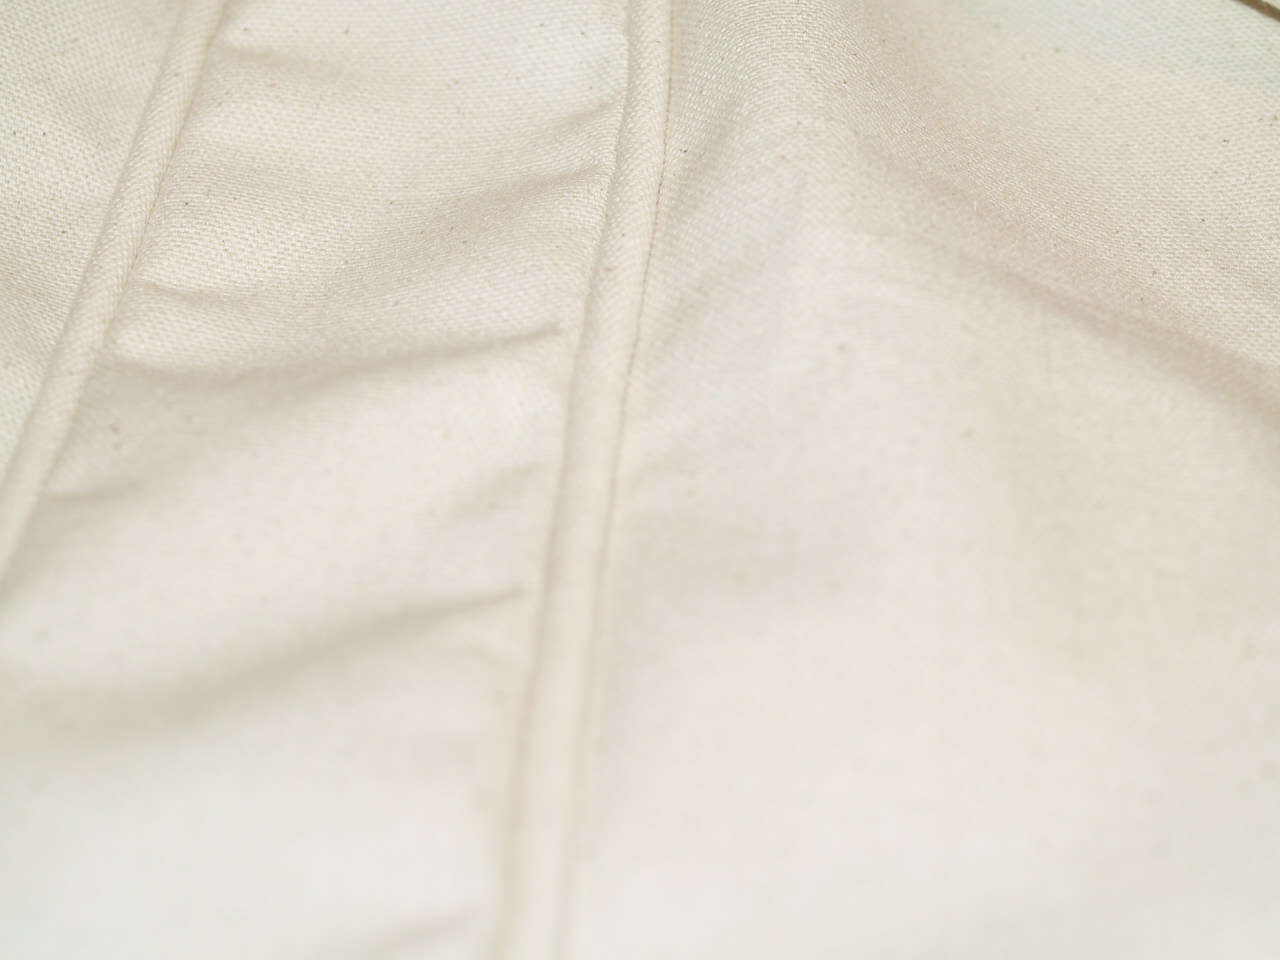
 Now take the fabric and line up the other long side and press the hem. As you can see from this photo this automatically will give you a nice hem when pressed.
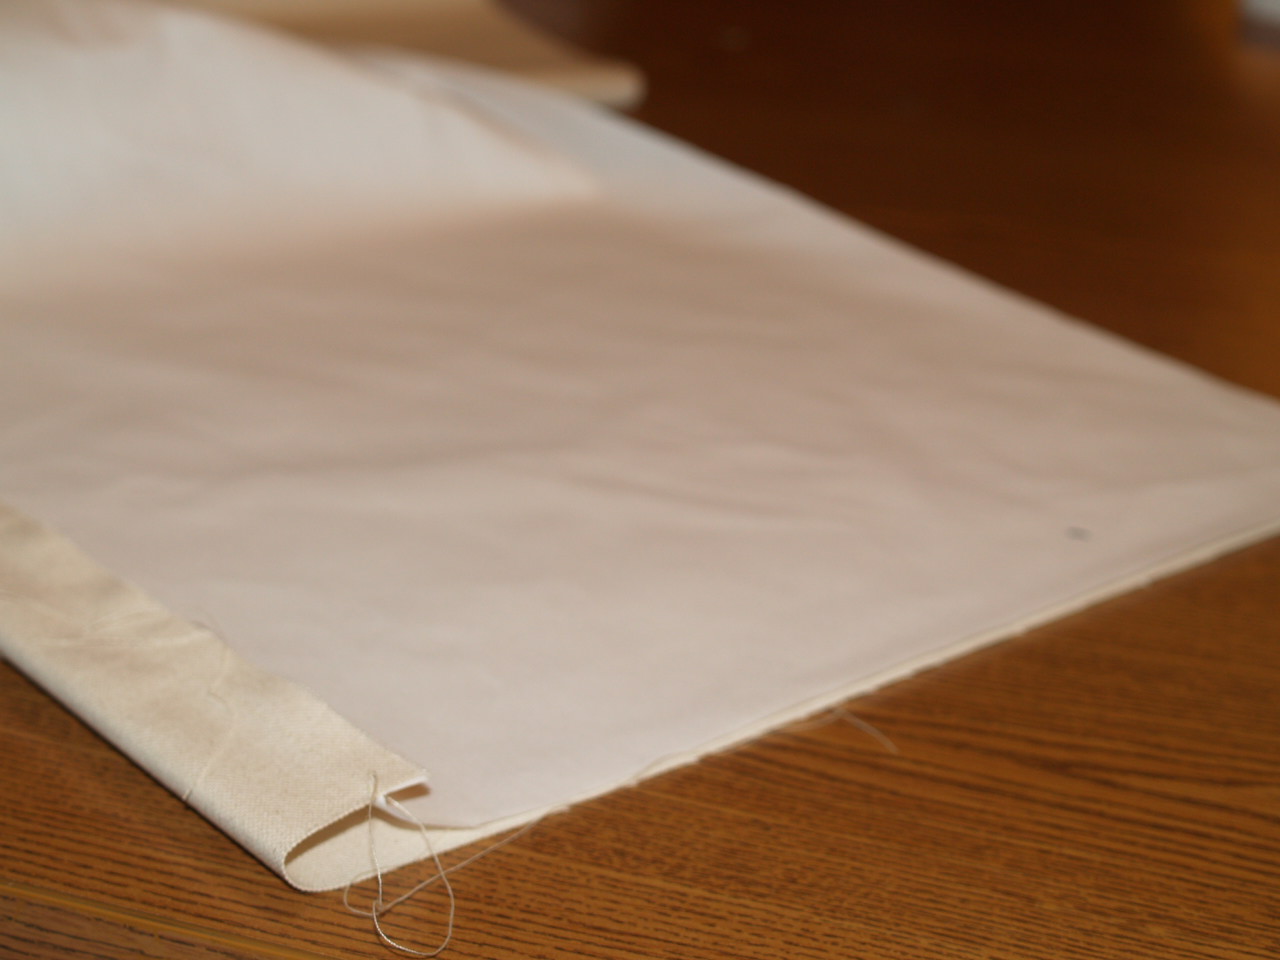
Before you turn your fabric right side out sew up the ends of the skirt.
Next turn your fabric right side out and stitch the other long side.
 During this step pin your skirt at the piping creating your corner pleats as you pin. I created three inch pleats at each corner.
Take this to the sewing machine and stitch down.
 Now you know how to create a slipcover for your parsons chairs!!
Happy sewing until next time!

