
How to make a window seat cushion
 This week I will take you step by step in making a cushion for a window seat.
SUPPLIES:


For this blog I used 2 and 1/4 yards Centella Lemon Tonic fabric from warehousefabricsinc.com, approximately 7 yards of piping, and a sheet of foam.
PROCEDURE:
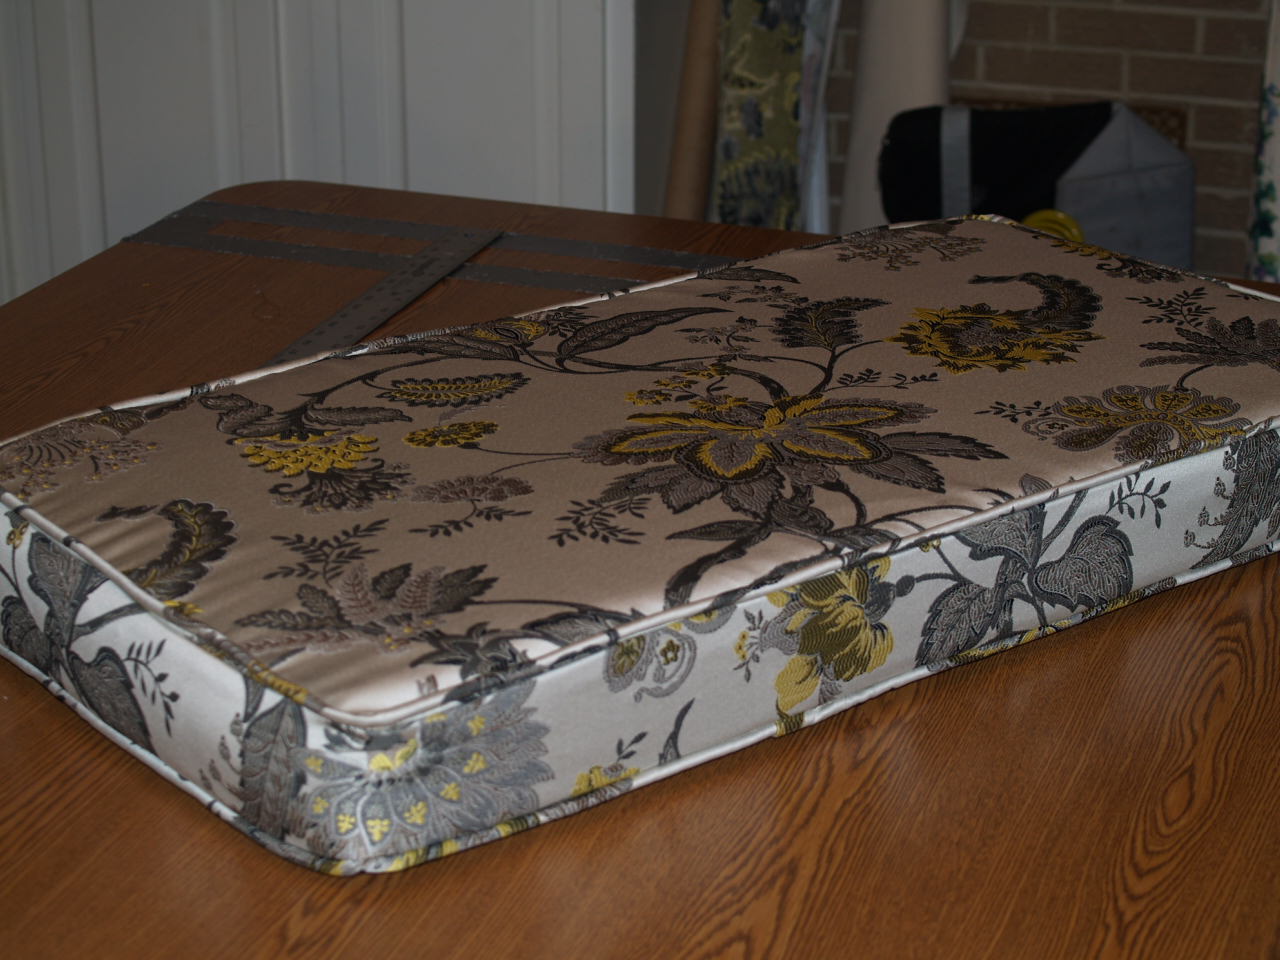
The first step in creating a cushion for your window seat is to measure the opening then cut your foam to fit. This cushion needed to be 37.5″ by 19.25″.
 Next step is to cut a top and bottom which will need to measure an inch larger. I cut these 38.5″ by 20.25″.
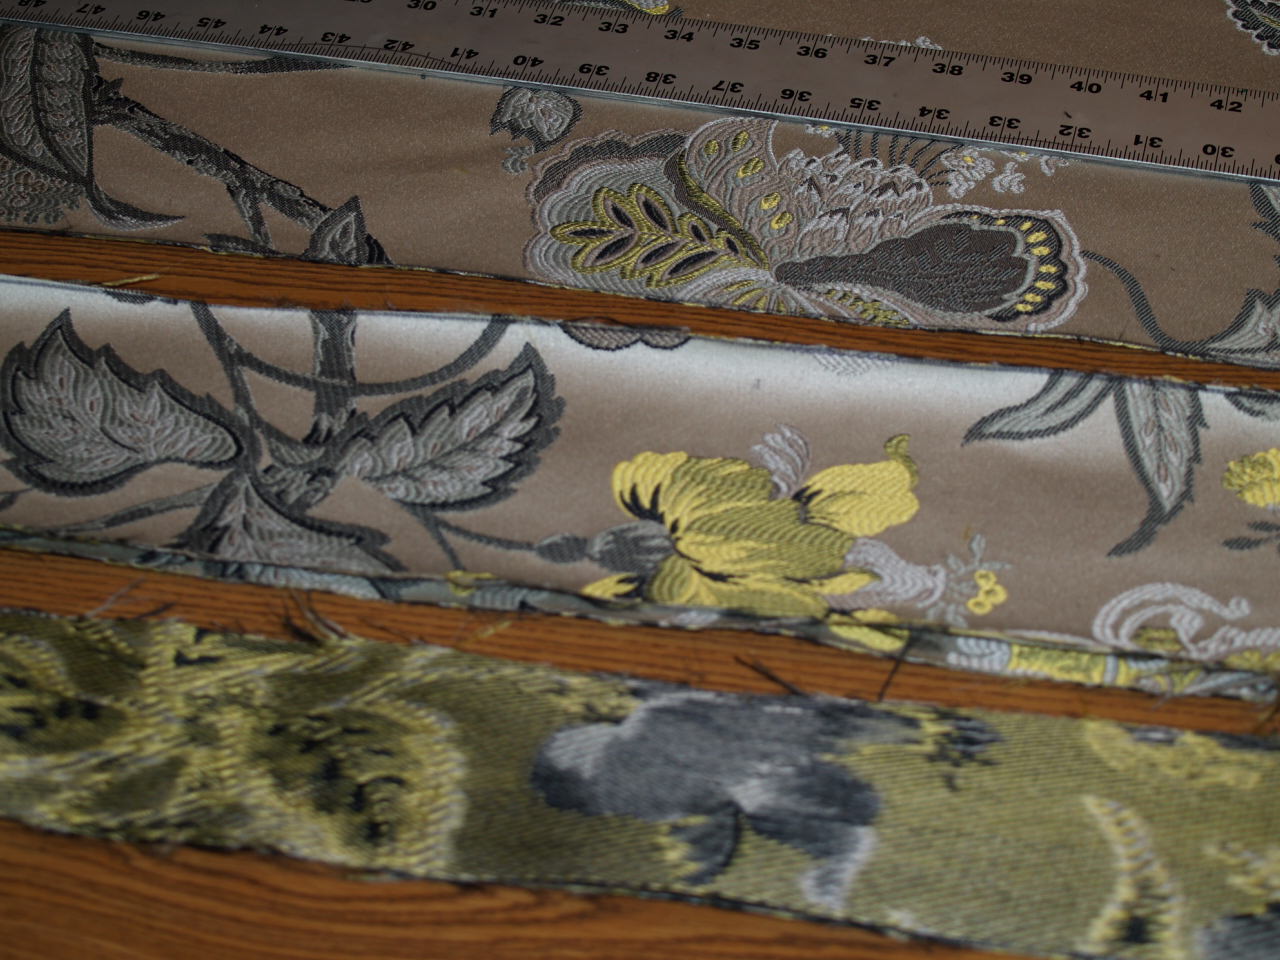 You will need to cut out fabric for the sides of the cushion. My foam was a 4″ thick foam so I cut three of my sides 5″ in length. For the width I cut 108″ (two widths of fabric), I will not need this much but I can always cut to width needed later. I will need to cut two pieces at 3″ length by 38.50 inches for the fourth side ( this will be the zipper section).
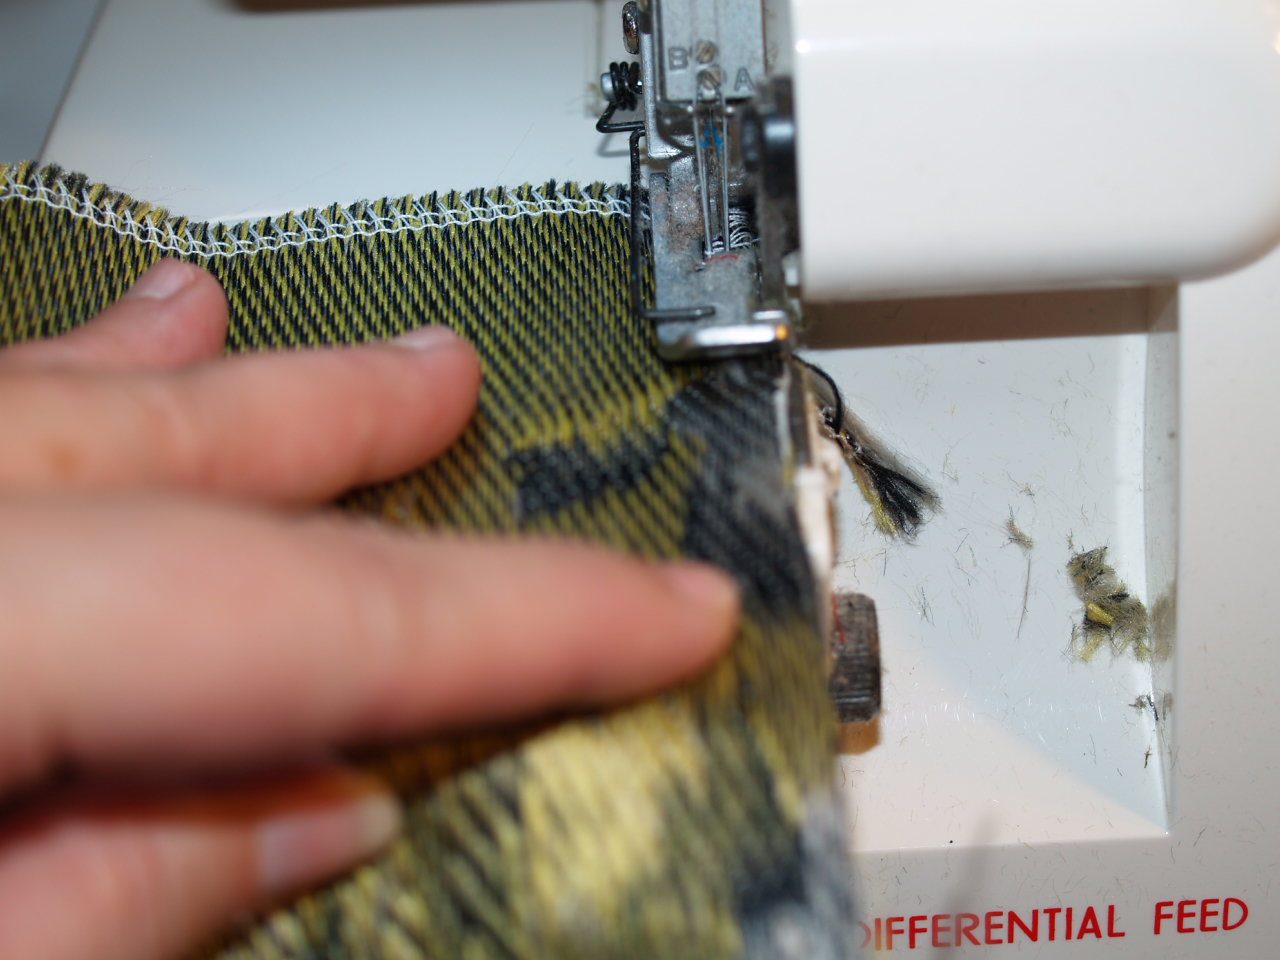 Since a lot of fabric will ravel it is best to serge the edge of everything that is cut out for upholstery.
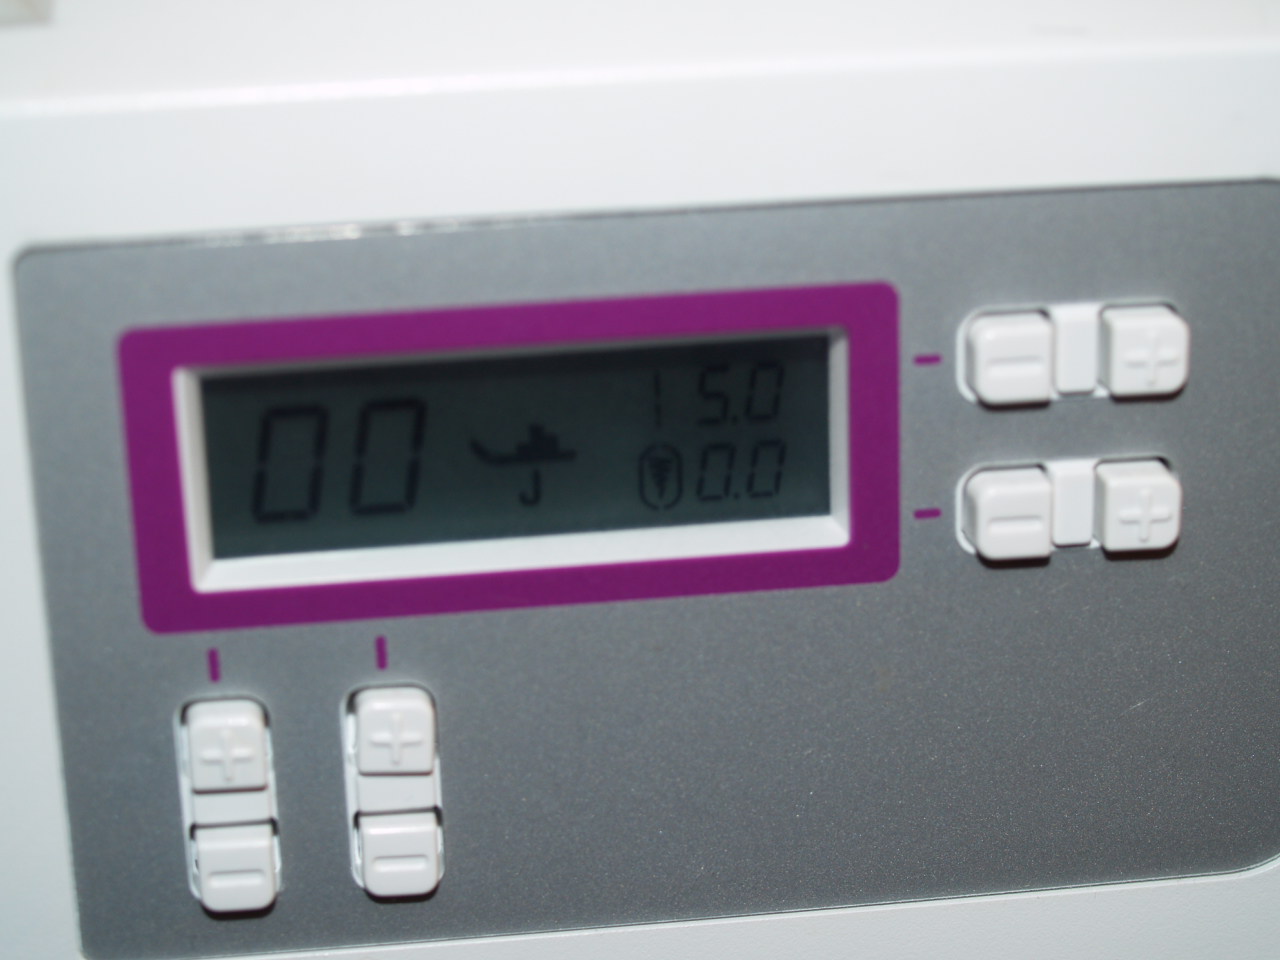
 I took a photo of my stitch count on my sewing machine to show that the stitch count needs to be very long. My machine is set on 5.0 this will make the baste stitch for the zipper. Take the two 3″ pieces and baste stitch them together right sides together.
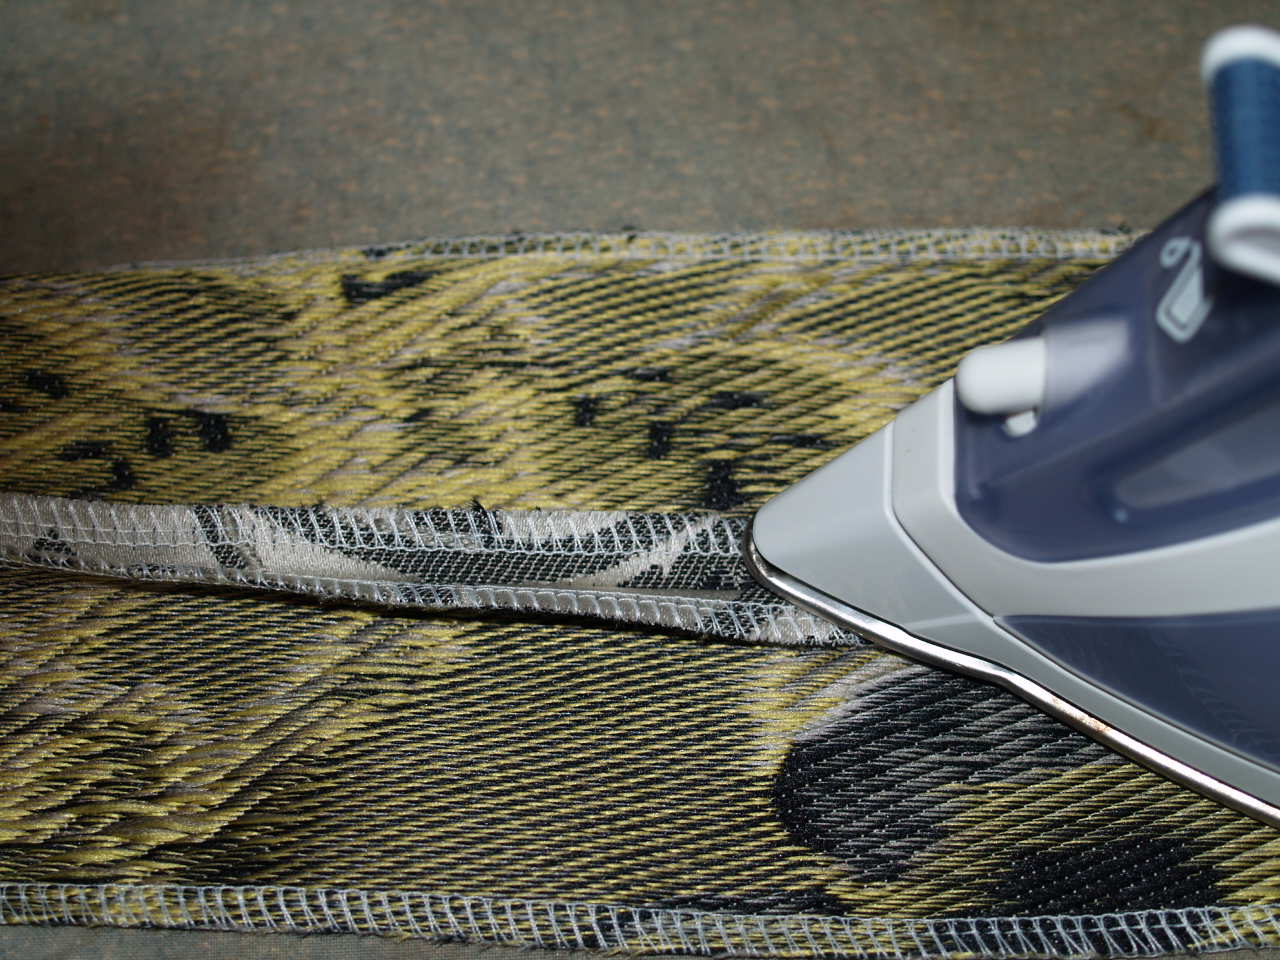
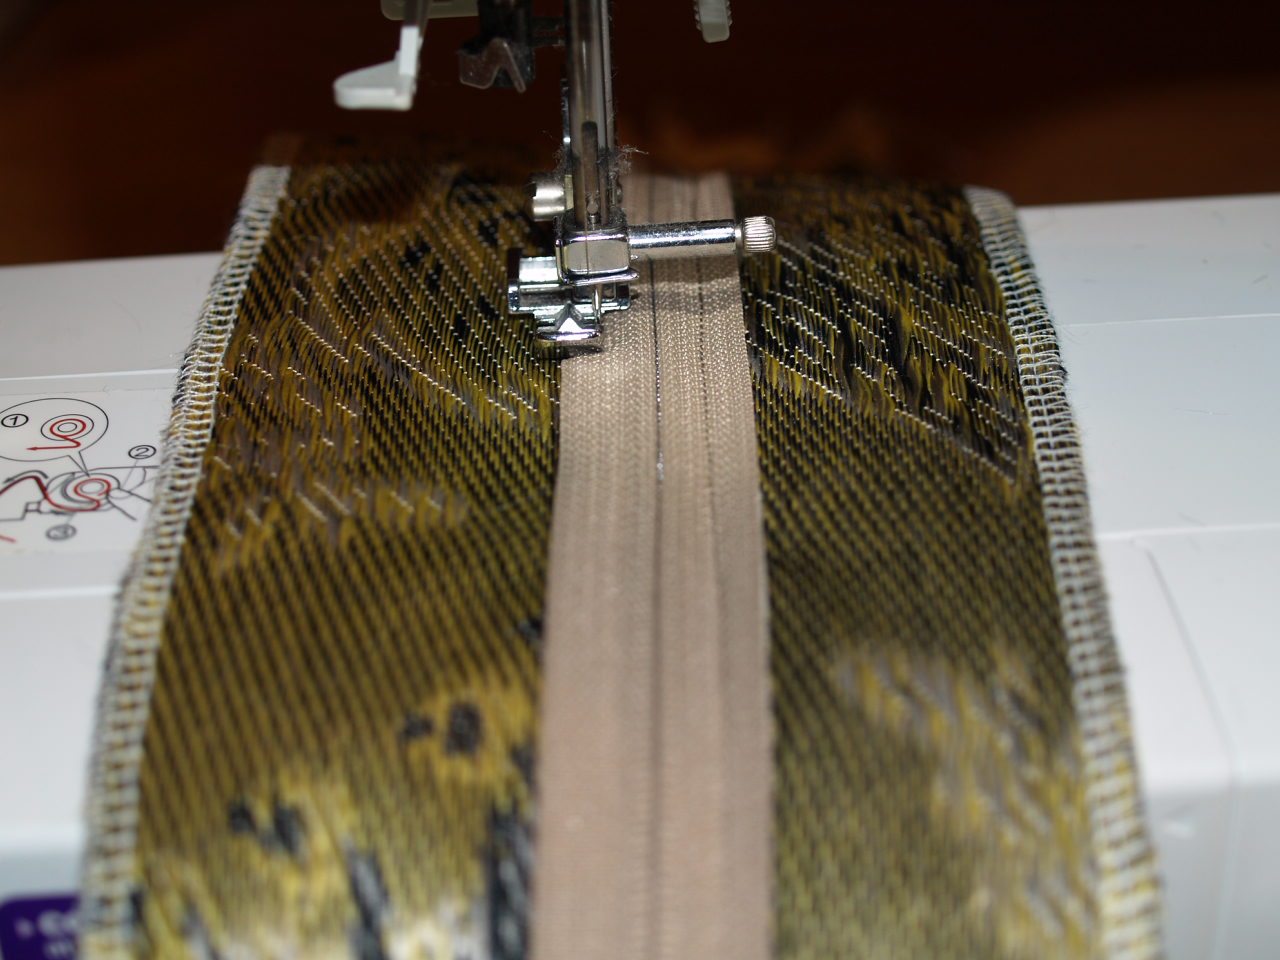
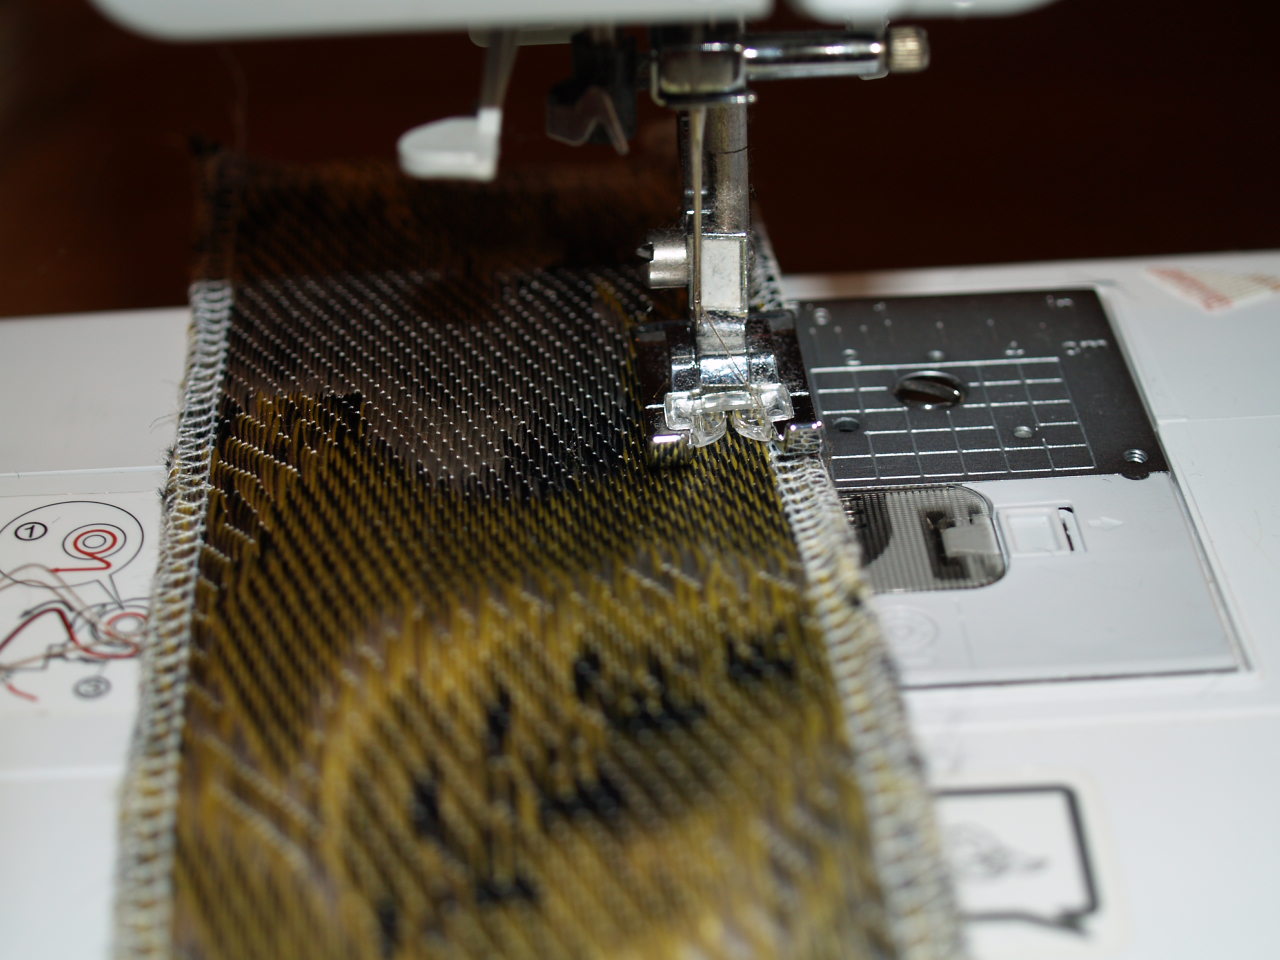
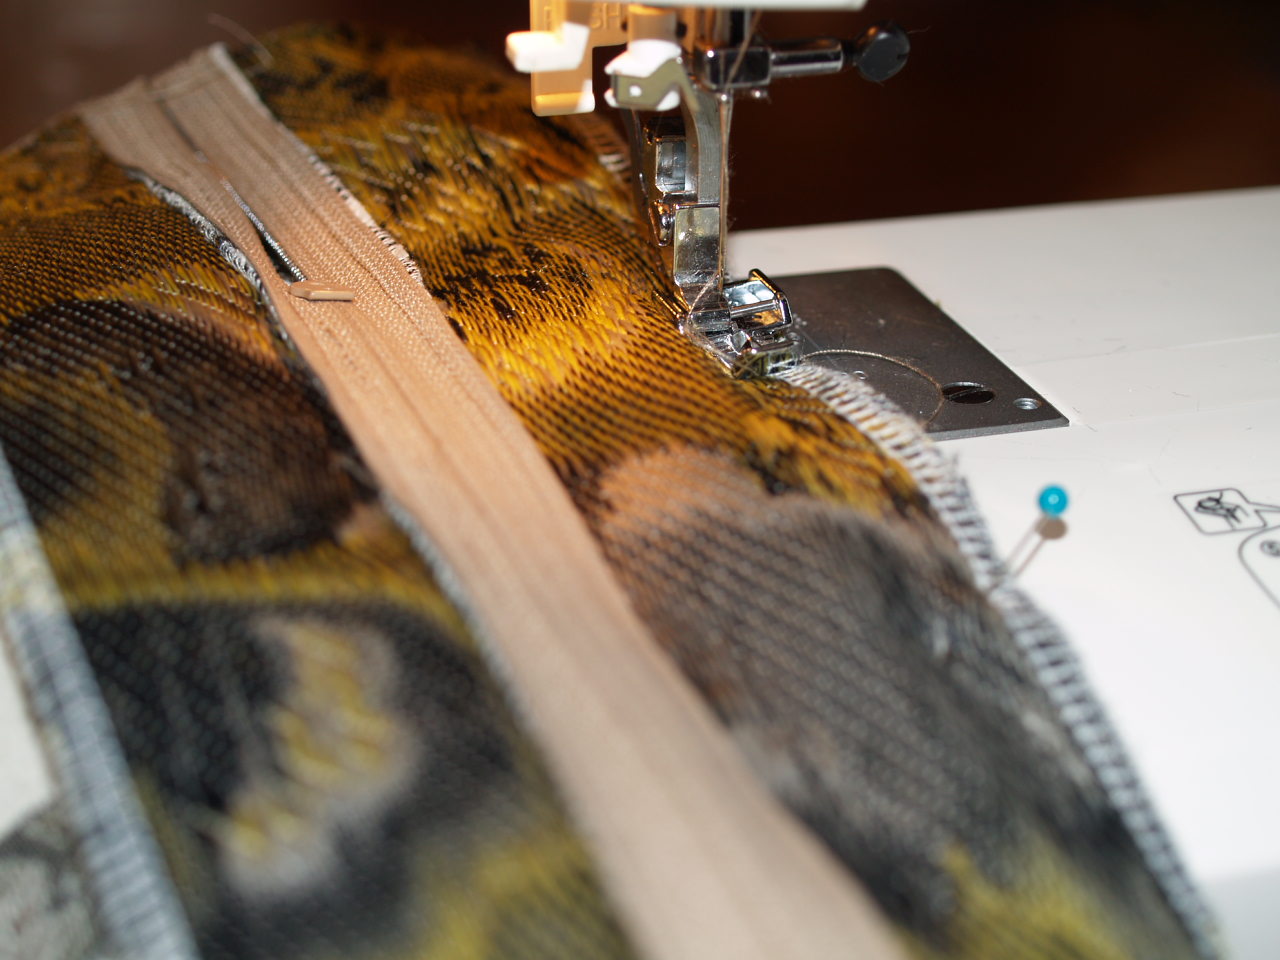
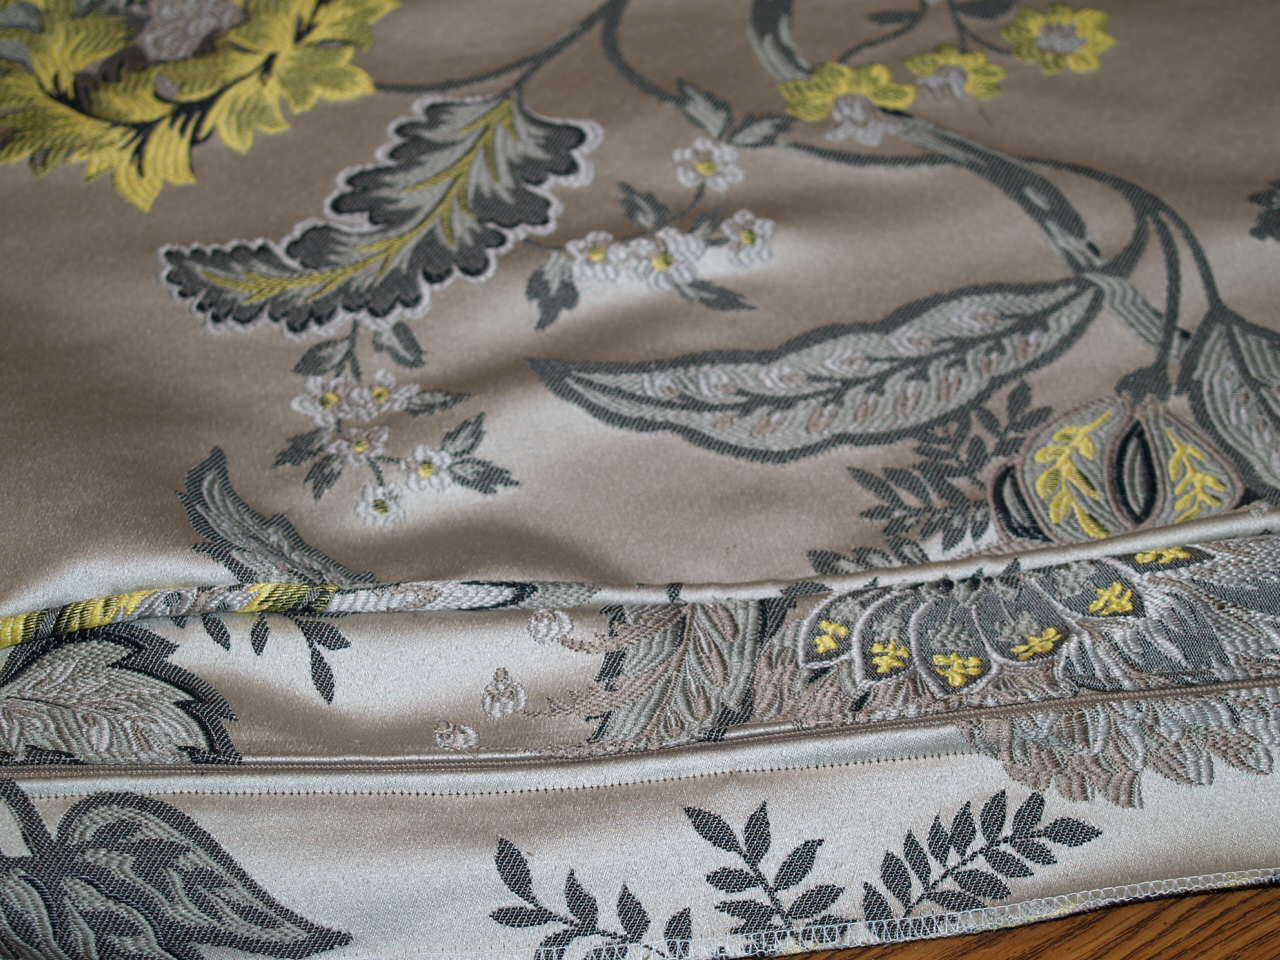
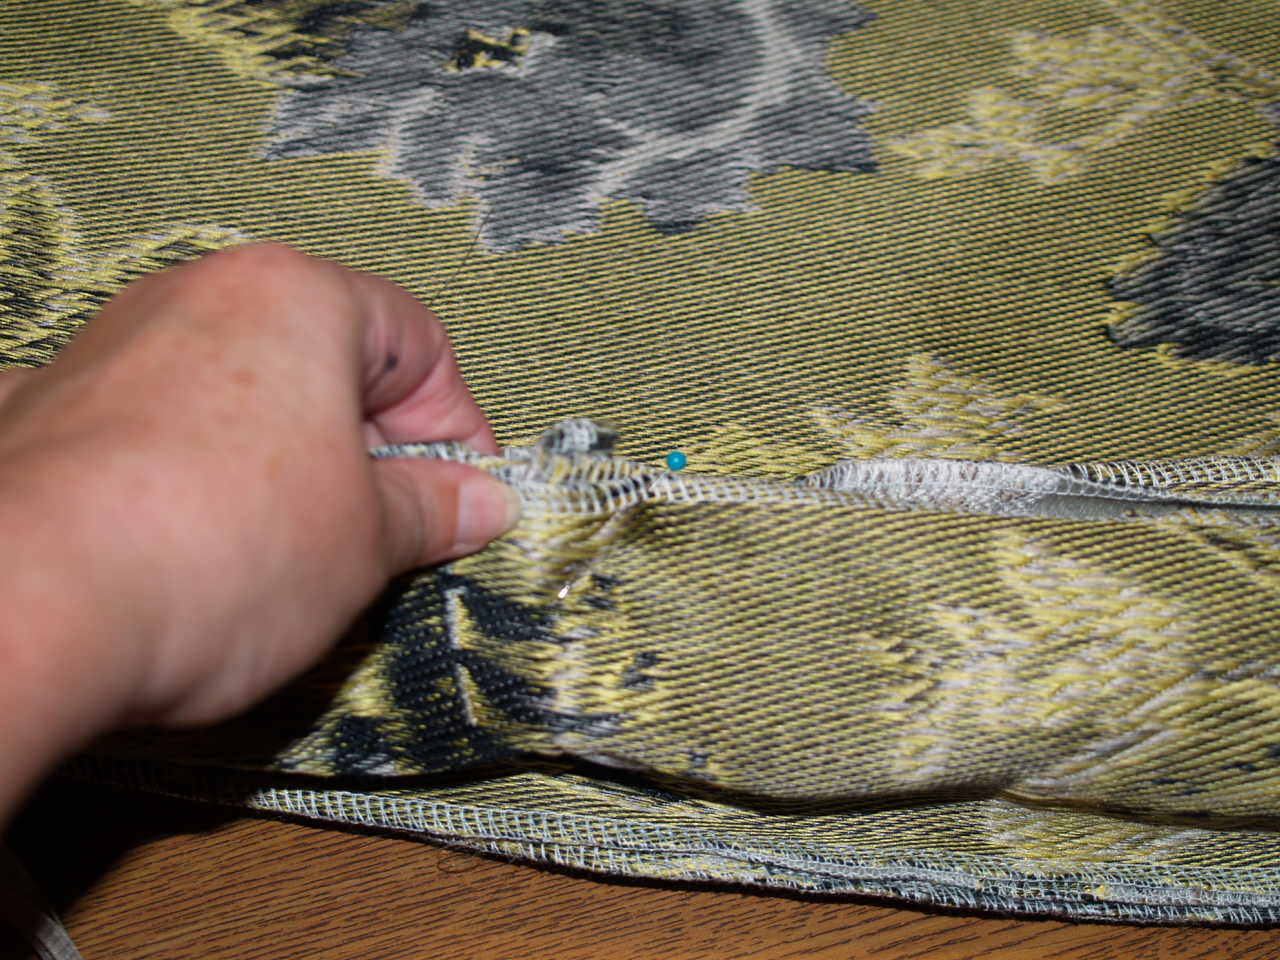
Press you seam open then sew in the zipper.
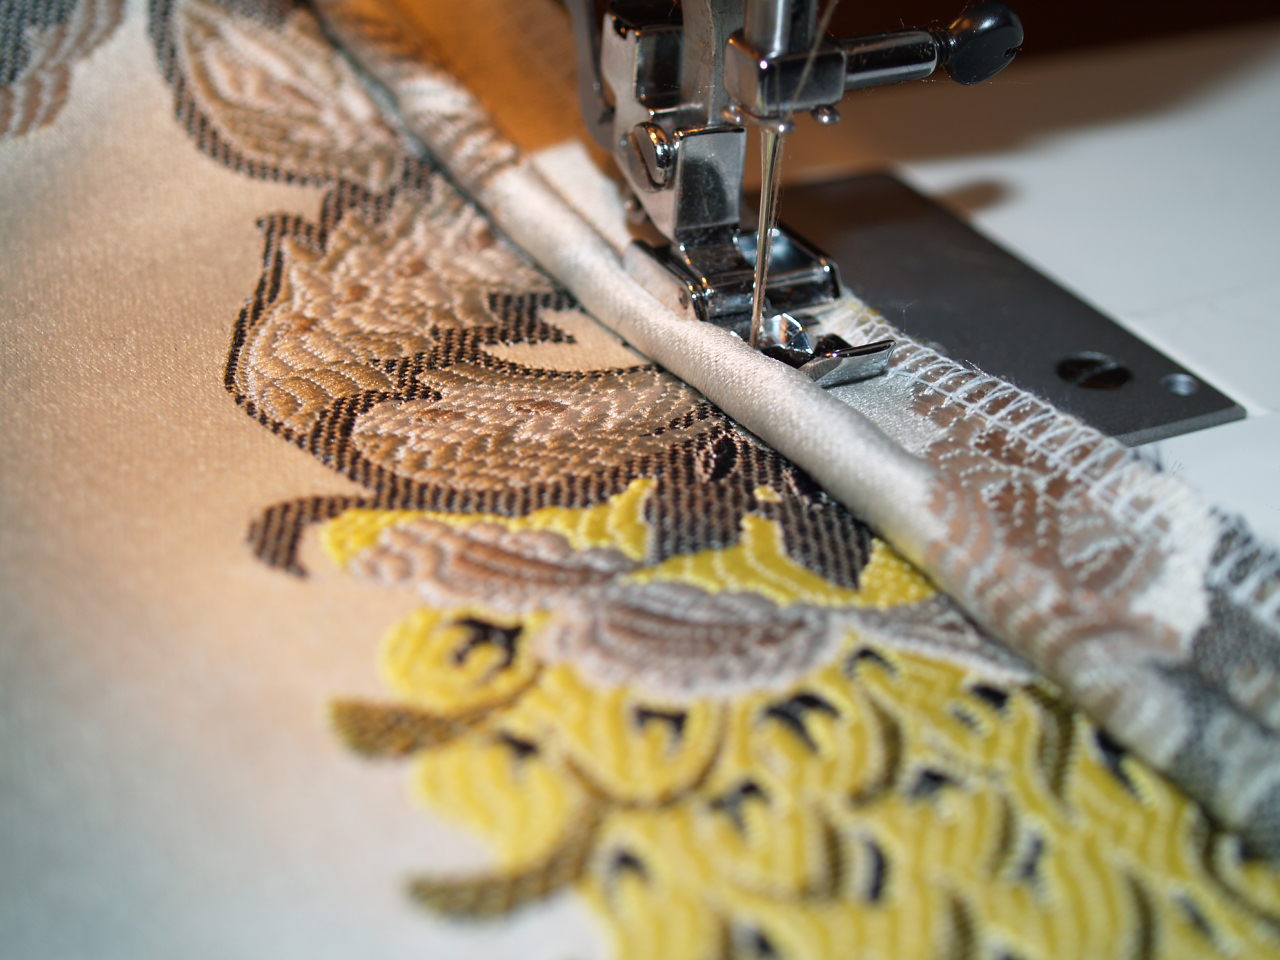
During this blog, I will not get into how to make the piping since I have covered this previously. Take your piping and add it to all four edges on the top side of the top and bottom pieces of your cushion.
Next, take the time to pin your box sides to the top cushion fabric once all the piping has been added. Then stitch down. The do the same with the bottom cushion fabric. Make sure as you are pinning that all corners are at their correct positions.
All that is left to do is the turn your fabric right side out and put the foam inside!
Now it’s your time to try one!
Happy Sewing!!!

