
Let’s make an Oblong Tablecloth!
 During this blog, I will demonstrate how to sew a oblong tablecloth with cord.
SUPPLIES NEEDED:

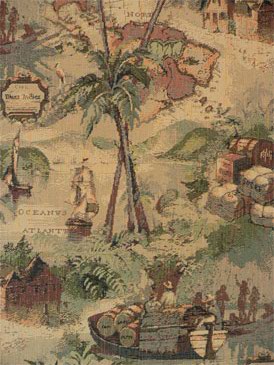
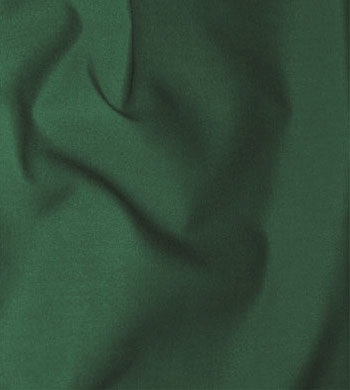
I used 6 and 1/4 yards of the face fabric and 2 and 1/2 yards of the 90″ wide lining plus 7 yards of piping. The fabrics used in this blog are Britannia Antique and 90″ sheeting Hunter Green both purchased from warehousefabricsinc.com.
PROCEDURE:
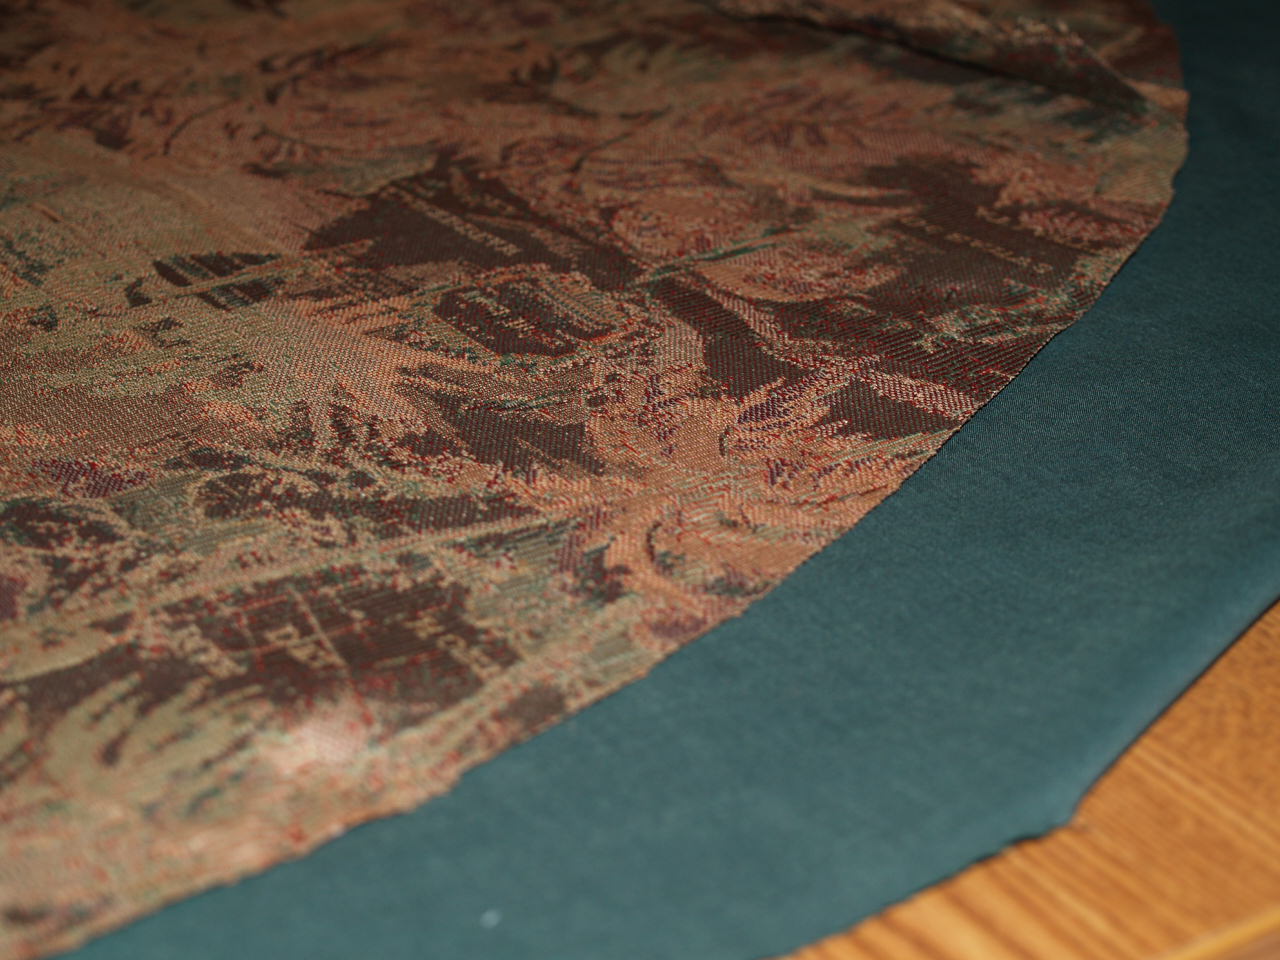
The first step I took in creating this tablecloth was to place a see through fabric on top of the table and trace the edge of the table. My customer wanted a 12″ drop on the table cloth so I added the 12″ all around the diameter of the table top.
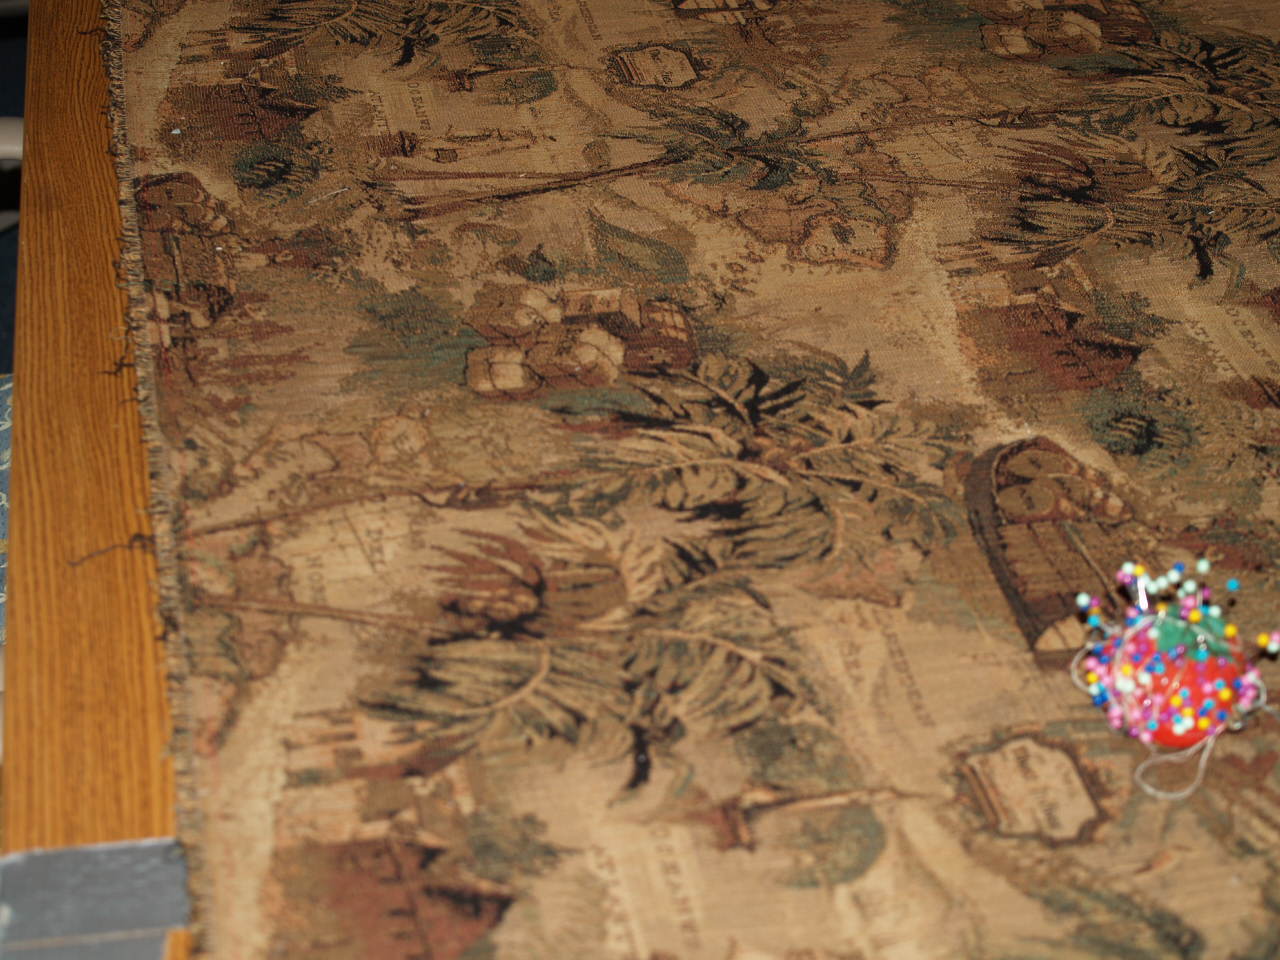
 My table measured 42″ wide by 60″ long but after I add the 12″ to the diameter it will end up being 66″ wide by 84″ long. Since my fabric only measures 54″ wide I will need to add a total of 13″. To do this I started by cutting my face fabric into two pieces. The first measured 2 and 1/2 yards and the second piece measured 3 and 1/4 yards to allow for the repeat. Now that you have your pieces divided into 2 pieces you will need to half your second piece of fabric to add to the sides of the fabric you cut 2 and 1/2 yards. As you can see in the photos I matched up the designs and pinned into place then stitched.
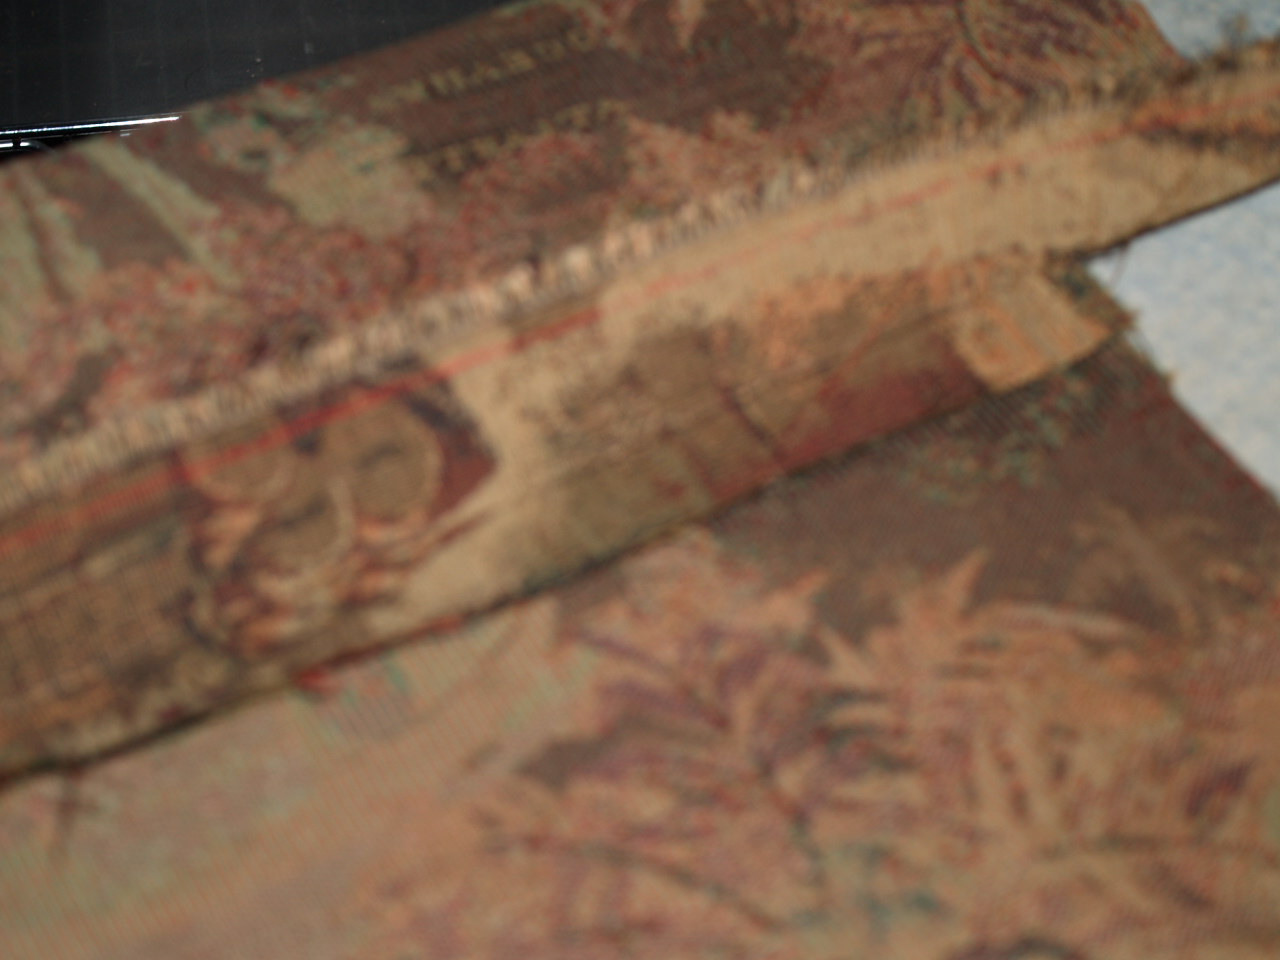 Press you seam open. Notice that even on the seam that the design is matched. After you have gotten both sides sewn, place your pattern that you made at the beginning and cut your table cloth out. To do this make sure to find your center on both the pattern and the face fabric and match those up.
 Now that you have successfully cut your face fabric it is time to cut your lining fabric. Since I chose a 90″ wide fabric for the lining, I will be able just to lay the face fabric on top and pin together and cut.
In the past few blogs I have demonstrated how to make piping so I will not talk about that during this blog. I made approximately 7 yards of piping for this table cloth.
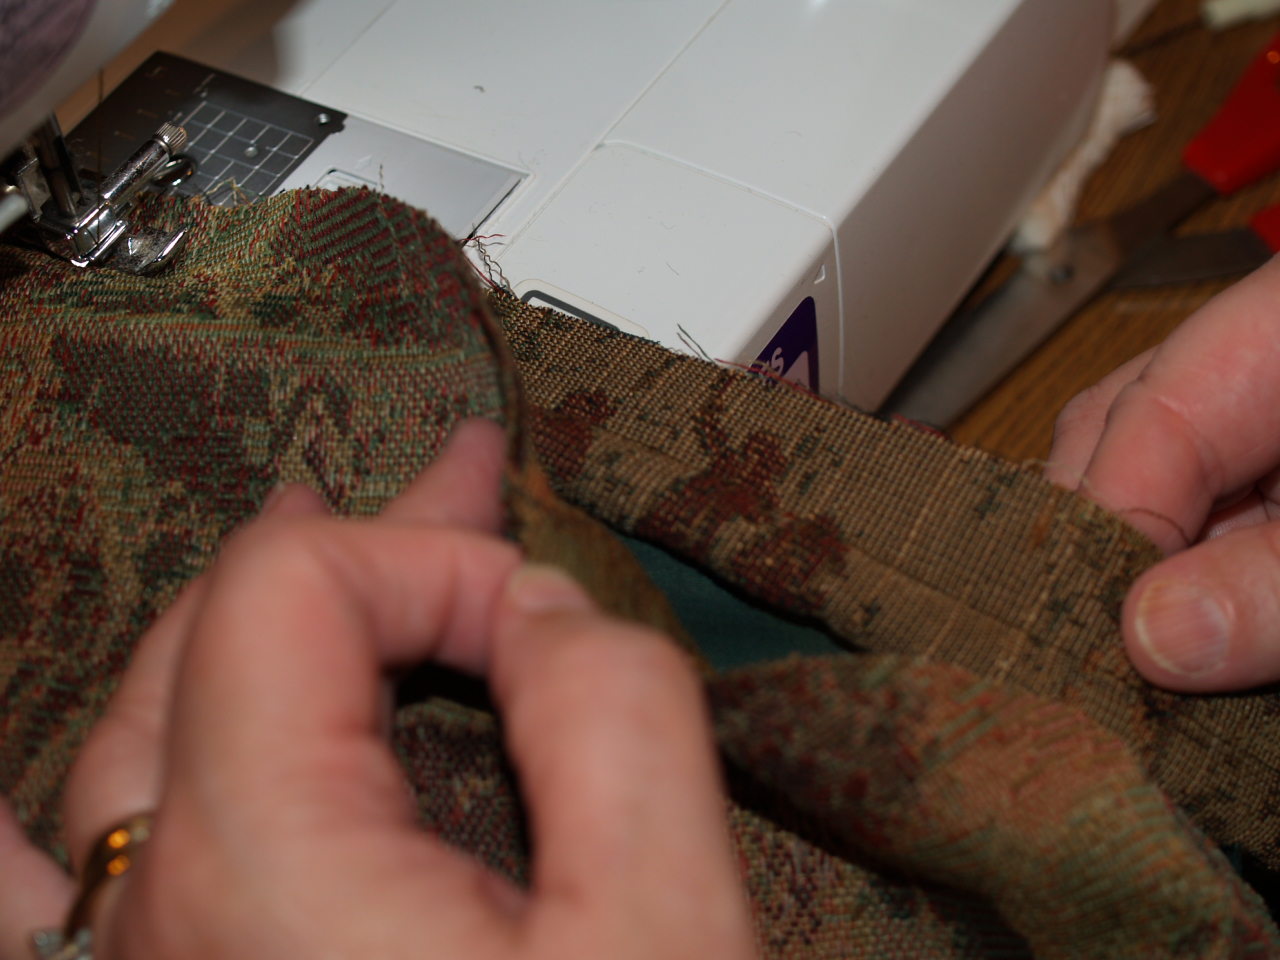 When I cut out the lining fabric I went ahead and pinned the lining and face right sides together where I could add the piping easily as shown in the photo. I sewed the piping to the diameter of the table cloth leaving about a 10 inch opening that will be used to turn the table cloth inside out.
 Once you have stitched around the diameter then clip the edges so the table cloth will lay pretty.
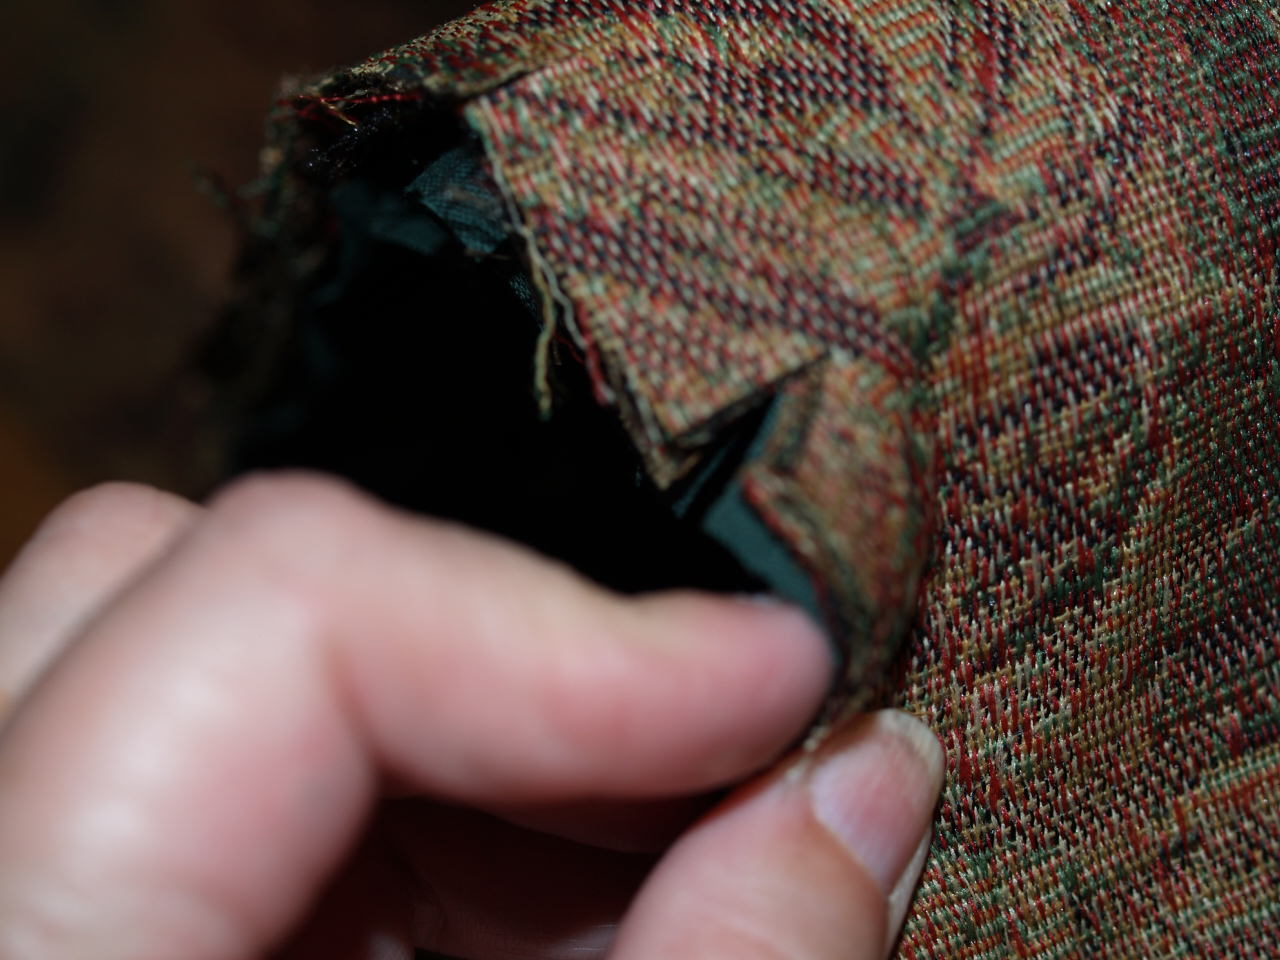
 After the turn the fabric right side out then sew the opening closed.
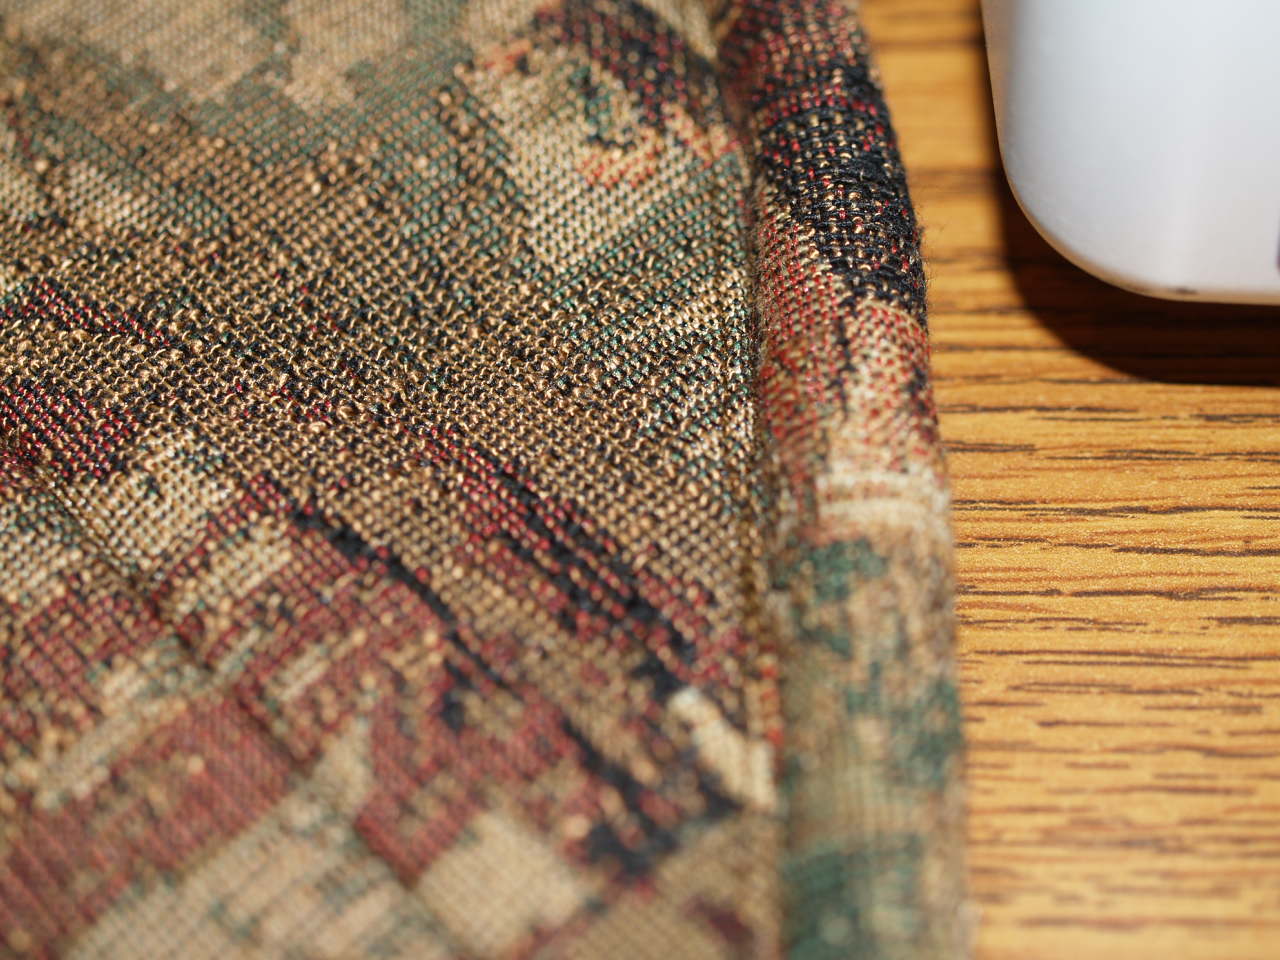
Now you know how to create your very own table cloth with a piped edge.
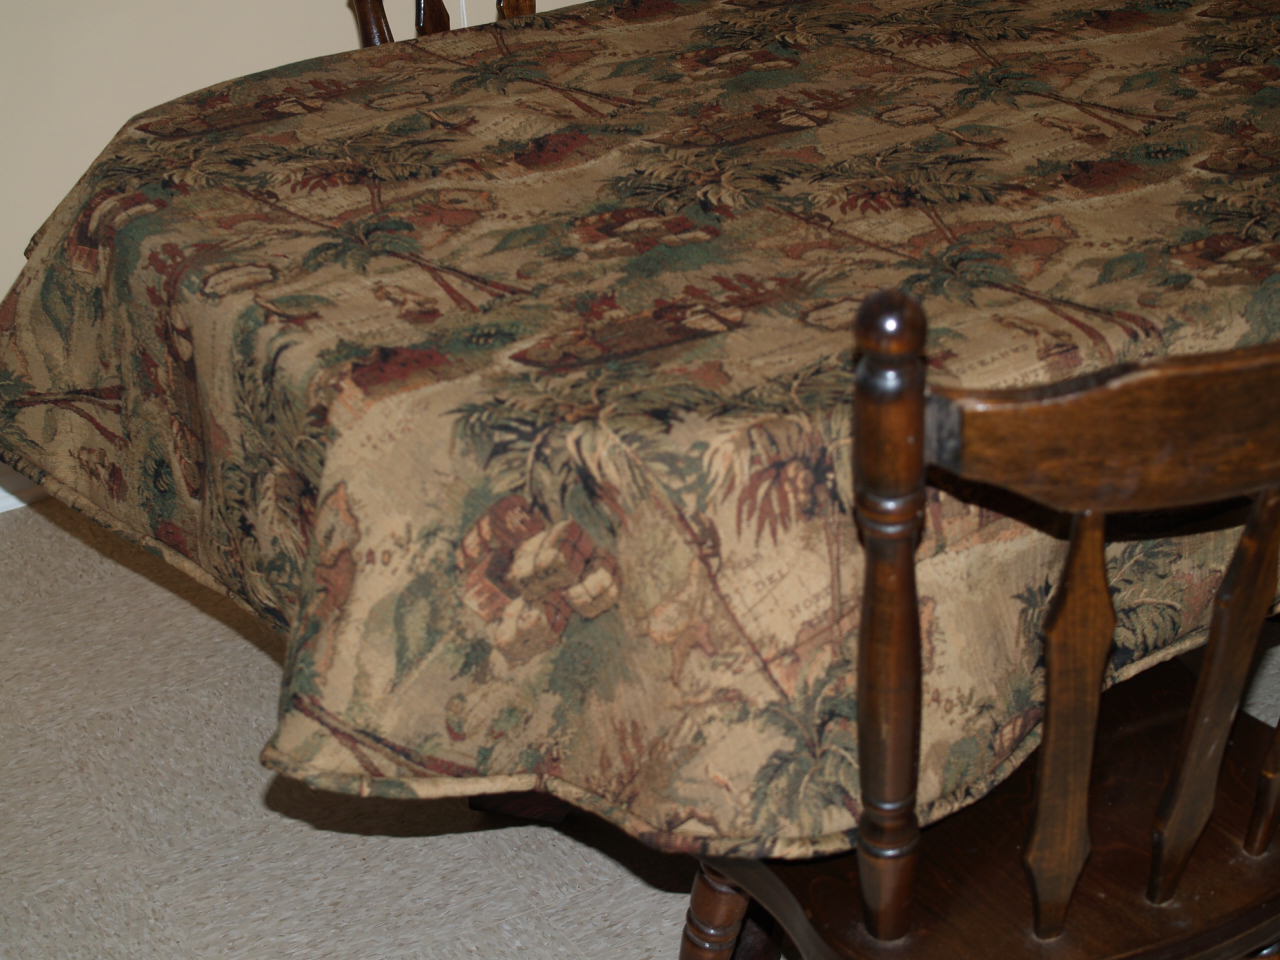 This photo is not of the table this cloth will be placed on but you can see it will hang beautifully.
Happy sewing until next time!

