
Let’s Recover An Ottoman!!
 During this blog, I will give you step by step instructions on re-doing and old ottoman.
Supplies Needed:
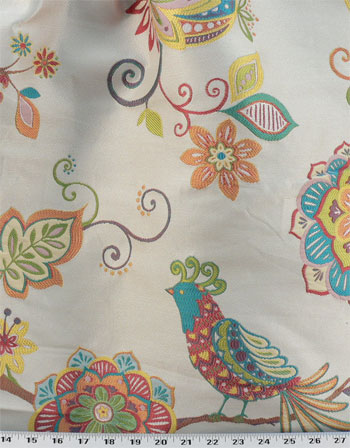
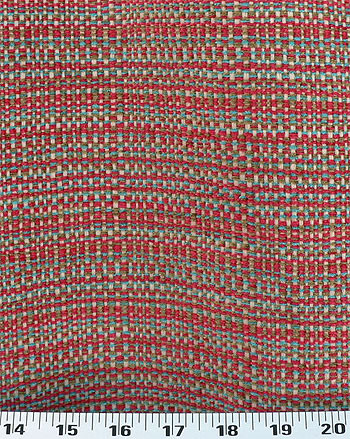

I used 1 yard of How Tweet Tutti Fruitti, 2 yards Vista Carnival and 4 yards piping, along with a staple gun, dust cover and two types of sewing machines. (Straight Stitch and a Surger)
Procedure:
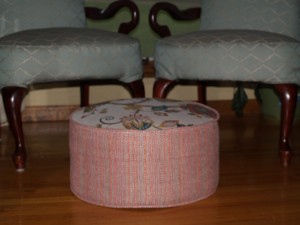
I purchased this old ottoman at an Estate sale for $1.25 thinking it could look great with new fabric and I wasn’t wrong.
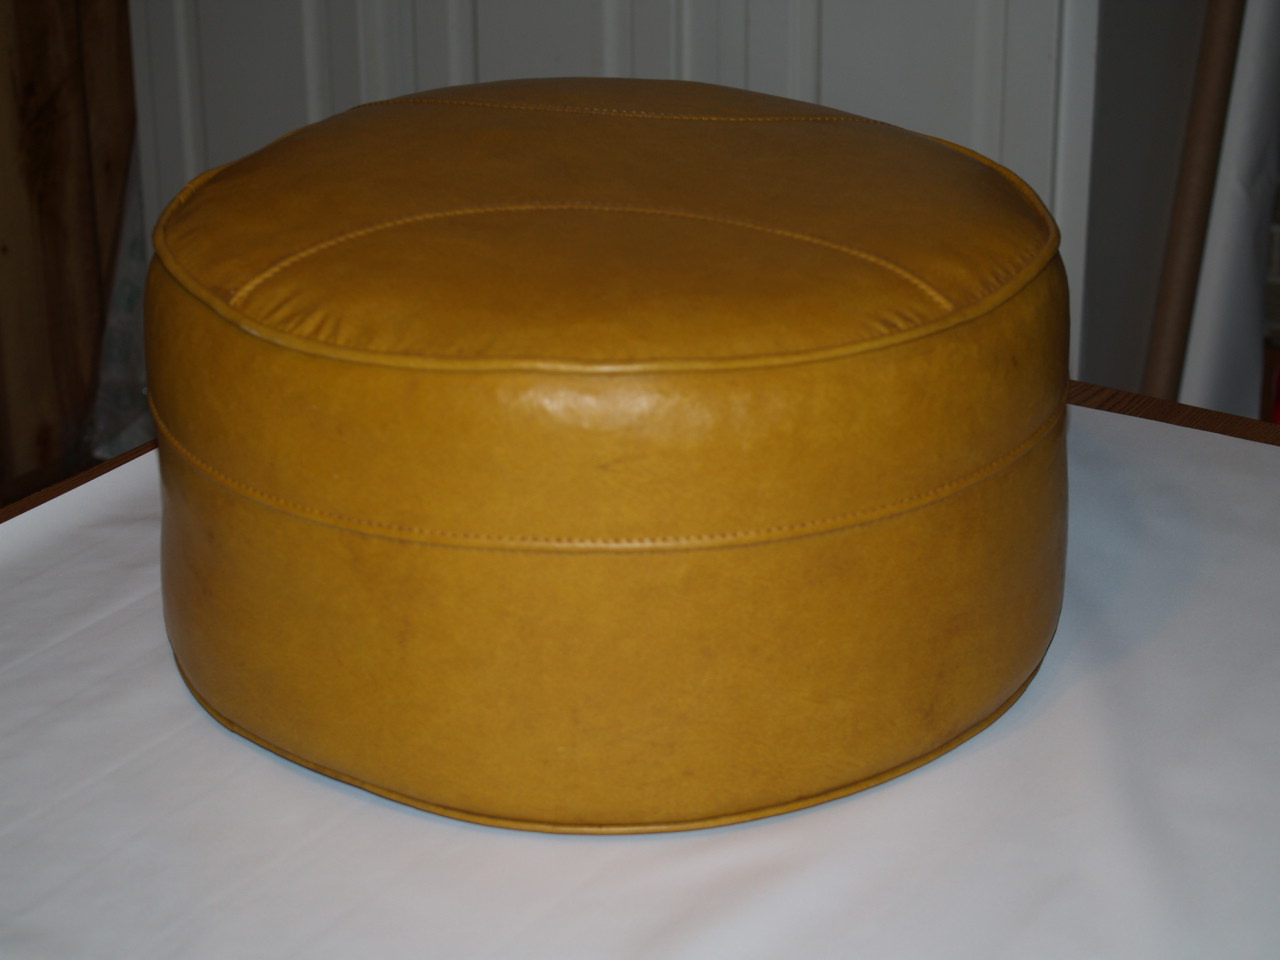
This ottoman was in good shape so all I had to do was give it a good cleaning to begin with. If the vinyl had been ripped I would have taken all the exterior product off.
First step in creating a new cover is taking the measurements. The top of my ottoman measured 20 inches. Since it is always a little difficult to get a perfect circle, I laid my fabric flat on the table (right side down) and took my ottoman and turned it upside down on my fabric and drew the top of the ottoman onto the backside of the fabric. Once I had the ottoman traced I then added another half inch all the way around to allow for the seam.
 After cutting the fabric I had traced allowing an extra half inch, I cut this out then surged around the edges to keep the fabric from raveling.
Next I want to cover some piping to use around the top and bottom of my ottoman. To do this some people will cut on the bias I chose to cut mine straight across the length of my fabric. Either way will work just fine for this application. I made my cuts 1 and 1/2 inches wide. (I should have cut them at least 2 inches, this was hard to work with).
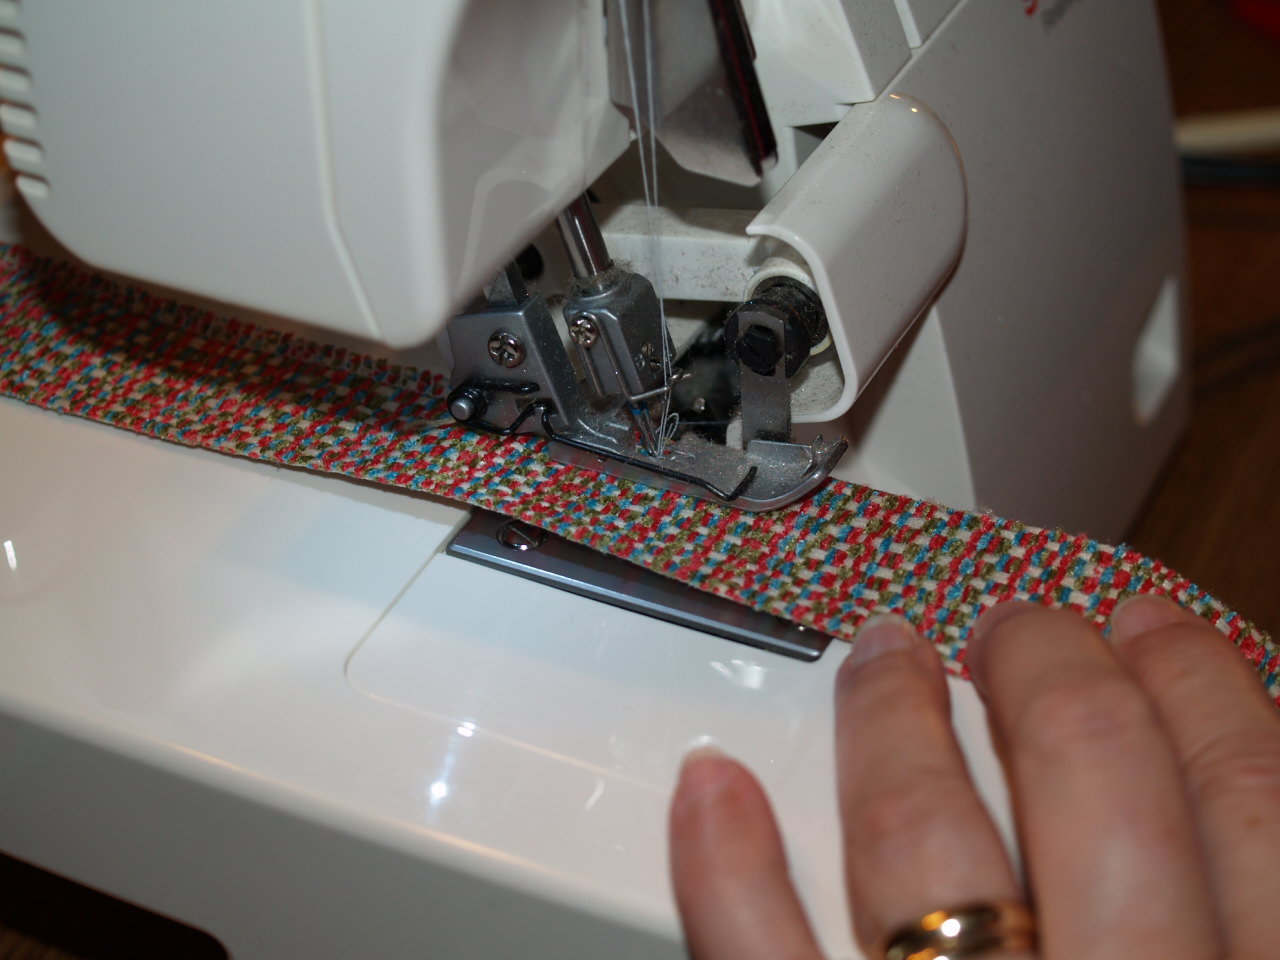 Go ahead and surge your piping material also. After you have surged your piping material, place your cord on the material. Using your zipper foot sew the cord inside your piping material which has been folded in half length ways. Making sure to sew as close to the cord as possible.
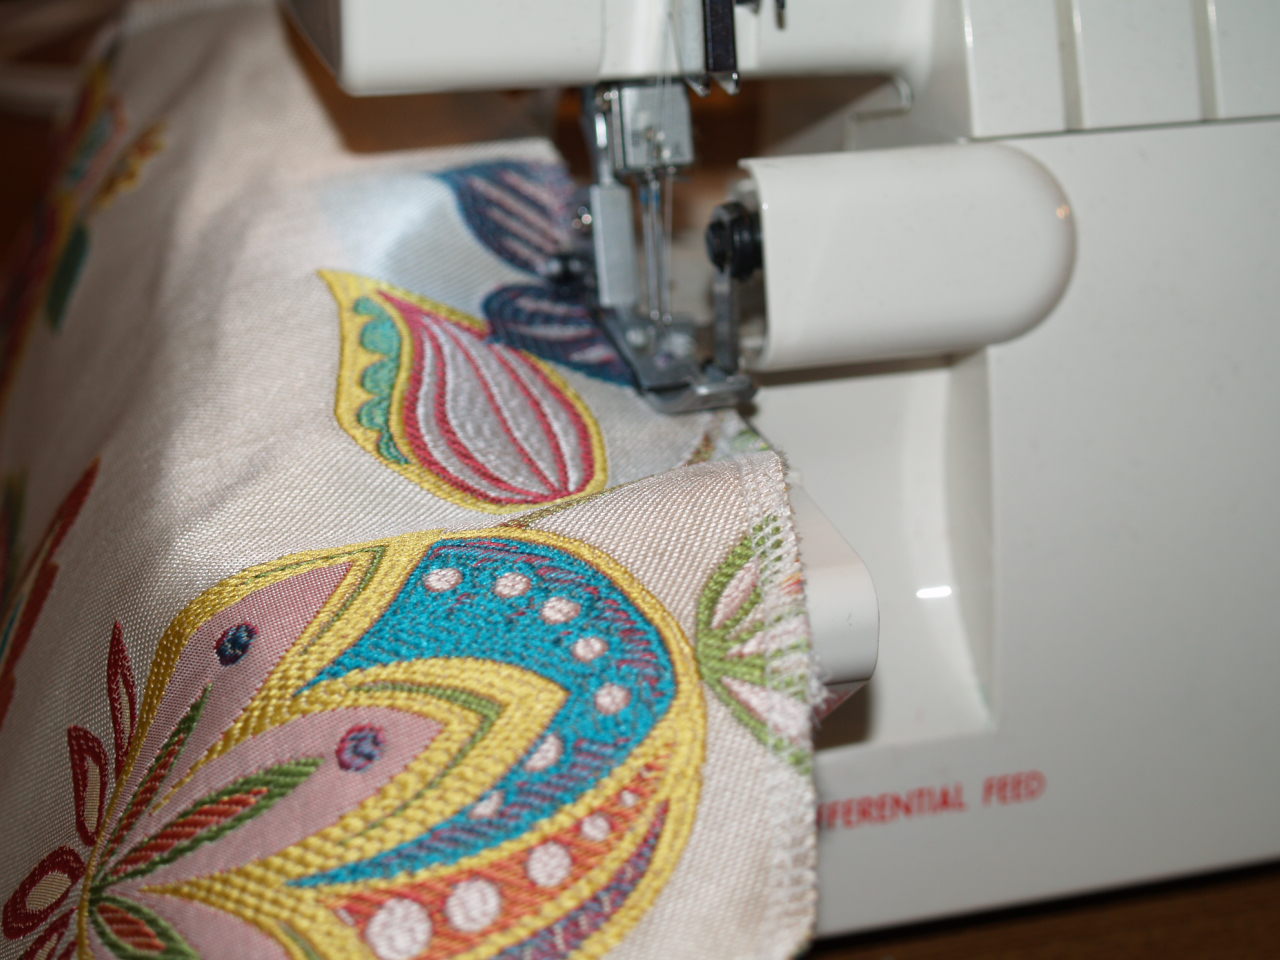
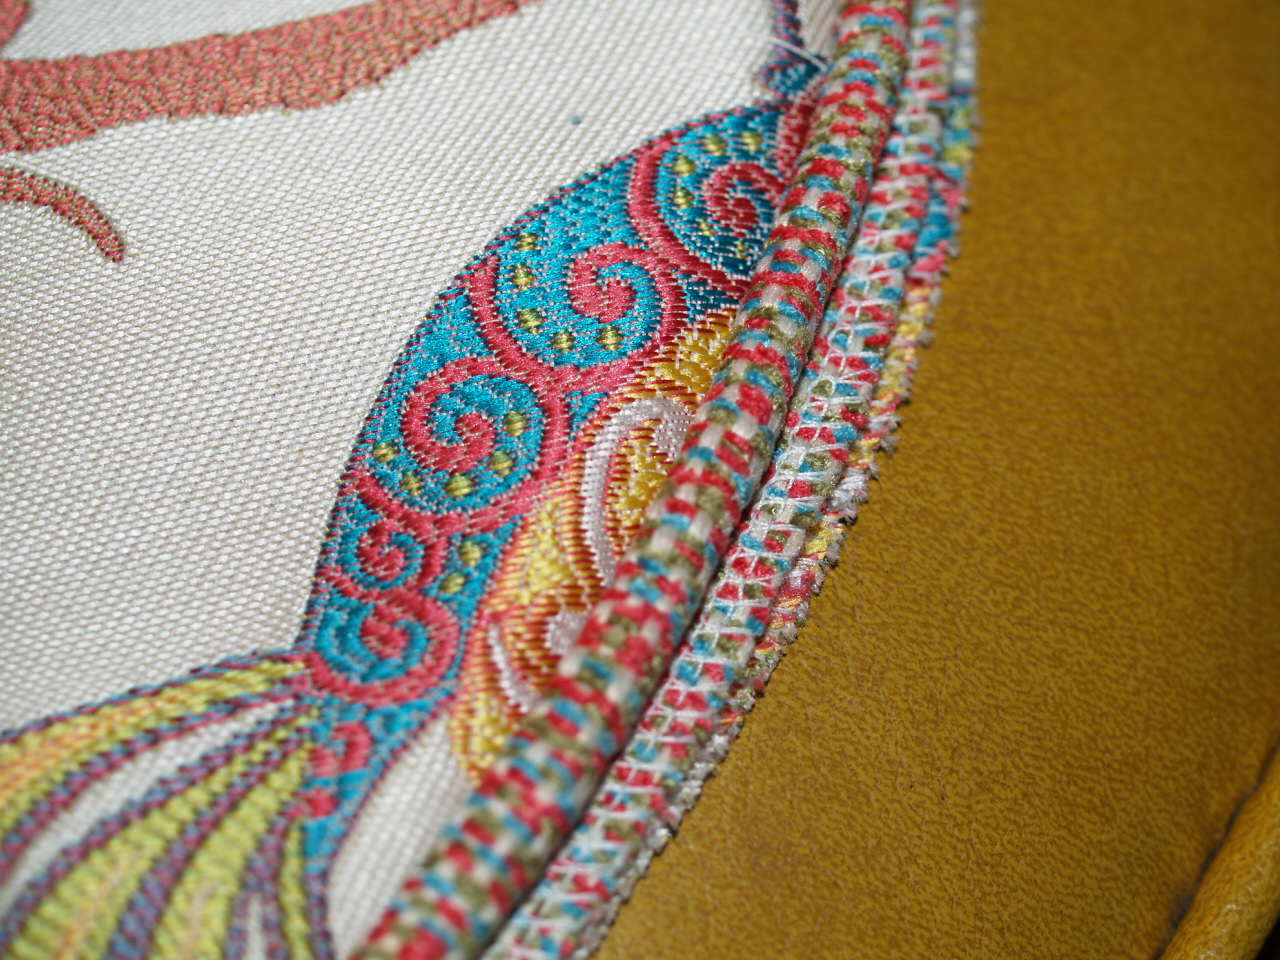 Attach your piping to the fabric you have already cut and surged for the top of your ottoman. To do this, have your fabric laying face up and place your covered piping with the raw edges together, pin and using the zipper foot sew the two pieces together.
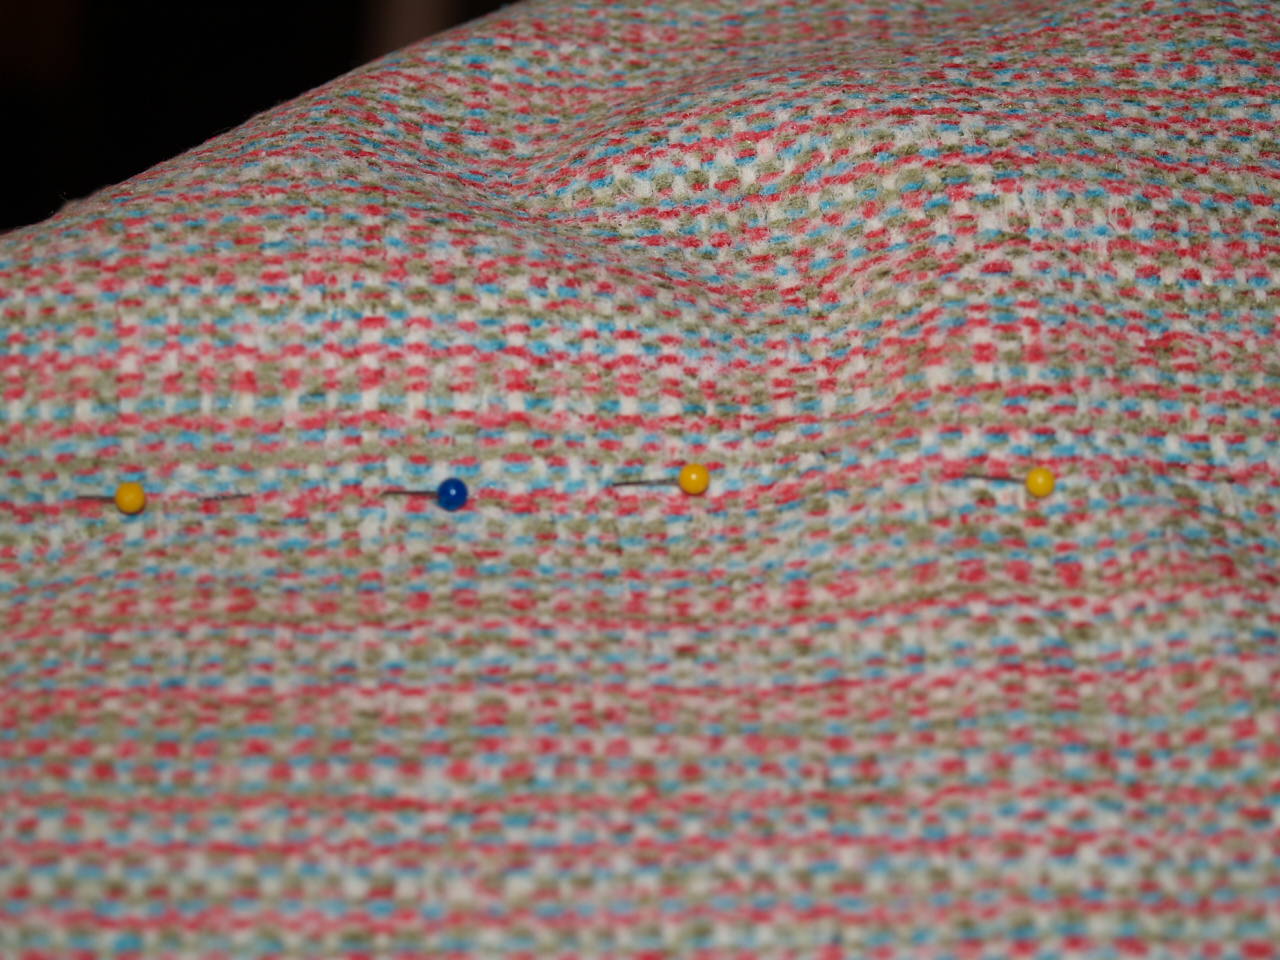 Next, measure the side of your ottoman’s diameter and height. I took the easy way out once again with my measurements. The height of my ottoman was 10 and 1/2 inches so I cut a length of fabric 13″ x 72″. I took this fabric and surged the edges to prevent raveling. Then, I took the fabric and wrapped it completely around the diameter of the ottoman,(right sides together) pulled it tight and penned it as shown in the photo. Stitch along penned line.
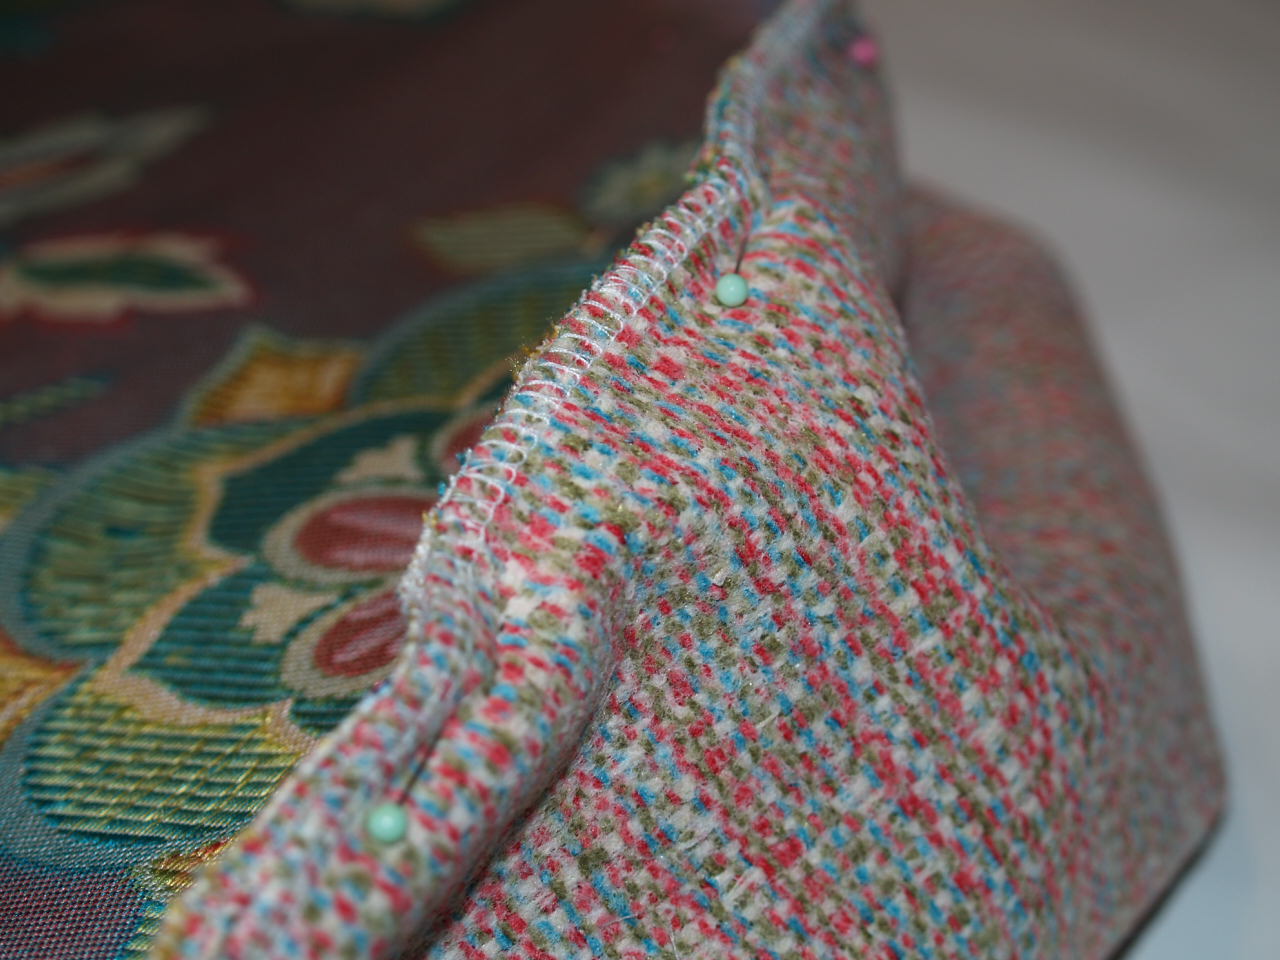 Now it is time to attached your side piece to your top piece. It makes the job much easier if you pin your pieces together before sewing. Use your zipper to attach these pieces together.
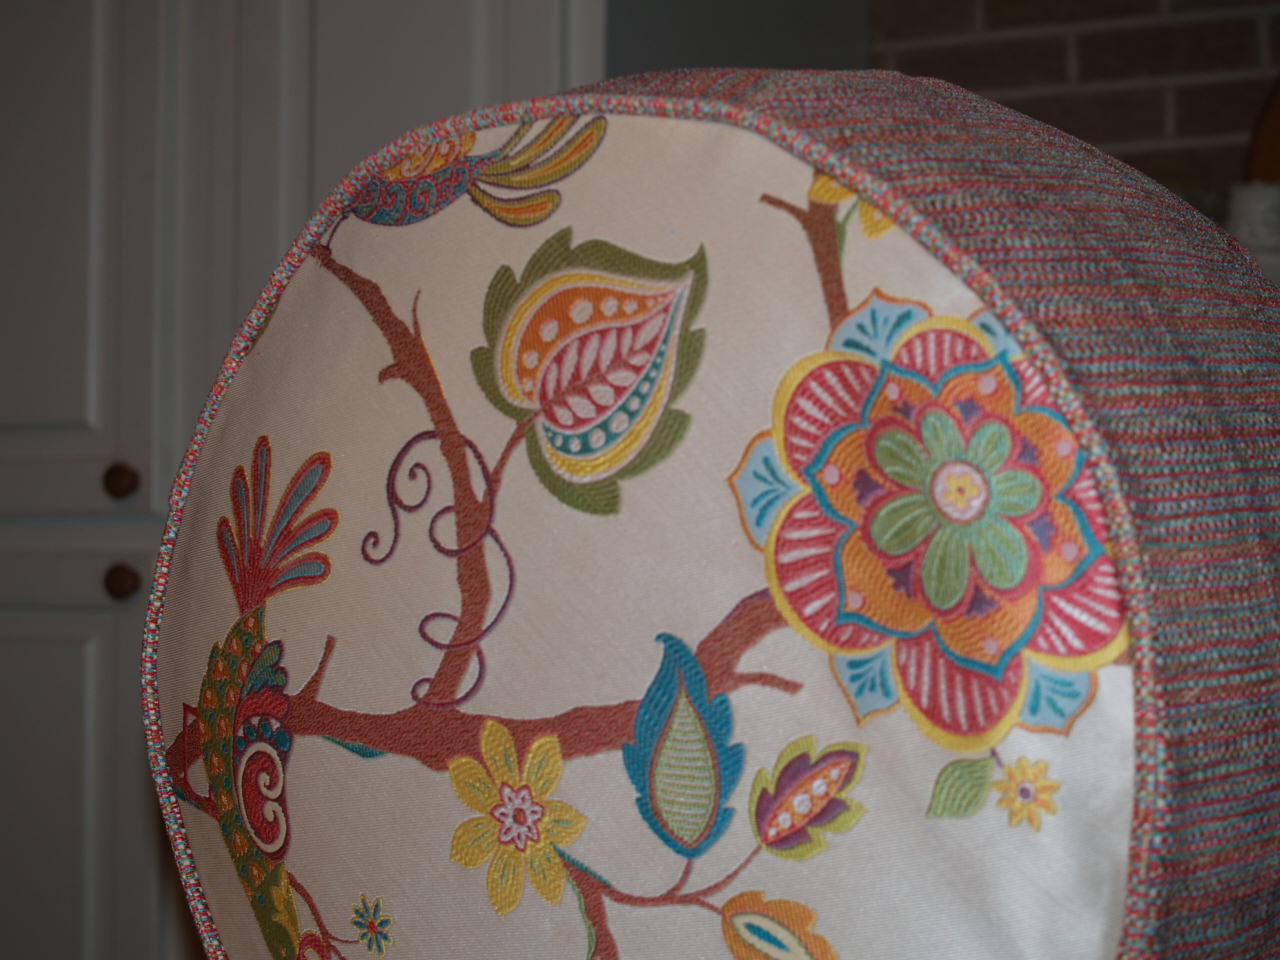 In this photo, I have pulled the fabric over the ottoman.
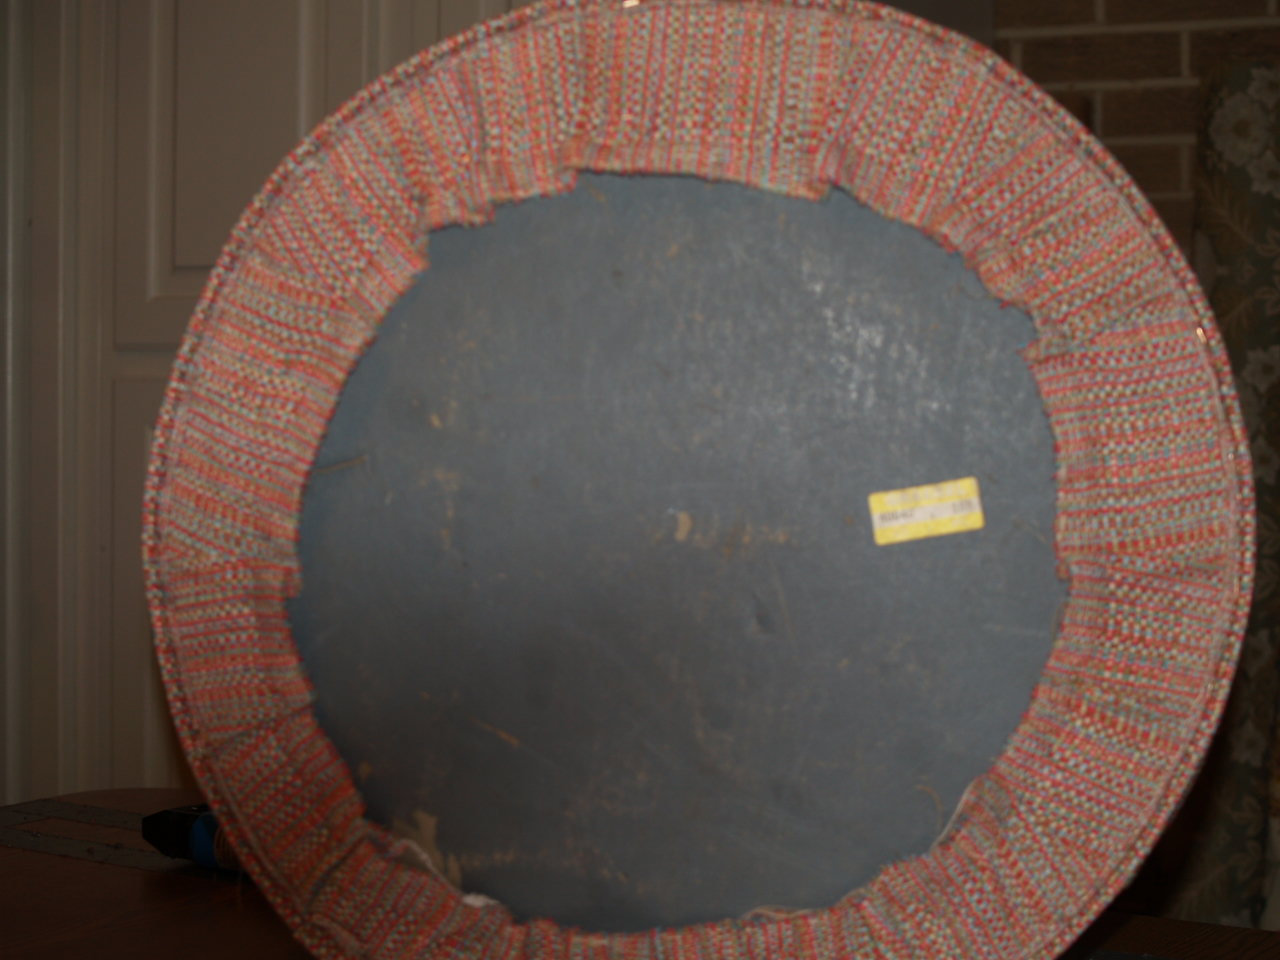
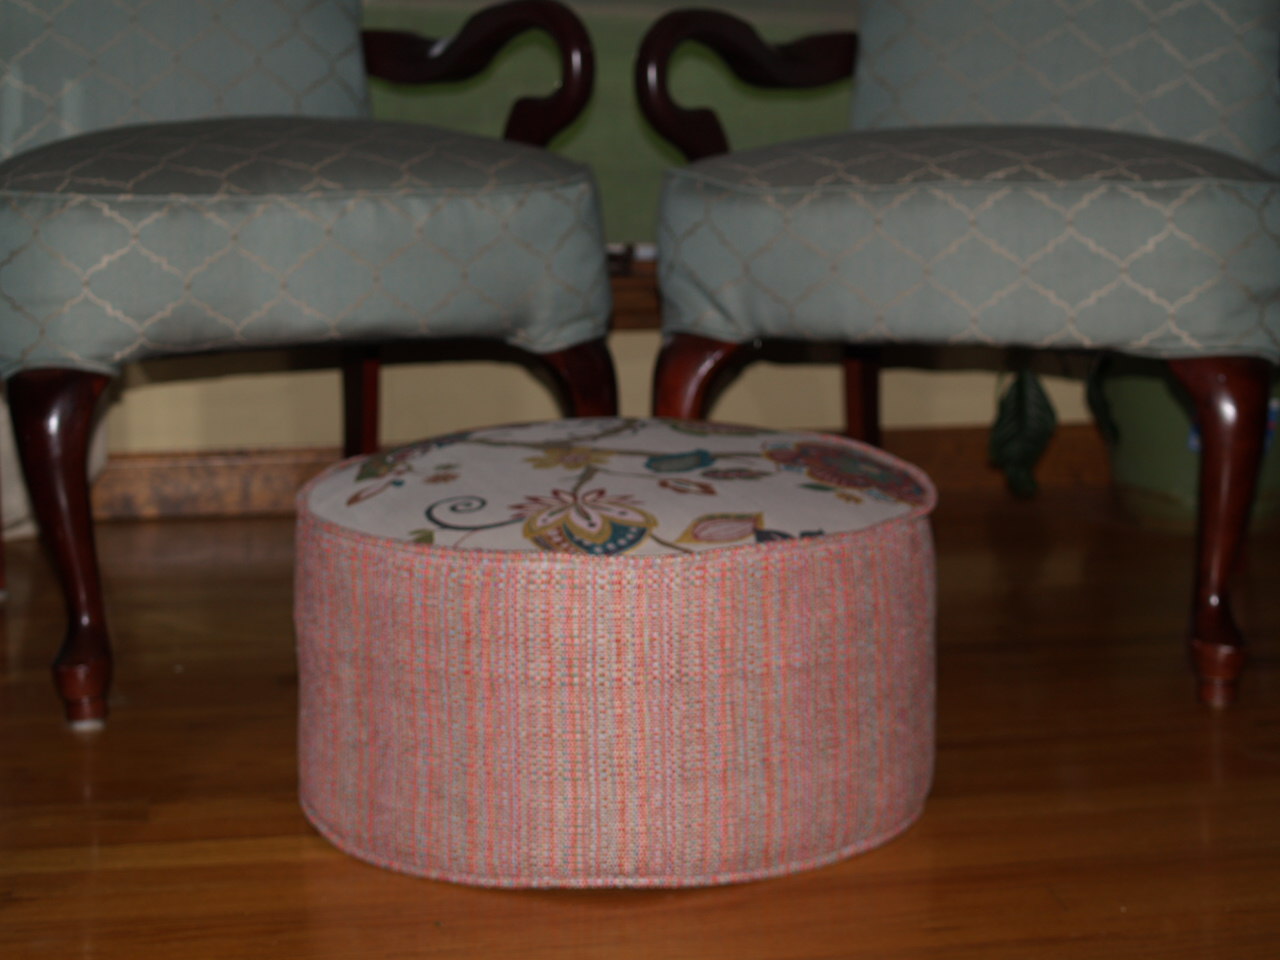
This photo shows the cover stapled onto the ottoman and the bottom cord added to finish off the edge. Make sure when you are stapling the fabric to the ottoman to always pull tight to give the finished project a smooth look.
 To finish my ottoman I placed some fabric that is used to finish the bottom of sofa’s or chair’s. This is called dust cloth but I have used grey interfacing, this serves the same purpose.
Now you can redo an old ottoman to match your decor. Have some fun!!!

