
Lumbar support roll
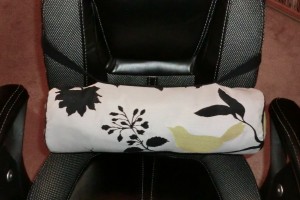 Often, when thinking of sewing projects, I look for everyday things we need. That’s where being able to sew can come in handy and save money. My husband has serious back problems and has been trying to use a rolled up towel to support his back at work. Of course, every time he stands up, it falls down and unrolls. I wanted to make something that looked nice and also stayed put.
For this one, he wanted something very stiff, so I used rolled up hand towels. This made it a bit heavy and it sags a bit when attached to the chair. I’m thinking some stick-on Velcro for the chair and roll could help. If you stuff yours with stuffing, it may be “mushier” and also lighter, which might keep it from sagging. Just a few options depending on your needs!
Supplies
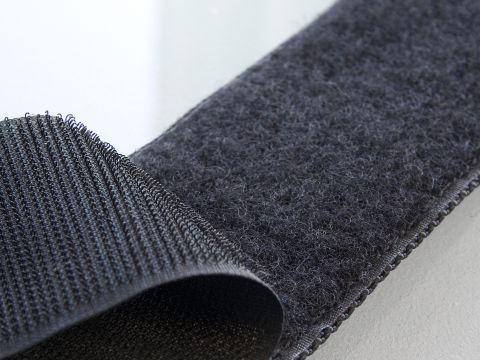
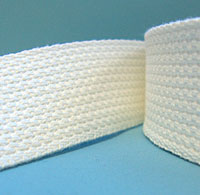
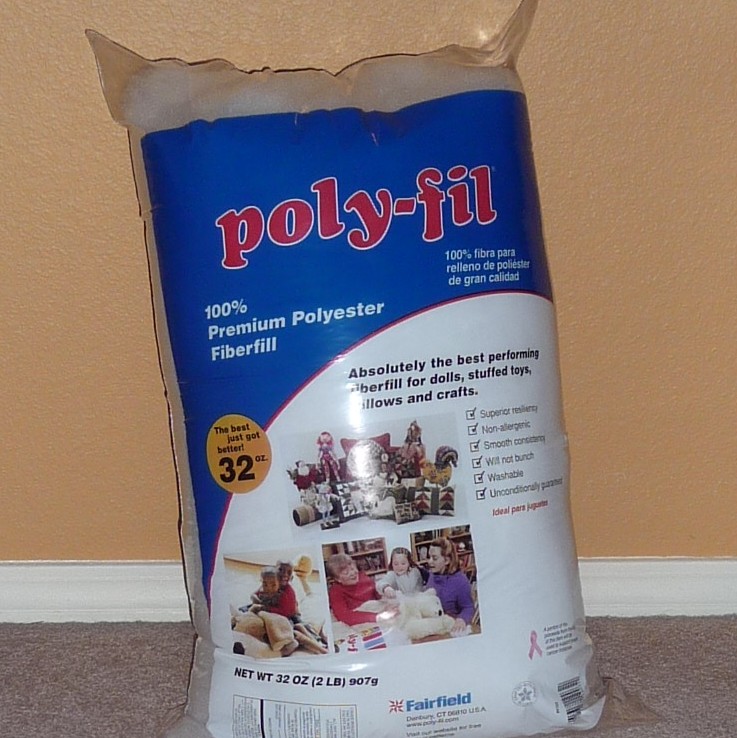
I used hand towels to stuff my roll, plus a bit of batting and stuffing to fill it out. I had a bunch of old hand towels and they were the perfect width and added the stiffness my husband sought. You can use regular stuffing if you prefer. I used a few leftover pieces of piping rather than buy a new package — you probably don’t need much. I had two yards of webbing. It was a bit more than I needed, but I trimmed a little bit off at the end. You’ll need about 10 inches or so of Velcro.
1/2″ seam allowances.
The Pattern
This is a rather big roll, which is how my husband wanted it. I’m much smaller and cannot sink into this roll like he can, so it’s a bit upright for me. I’ll give you the dimensions I used, but you can also change it up to suit your needs, and I’ll show you how.
First, you need a rectangle of cloth, which will become your roll. make this any size. Mine was 17″x18″ (this includes 1/2″ seam allowances). You also need two circles for the ends. To determine your circle, you must do a little math.
D=length of your fabric/Pi
D=17/3.14
D=5.41
R=D/2=2.7″
So my fabric length is 17 (18 was my width and is the width of the roll). I divided that by Pi (3.14) to get the diameter my circle needs to be. Then I divided the diameter in half to get the radius. You will use this radius to make a circle. I show you a really easy way here.
Once you have your pattern pieces, cut two circles and one rectangle.
The Process
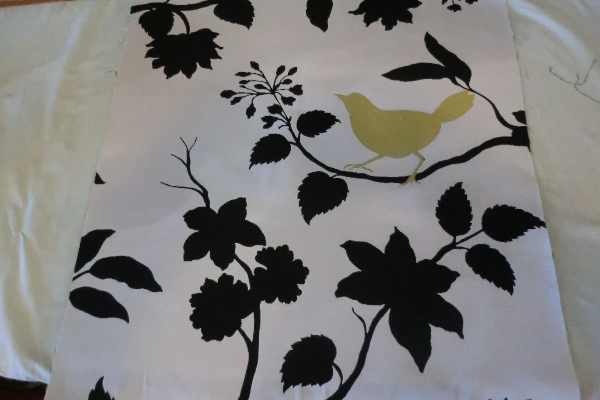
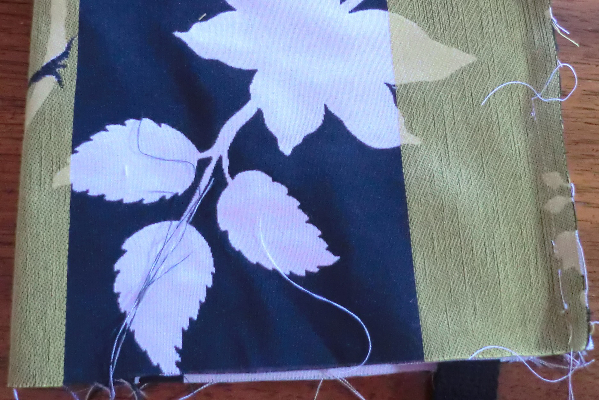
Here’s my rectangle.
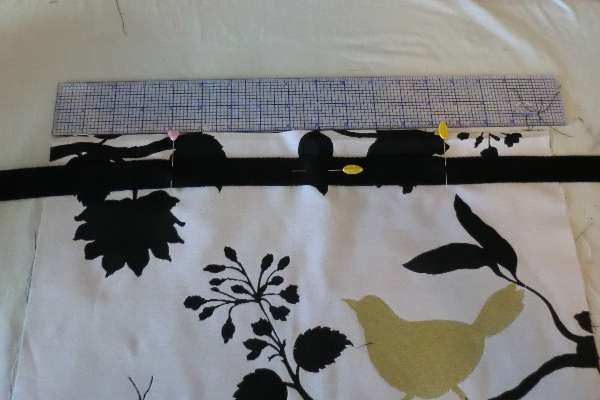
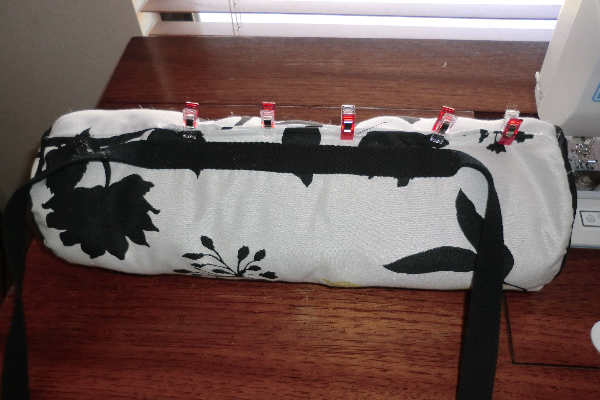
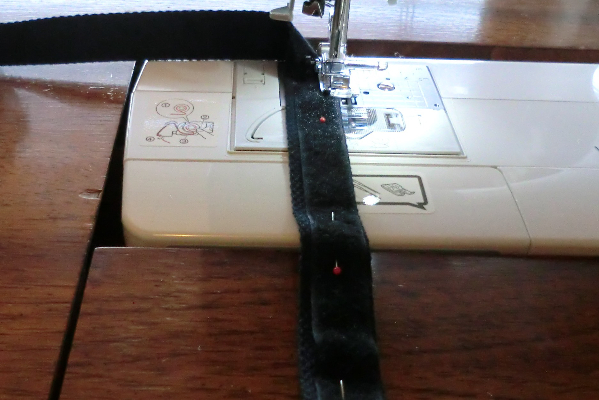
Along one edge, attach the webbing (parallel to the width of your fabric). This way, it will be in the back near the seam. I put the top edge of the webbing about 1″ from the edge of the fabric. The center of the length of webbing is in the center of the fabric. I stitched down the webbing starting about 4″ from either end and stitched along the top edge of the webbing, pivoted, stitched down the width of the webbing, then down the other side and back up, forming a rectangle. The two pins on either side that are sticking up show the lines between which I stitched. Leave the rest of the webbing alone for now.
Right-sides together, line up the ends of the fabric and stitch, but leave a very large hole in the middle of the seam for turning. If you will be using stuffing, you can make this hole a bit smaller. If you’re using towels, it will need to be big.
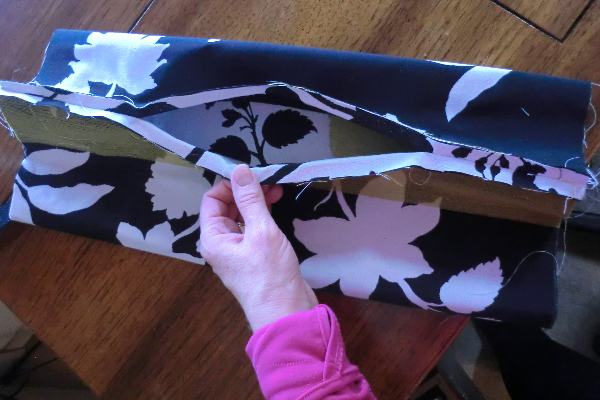
Here, you can see my hole. Press the seam allowance open.
Pin on your piping, joining the ends as shown in this tutorial.
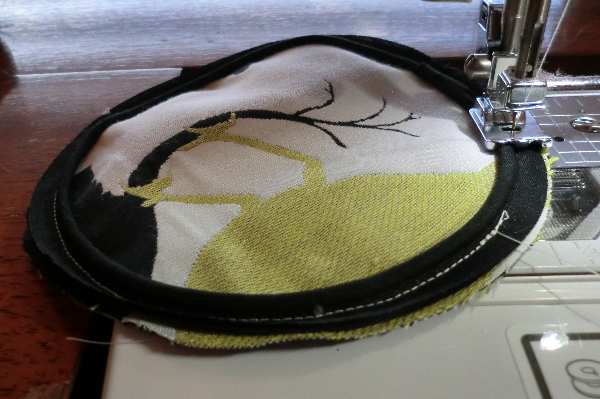
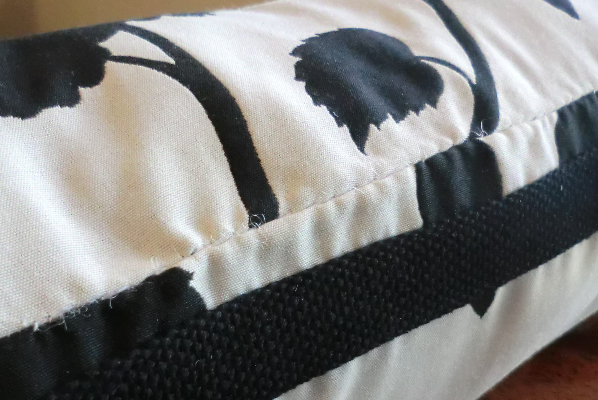
Stitch on your piping using a piping foot. I already changed the thread once to do the webbing, then put the white back on and then realized I needed black again and decided I wasn’t going to bother. Repeat on other circle.
Mark quarters on your roll. Your seam is one mark, and when it’s centered and the fabric is flat, mark the spot opposite the seam and also the folded edges.
Fold and mark quarters on your circles, too.
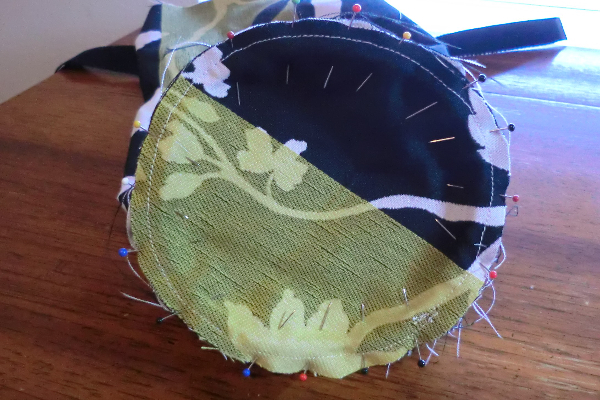
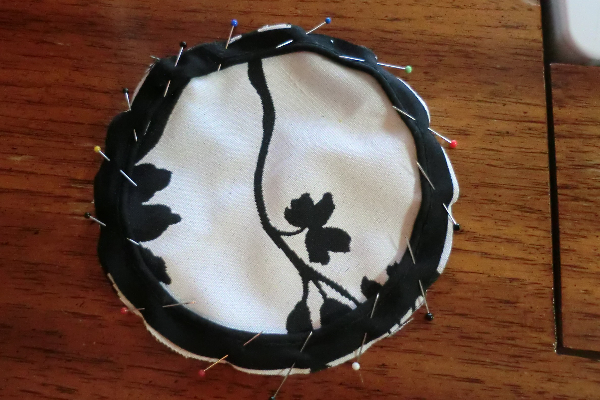
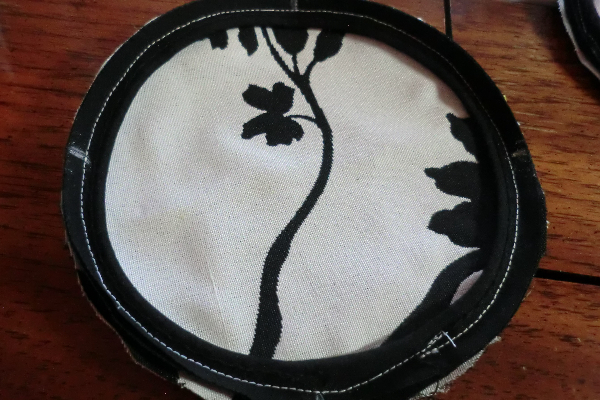
Pin the circle to the end of the roll, using the marks to line things up. Then pin between the marks, trying to distribute all fabric as evenly as possible for as few tucks as possible after sewing. Stitch both ends in place — you’ll still want to use that piping foot. It will be guided over the piping even with the fabric in the way.

Turn it right-side out.
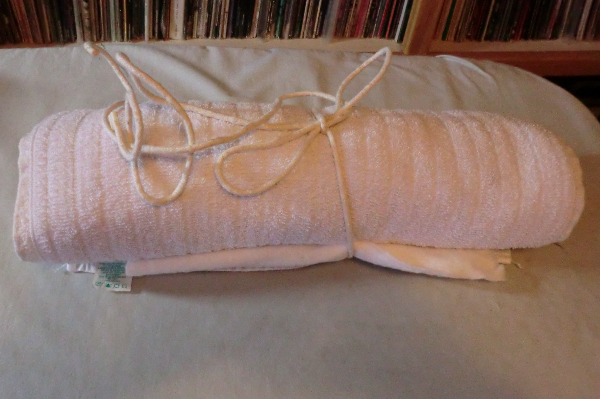
Like I mentioned above, hand towels were the perfect width for this roll, so gathered up several old ones and rolled them up. It was just slightly too thin, so I tucked some old batting scraps in there, too. I tied it with some cord just to keep it rolled up as I stuffed it in.
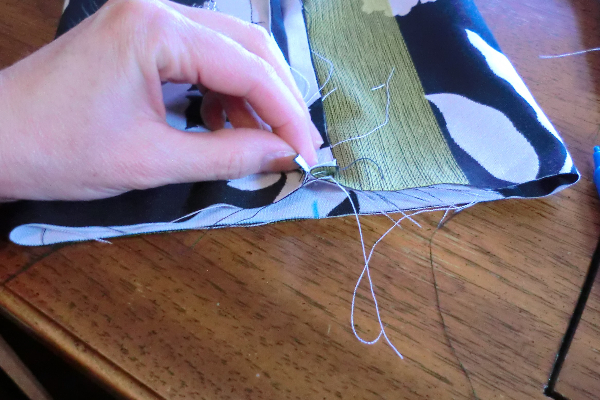
 These towels have no give, so I had to open up the hole more. On one end, I removed quite a few stitches. After getting the towels in, I removed the cord that was tying them closed. Then I stuffed a small amount of batting in to plump it up.
Close ‘er up and secure the seam.
Hand stitch the seam closed.
Place the roll on the chair (in our case, an office chair), and measure where you want your Velcro. I wanted a large piece of Velcro for more security, but also I wanted it to be adjustable since I didn’t have the measurements of the work chair. Just stitch the Velcro on and you’re done.

