
Pillow Band

Hi again, it’s Mandie! I have a fun project to share today that is simple, but packs a full punch as far as refreshing your throw pillows! I’m going to share with you how to make a velcro pillow band.
Here’s what you’ll need:

1/4 yard of Chipper Village Blue (or more depending on your desired width), a covered throw pillow, and stick on velcro, in addition to your sewing machine, scissors, rotary cutter & mat, and iron/ironing board.
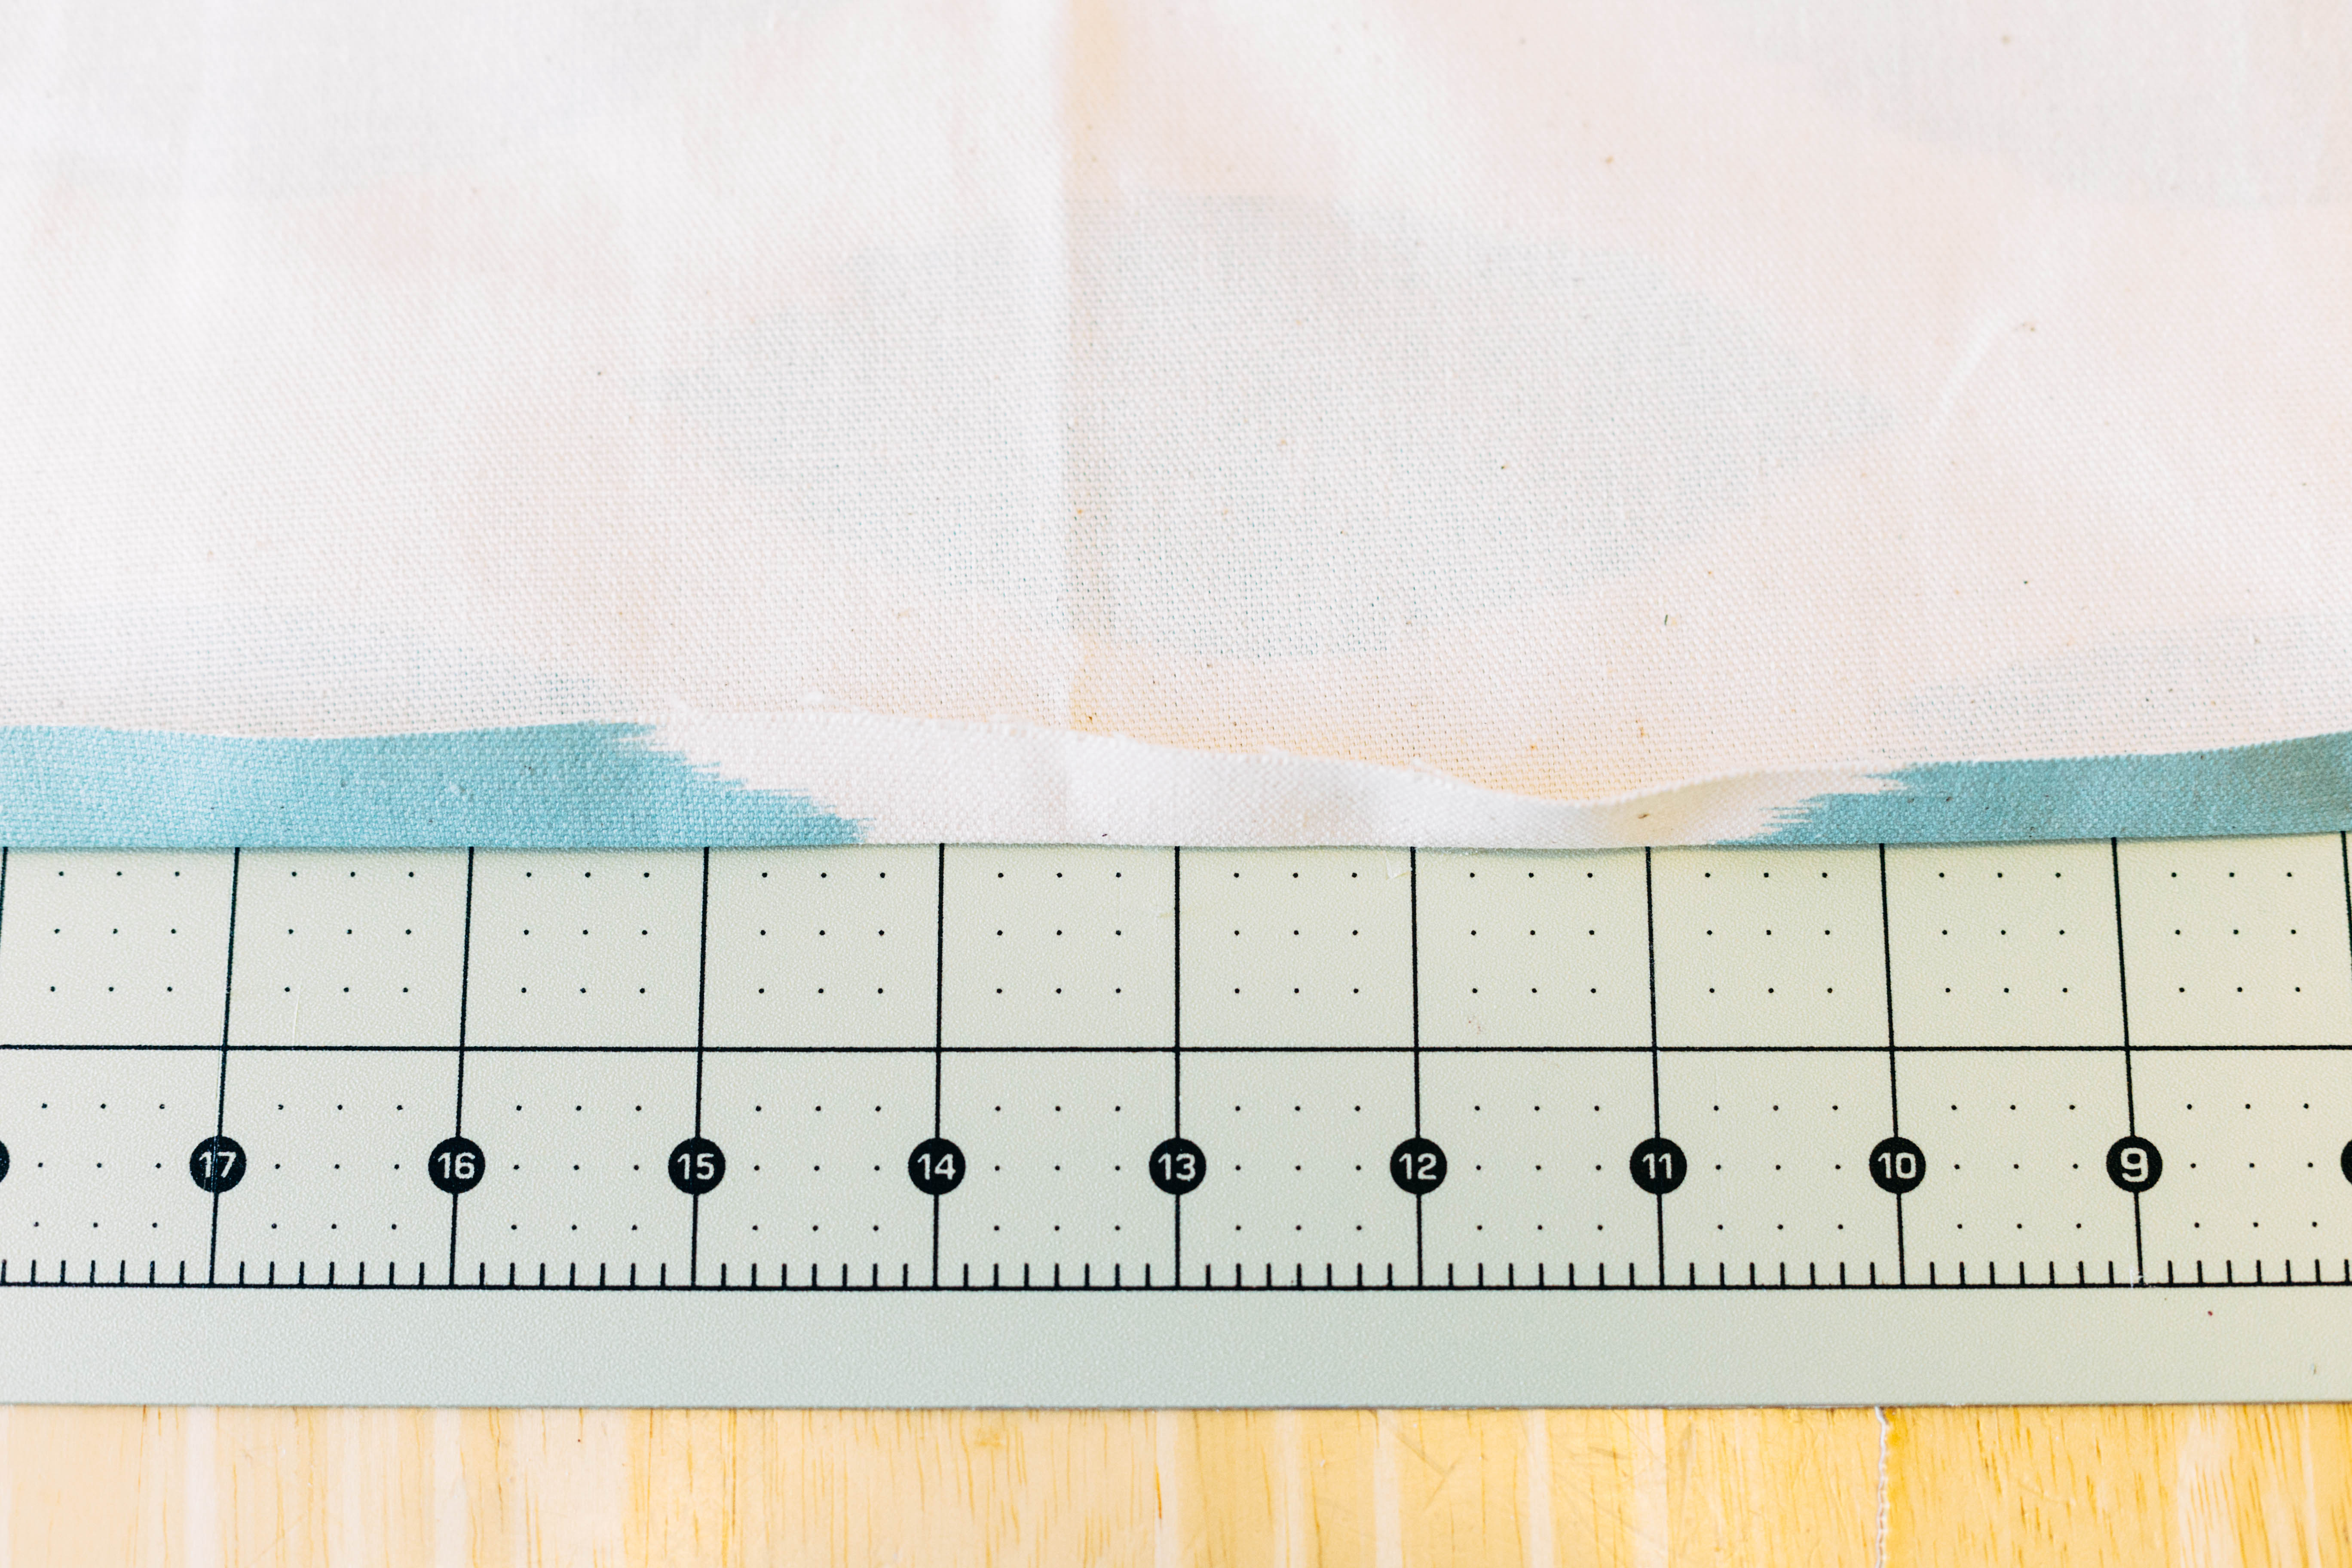
The pillow I was trying to refresh was just plain linen. There was nothing wrong with it, but it’s nice to add color & layers sometimes, for a bit of interest. I wanted a thinner band this time, so to end up with a 5 1/2 inch-wide band, I started with an 8 inches-wide cut. The pillow I covered is a 16 inch square, so I doubled the width (16 x 2 = 32) and added 4 inches (32 + 4 = 36) to make up for a hem and a little room to overlap.
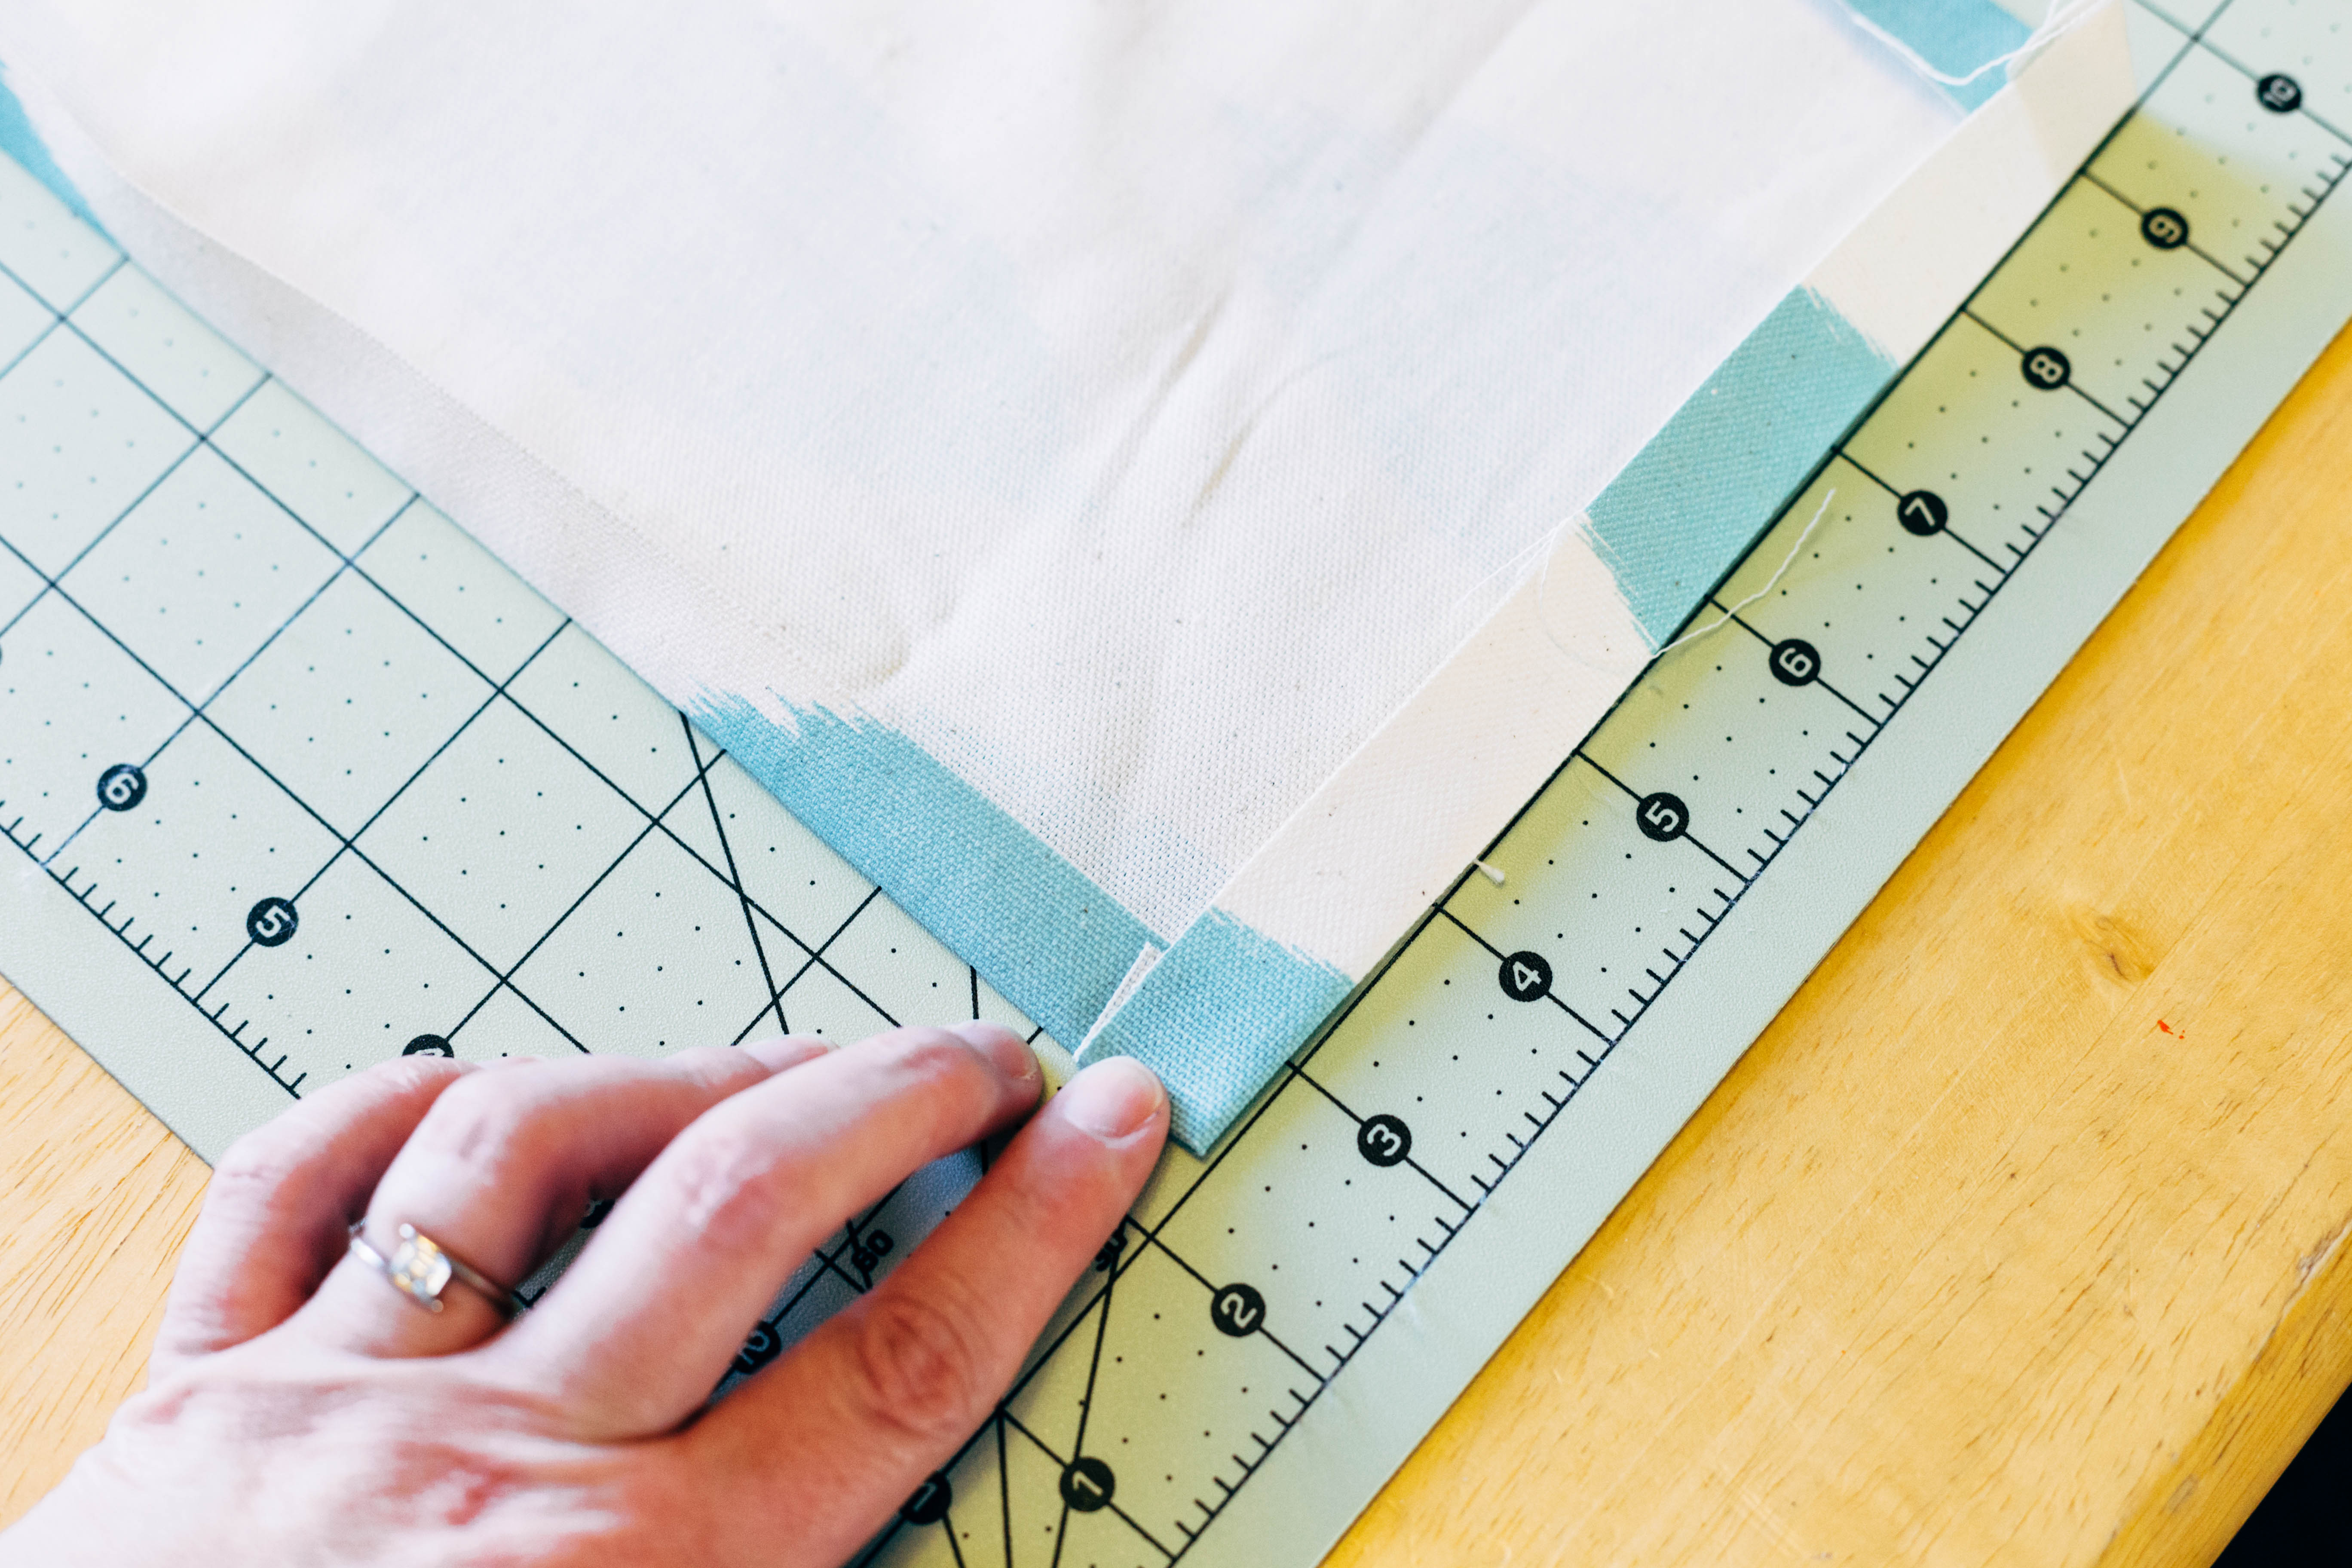
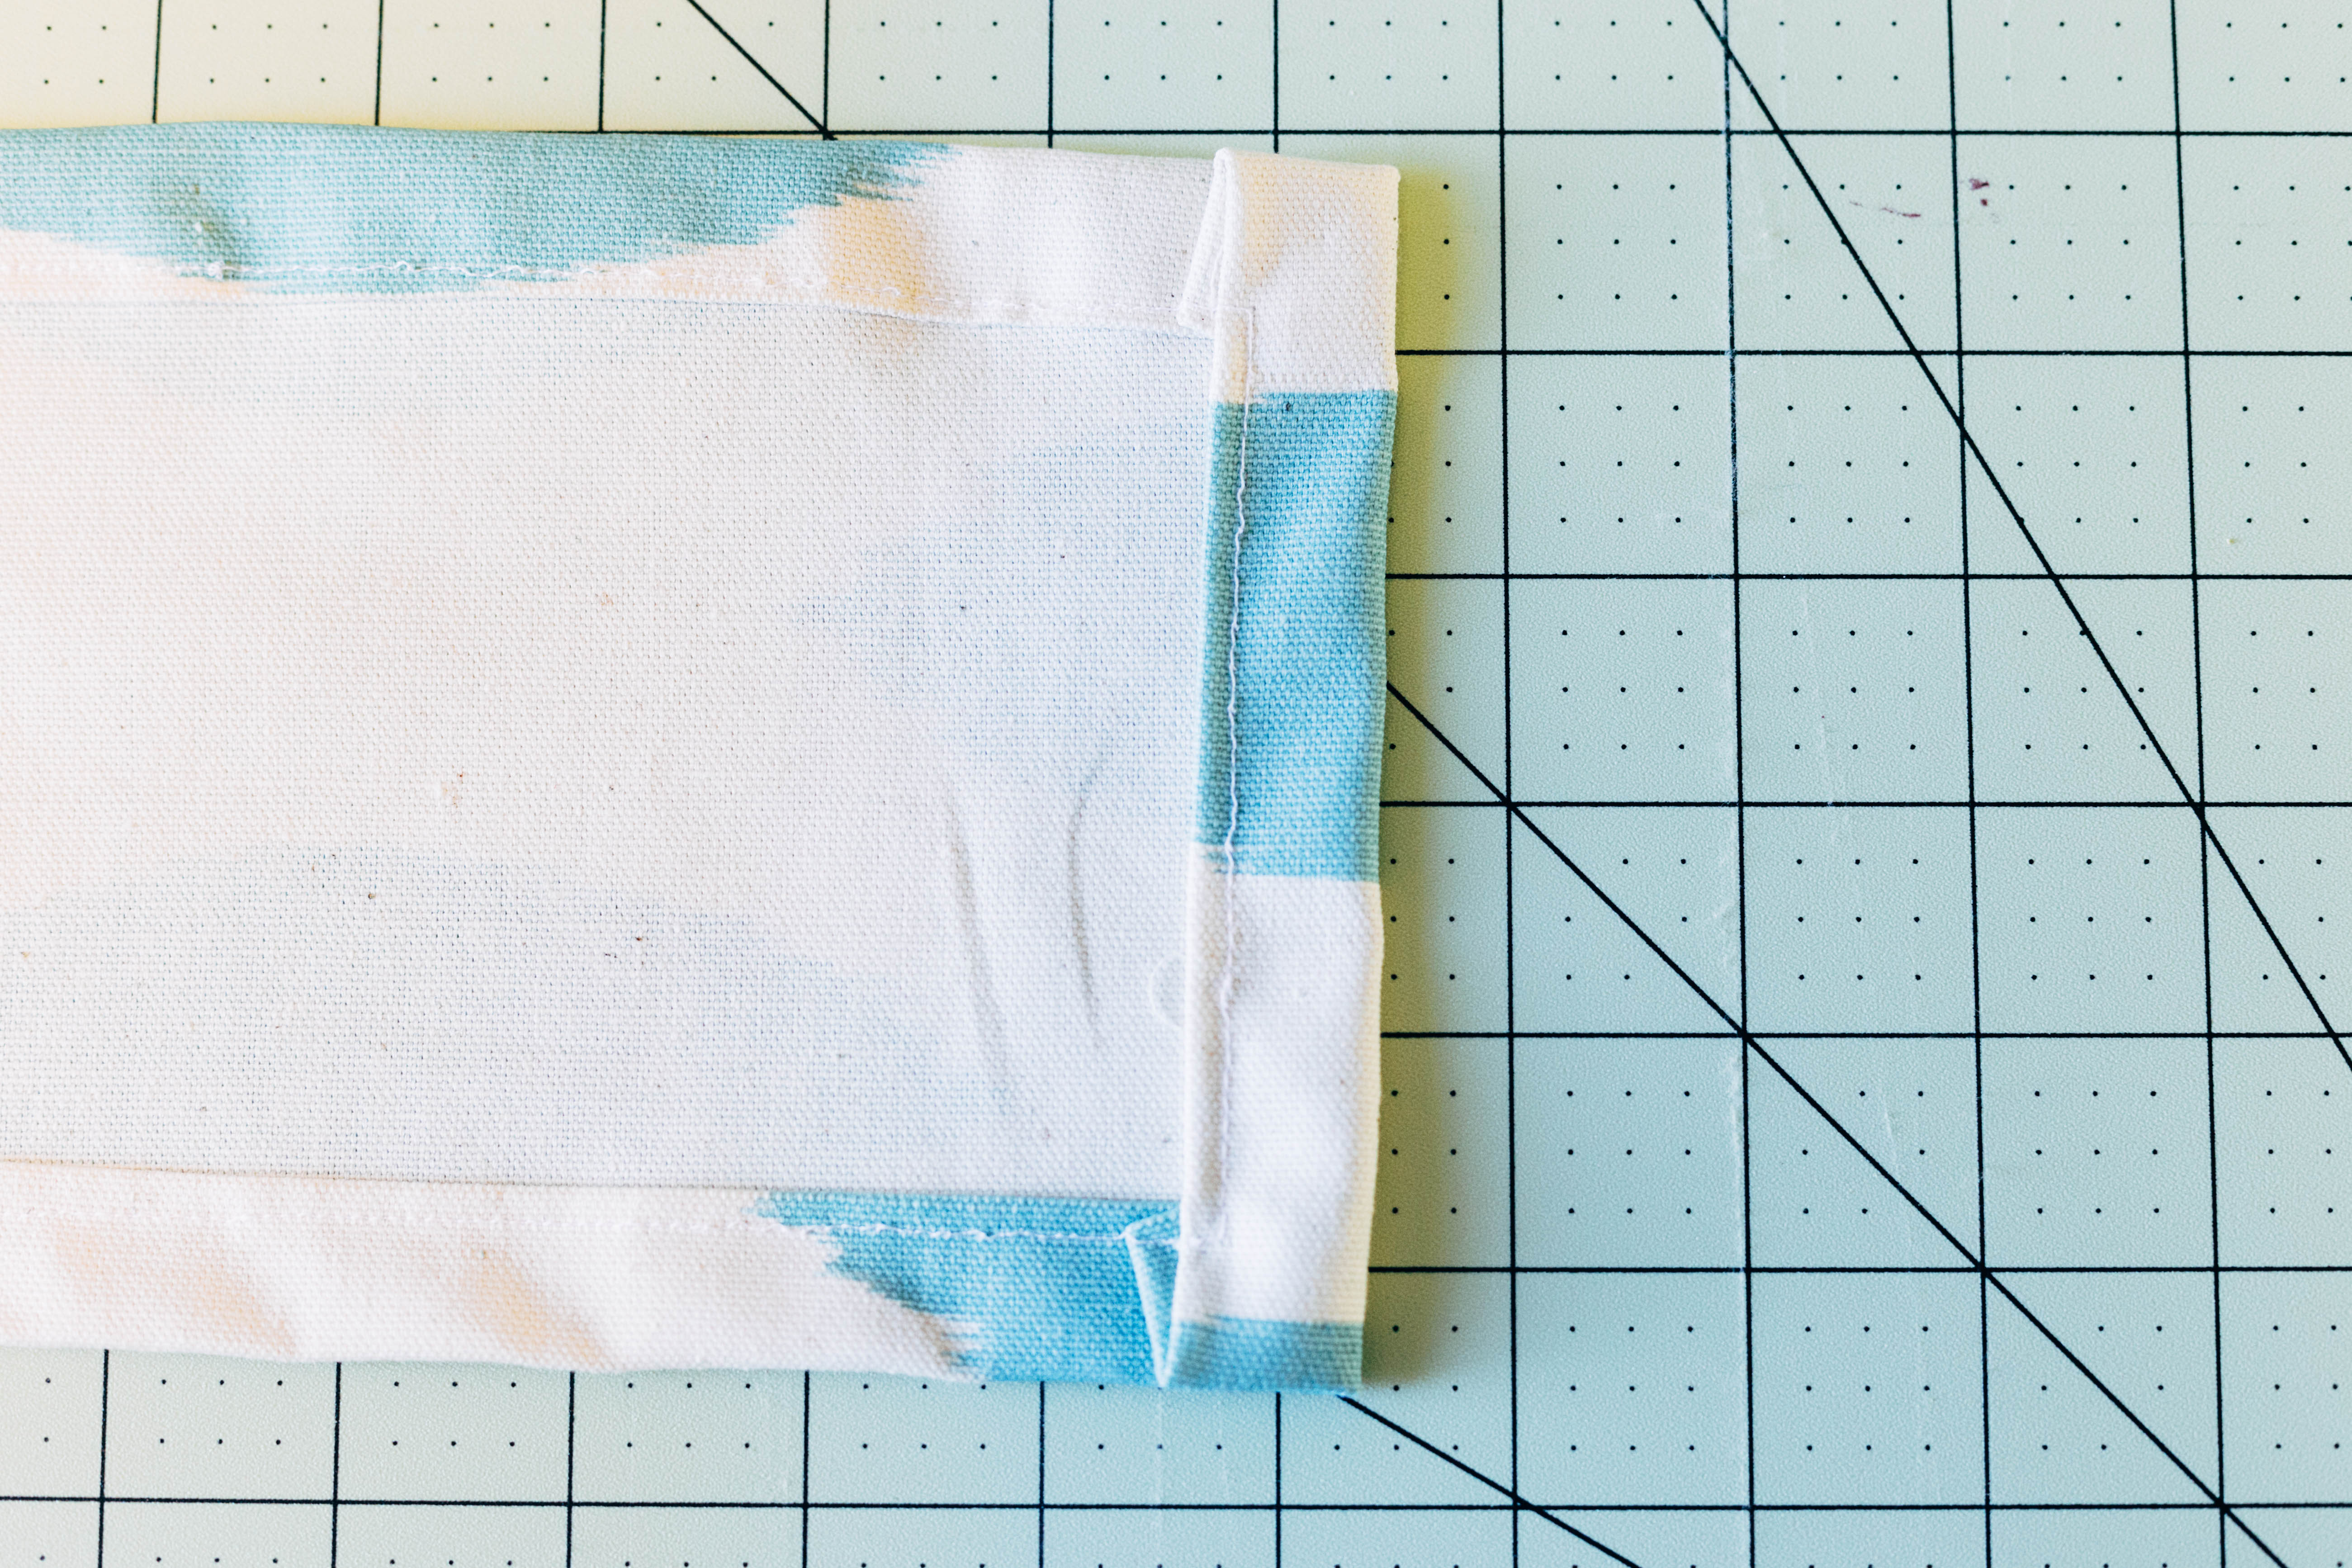
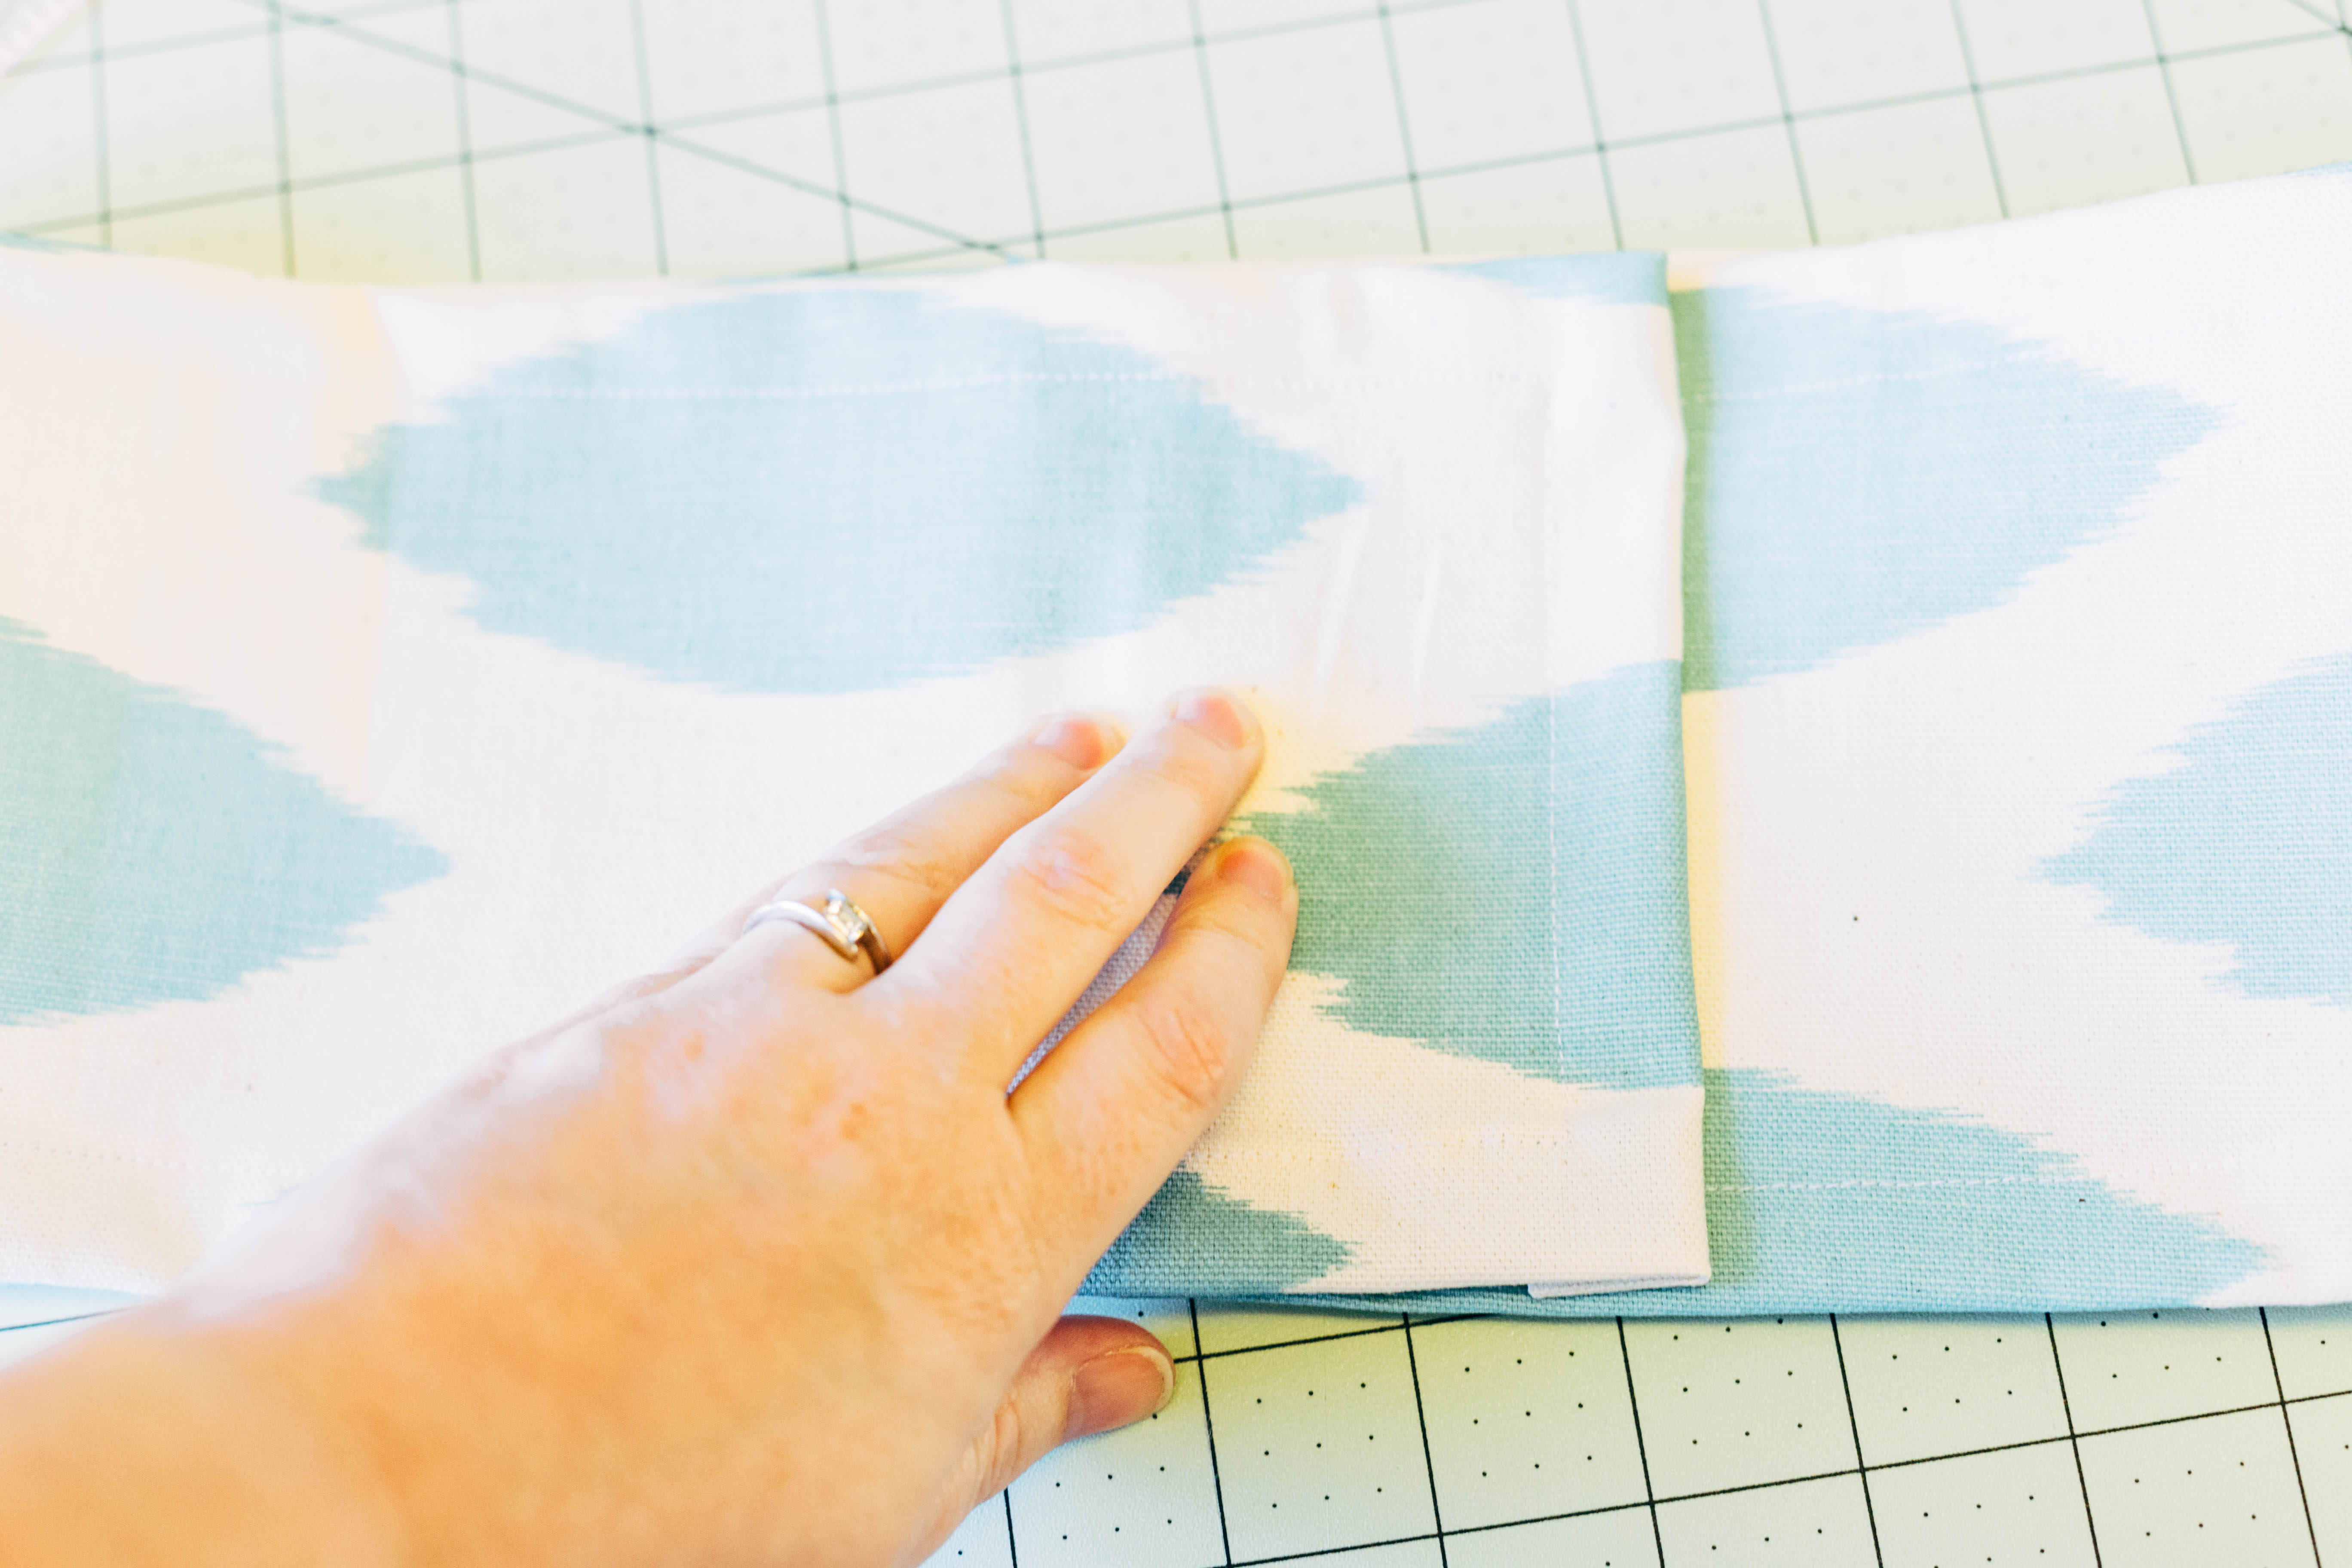
To start the hem I folded one of the long edges over 5/8 of an inch. I finger pressed it first, then pressed with my iron. When I got to the end, I just started with the shorter side and made sure to really press those corners. I went around the entire piece of fabric, then folded it all over again, another 5/8″. This time, I pinned as I pressed, so that once I was finished pressing, I could just hop over to my sewing machine and sew one the hem in one stretch.
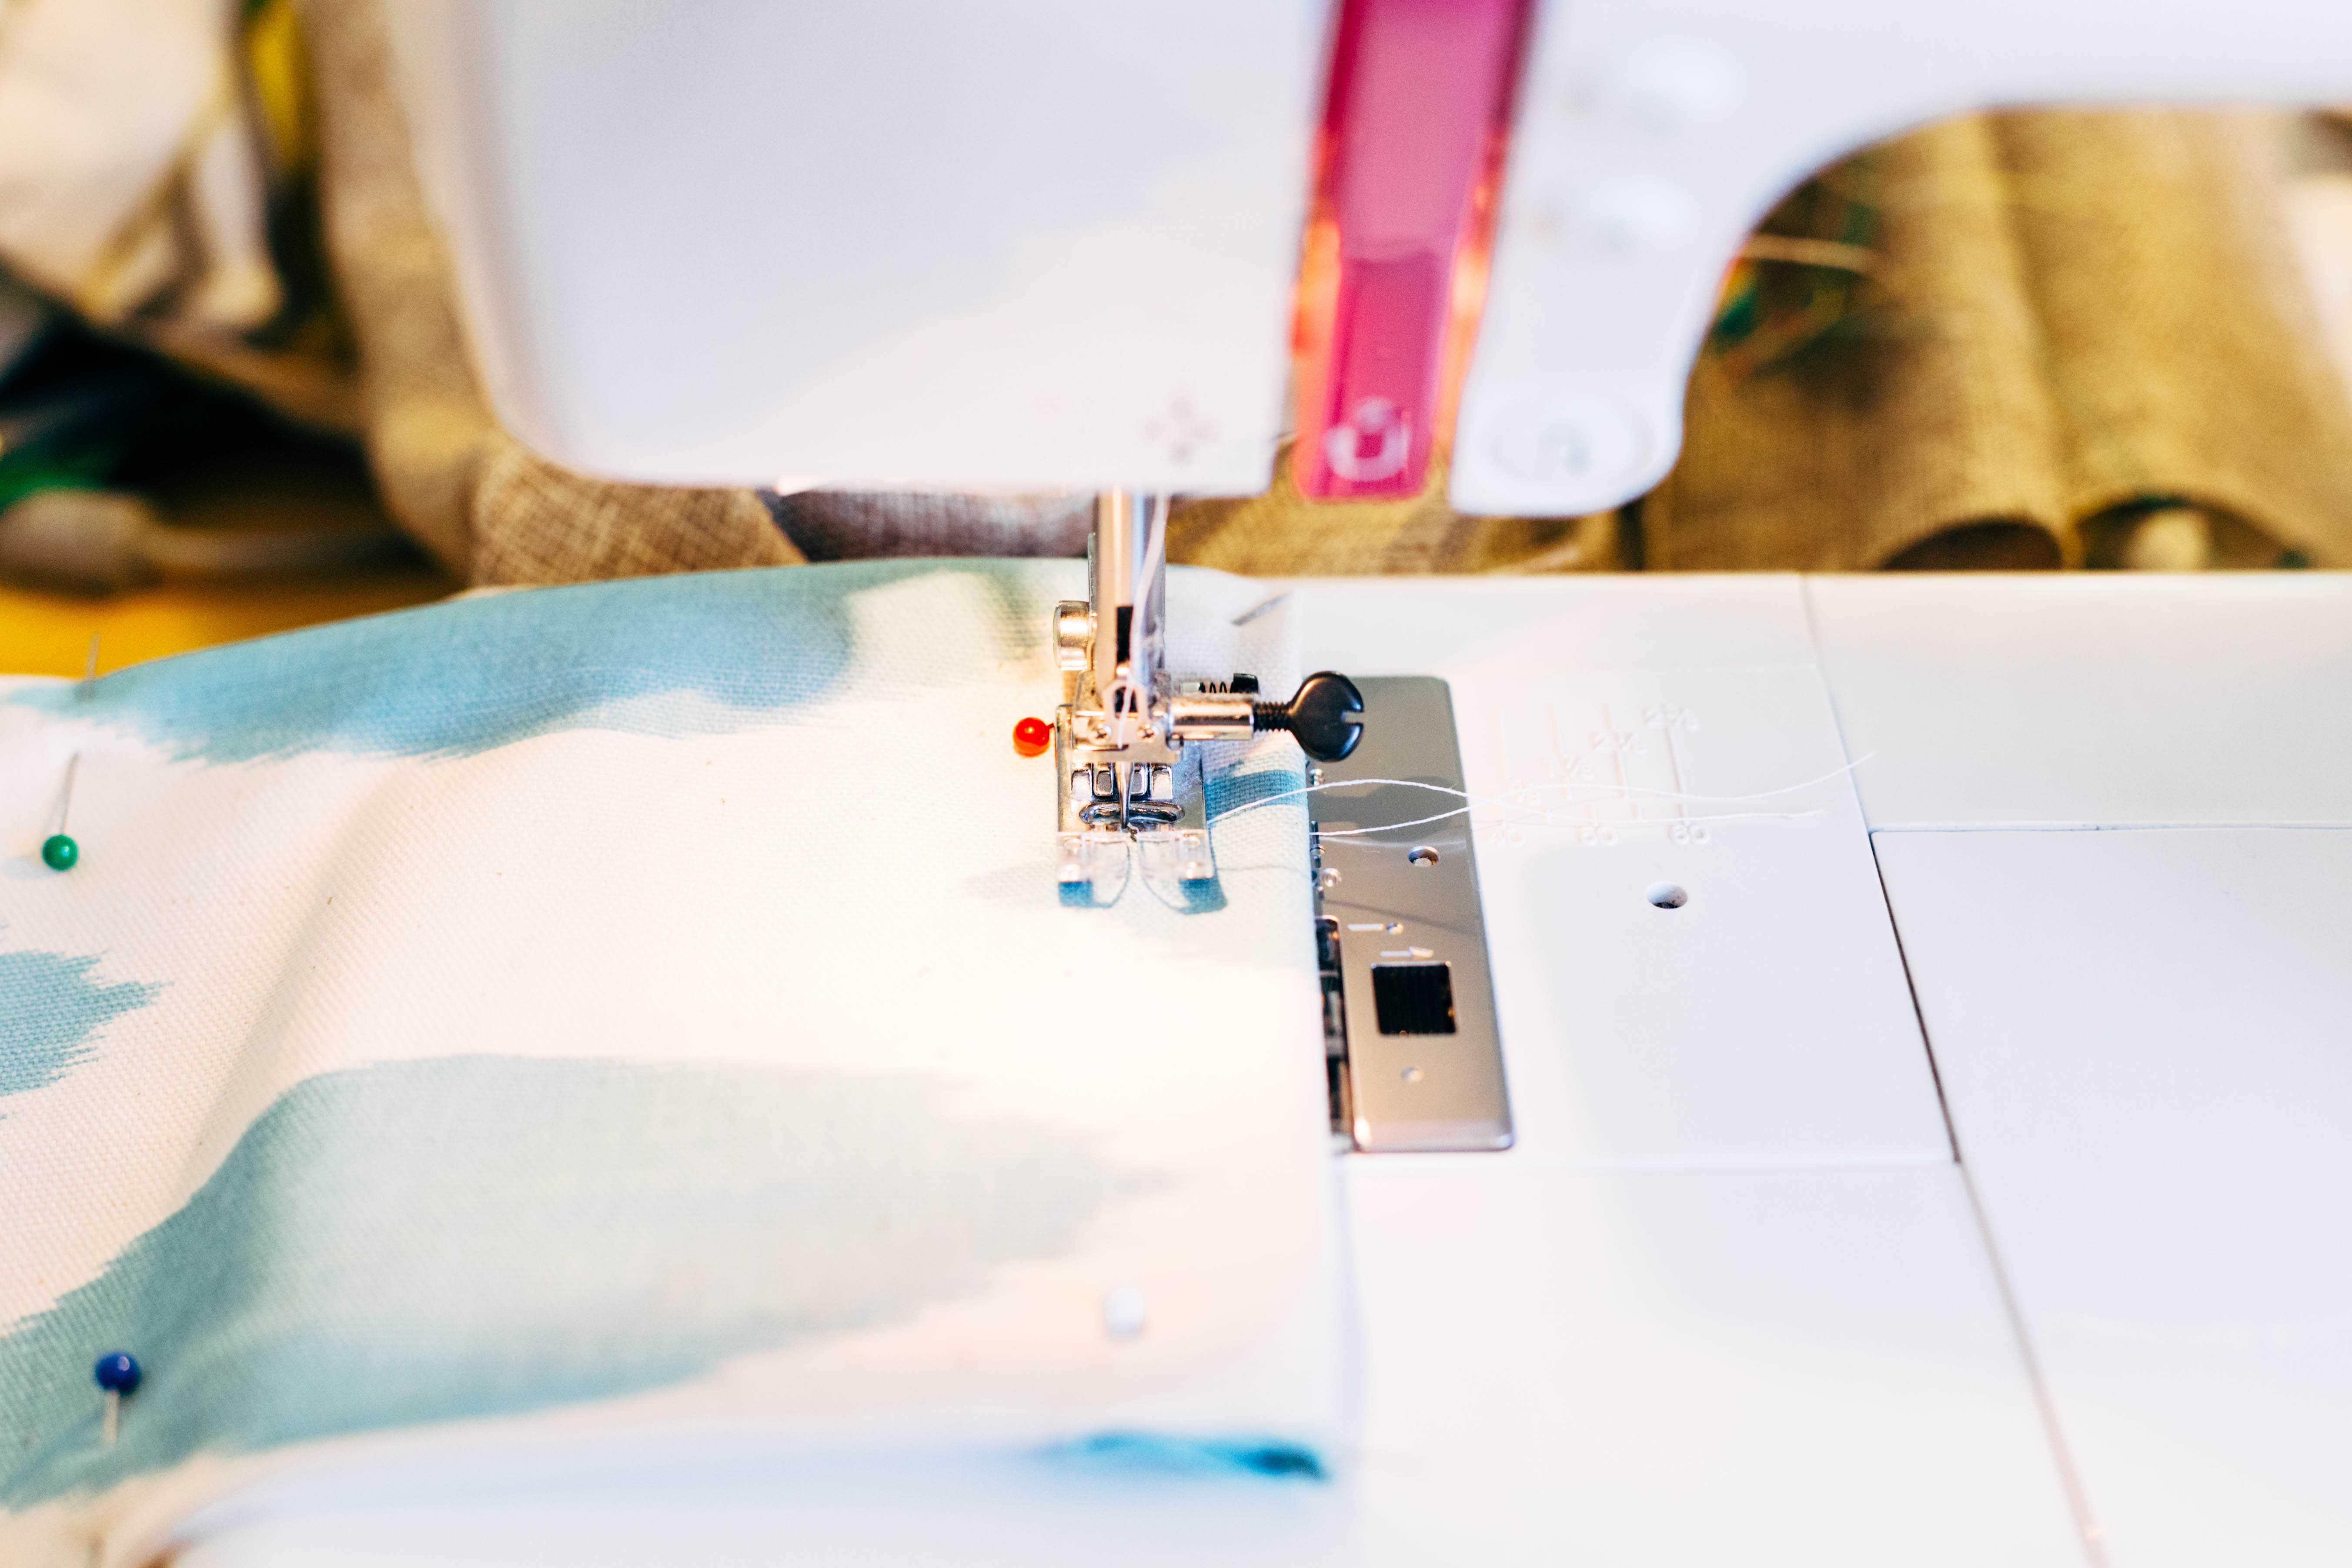
I changed my stitch to a 2.6 since the hem would also be doubling as a top stitch. I started at one of the short ends and just took off! I did not ever remove my needle- just pivoted the fabric with the needle in for each corner, then backstitched over the beginning to tie a knot. I did miss a small stretch of fabric at one point, so I just went back to where I had sewn through each layer, tied a small knot with a backstitch, then sewed a few inches down the line and backstitched again for a knot. You can hardly see it, but this way the raw edge is contained and I’m not worried about fraying in the wash. Of course, I could have ripped out the seam and just started over, but this project was all about simple, so I decided to keep it that way!
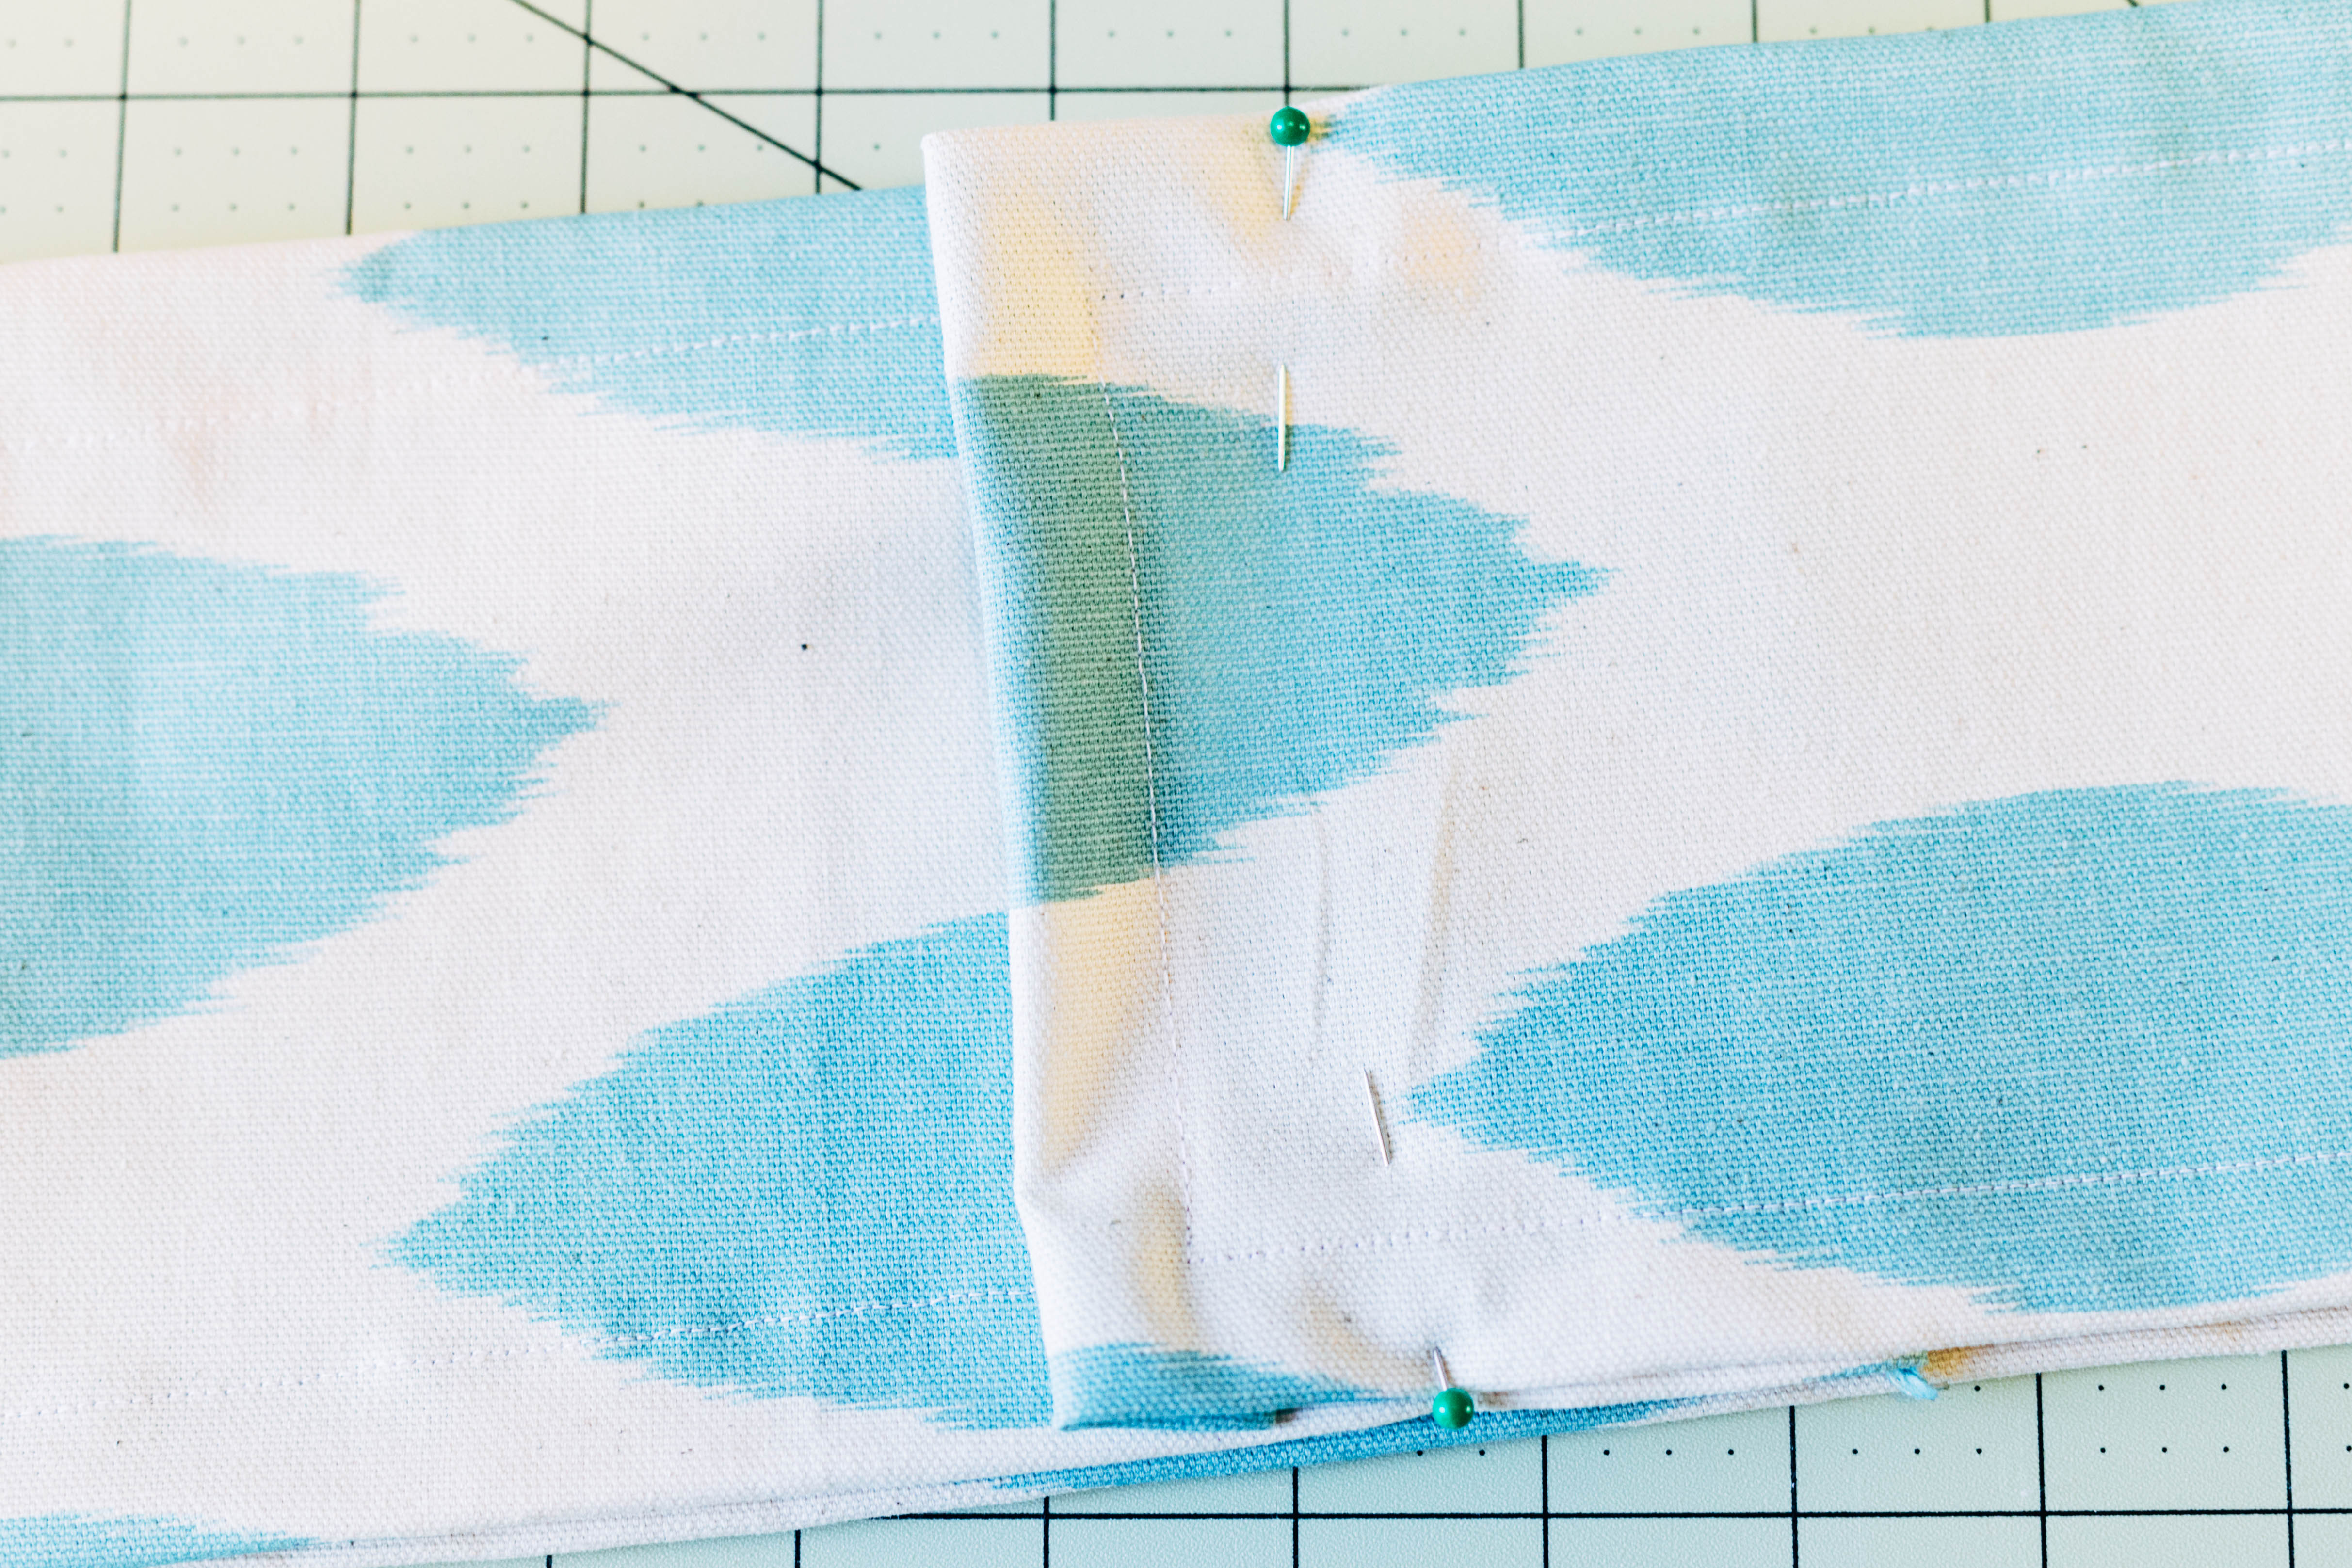
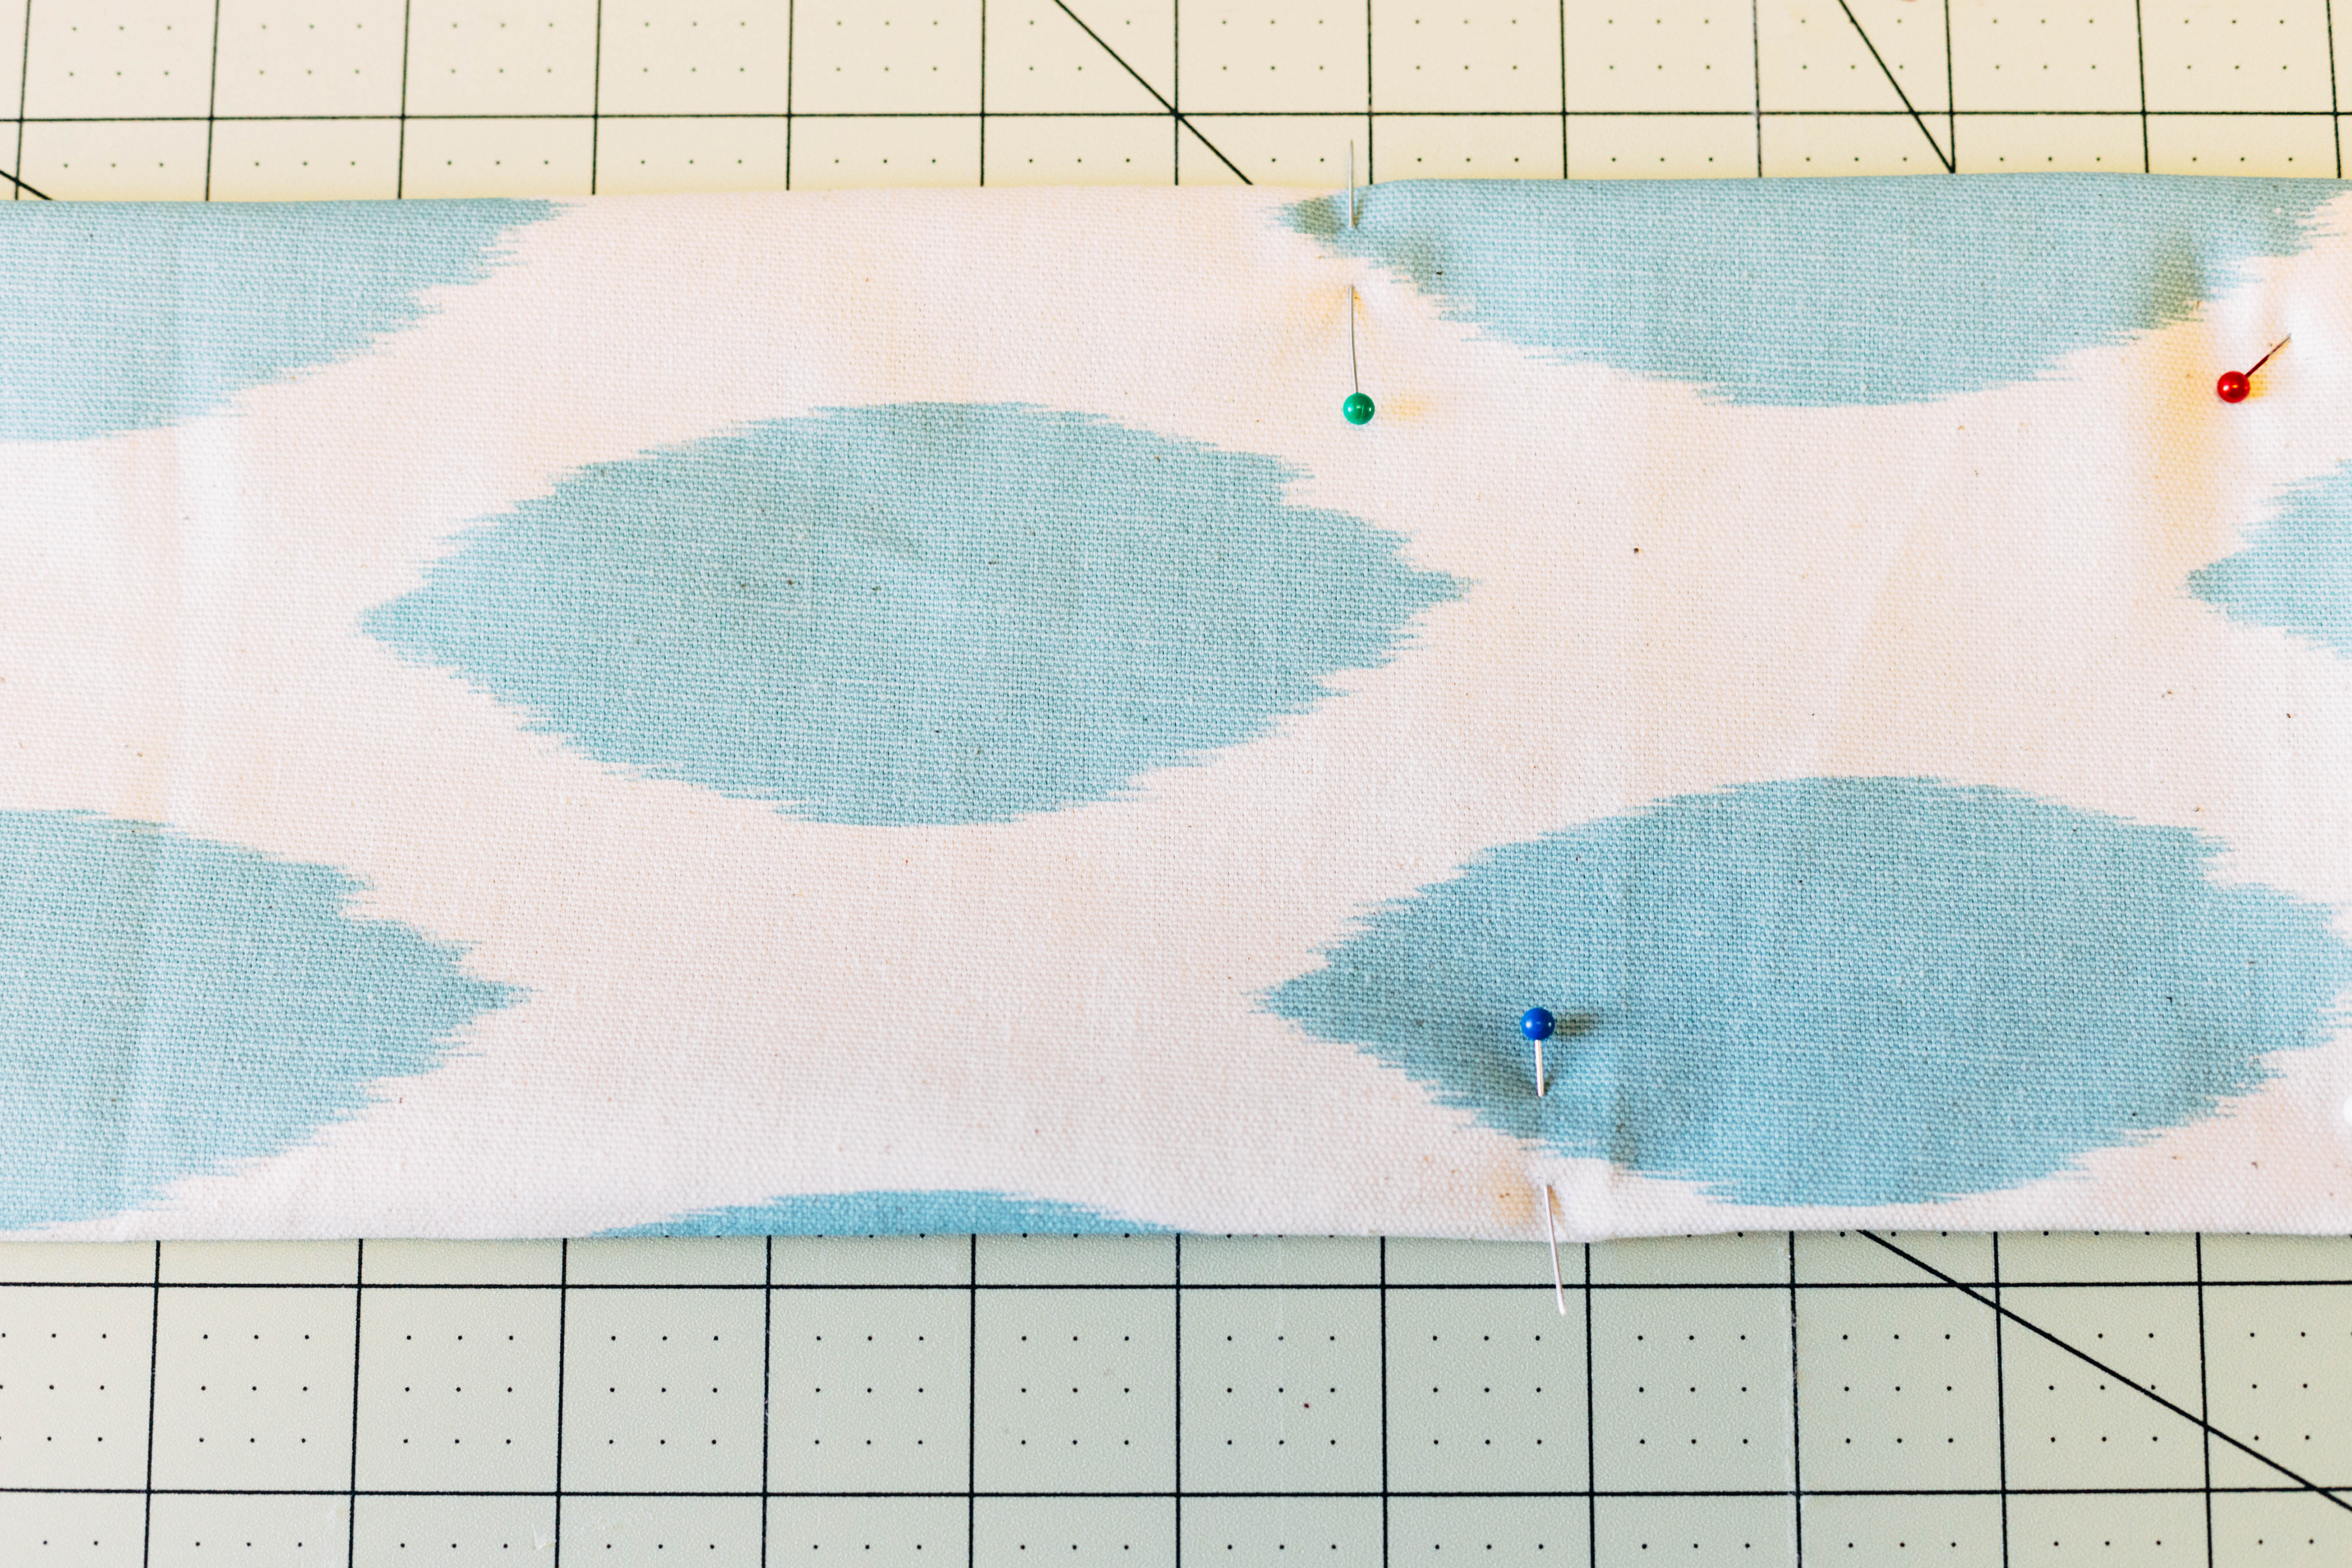
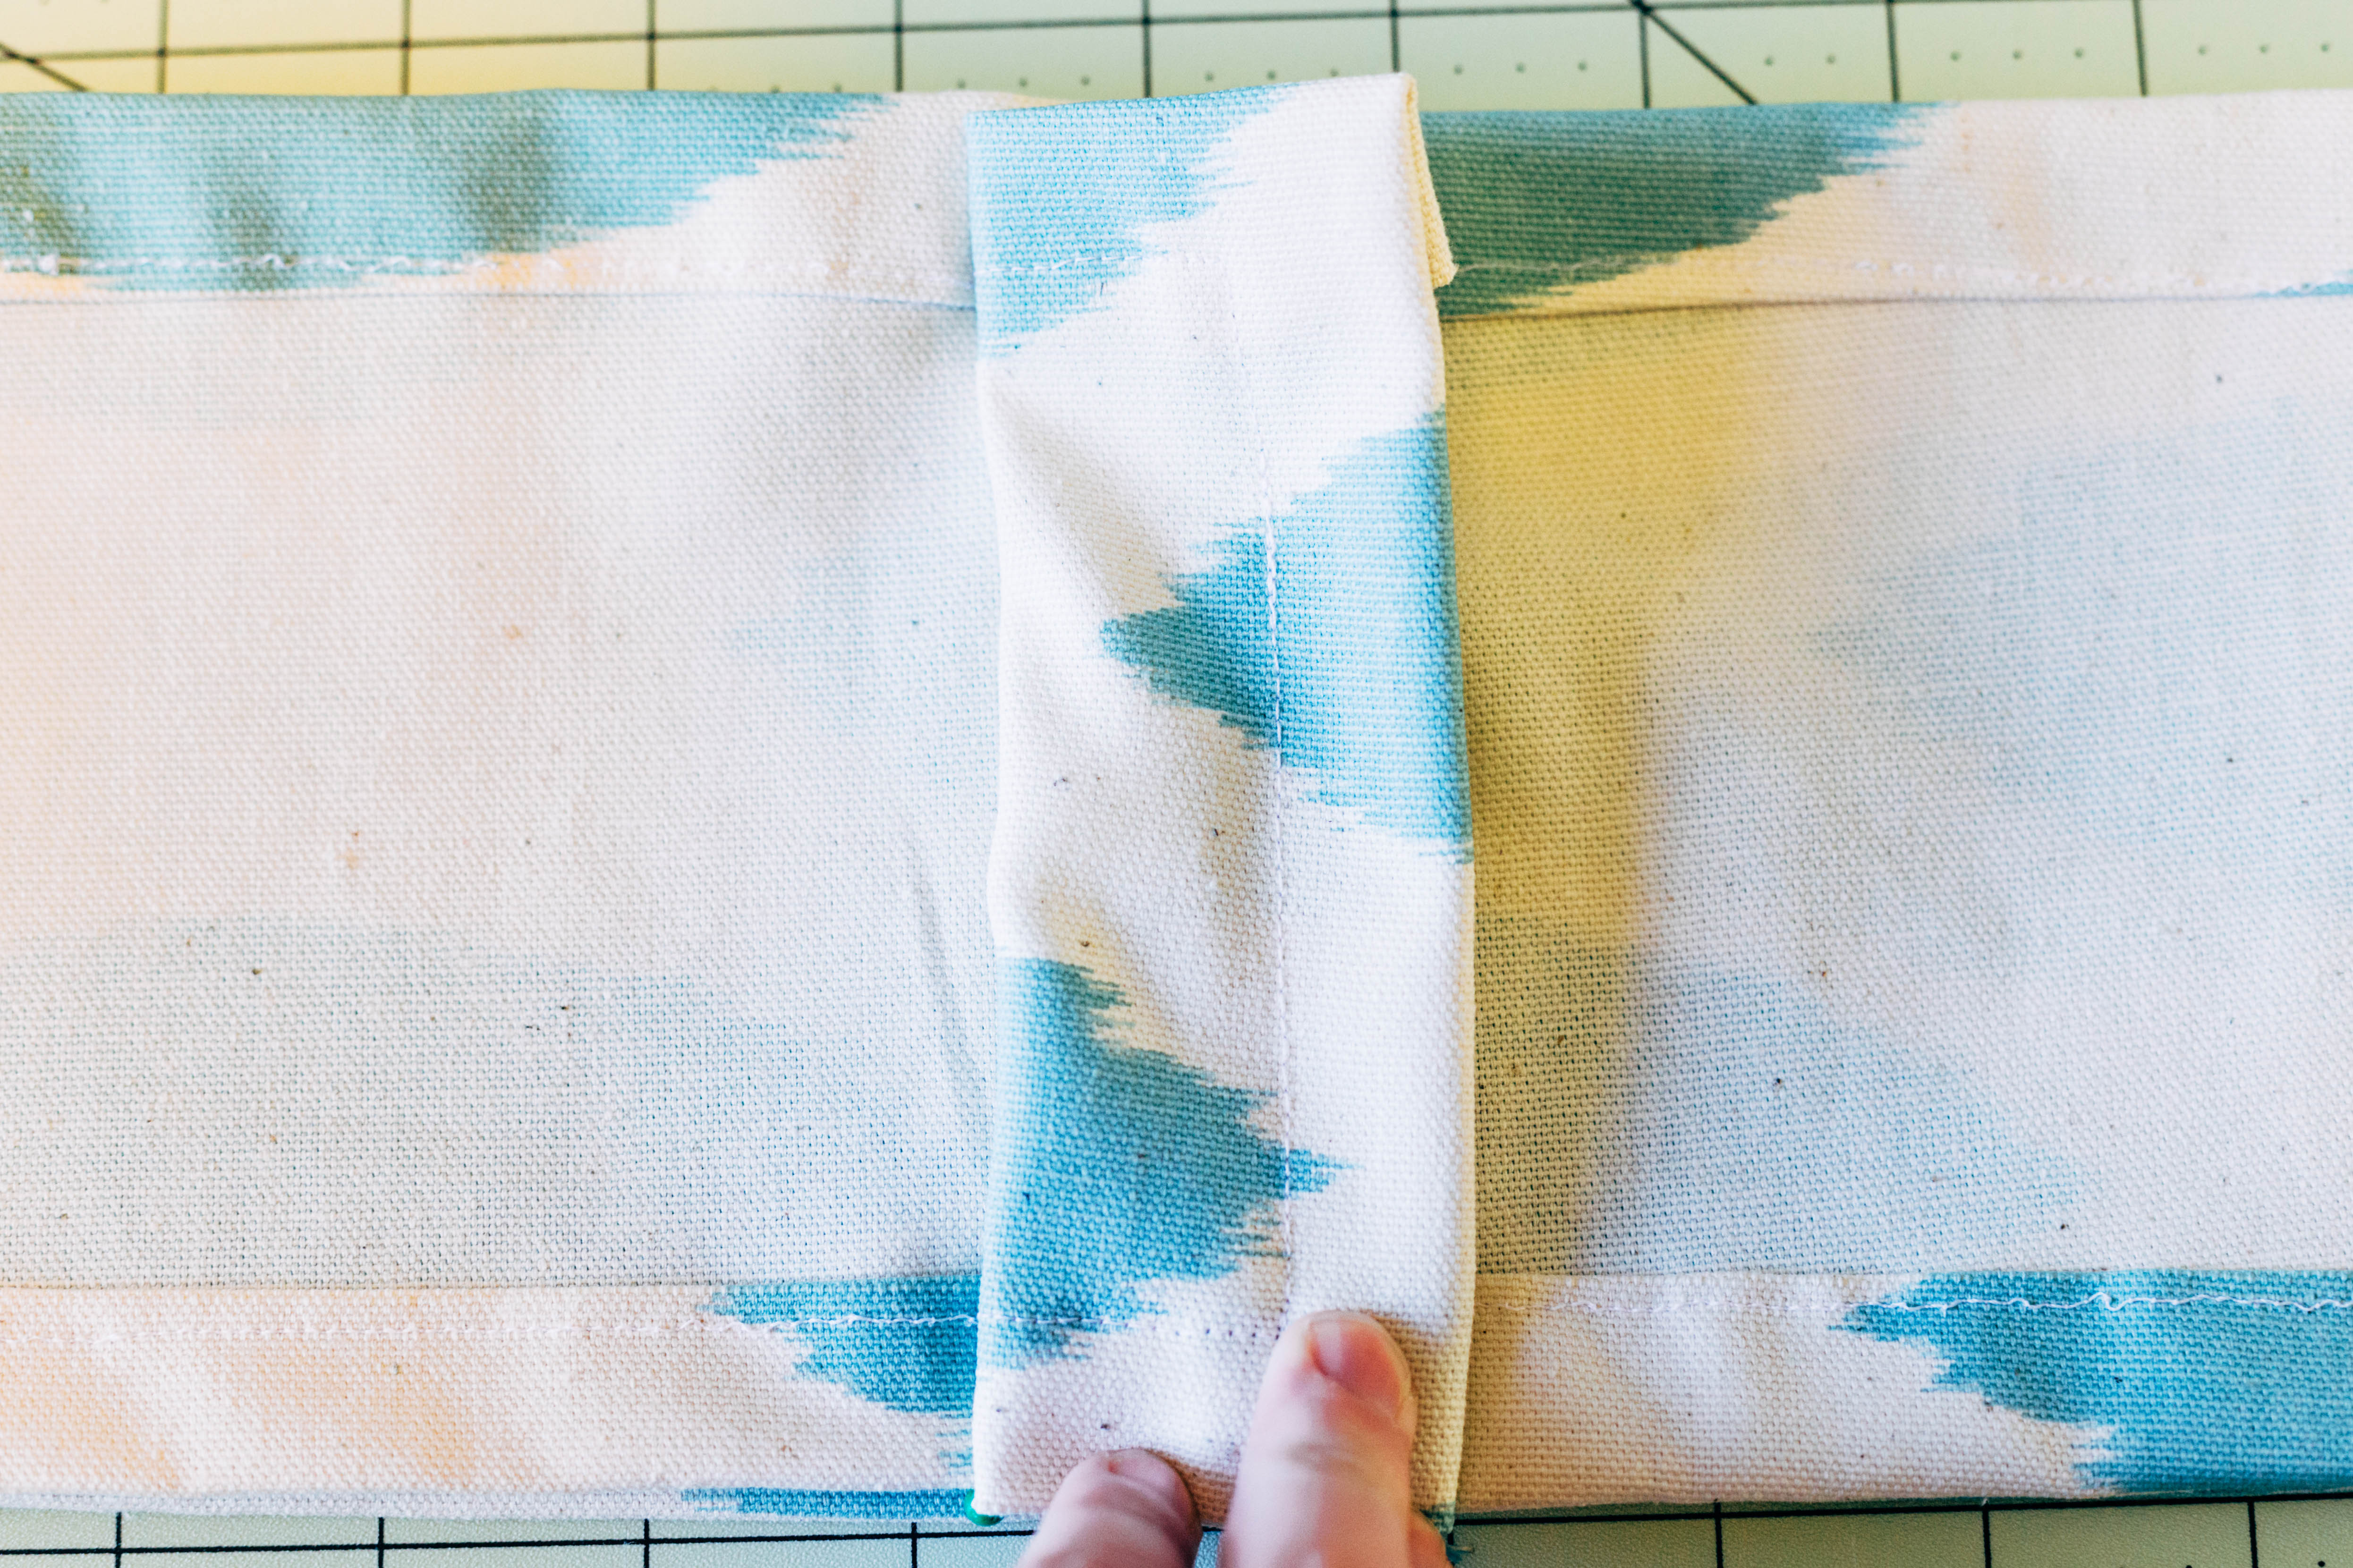
At this point, you should be able to wrap your band around the pillow you’re covering, and there should be a few inches that overlap. I pinned mine in place where I wanted the ends to meet (not to the pillow, just to each other), and then I removed the band from the pillow.
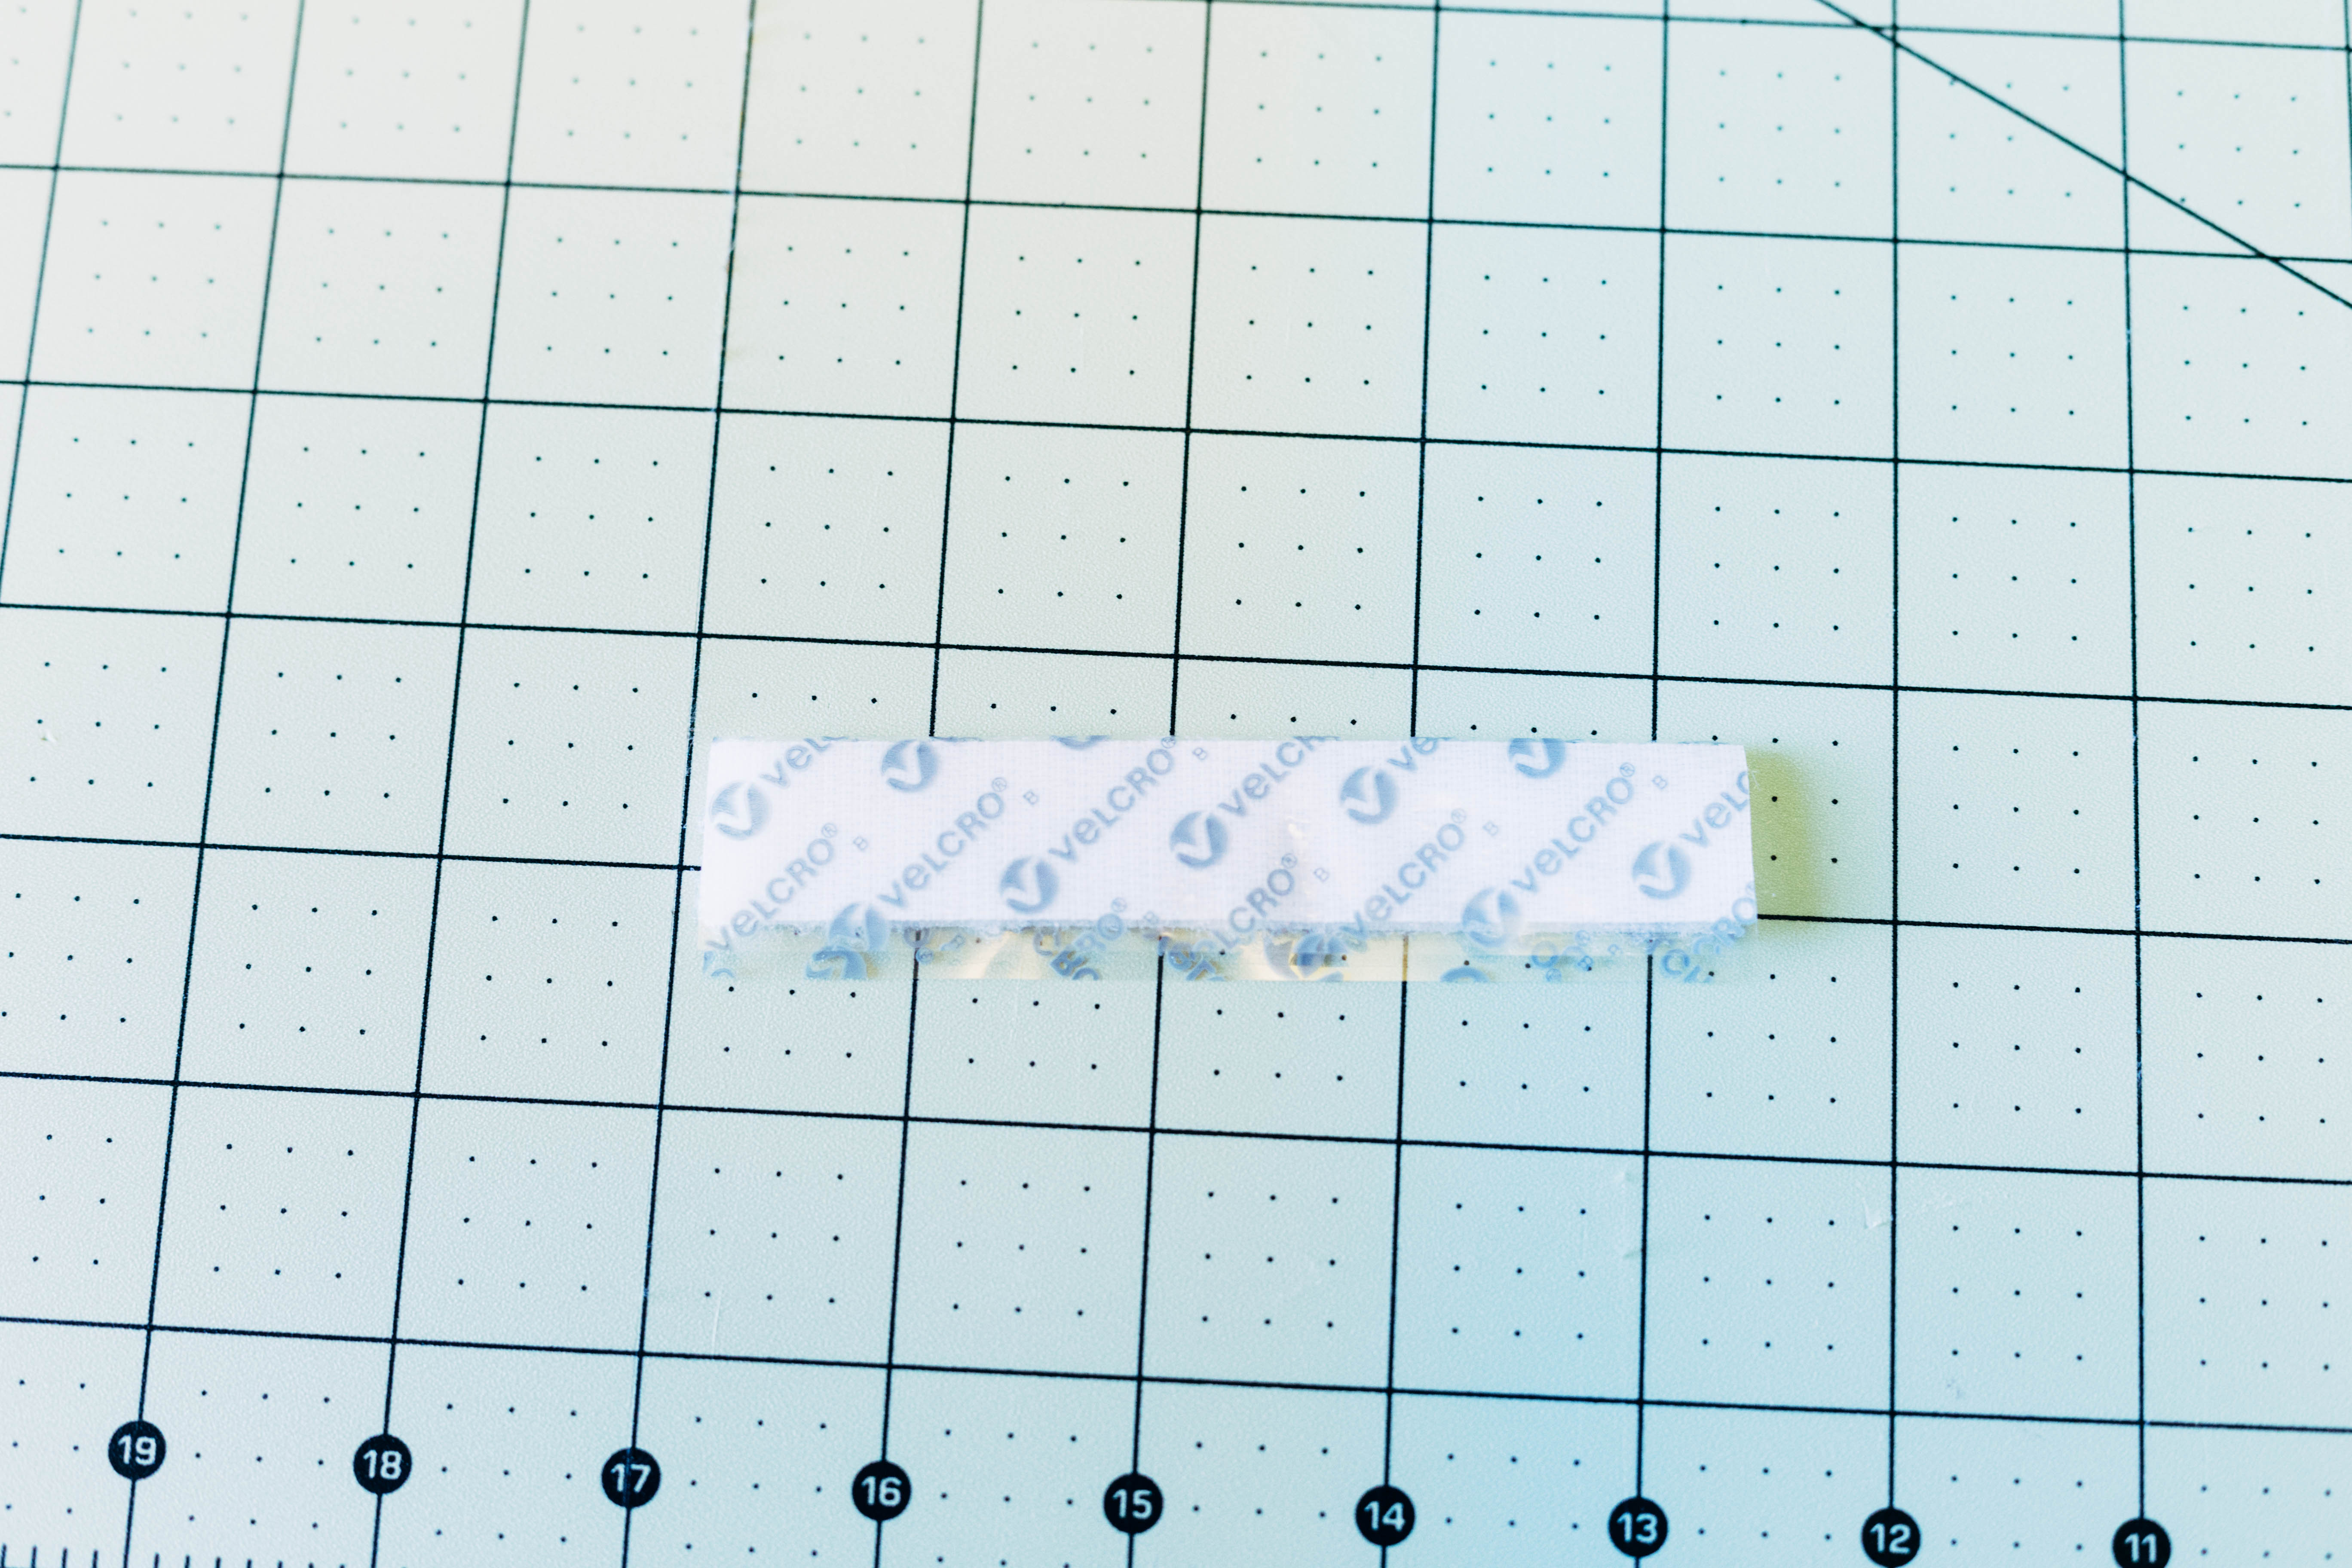
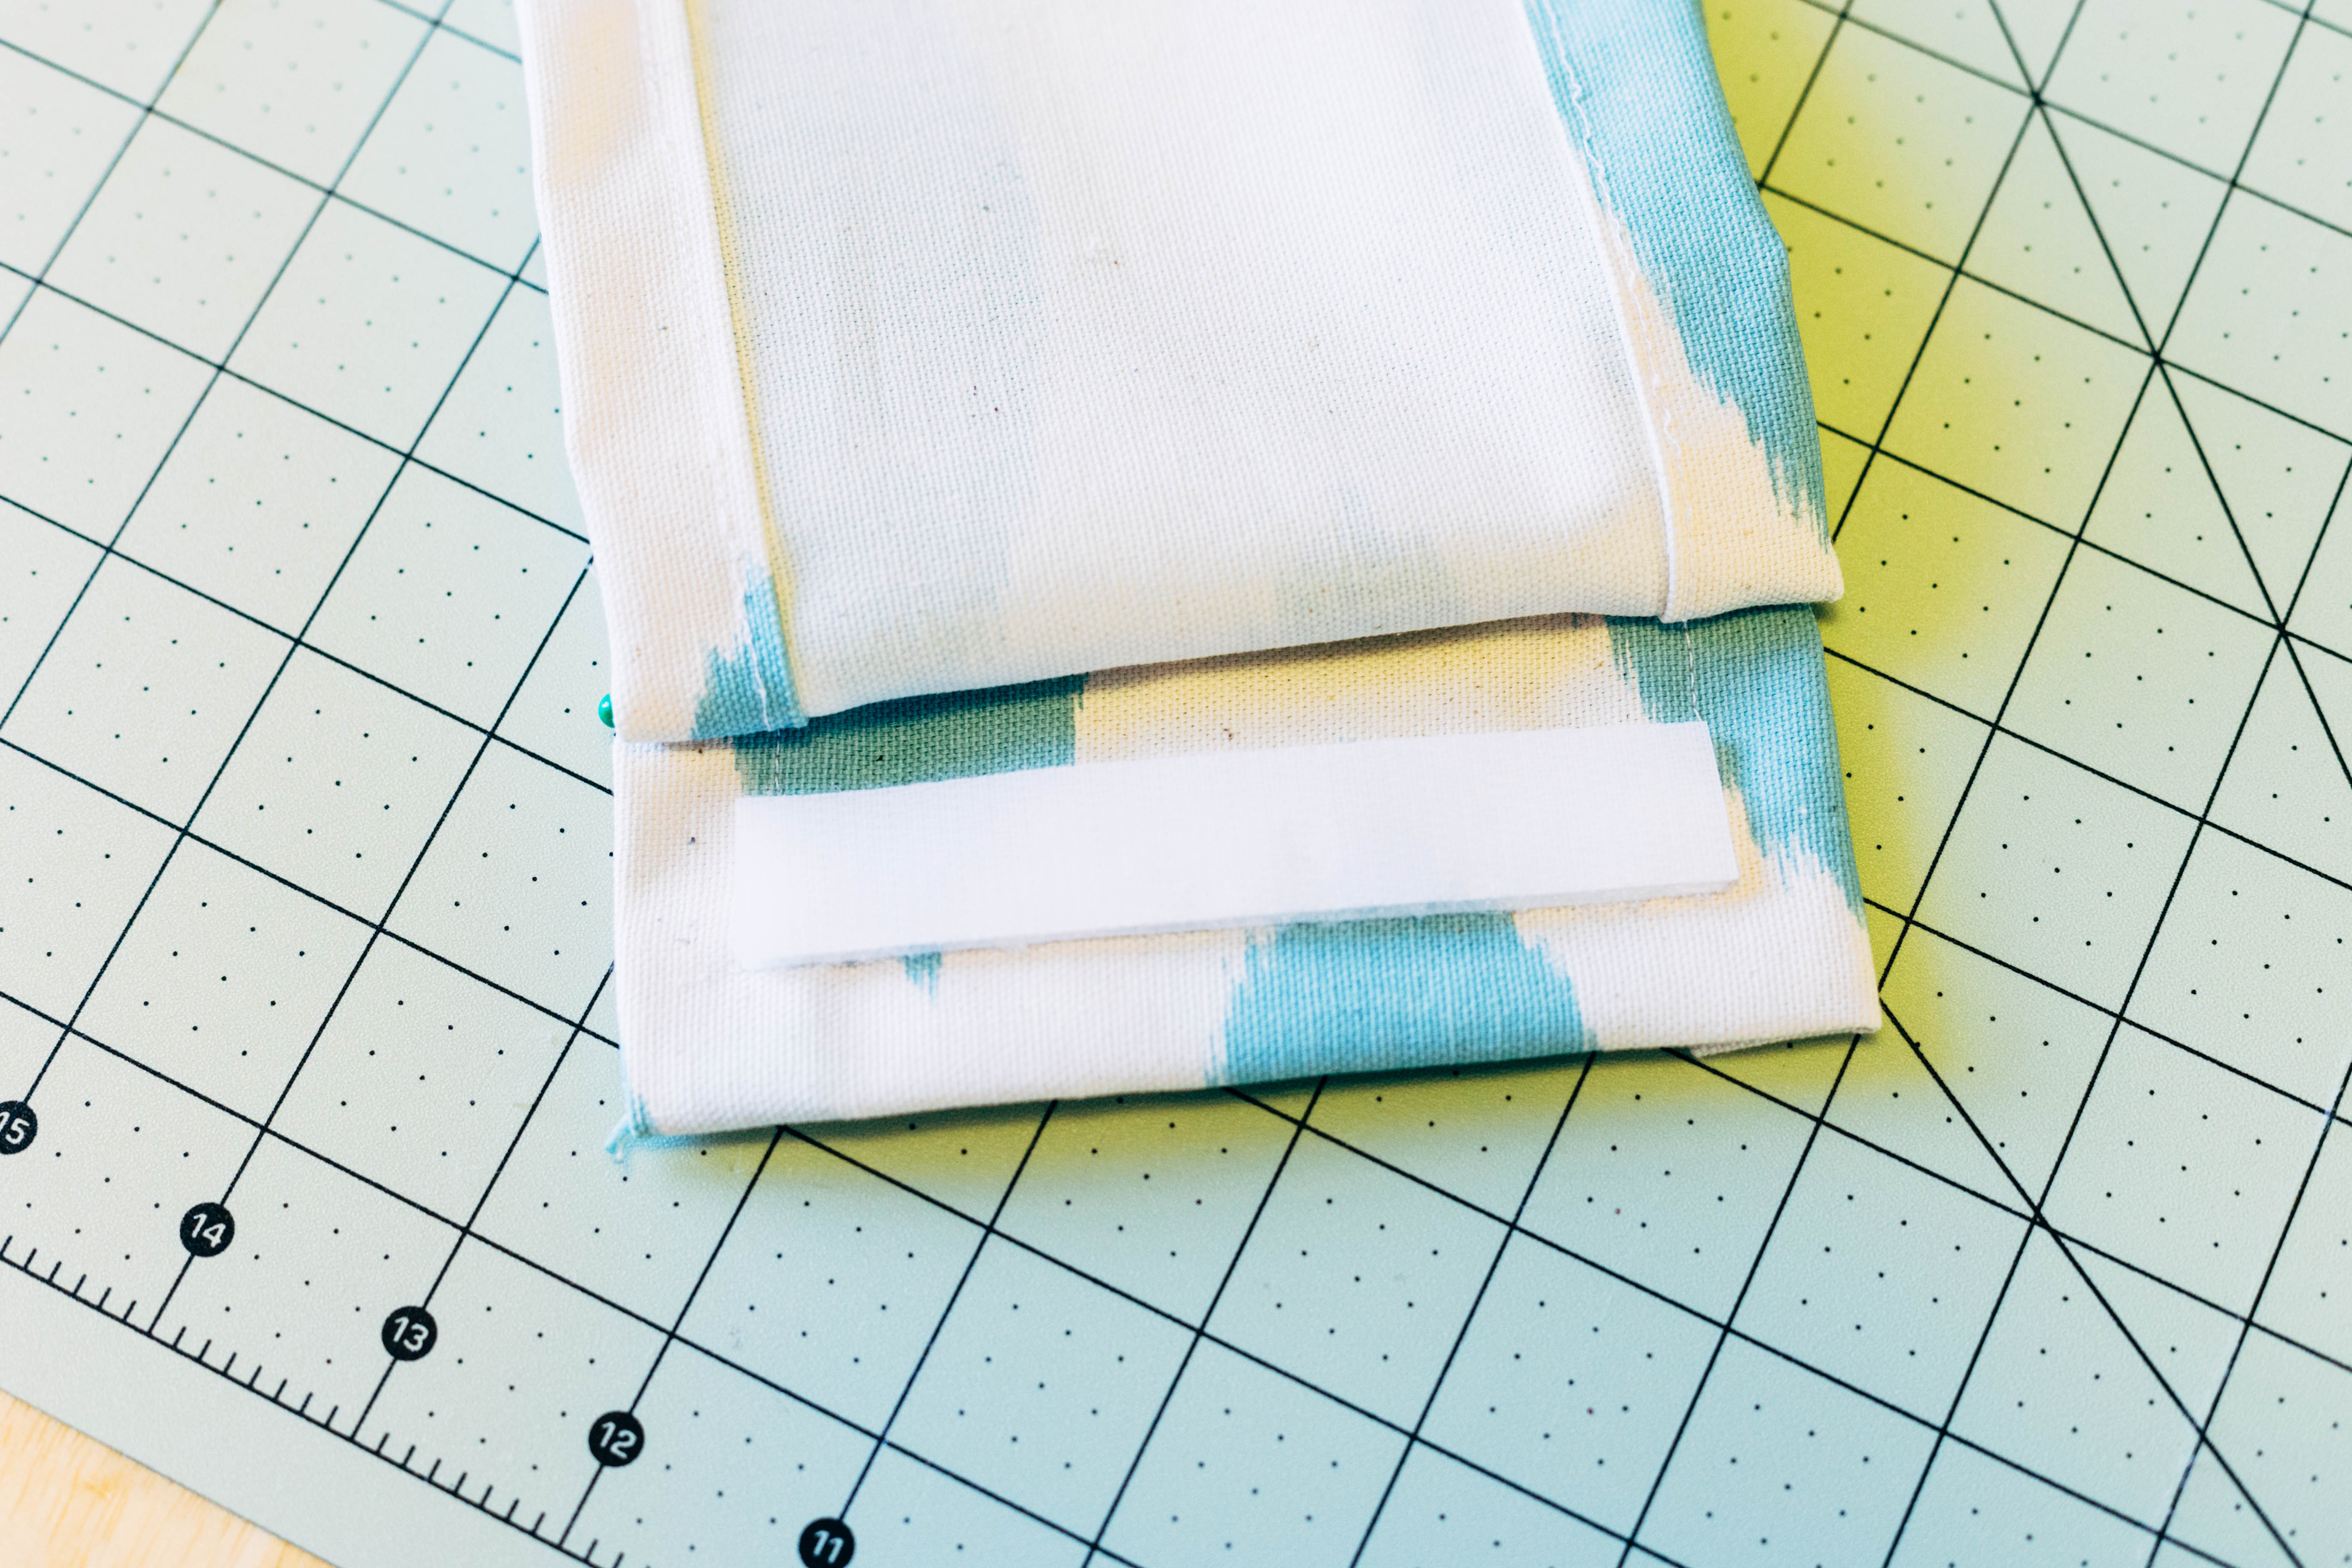
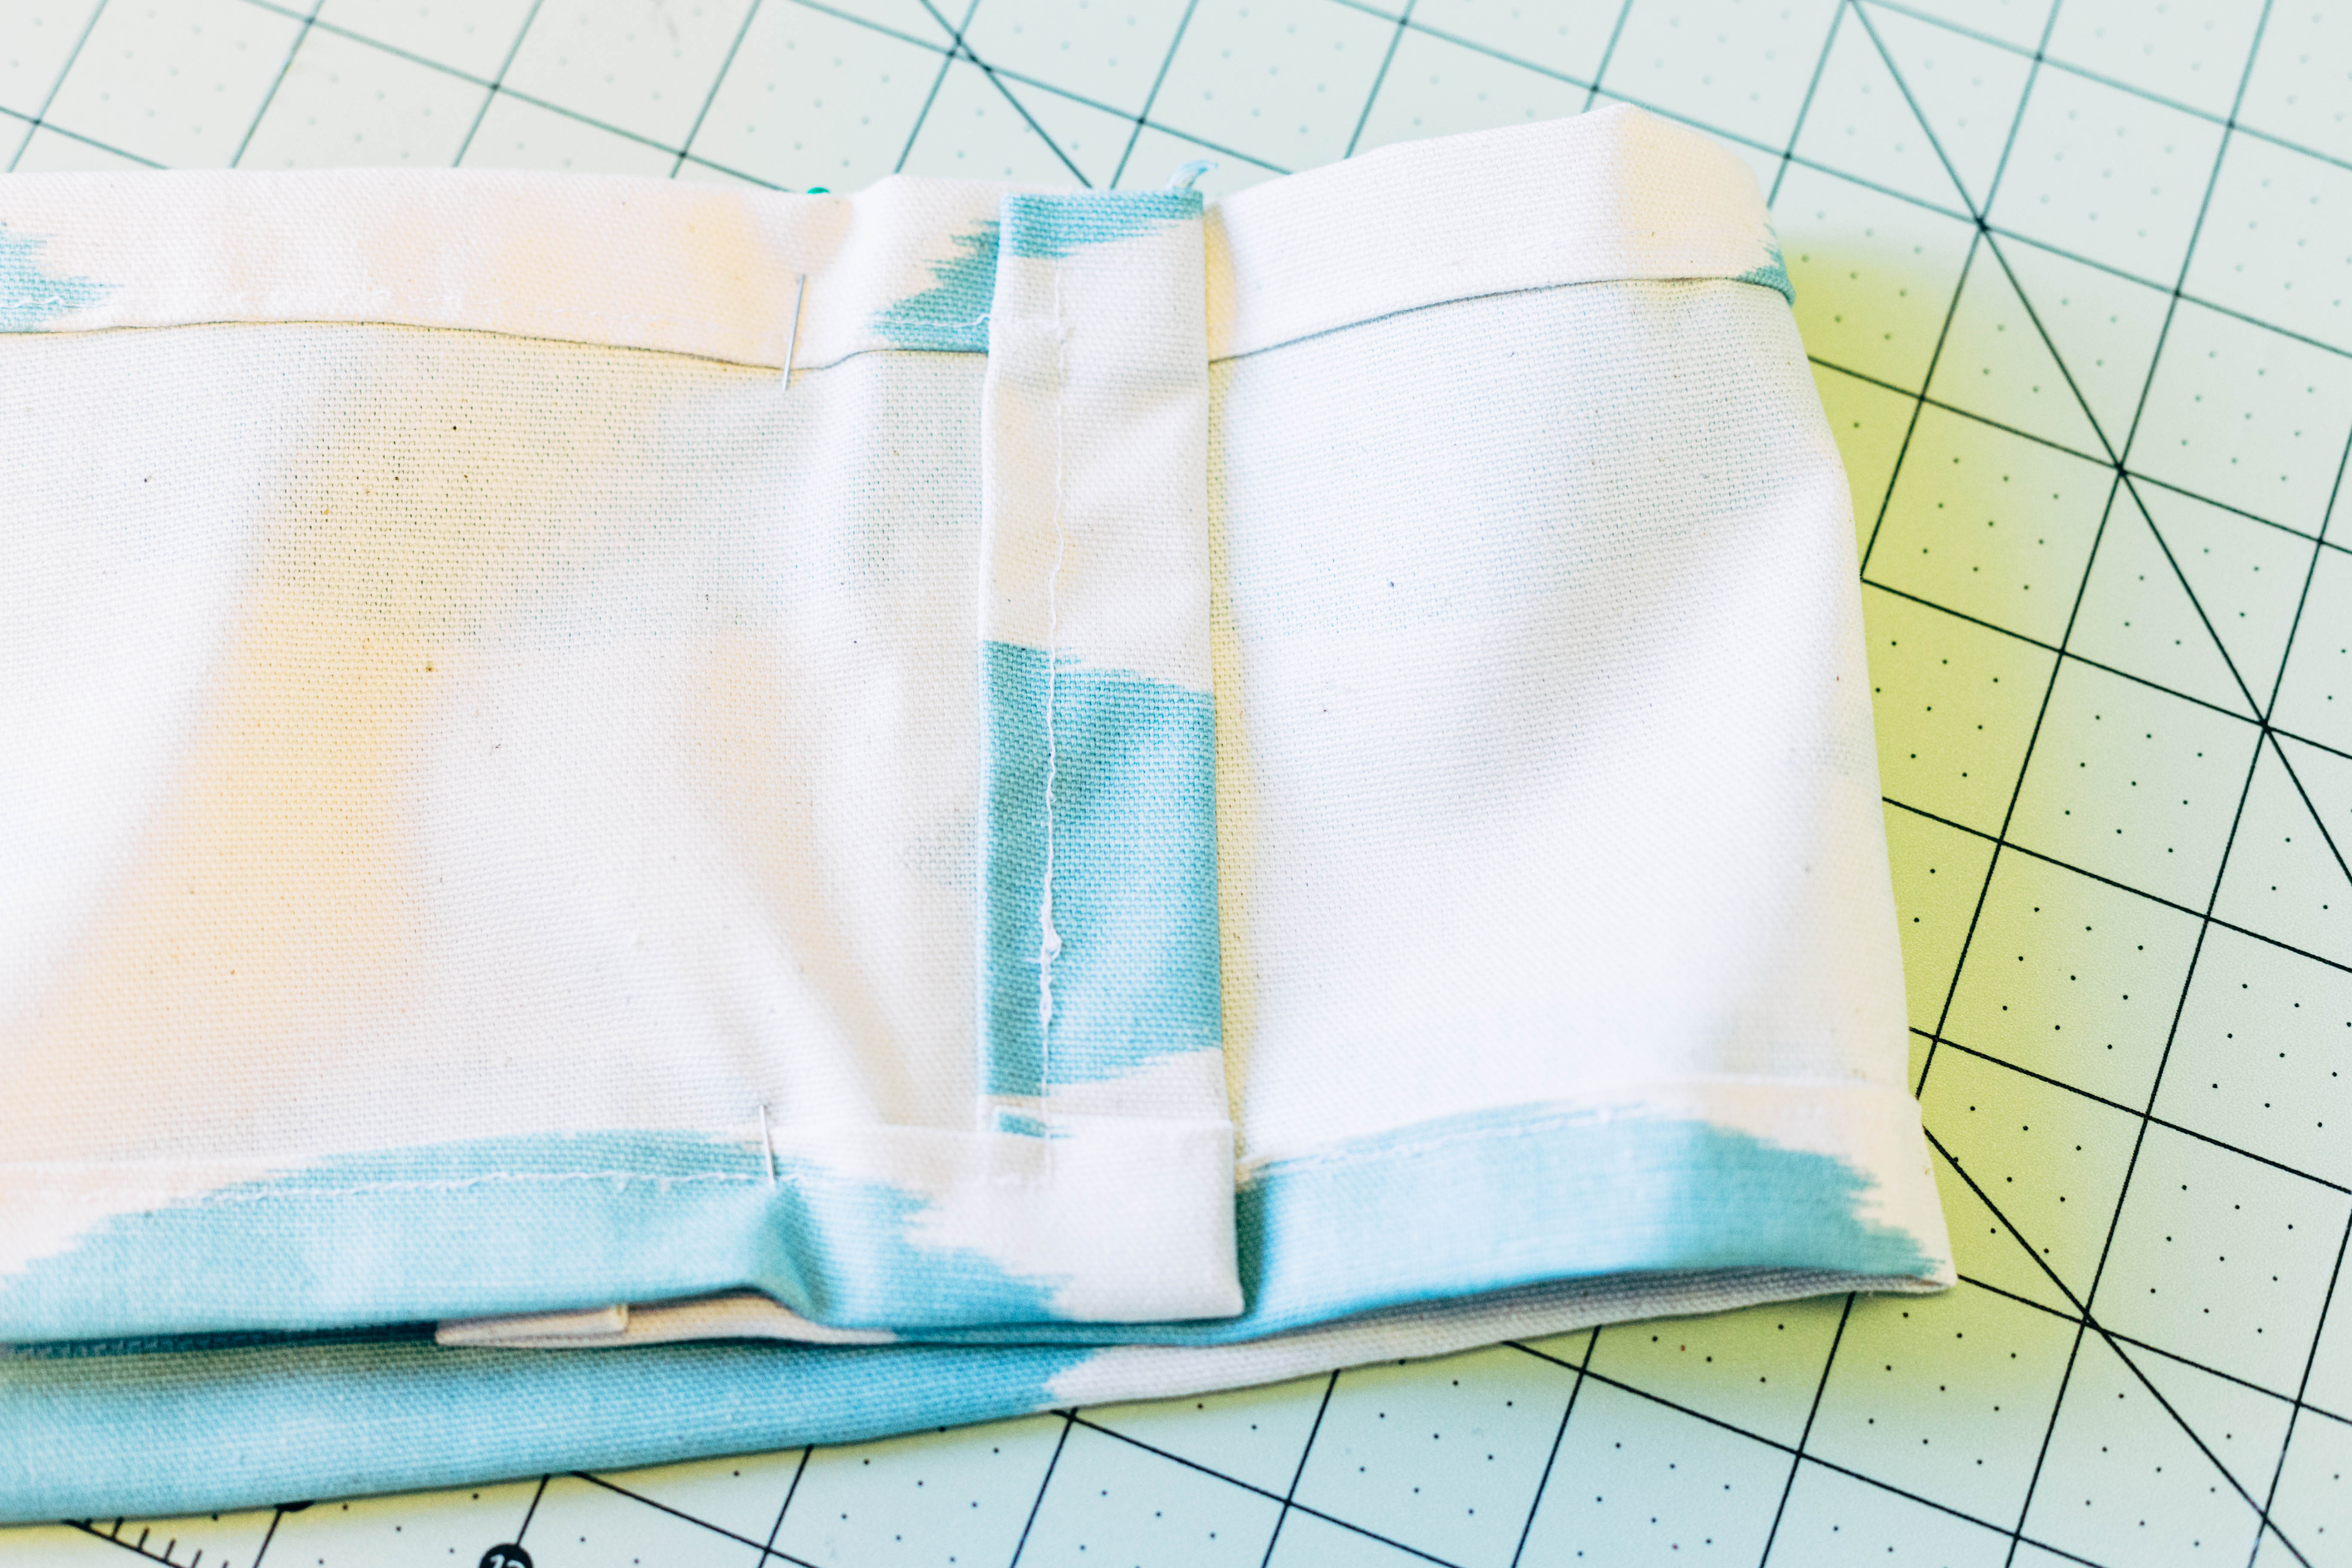

I stuck my velcro together ( I ended up cutting a 5″ piece, so it doesn’t go from end to end of the band.), peeled off the backing, and placed it on the part of the band that I wanted to be the closure. I pressed down hard & just didn’t let go for a few minutes before putting it back on the pillow. I’ve seen people use these to cover the envelope closure on their throw pillows. This band, in particular, doesn’t completely serve that function because it is rather narrow, but if you wanted a wider band, you could easily adjust the measurements to do so.

Another alteration you could make to this is to use sew-in velcro. I skipped that, though, in the hopes of a quick and easy project that could be finished in around 30 minutes, but make an impression on your sofa!
I hope you’ve had a good weekend! I’ll be back next week with another fun home dec project to share with you!

