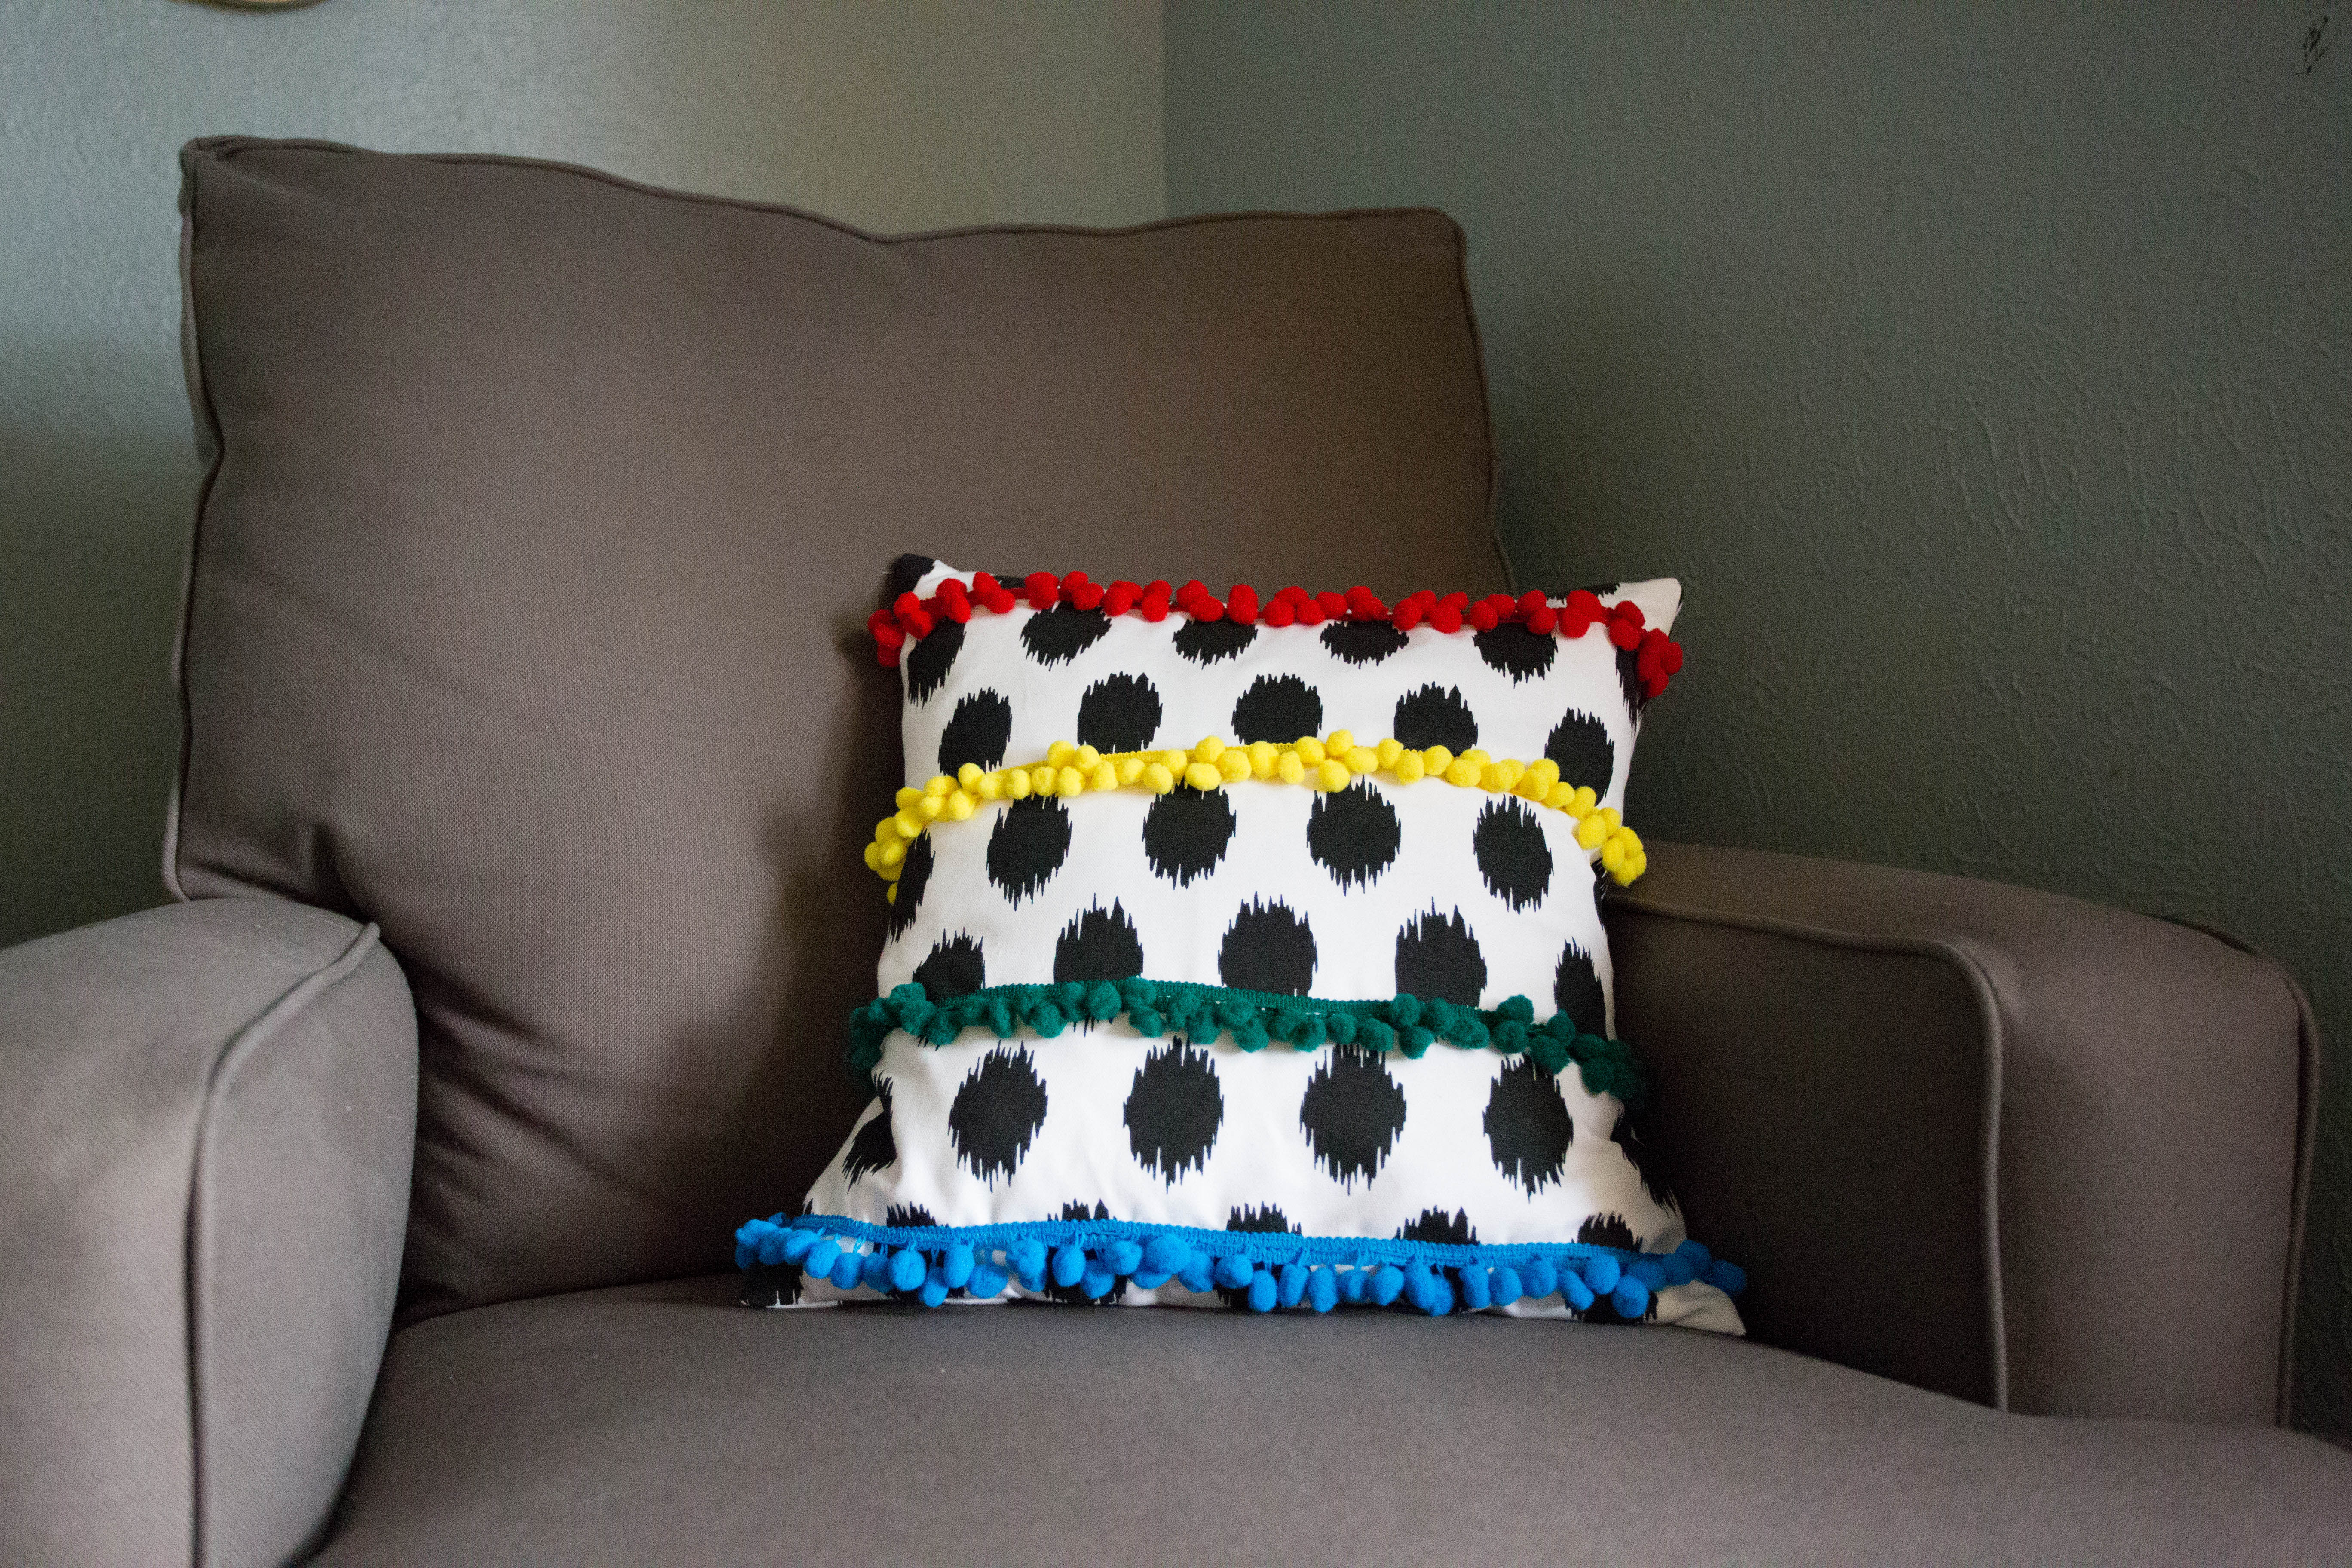
Pom pom fringe pillow

Hi there! Today I’m going to show you my newest pillow! I know, I know- another pillow! I thought I was done for a while, too, but then I started looking at pom poms & just couldn’t help myself! I saw a monotone pillow similar to this a while back & loved the concept, but thought it might be fun to go bold!
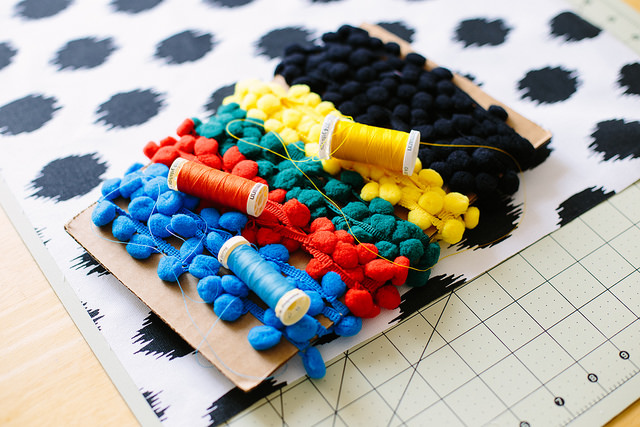
Here’s what you’ll need:
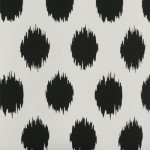

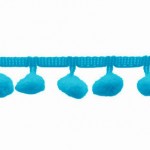
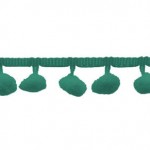
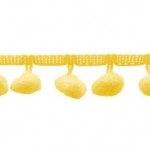
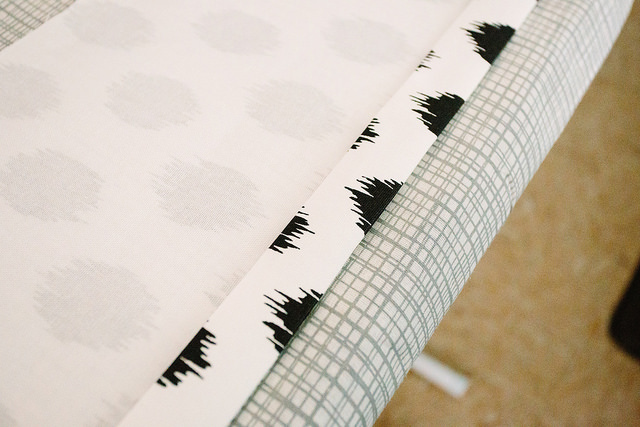
1/2 yard of Jo Jo Black/White, and one yard each of red, turquoise, emerald, and yellow mini pom pom fringe, coordinating thread, and a pillow form.
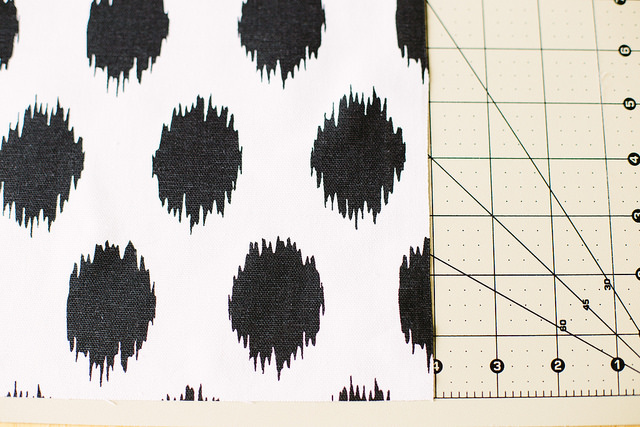
Instead of using the measurements that come on the packaging of my pillow forms, I like to actually measure from seam to seam for a more accurate account. The pillow I used measured 17″ x 17″ (supposedly an 18″ square- see what I mean?), so I first cut my front piece to be 17″ x 17″. I then cut my two back pieces, 14″ x 17″ because I like a thicker fold for my hem. Set those aside for now- we’ll get back to them.
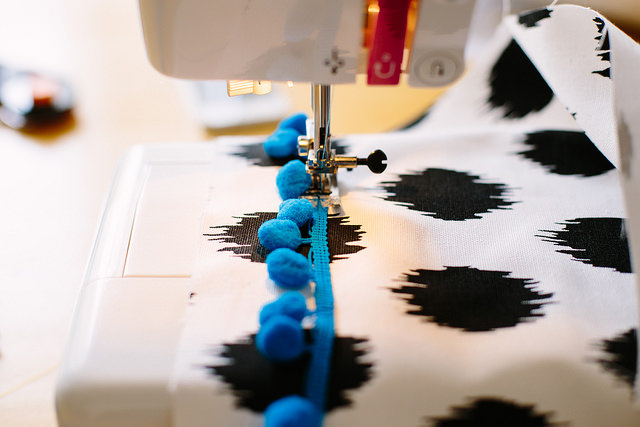
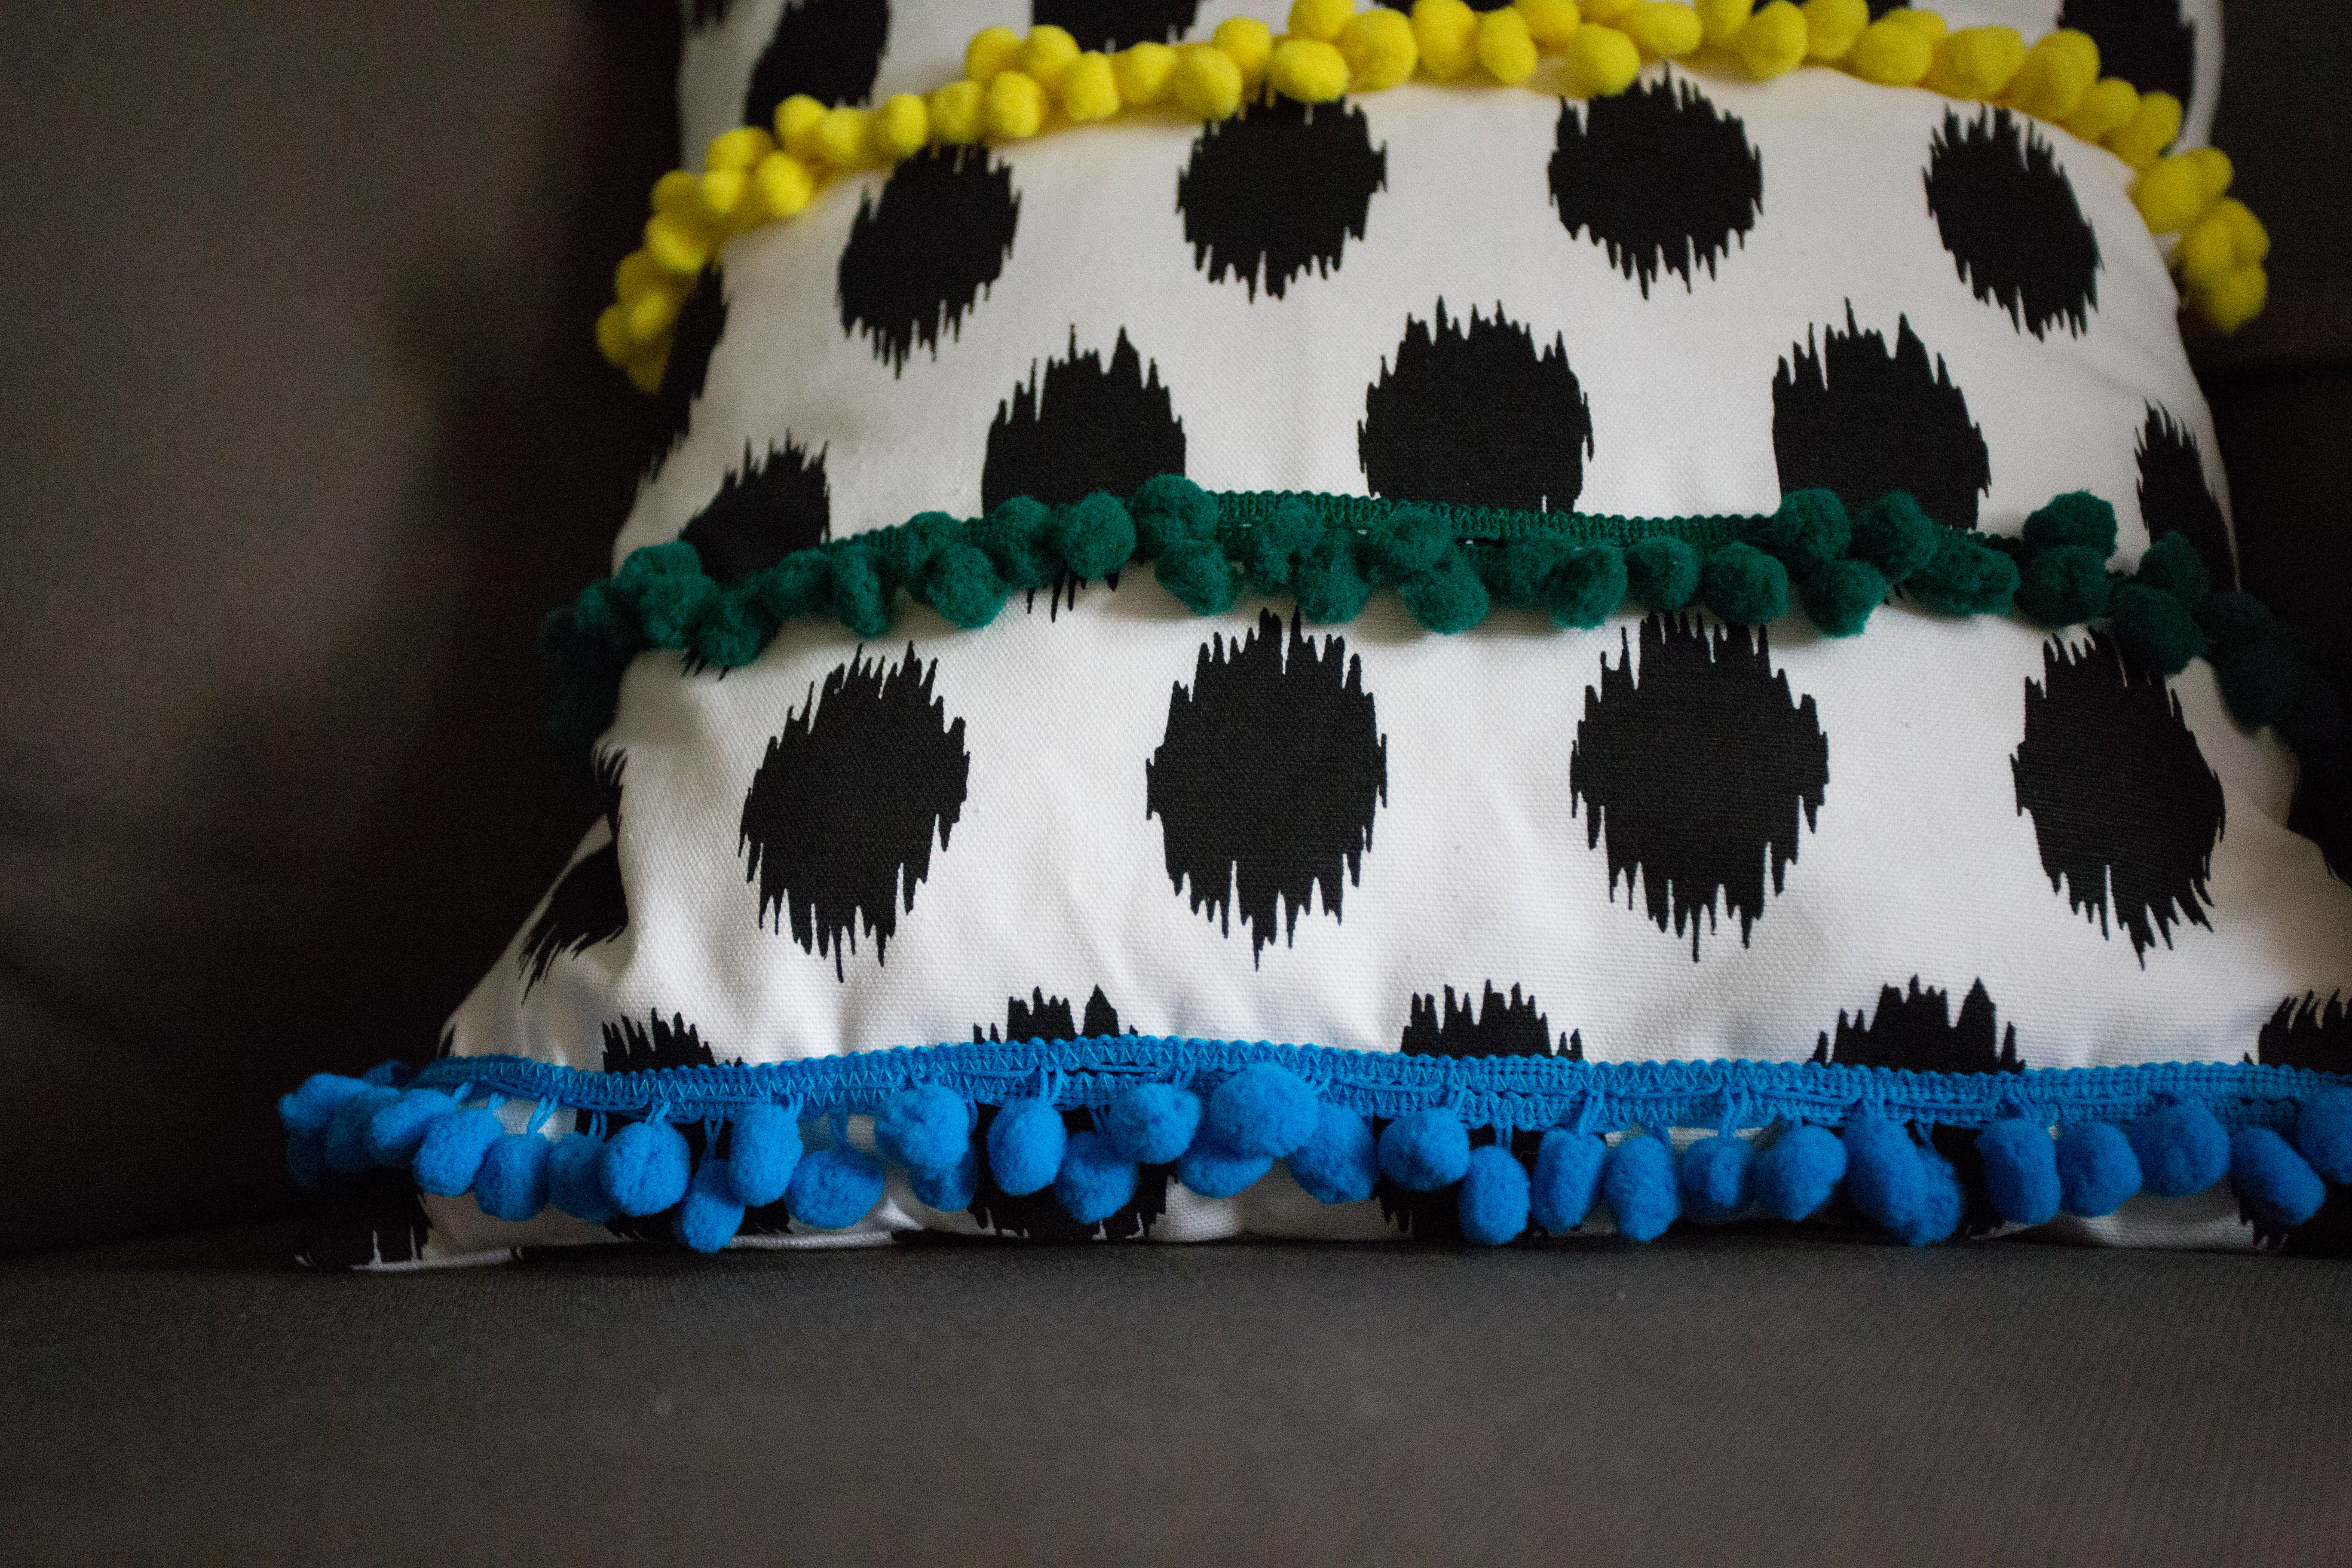
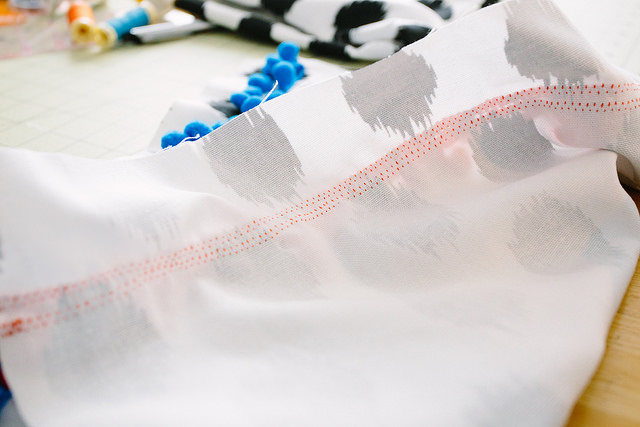
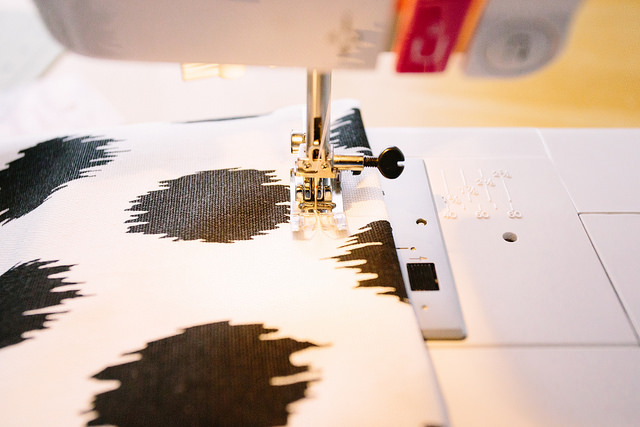
Now, I play things by ear a lot, especially when it comes to sewing. The placement of my pom poms was not scientific, really. I measured 2 inches from the top and bottom and pinned my first two colors, one row at a time. I decided to start with those and then just try a few placements out. I used a zig zag stitch.
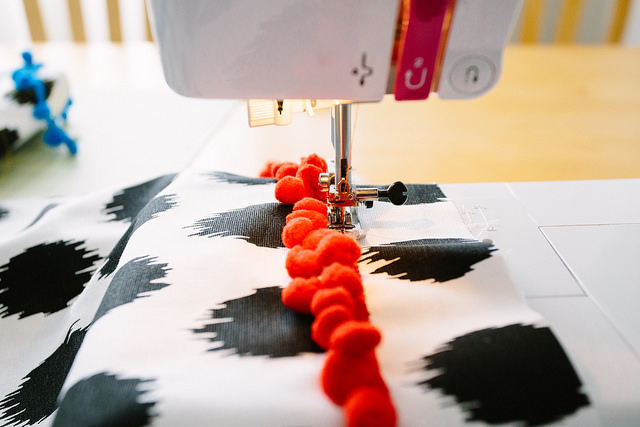
For even more boldness, I added a second row of pom poms for each color. The single rows just looked a bit lonely to me. I did not pin the second row- just loosely followed the first. I did not attempt to be rigidly straight. I don’t think you can really tell.
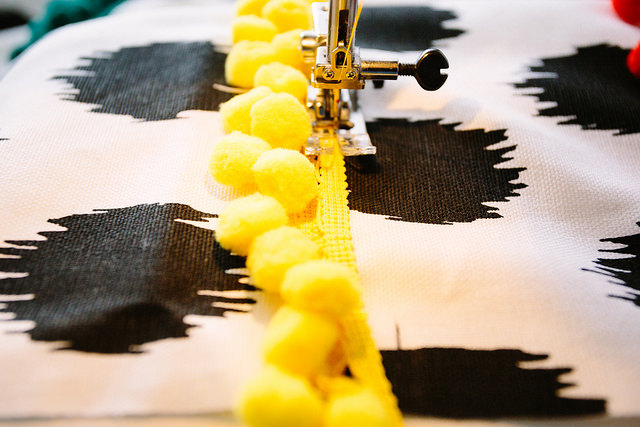
For the other colors, I just eyeballed it and in the end, the rows are pretty evenly spaced. Have I mentioned I’m not too picky? Oh, yes. 🙂
Now it’s time to turn the fun front into a pillow! This is when you’ll need your 2 14″ x 17″ pieces.
For a simple hem, fold over the long edge (about 1/2″-3/4″) and press, then fold it over again and press again. I think I folded mine over about an inch each time, but you may prefer a thinner hem.
Run a quick seam over the fold, making sure to catch all layers one your seam. That is important. Be sure to make a knot at each end by a backstitching. Do this to both pieces.

Now the fun part- putting the pieces together! Lay the front piece down, face up, and put on of your back pieces on top, so their right sides are facing each other. You’ll want the raw edge to be lined up with the edge of the front piece, so the hemmed side will be in the middle-ish. Repeat with the second piece, only lining the raw edge at the other end of the pillow, so the hemmed edges are overlapping. Overlap is a good thing, especially when your pillow is very fluffy. Pin around the entire square, then sew around it, making sure to backstitch at the beginning and end.
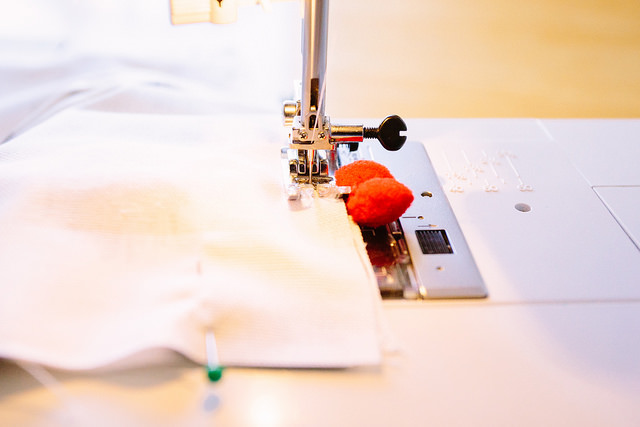
If you have any pom pons that are in your way, move them to the side, then trim off any that are not sewn in side of the cover.
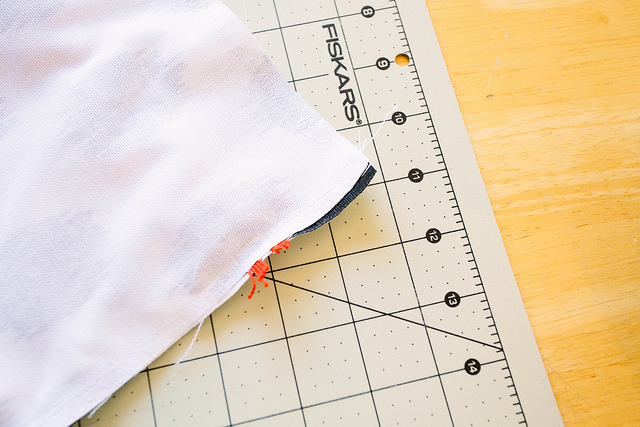
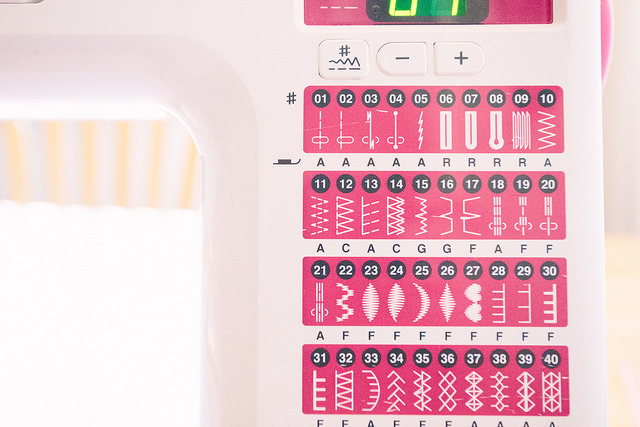
I like to reinforce my pillow covers with a zig zag stitch on the outside of the seam, just for durability. I’m not sure what it’s called, but I chose number 12. If you have a serger, you could use that.
Go ahead and turn that cover right-side out! Isn’t it fun?