
Pretty set of pillows – Plus, you can win them!
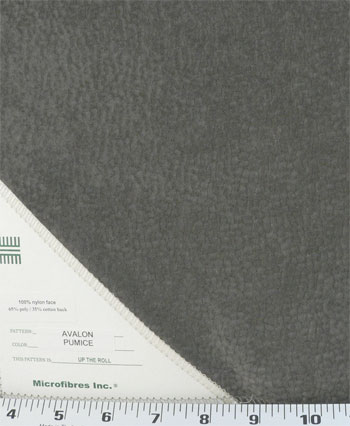
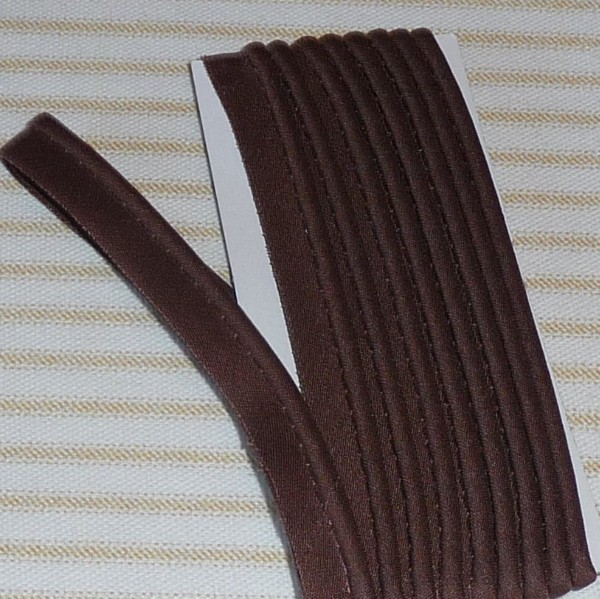
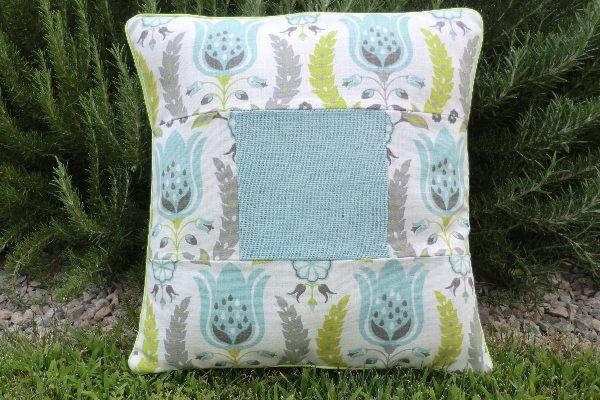
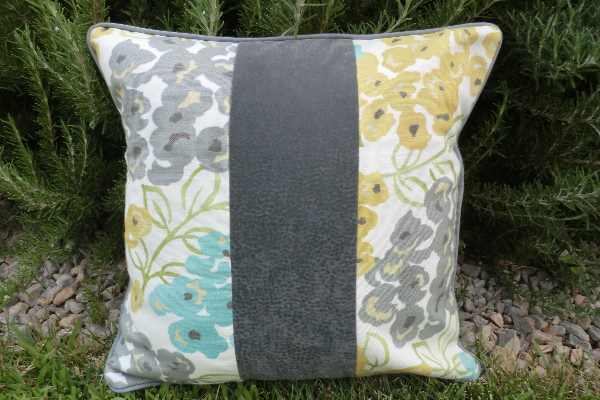
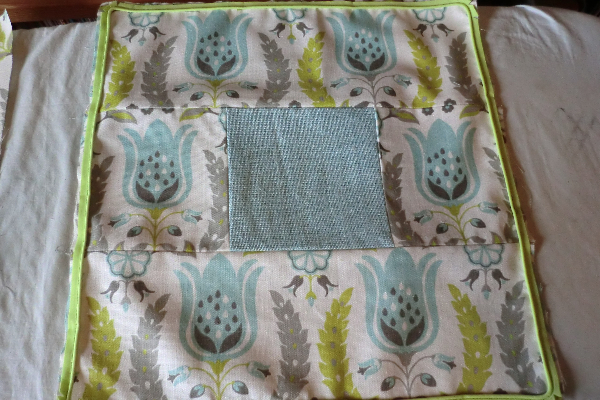
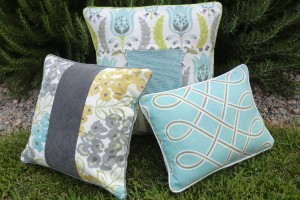 Here’s some inspiration for a pretty trio of pillows with coordinating prints and some interesting solids to add texture. The large pillow has a light blue square in the center made of burlap. The medium pillow has a velvet-textured gray stripe. All of them have piping, just because I love it, and envelope openings on the back for easy removal of the pillow form.
BEST OF ALL: YOU CAN WIN THESE! Just enter a comment at the bottom of this post. A winner will be randomly drawn on Thursday, Aug. 21, 2014. — NOTE: CONTEST IS OVER! Winner is Lenka.
Supplies
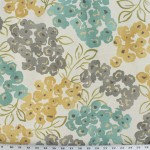
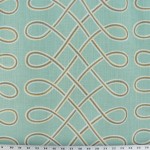
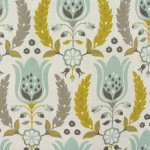

The patterns
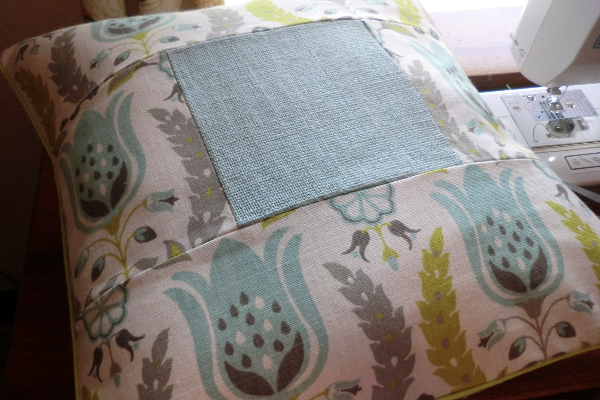
There are three pillows shown, and I’m going to cover one in this tutorial — the big one with the blue square. The striped one is similar, but simpler and the small one is even easier. Follow this tutorial to do the backs and assemble all of these pillows. Note that depending on your print, you may want to fussy cut a bit to get a nice even design (like in the top pillow). I’ll share my dimensions here:
Pillow with square in center:
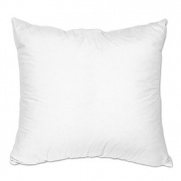
My pillow form was 18″x18″
Cut the center square 7″x7″
Cut two side pieces from main fabric 6.5×7 (wxh)
Cut two pieces 18″x6.5″ (wxh)
Cut two back pieces 18″x13″ (wxh)
Pillow with gray stripe:
My pillow form was 16″x16″
Cut the center stripe 5″x16″ (wxh)
Cut two side pieces 6.5″x16″ (wxh)
Cut two back pieces 16″x12″ (wxh)
Simple pillow:
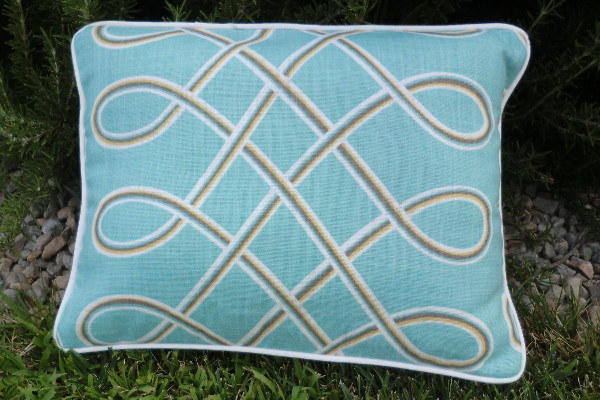
My pillow form was 16″x12″ (wxh)
Cut one front piece 16″x12″ (wxh)
Cut two back pieces 16″x10″ (wxh)
The process
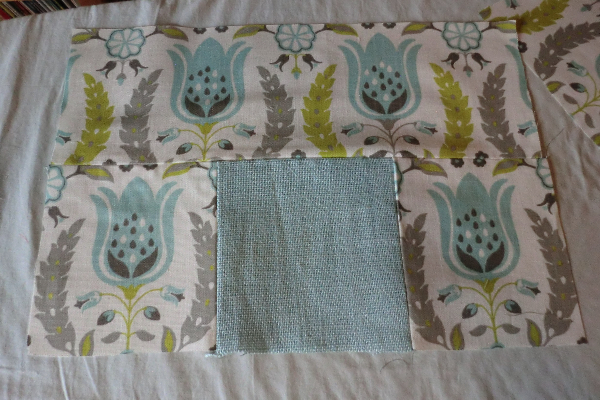
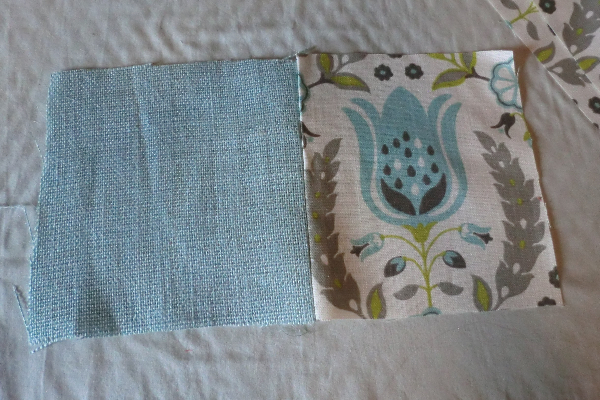 Attach one side piece to your center square and press open.
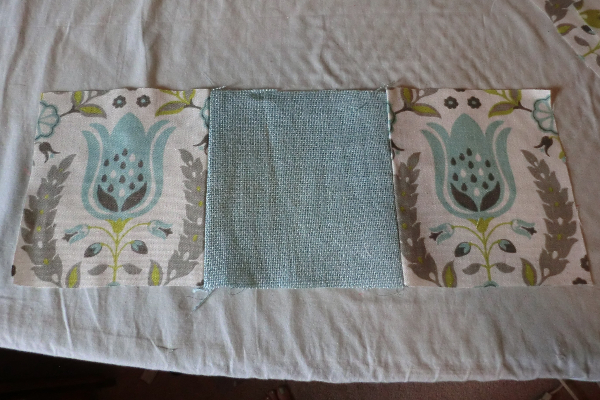
Attach the other side piece on the other side and press open.
Attach a piece on the top …
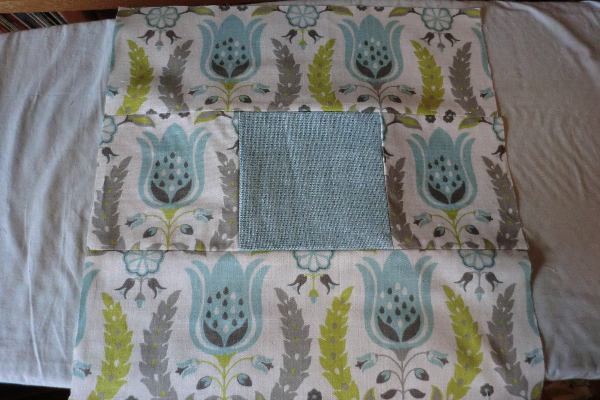
And the bottom. Press open.
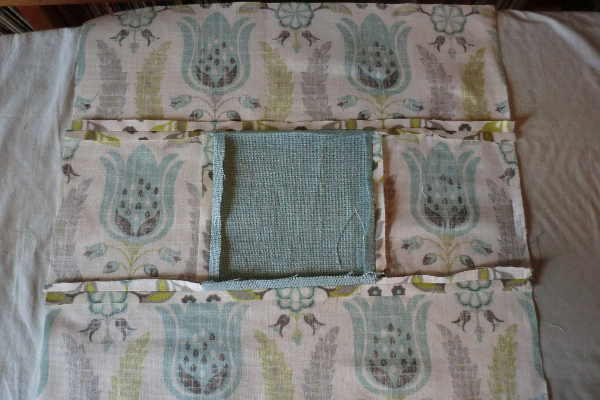
This is how it looks from the back.
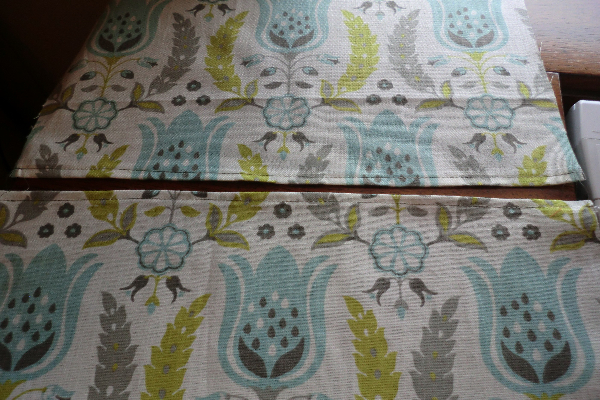
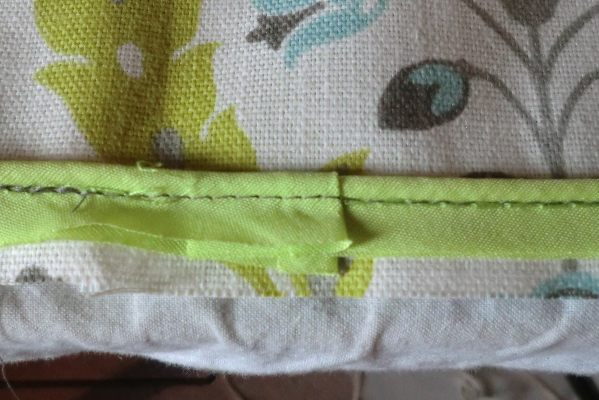
Hem the top edge of one back piece and the bottom edge of the other. Note that if your pattern is directional, as is mine, which edge you sew matters.
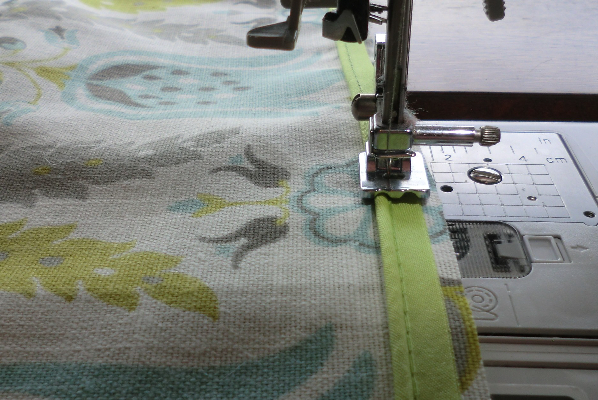
Sew your piping all the way around the front edge of your pillow.
Attach the ends (see this tutorial).
You’ll get this (above).
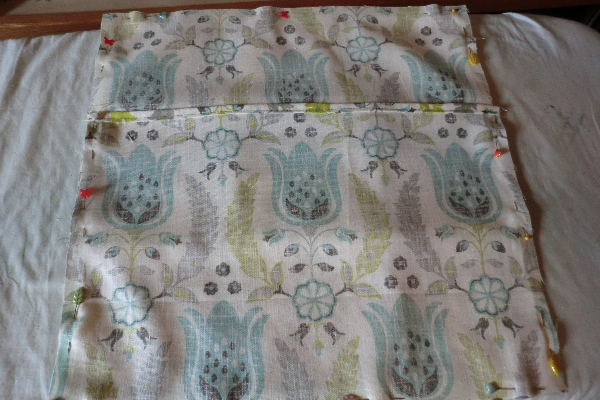
Lay one back piece right-sides together on the front piece, with the hemmed edge in the middle (well, it’s not quite the middle, but you know what I mean). Then lay the other back piece on top of that. They will overlap. Pin all the way around. Stitch. Turn right-side out and gently press out the corners. Press the pillow cover.
Insert your pillow form.
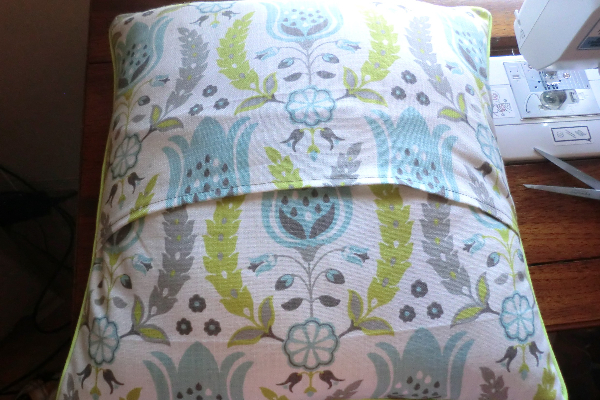 Envelope back view.
The other pillows are assembled in a similar manner but with fewer pieces to stitch together on the front.
Don’t forget to enter to win below by commenting!
U.S. shipping addresses only, please.


Love the colors! Love the tutorial! Thanks.
Lovely colors! Great tutorial!
Love the colors! Thank you for the tutorial!
GREAT LOOK. EVEN AS A BEGINNER I MAY BE ABLE TO AT LEAST TRY WITH THE TUTORIAL 🙂
I would love to make those pillows! They would look great with the new fabric you guys just sent me! I am having panels and roman shades made! 🙂
Love these pillows! Thanks for showing us how to make them!
Those are gorgeous pillows. I’ve never made any pillow or used piping on anything else. I love those fabrics. Gorgeous colors. Great tutorial as always! Thank you very much.
Beautiful pillows! Love the gray down the middle of the floral pattern.