Recover a cube ottoman
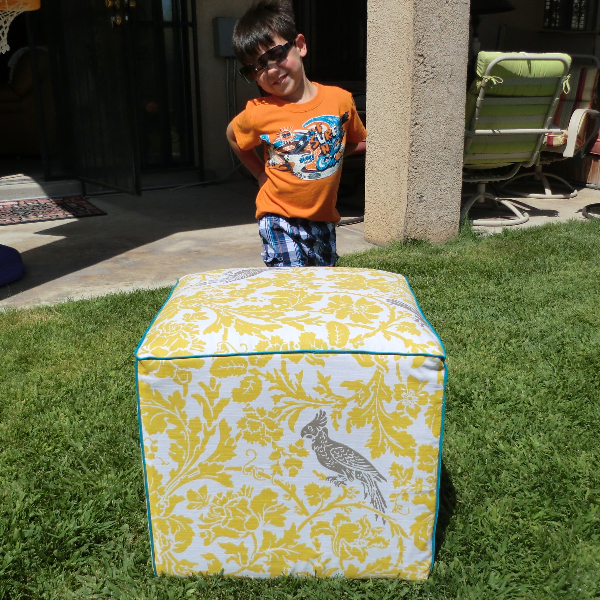
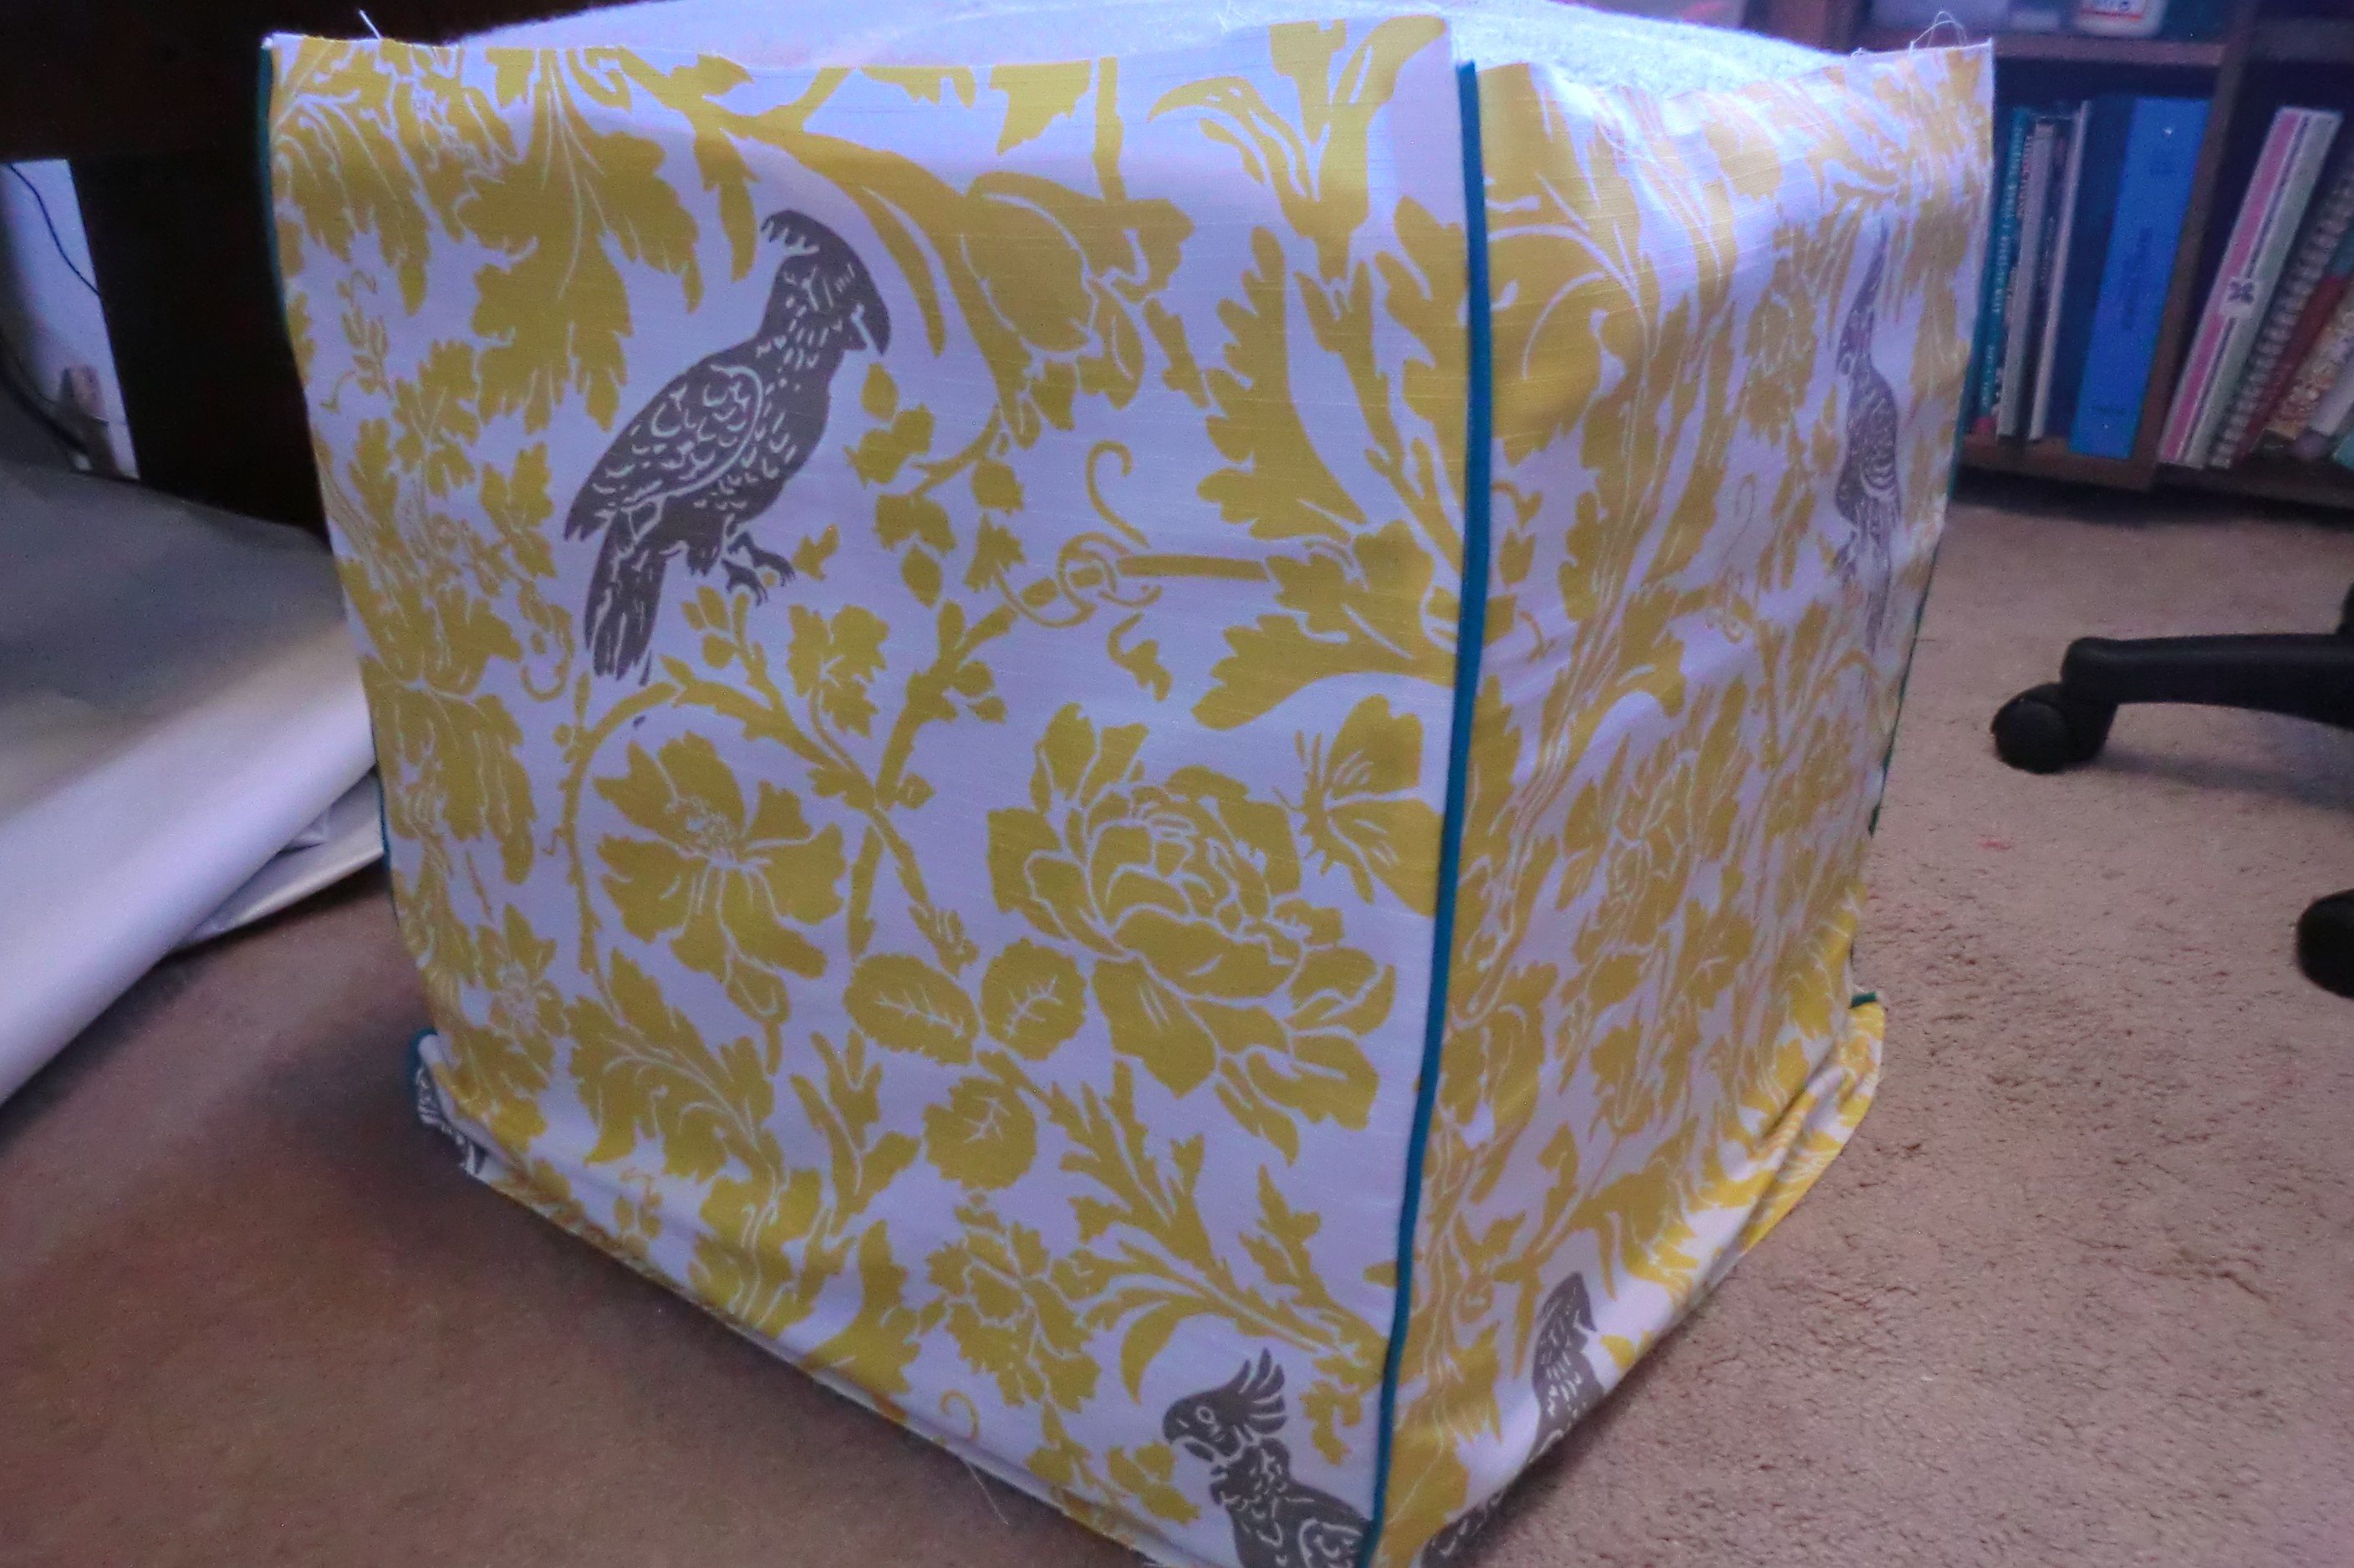
 This ottoman was a bit torn up but otherwise in great condition. The frame and padding inside were perfect. All it needed was a new cover. Isn’t it so much more fun now?
Supplies
Pattern
Measure the top of your ottoman and add 1/2″ seam allowance on all sides. Ours was square, so it was 18″x18″ plus seam allowance equaled 19″x19″ for the top and the sides were, after seam allowance, 18.5″x18.5″. That included seam allowance and also several extra inches on the bottom to pull under and staple.
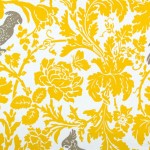
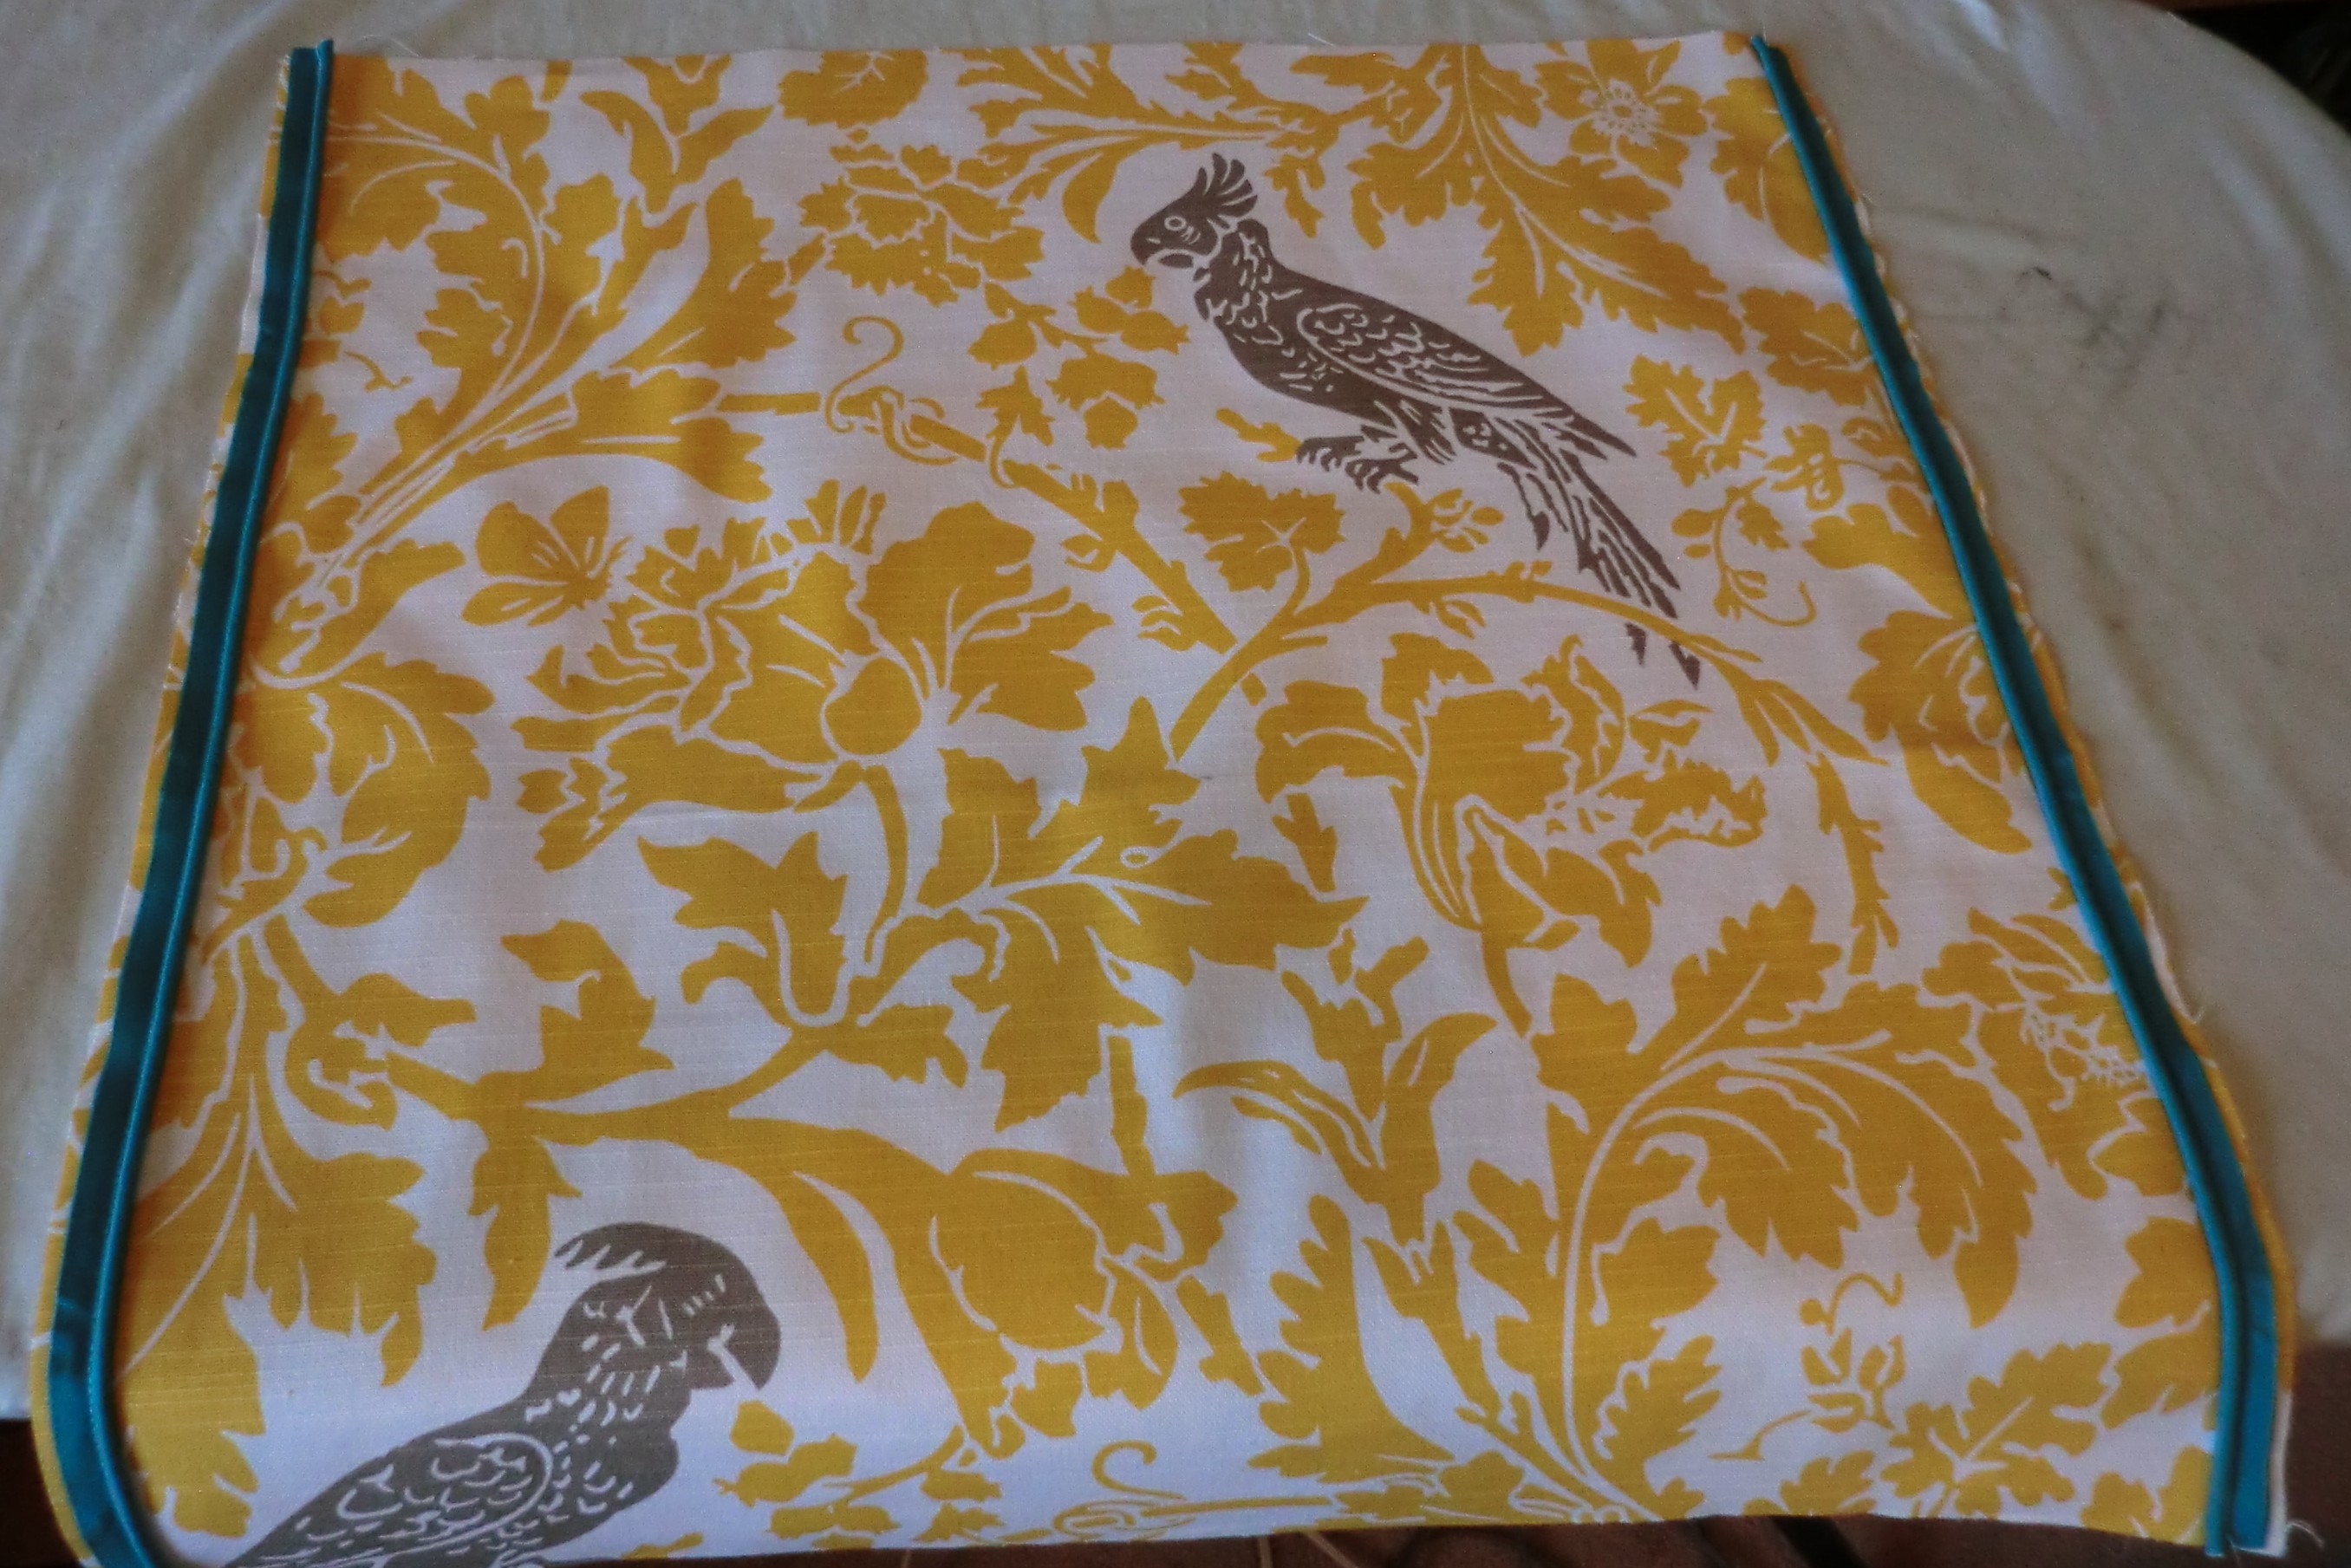
Cut four side panels and one top panel. Consider your pattern — for instance, we fussy cut so that the birds were positioned how we wanted them.
1/2″ seam allowances.
Process
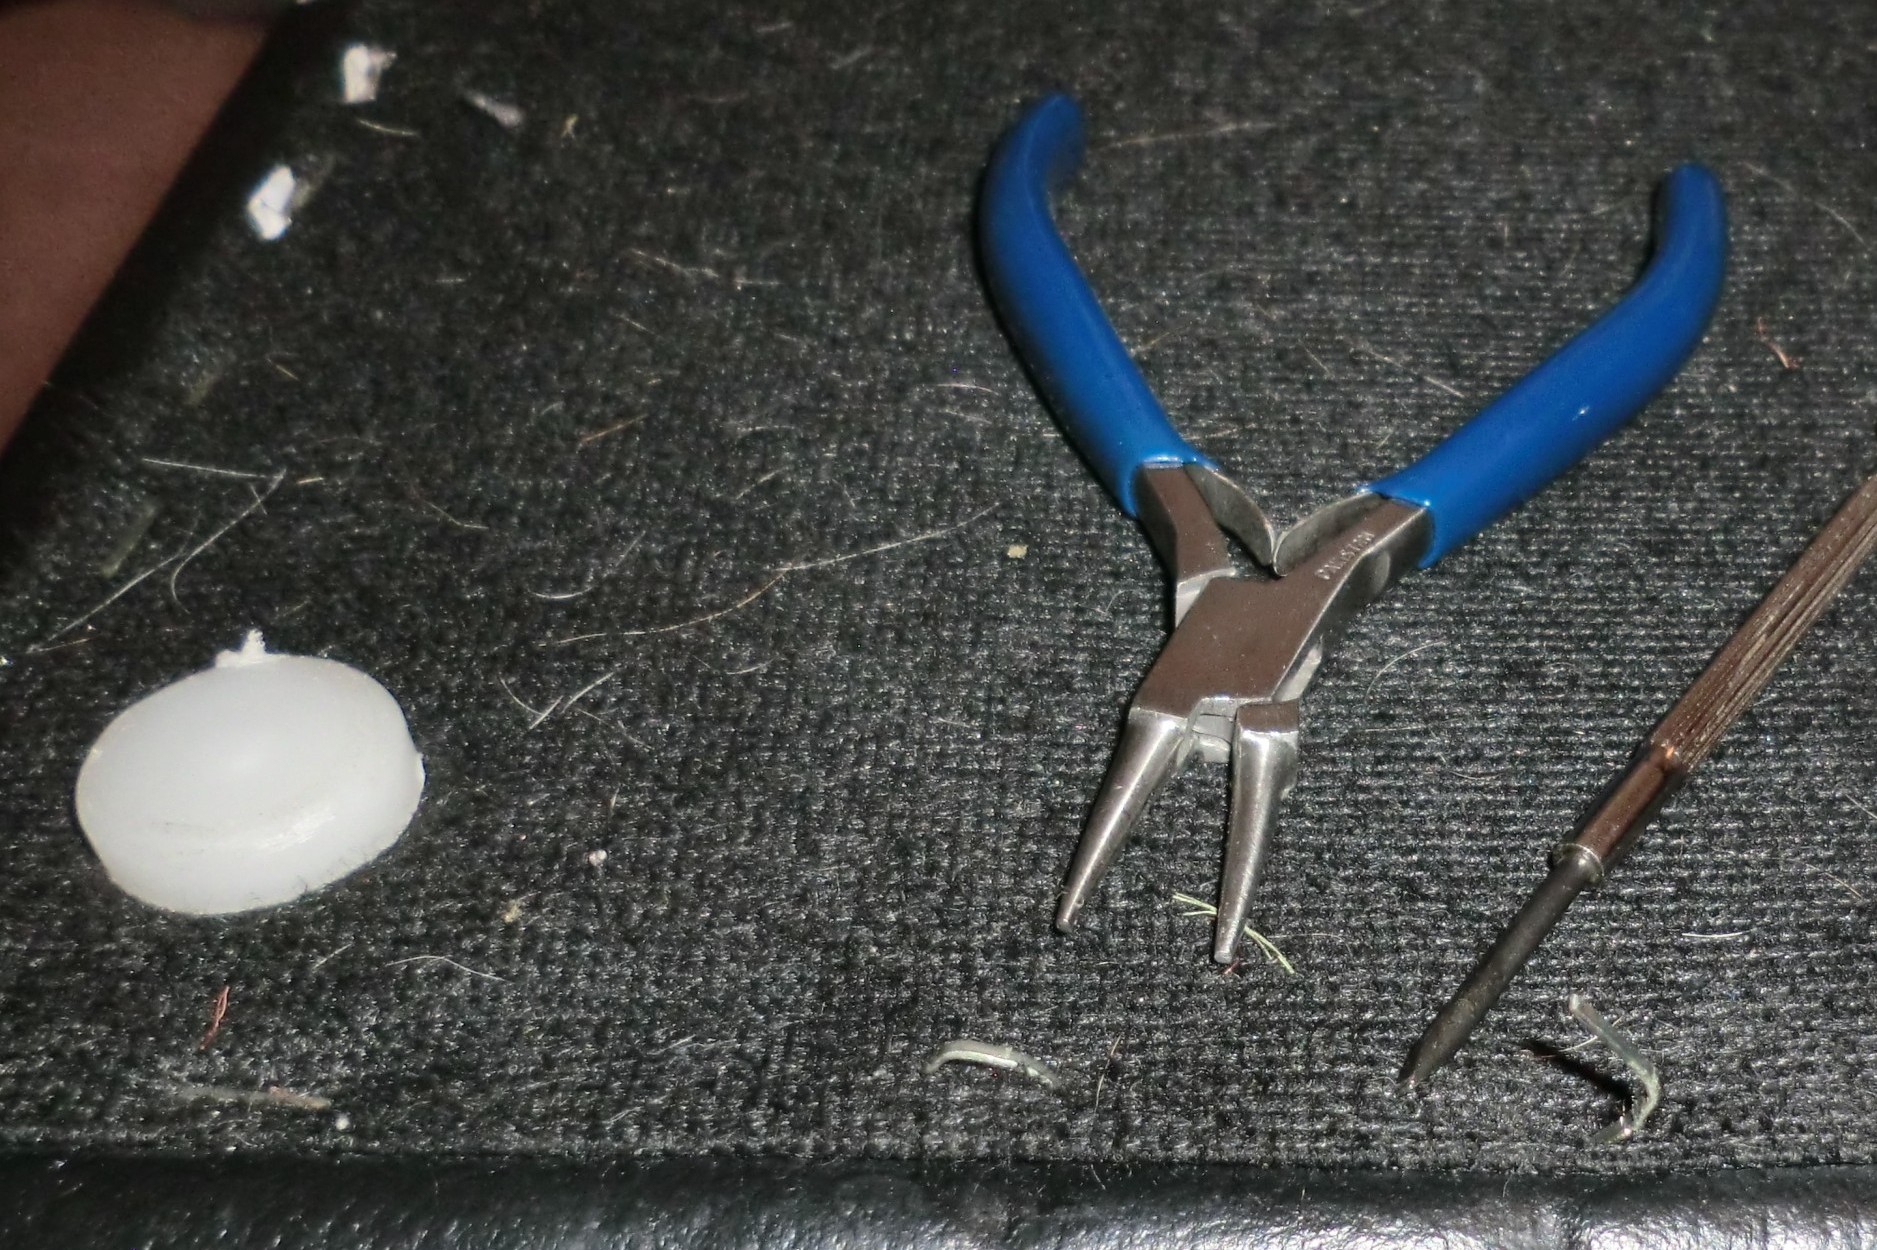
We started by pulling out the staples that held this felt to the bottom of the ottoman. It was really an awful job. Our hands hurt. We thought for sure we’d die. Then, finally we were finished.

We removed the felt and found that the faux-leather was also stapled with about 100 million other staples. Approximately. These ones were even harder to get out. I’m so glad I had a friend to help. Or do most of it, while I whined.
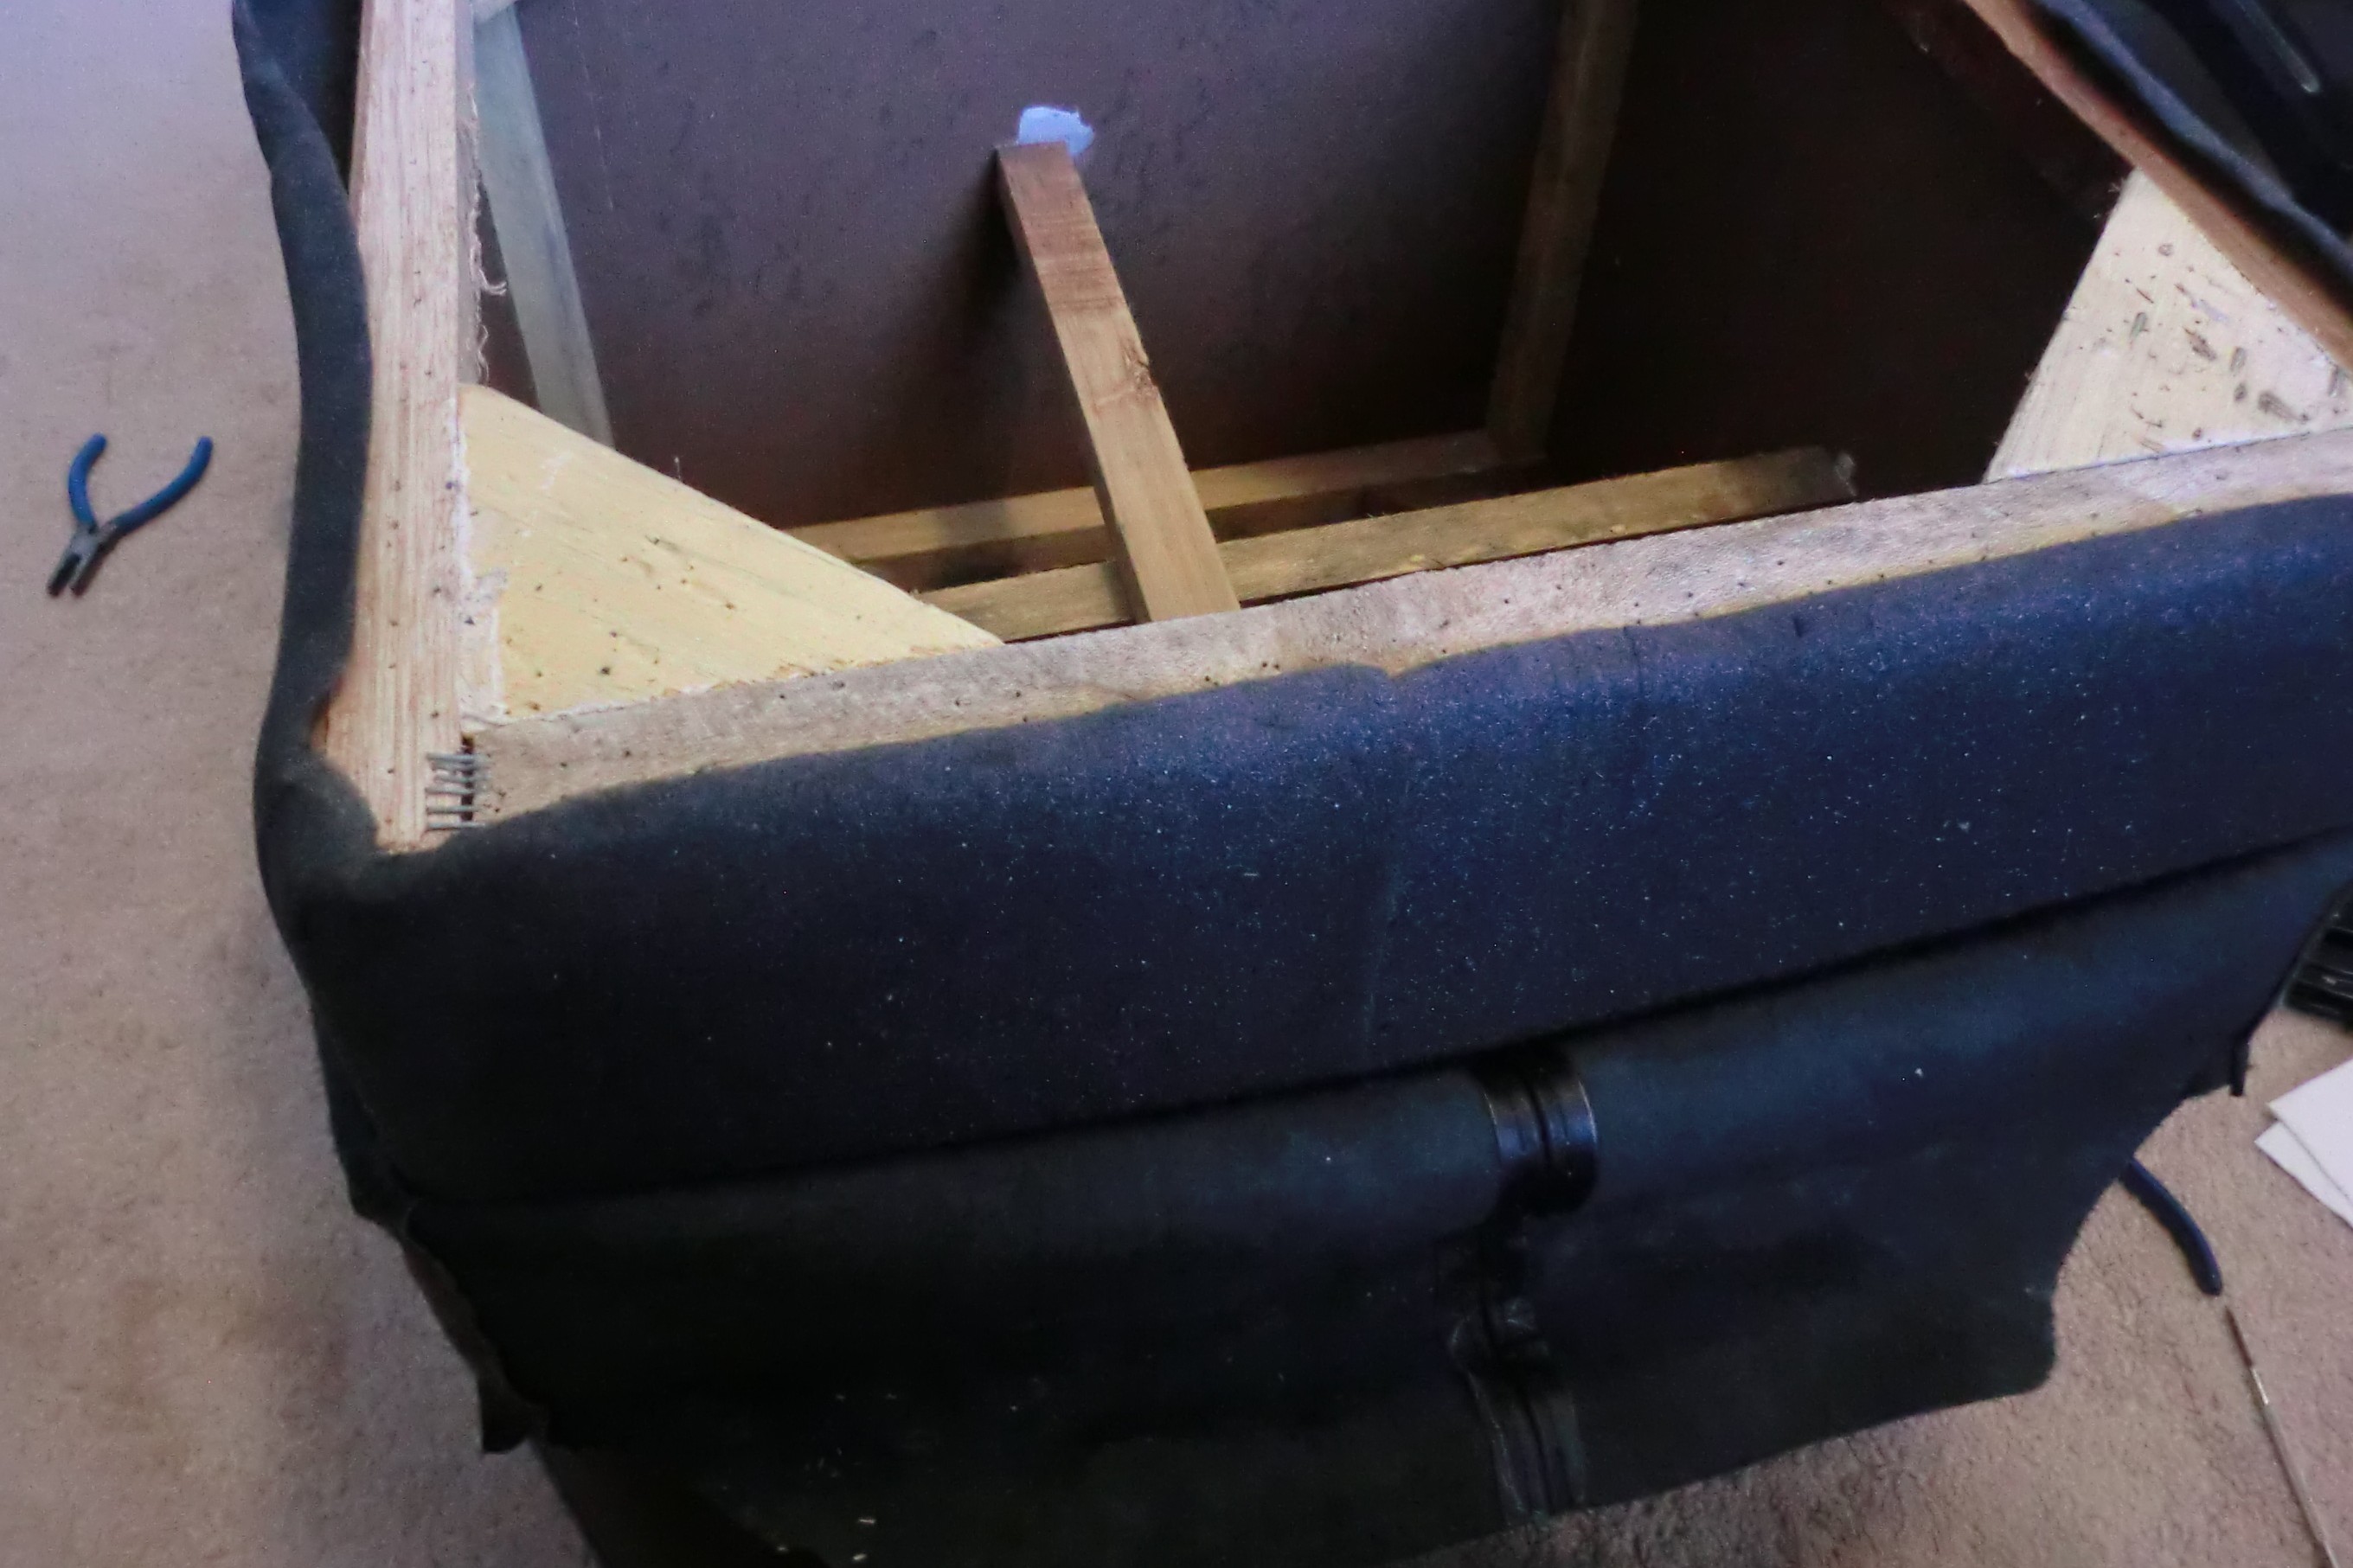
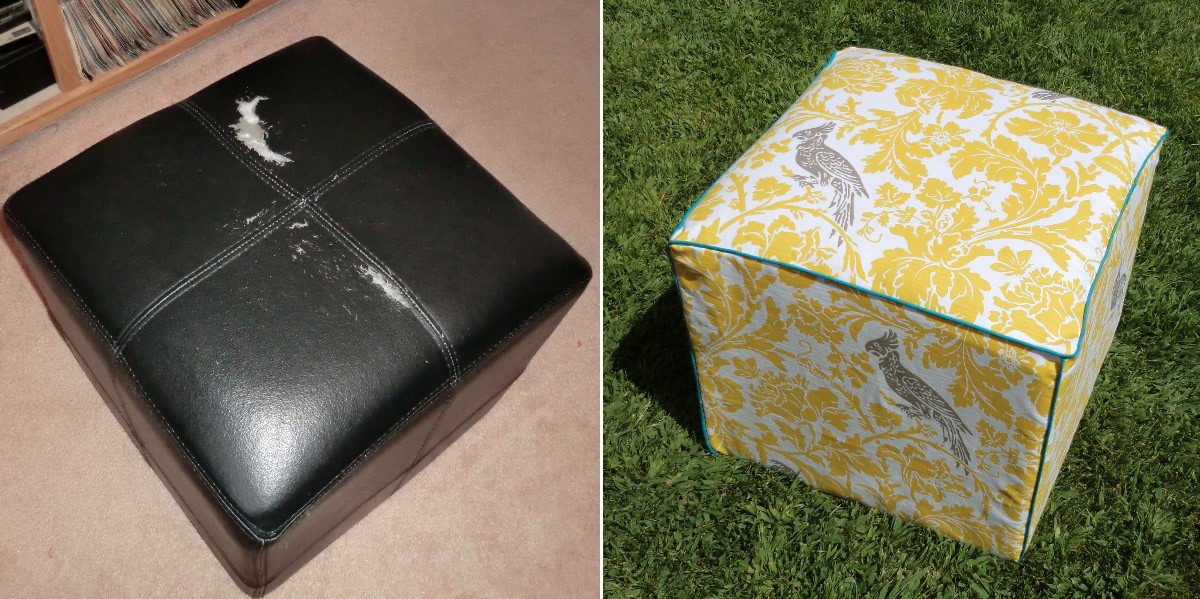
Finally! We peeled off the outer covering to reveal that the frame and padding were in great shape. Things are starting to look up.

This is a good time to stop for cake.
On two of the side panels, sew some piping down the sides (not the top or bottom). On the top panel, sew piping all the way around and join it using this method. You’ll want the piping about 1/2″ from the edges, so the edge of your piping will not line up with the edge of the fabric.
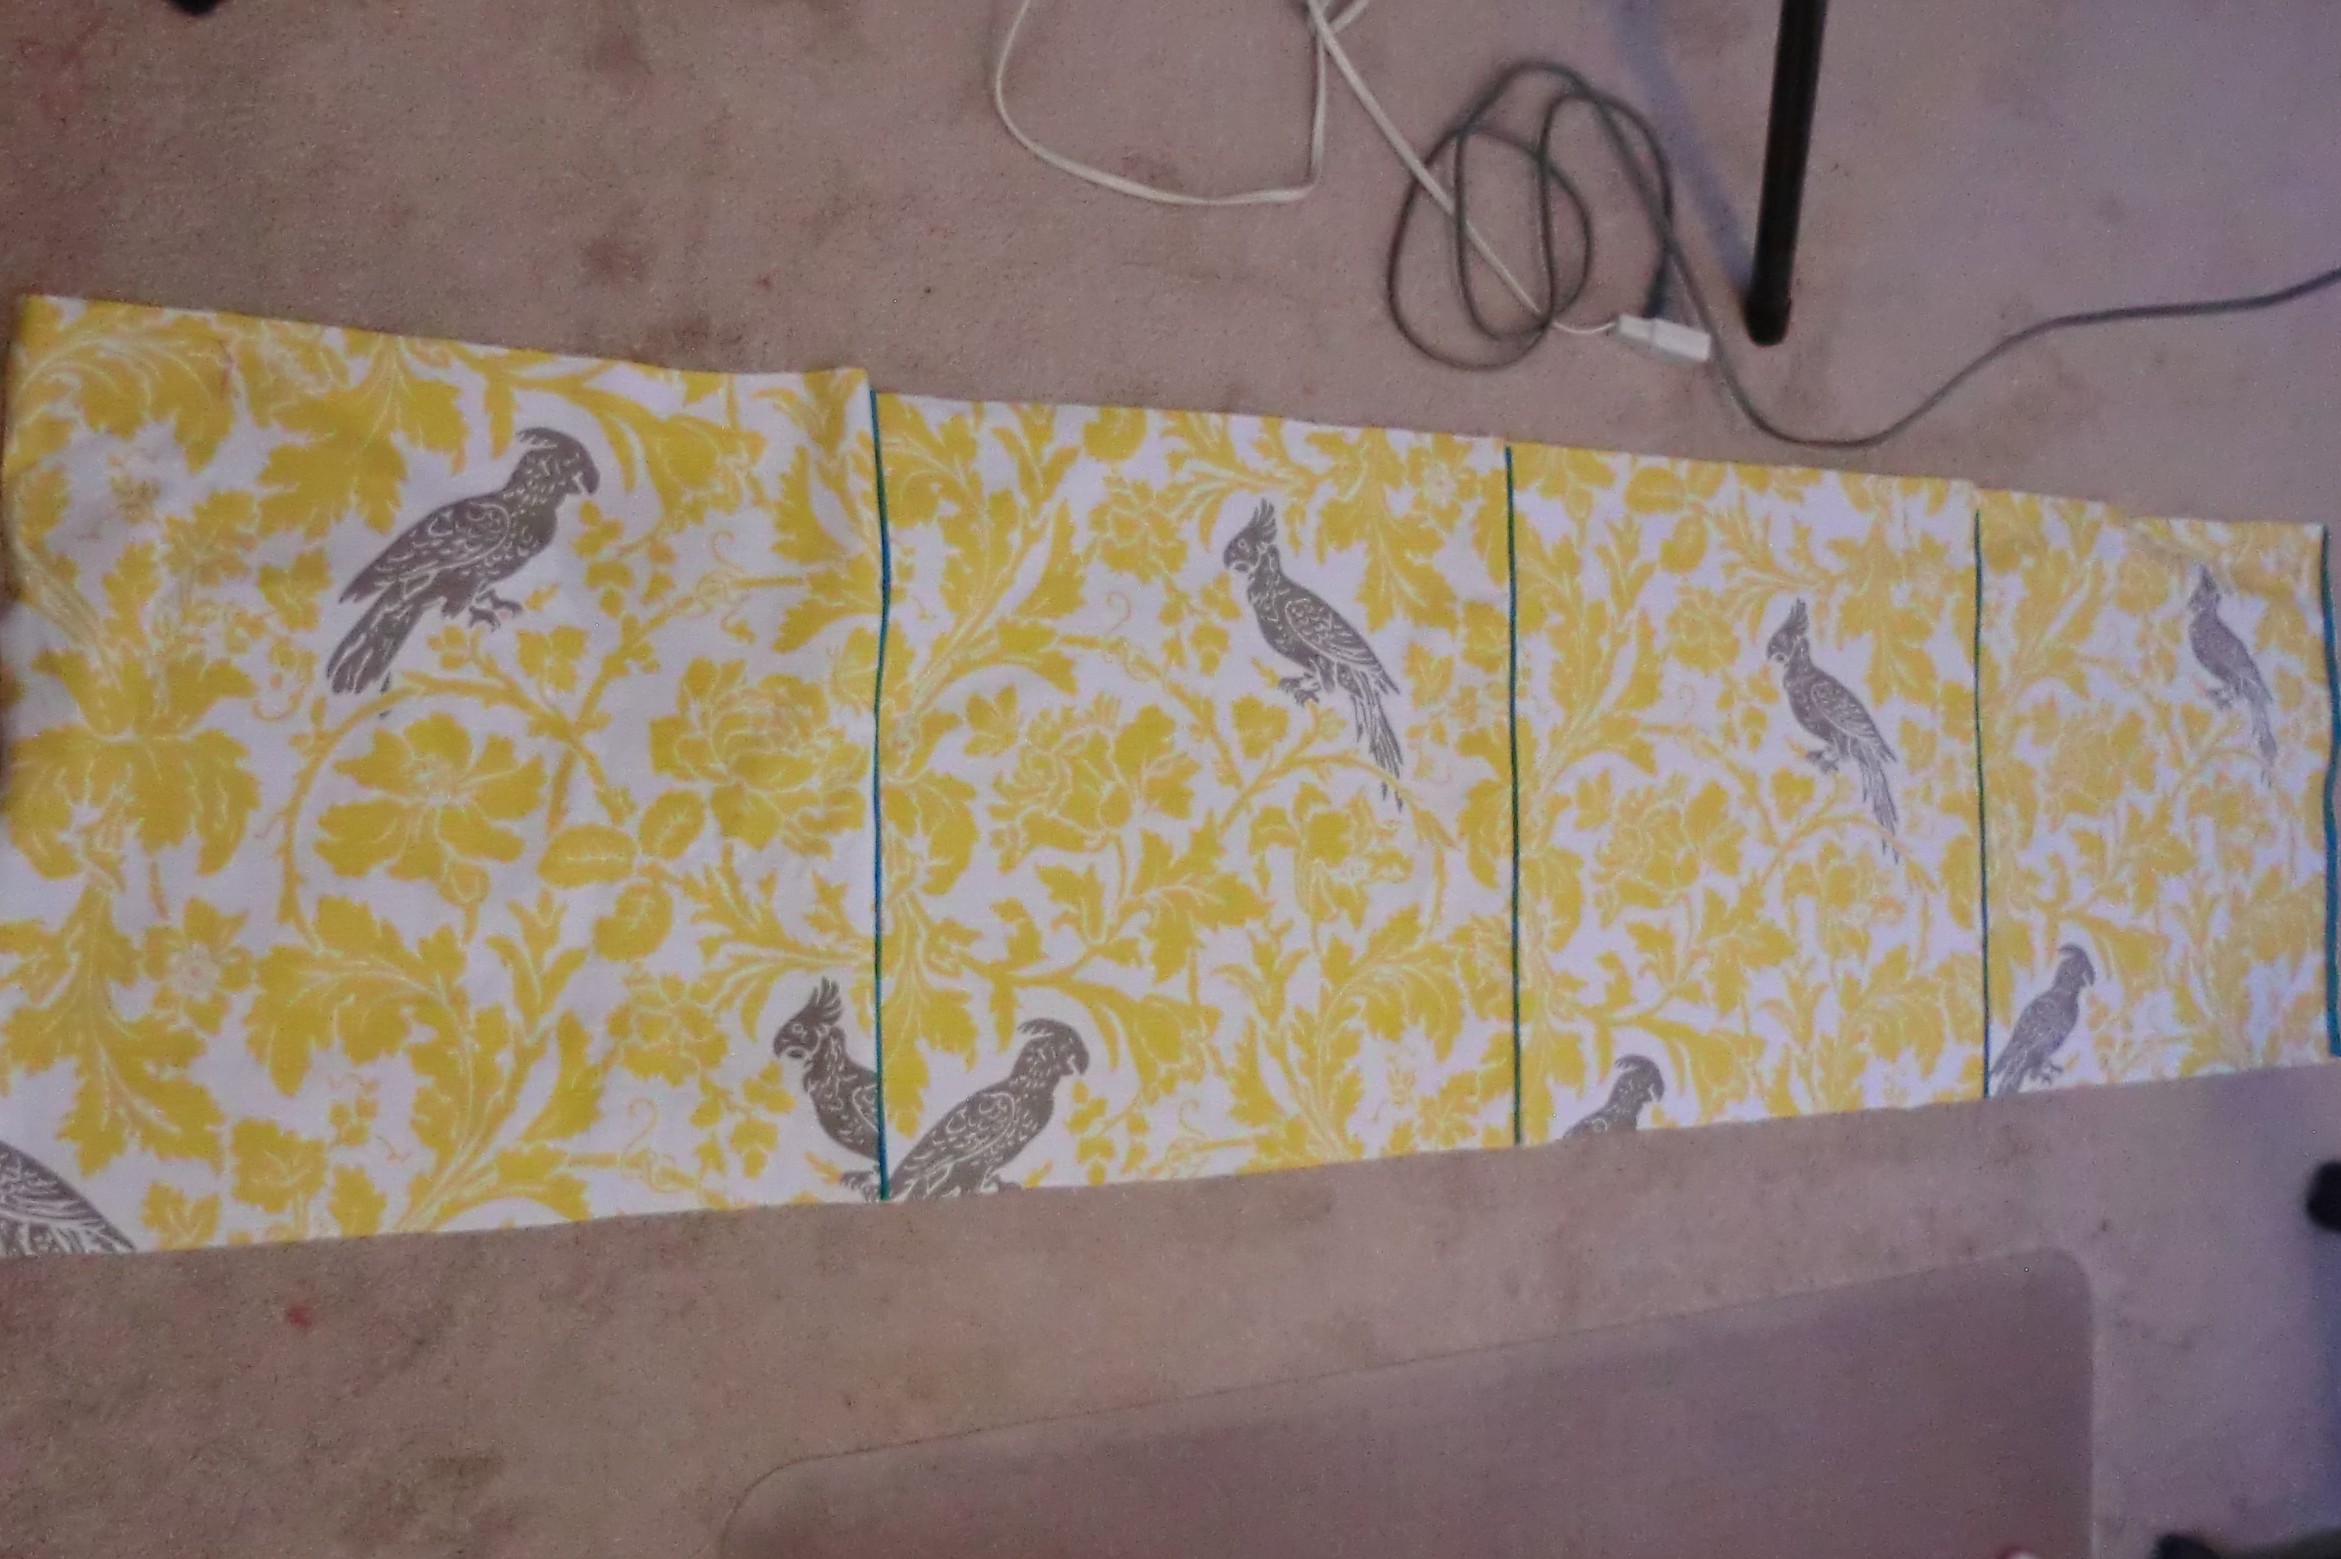
Sew all of your side panels together in a row, alternating the ones with the piping so that there is piping between each. Then sew the two ends together to form a circle. Incidentally, I used my piping foot throughout this project.
Try it on and check the fit. Hope for the best! If it’s too small or too big, you’ll need to do some unstitching and adjust your panels accordingly. Fortunately, ours fit perfectly. Trust me, I made some really annoying sewing mistakes in this project, so don’t be too proud of me.
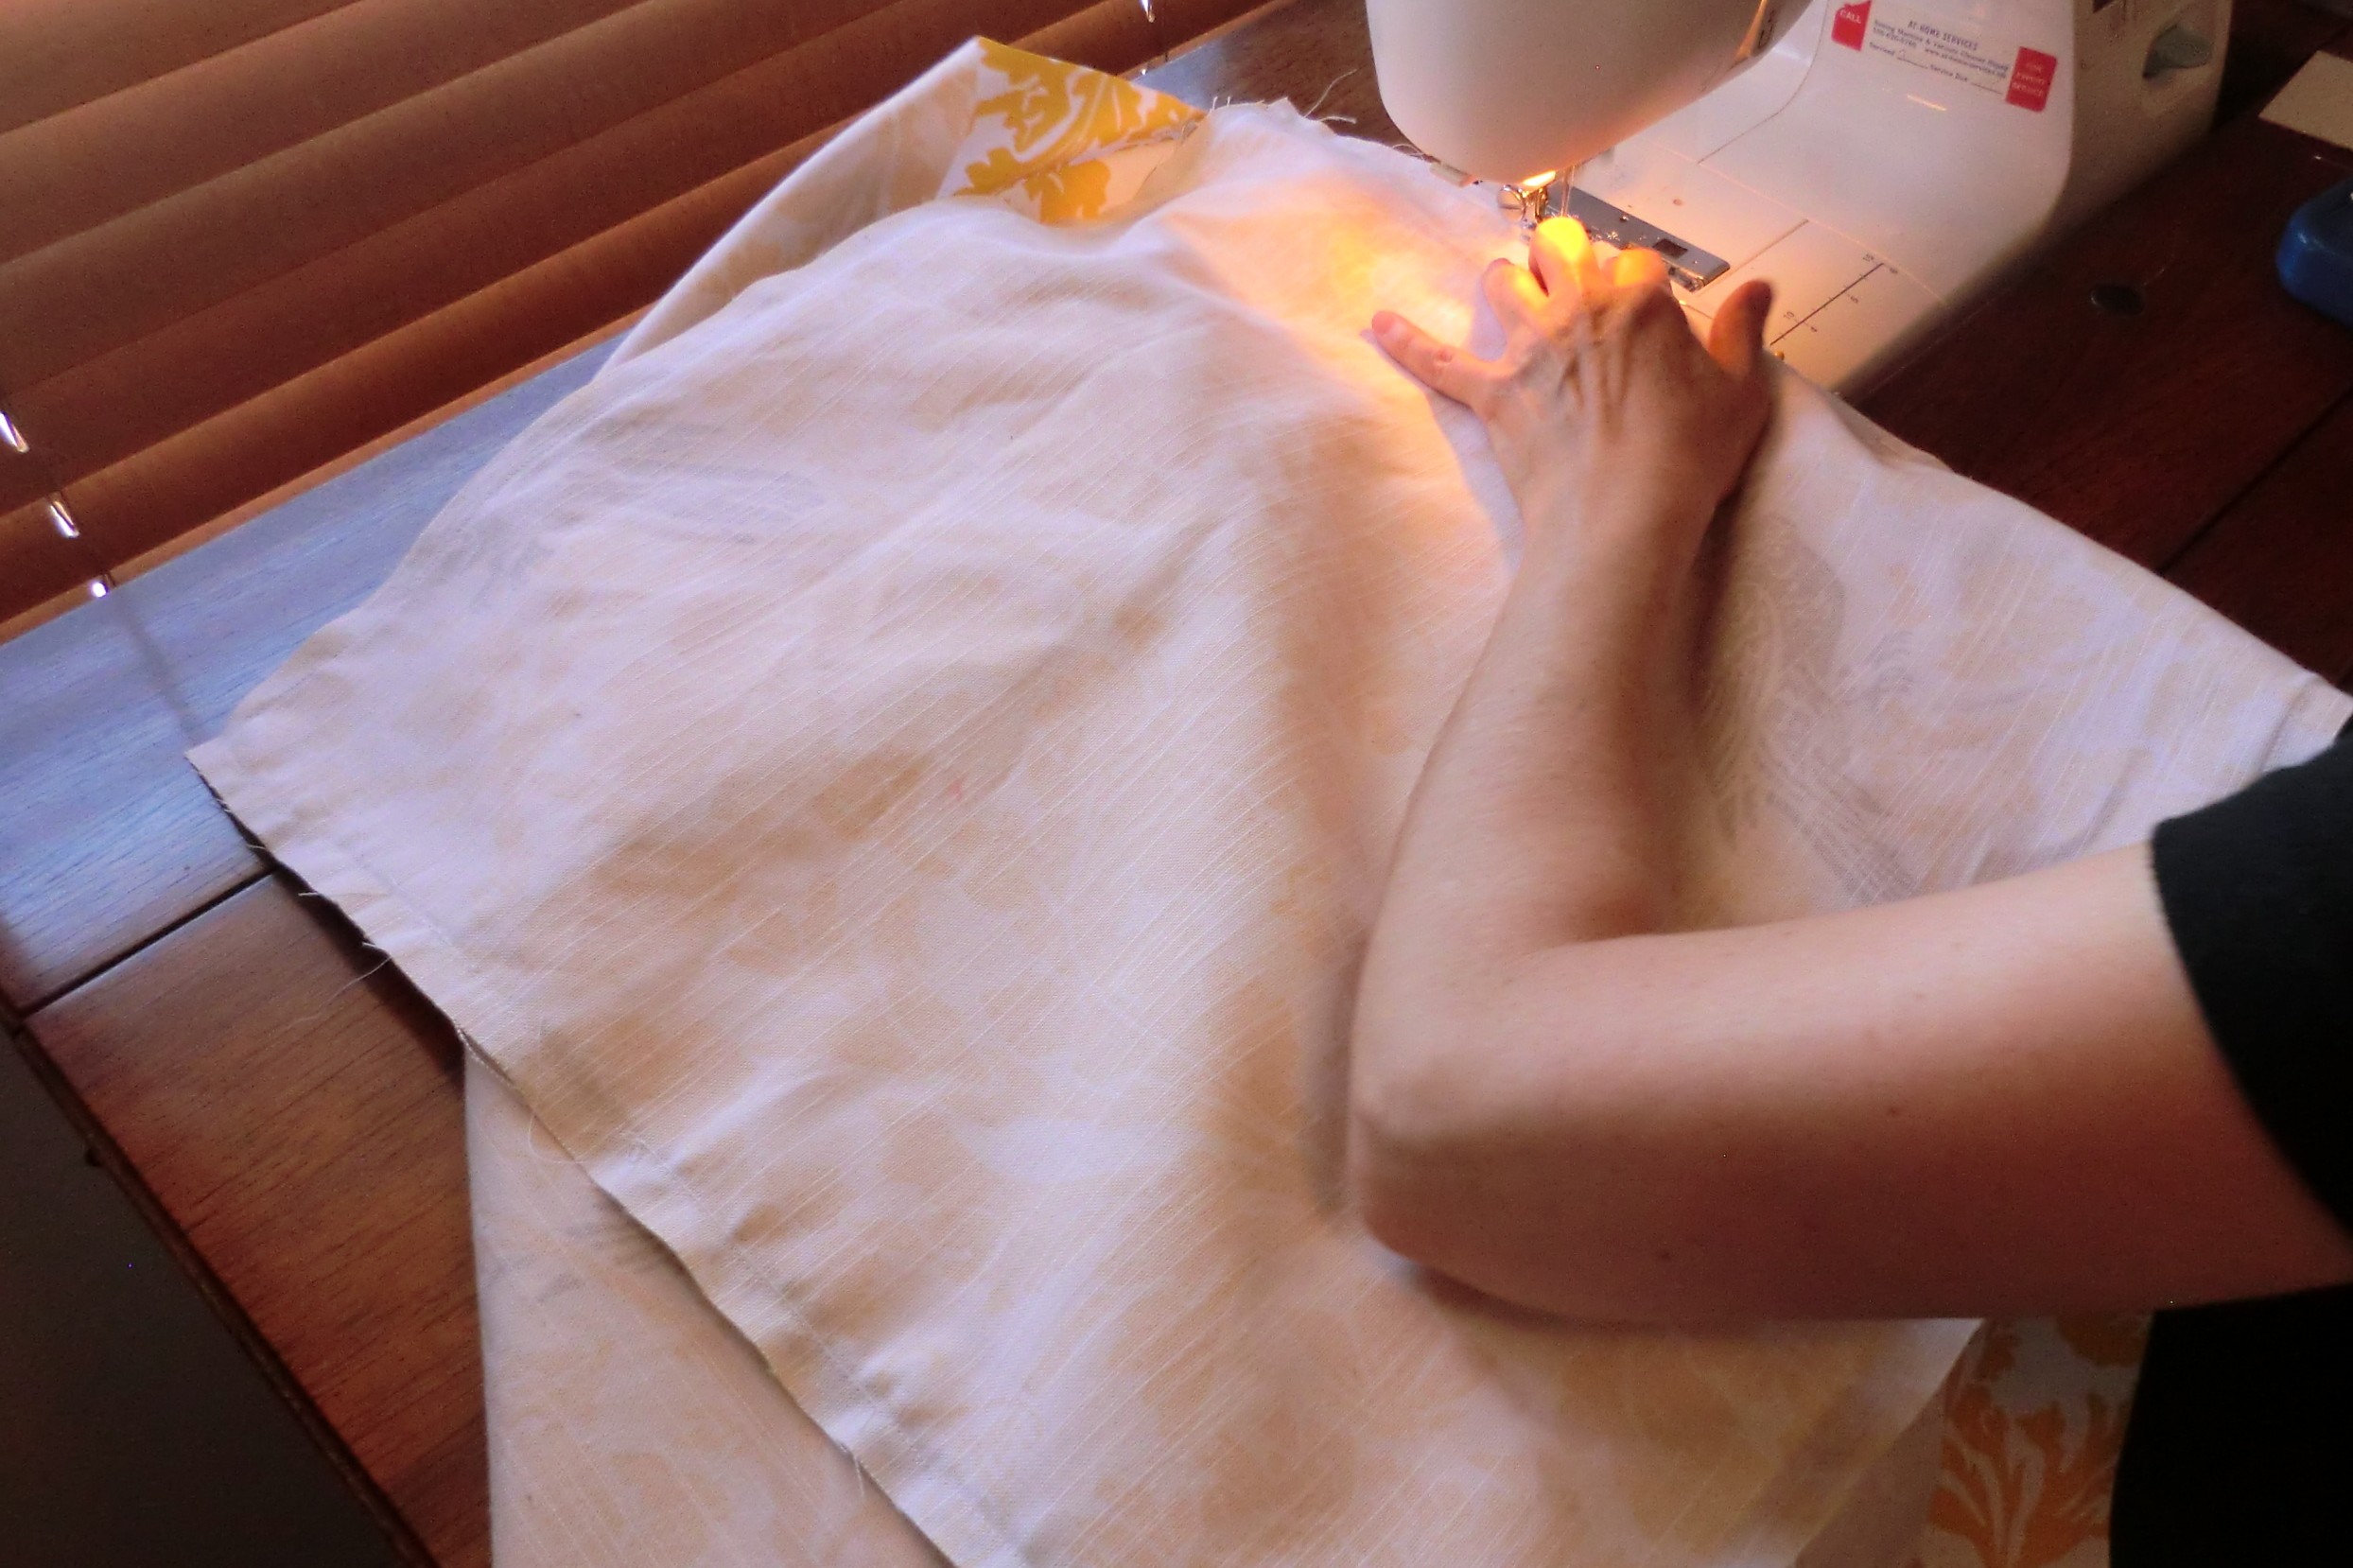
Sew your top panel to your circle of side panels. I prefer to do one side at a time. Line up the corners and watch out for the piping. Again, I was very pleased that my top panel fit perfectly with my side panels because, with the padding, this ottoman was a bit rounded (no distinct edges to measure from) and I measured pretty quickly. And I was stuffing my face with cake as I did so. Definitely some room for error.
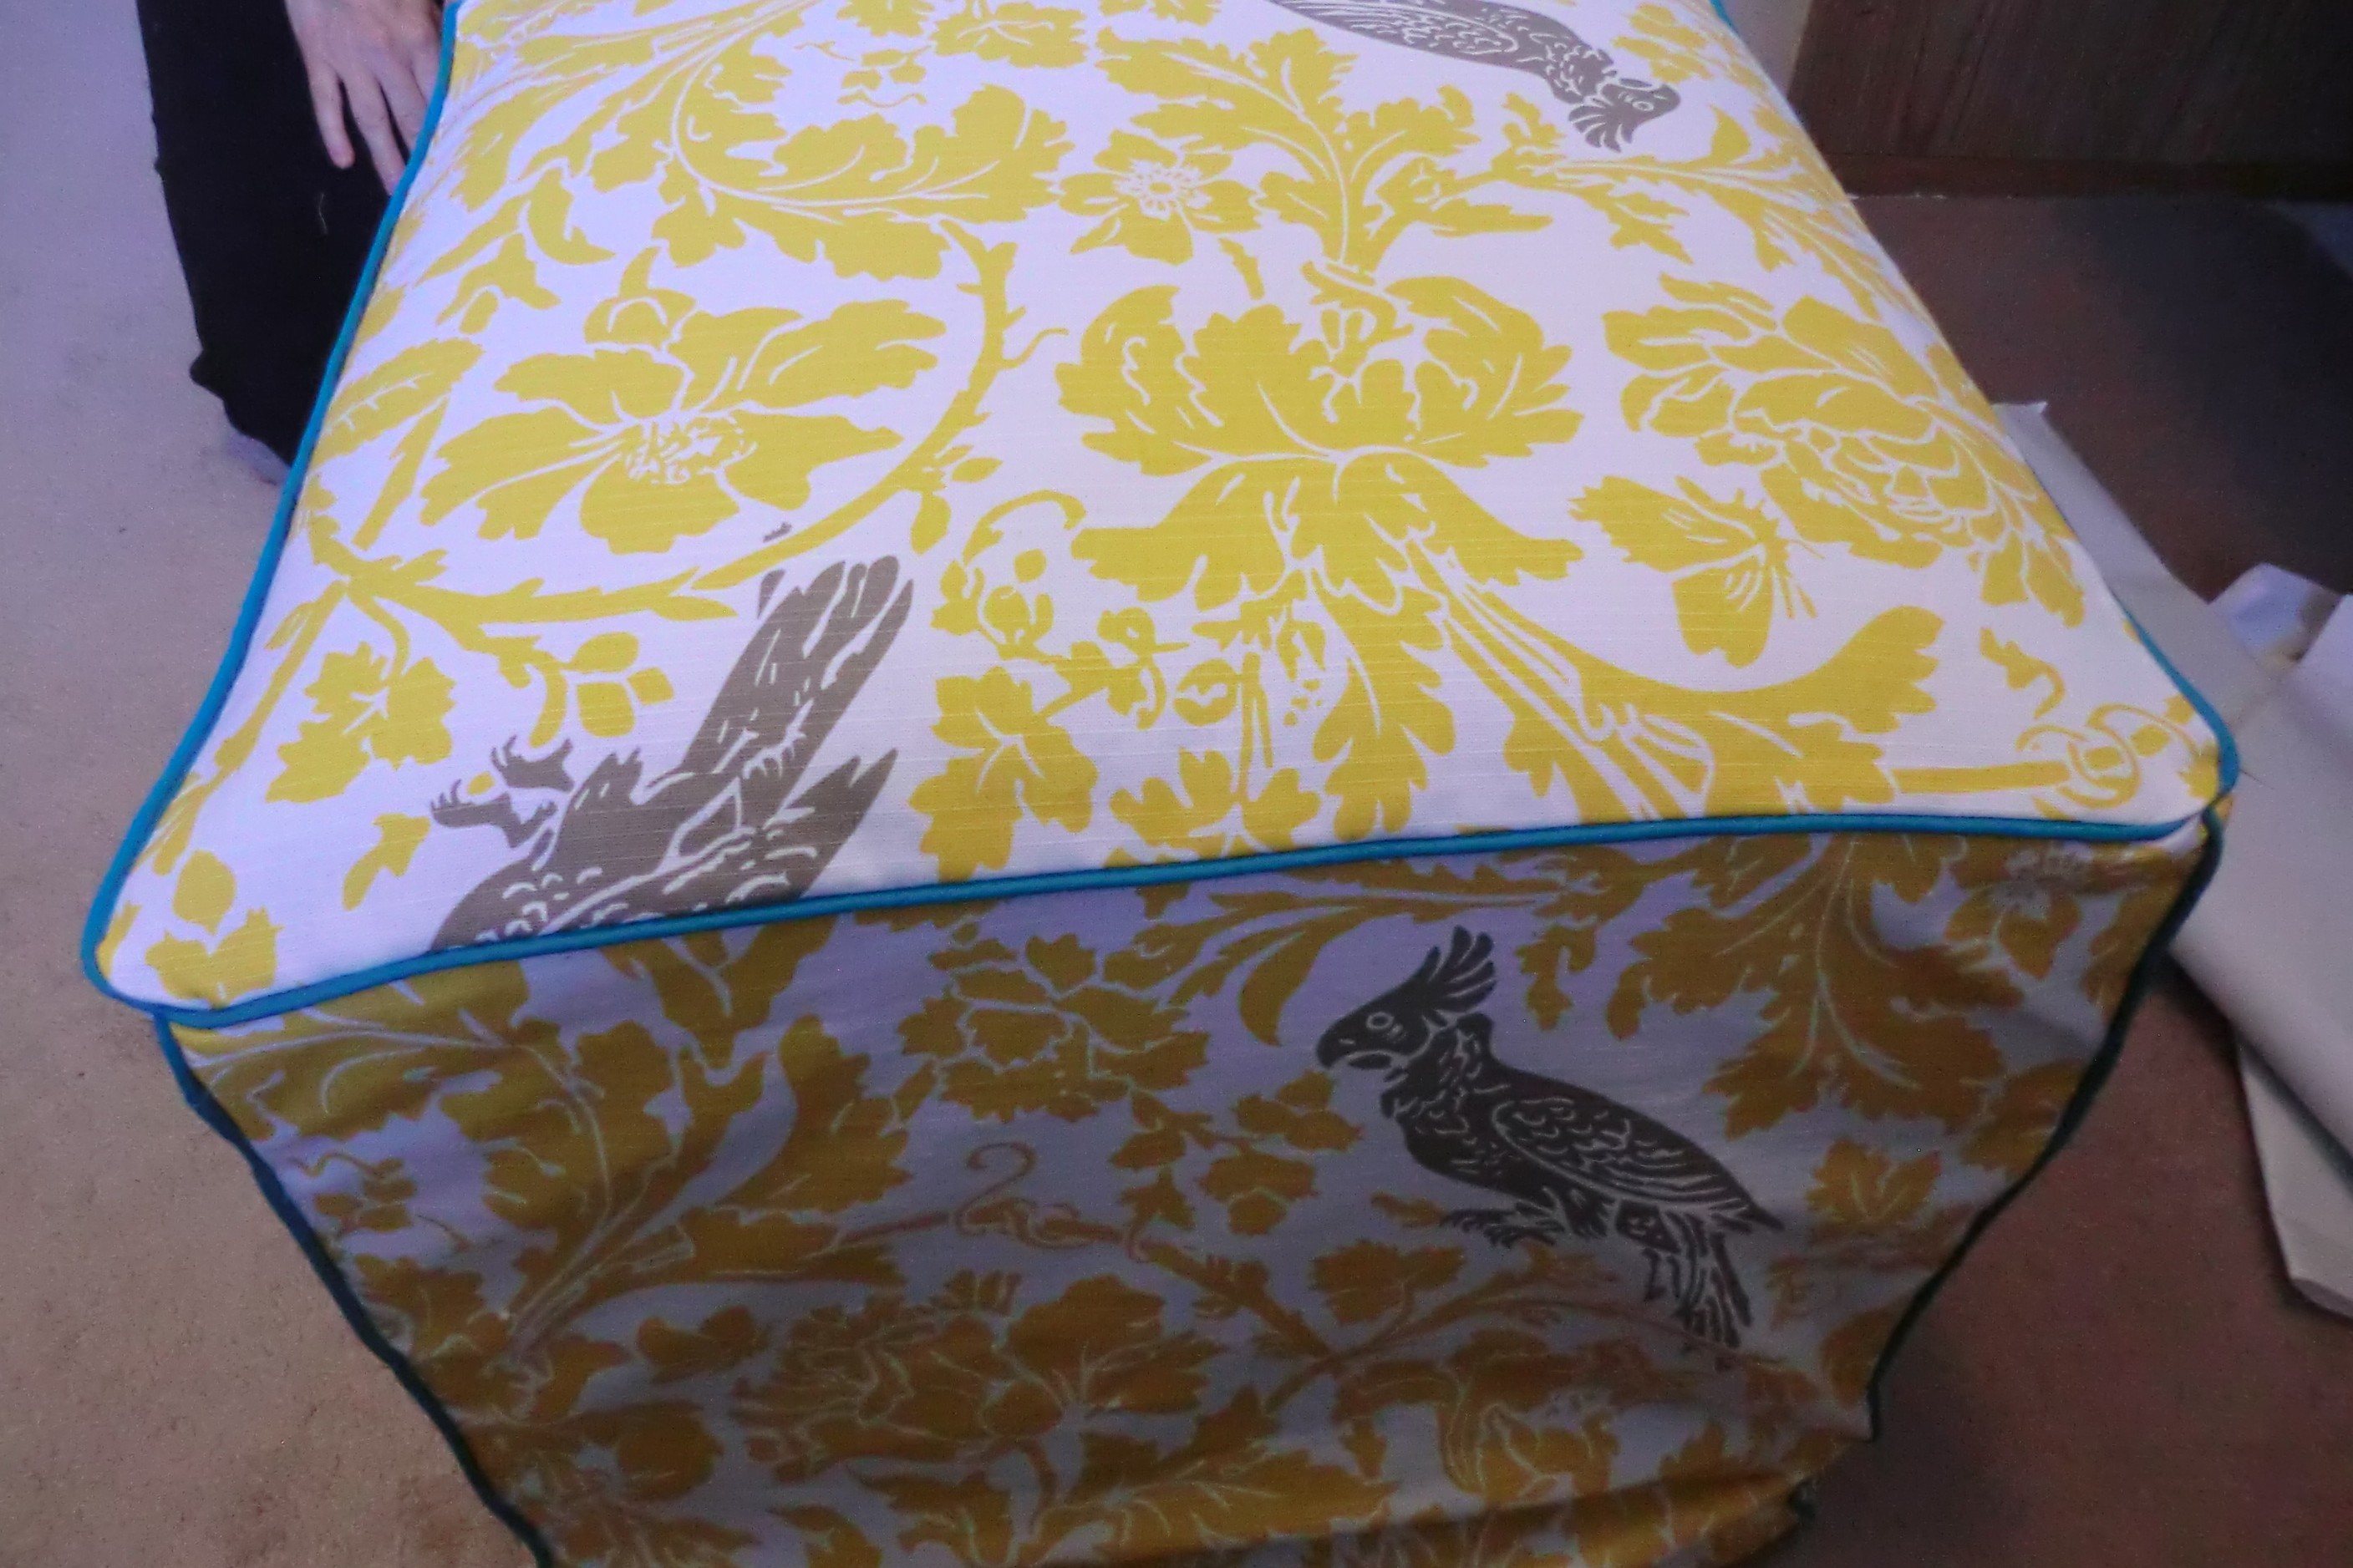
Turn it right-side out and slip it on to check the fit. Do a little dance if it does.
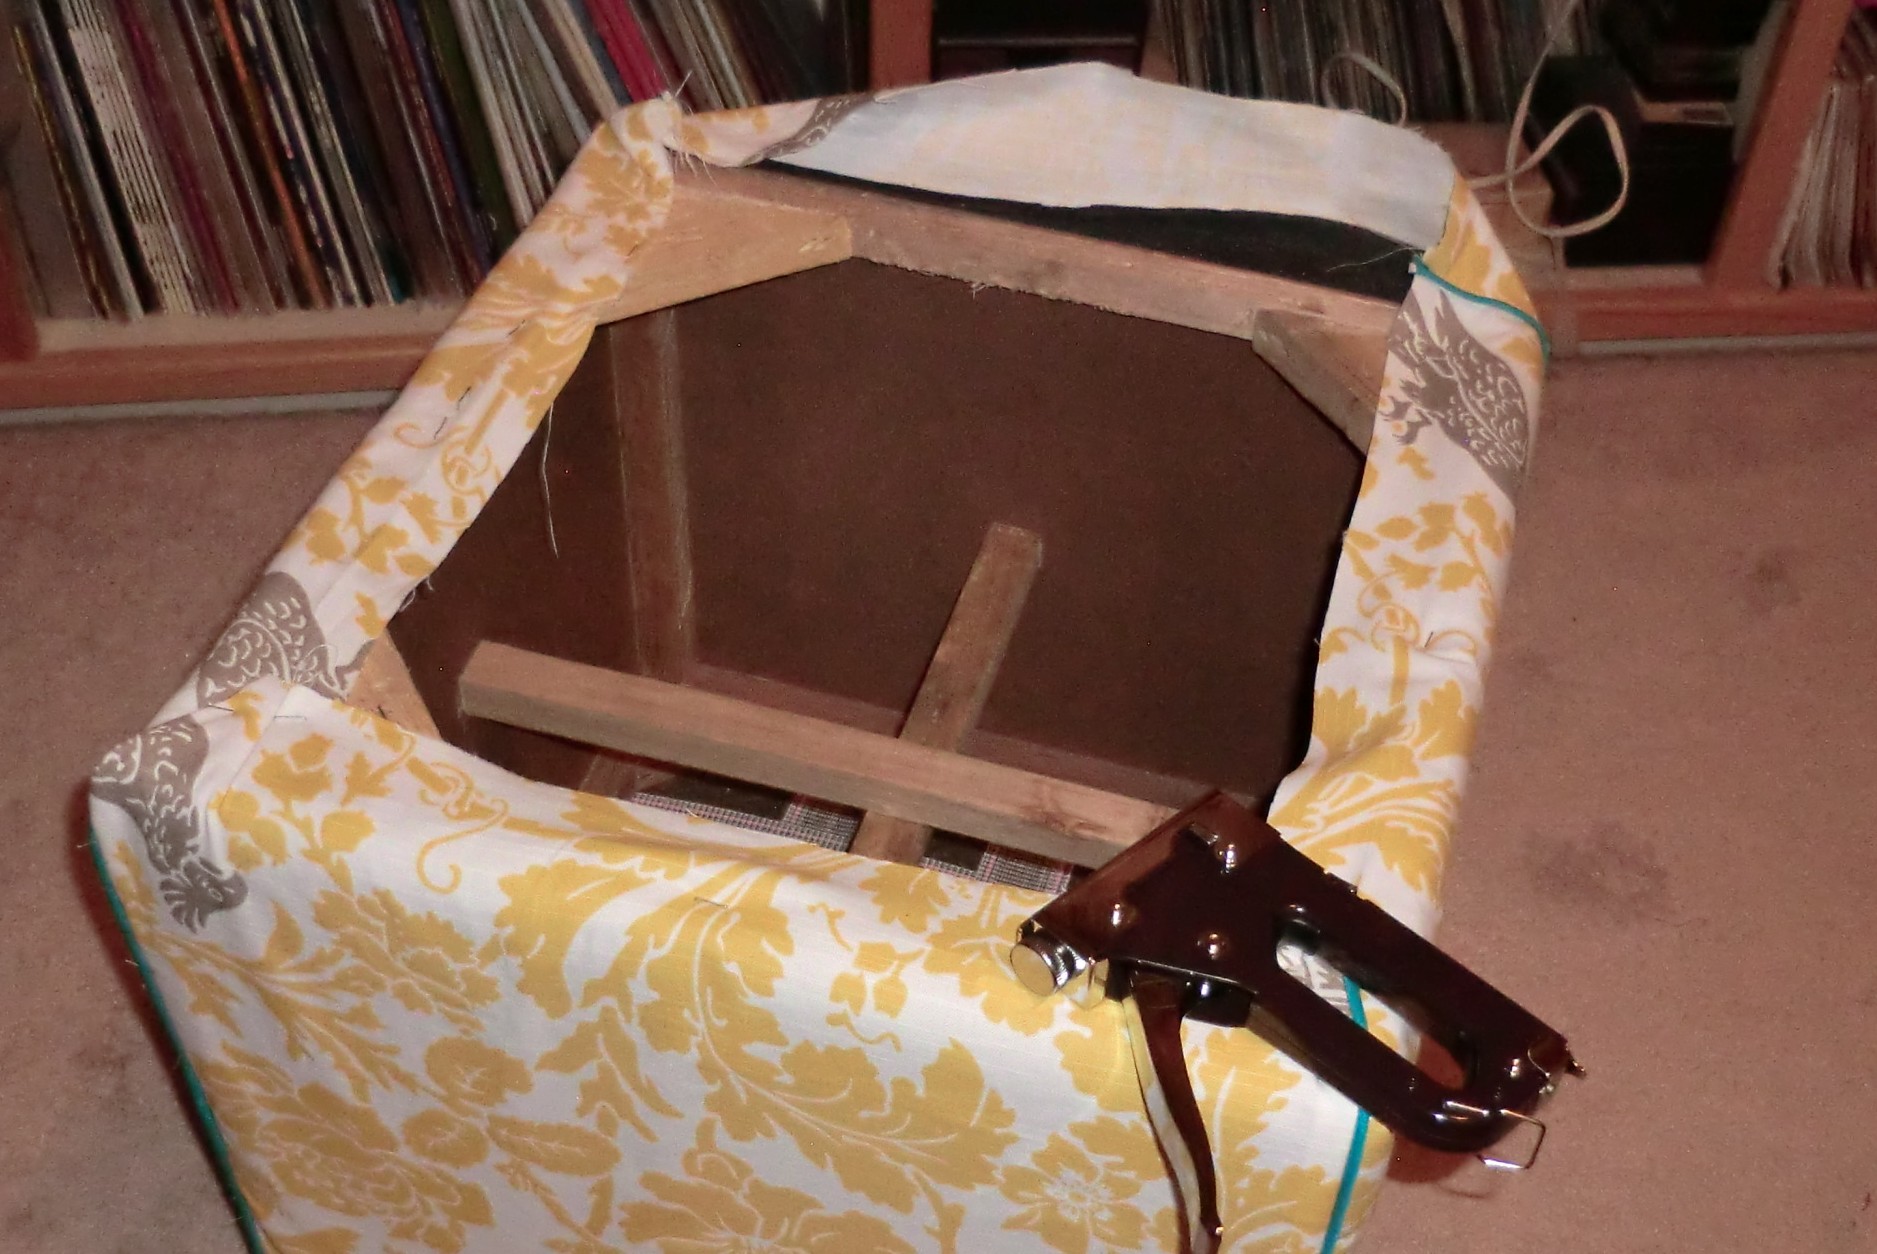
Flip it over and staple using a heavy duty staple gun. By the way, at first my staples weren’t going in all the way. I was a bit worried. Fortunately I have a dad. And he knows everything. He told me this wood was really hard. But he also showed me that the staple gun has a little knob on the top and you can adjust the tension. That did the trick.
Make sure that your fabric is smooth on the sides before you start stapling.
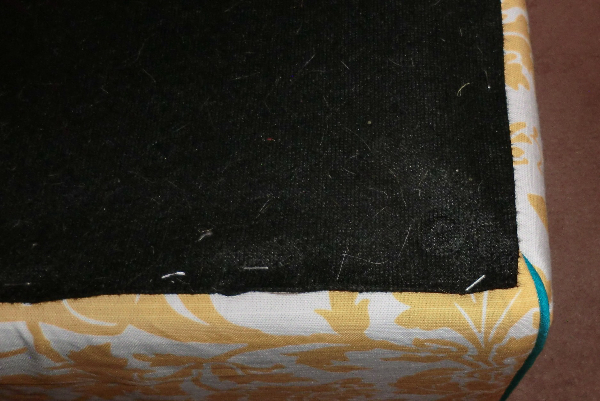
Then we took the felt square that was on the bottom before and stapled that on how it was before.
Other views