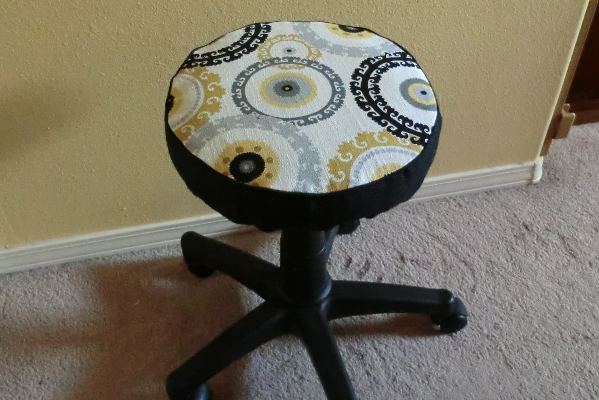
Removable stool cover
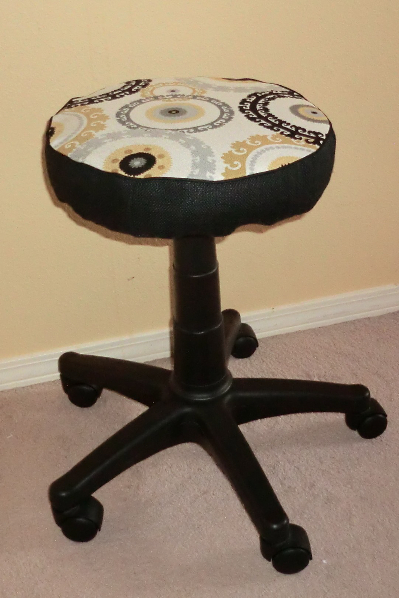
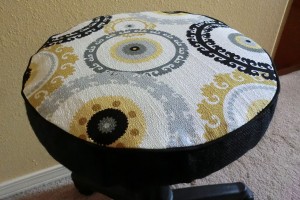 Recover a stool the easy, and nonpermanent, way. My stool is still in great shape, but I wanted a new look. I use this one for sewing and just redid my sewing area. This one has a Velcro closure. It makes for a bit of effort to get it on the seat, so if you want to wash your cover frequently, you might want to do an elastic edge underneath instead (see below).
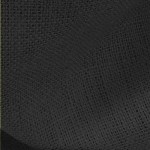
Supplies
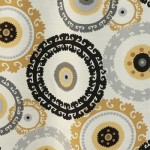
The pattern
Measure the diameter of your stool. Mine was 13″. I added 1″ for seam allowances (1/2″ all the way around).
Determine your circumference (what will be the band that goes around the edge of the stool). C= Pi x D.
C=3.14 x 14 = 43.96″. I rounded this to 44″. I didn’t add further seam allowances because this was based on my diameter with seam allowances. Measure the height of the cushion. Mine was 2-5/8″ tall, so I added seam allowances and made it 3.75″ tall.
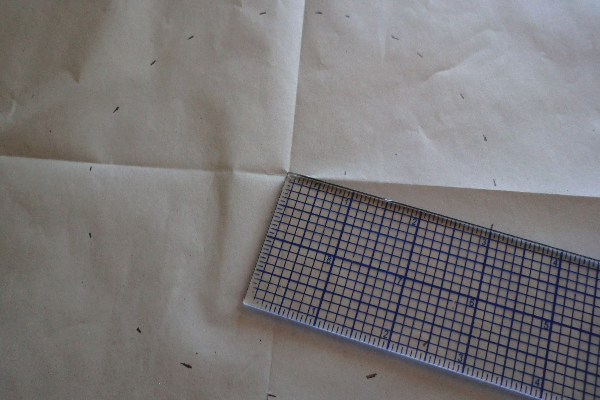
Cut one circle out of paper using your diameter and this method of making a circle. Then cut one piece of fabric from that.
Cut a strip of fabric that is your final circumference by the height you determined above. Mine was 44″x3.75″.
Later in the tutorial you’ll see how to make your bottom piece.
The process
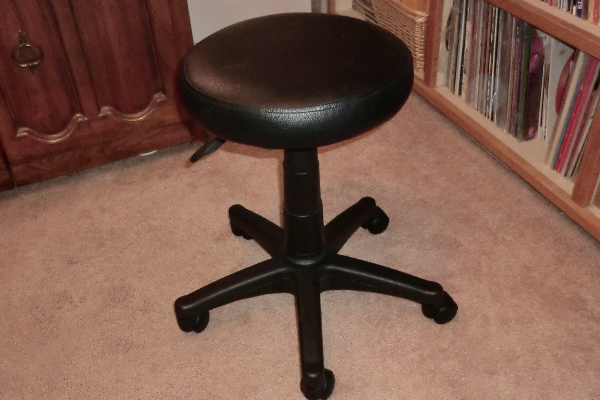 Here was the stool I started with. It’s still in great shape, so my cover was merely decorative. I decided against making it permanent and made it removable.
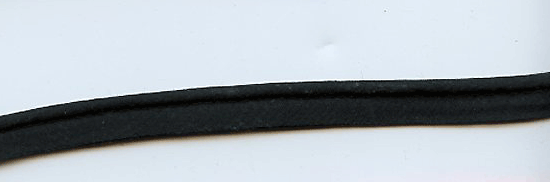
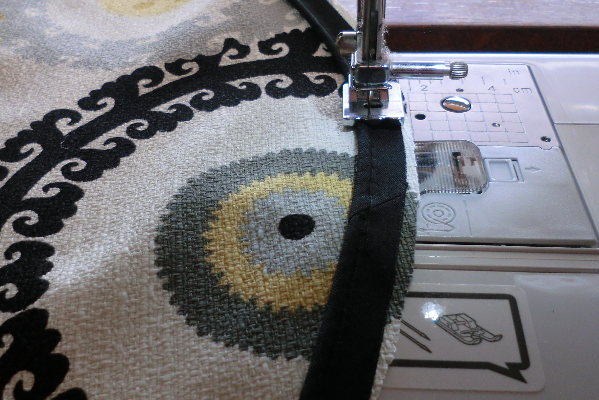 Sew the piping on using the piping foot and make the piping about 1/2″ from the edge of the fabric.
 Finish the ends as seen in this tutorial.
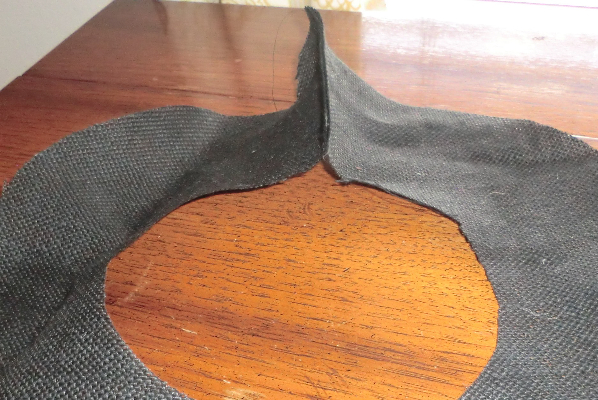
 Right sides together, sew the ends of your side piece, forming a loop.
 Mark quarters on your circle by folding in half and marking either side at the fold. Then line up those marks and fold it in half the other way. Mark again.
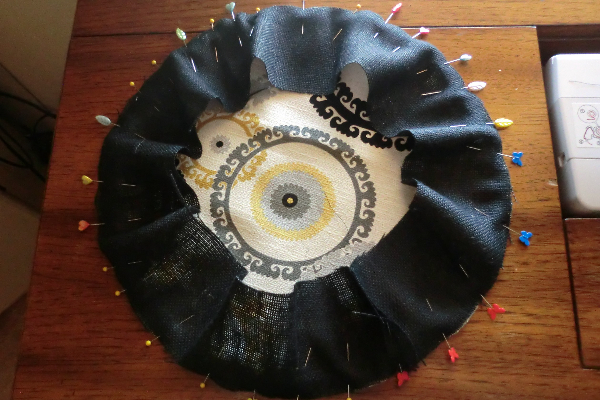 Also find the quarter marks for the side piece, using the seam as one of them. Line up these marks with the ones on the circle and pin. Then pin more as you evenly distribute the fabric.
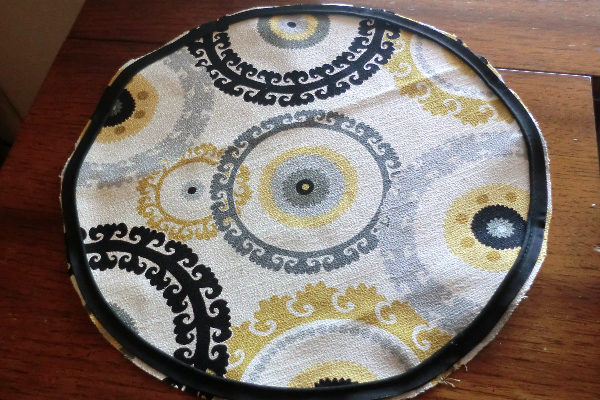
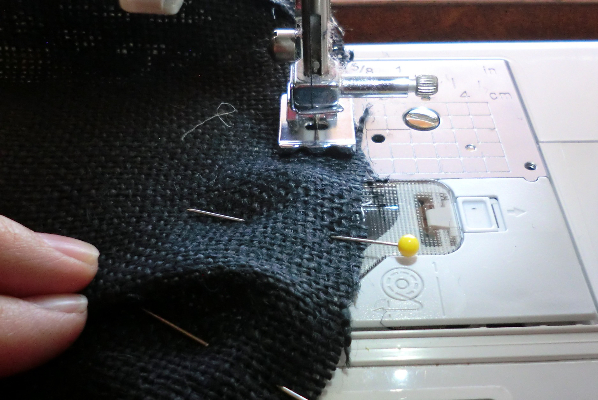 Using your piping foot, stitch the side piece to the circle.
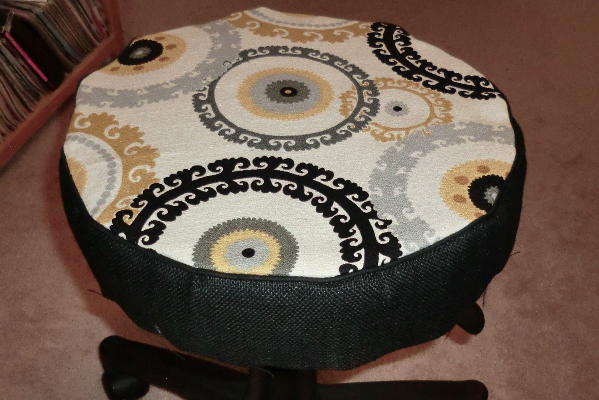 Try it on to make sure you’re on the right track.
 Now you’ll make the bottom piece. Use the circle pattern you used for the top. From the center fold, mark 3.5″ away all the way around, forming a smaller circle. You may notice that I marked 3″ away, but I think 3.5″ would make it easier to get the cover on and off.
ALTERNATIVE OPTION – ELASTIC: For this option, cut another band like the side band but a bit wider. Sew the ends as you did with the side band and then sew the newly formed circle to the side band circle. Make a casing for the elastic on the remaining raw edge and insert using a safety pin. Secure elastic. Note that I haven’t tried this, but since my cover was a bit snug and took some finessing to put on, I thought this might be a good option, as well. Seems to me that it would work just fine.
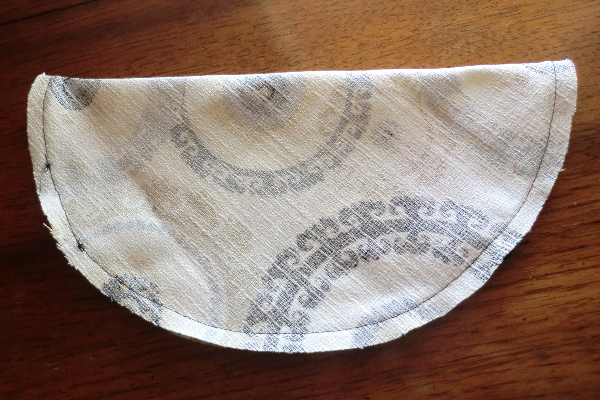
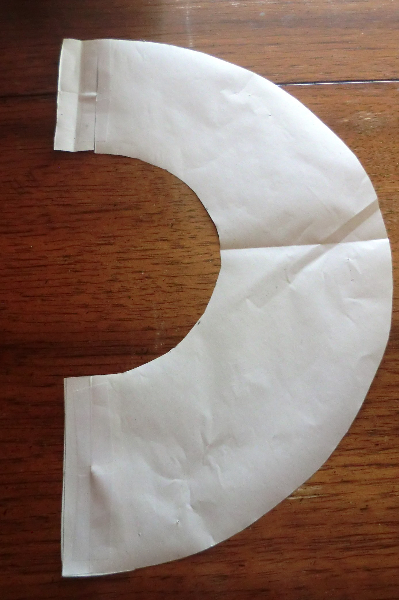 Cut the circle in half and cut out the inner small circle. NOTE: You need to add 1/2″ to the bottom of the half-circle and 1″ to the top for overlap and seam allowances, so measure those before cutting.
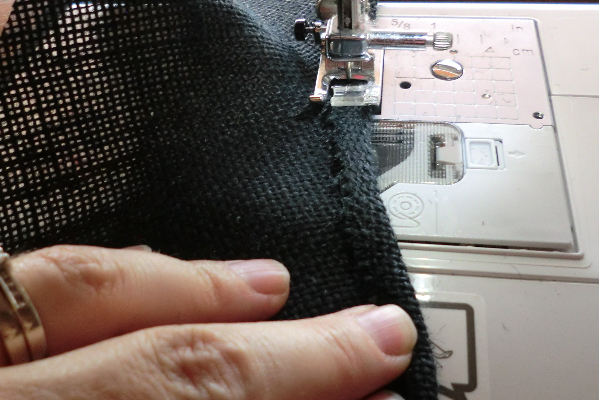
 Stitch the ends of the bottom part of the half-circle together with 1/2″ seam allowance.
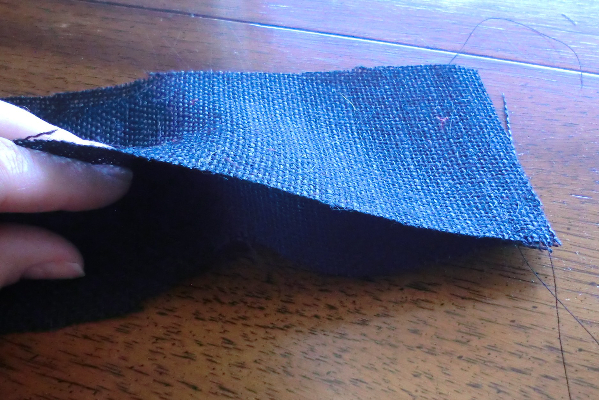
 Zigzag or serge the edge of the inner circle, then fold over to the wrong side and stitch in place to hem.
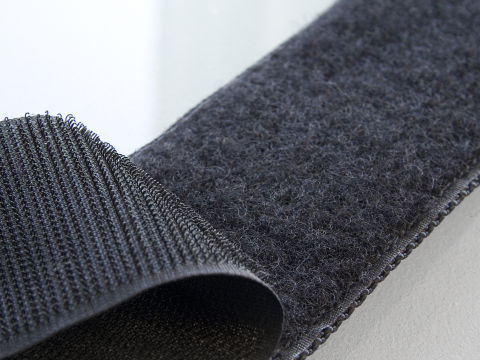
 Hem the open edge of the circle by folding over 1/4″ then another 1/4″ and stitching. Then add a small piece of Velcro to the edges so that the Velcro attaches to itself when the edges of the circle overlap slightly.
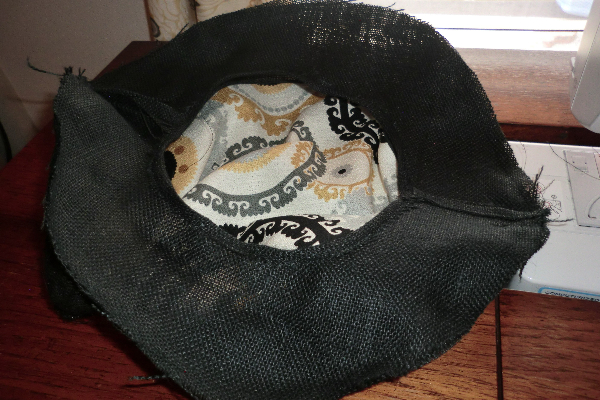 Stitch this bottom circle to the side piece. Flip inside out and press.