Reusable snack bags
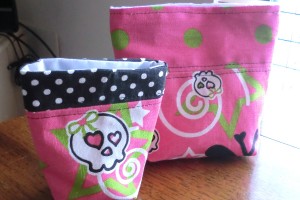
We go through a whole lotta of plastic food baggies. I like the idea of reusing and reducing waste, so I made up some little reusable snack bags. I lined mine with ripstop nylon. Some people use PUL, which is waterproof, but it’s not considered to be food-safe. I felt like ripstop nylon was a safer bet. It’s moisture resistant and easy to sew, too.
Supplies


The Pattern
You can make any size you’d like. I’ll give you the dimensions to cut out for the ones I made.
On a piece of paper, draw the following rectangles:
BIG BAG
Outer top: 7″x3″ (the “7” is the width in these measurements)
Outer bottom: 7″x5.5″
Lining: 7″x8″
From the lining and outer bottom pieces, cut a 1″x1″ square from the bottom edges (used to box the corners)
TO CUT:
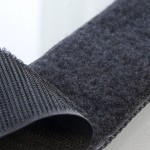
Cut two “outer top” pieces from one fabric; Cut two “outer bottom” pieces from the other fabric; Cut two lining pieces from the ripstop nylon; Cut 1 piece of Velcro 5-3/4″.
SMALL BAG
Outer top: 5″x2″ (the “5” is the width)
Outer bottom: 5″x5″
Lining: 5″x6″
From the lining and outer bottom pieces, cut a 1″x1″ square from the bottom edges (used to box the corners)
TO CUT:
Cut two “outer top” pieces from one fabric; Cut two “outer bottom” pieces from the other fabric; Cut two lining pieces from the ripstop nylon; Cut 1 piece of Velcro 3-3/4″.
The Process

First, sew the Velcro along the top edge of your lining piece, with the top edge of the Velcro about 1″ from the top edge of the lining. Repeat on other side.
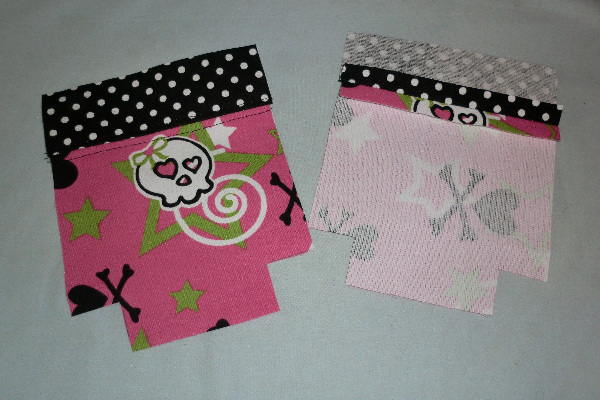
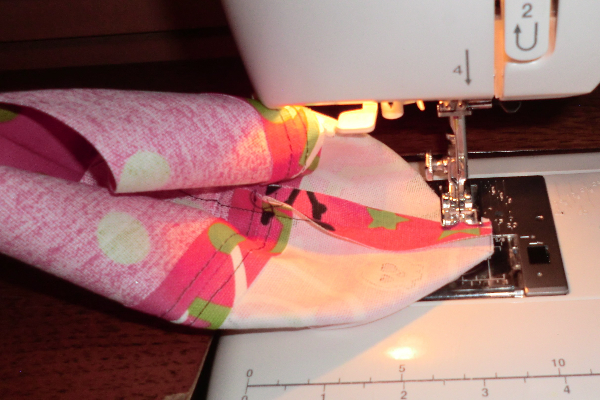
Sew the contrasting top edge of the outer bag to the bottom part of the bag using a 1/2″ seam allowance. Using a slightly longer stitch length, top stitch on either side of this seam.

With right-sides together, stitch your outer pieces together along the sides and bottom, but do not stitch those cut-out corners yet.
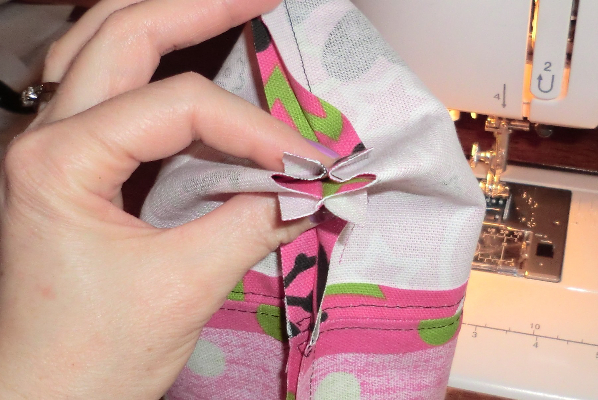
Press the corner closed as shown, lining up the bottom and side seams.
Sew across the corner using a 1/2″ seam allowance. repeat on other corner. Turn bag right-side out.
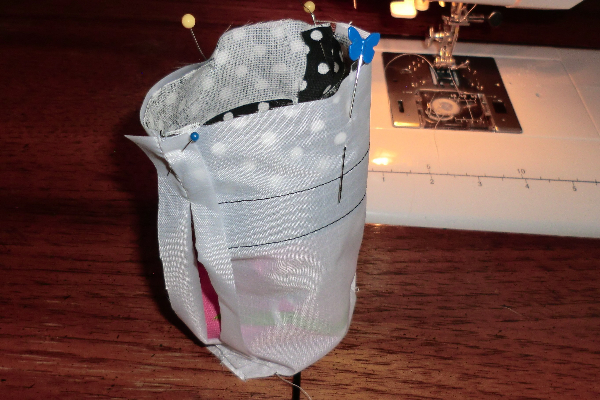
Sew the lining in the same manner, but leave a big hole in one of the side edges so you can turn the bag right-side out later.
With the outer bag right-side out and the lining inside out, place the outer bag inside of the lining (so the right-sides are together). Then line up the side seams and top edges and pin all the way around.
Sew a 1/2″ seam allowance around the top.
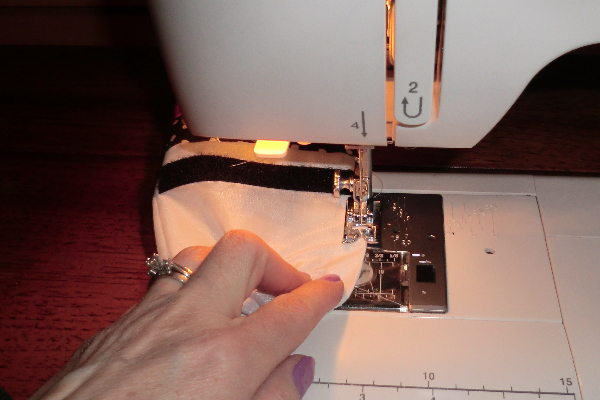
Turn the bag right-side out through the hole in the lining and then turn the seam allowance of the hole in and stitch the hole closed.

Fill with some yummy snacks — crackers, celery, carrot sticks, whatever!
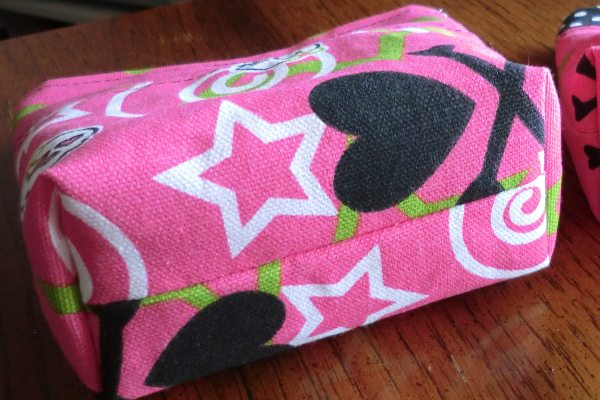
Other Views