Reversible Fabric Coasters

Hi there! It’s Mandie. I’ll be taking over for Robyn on the blog and I’m quite excited to share some fun projects with you!
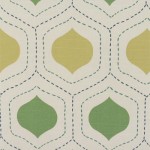
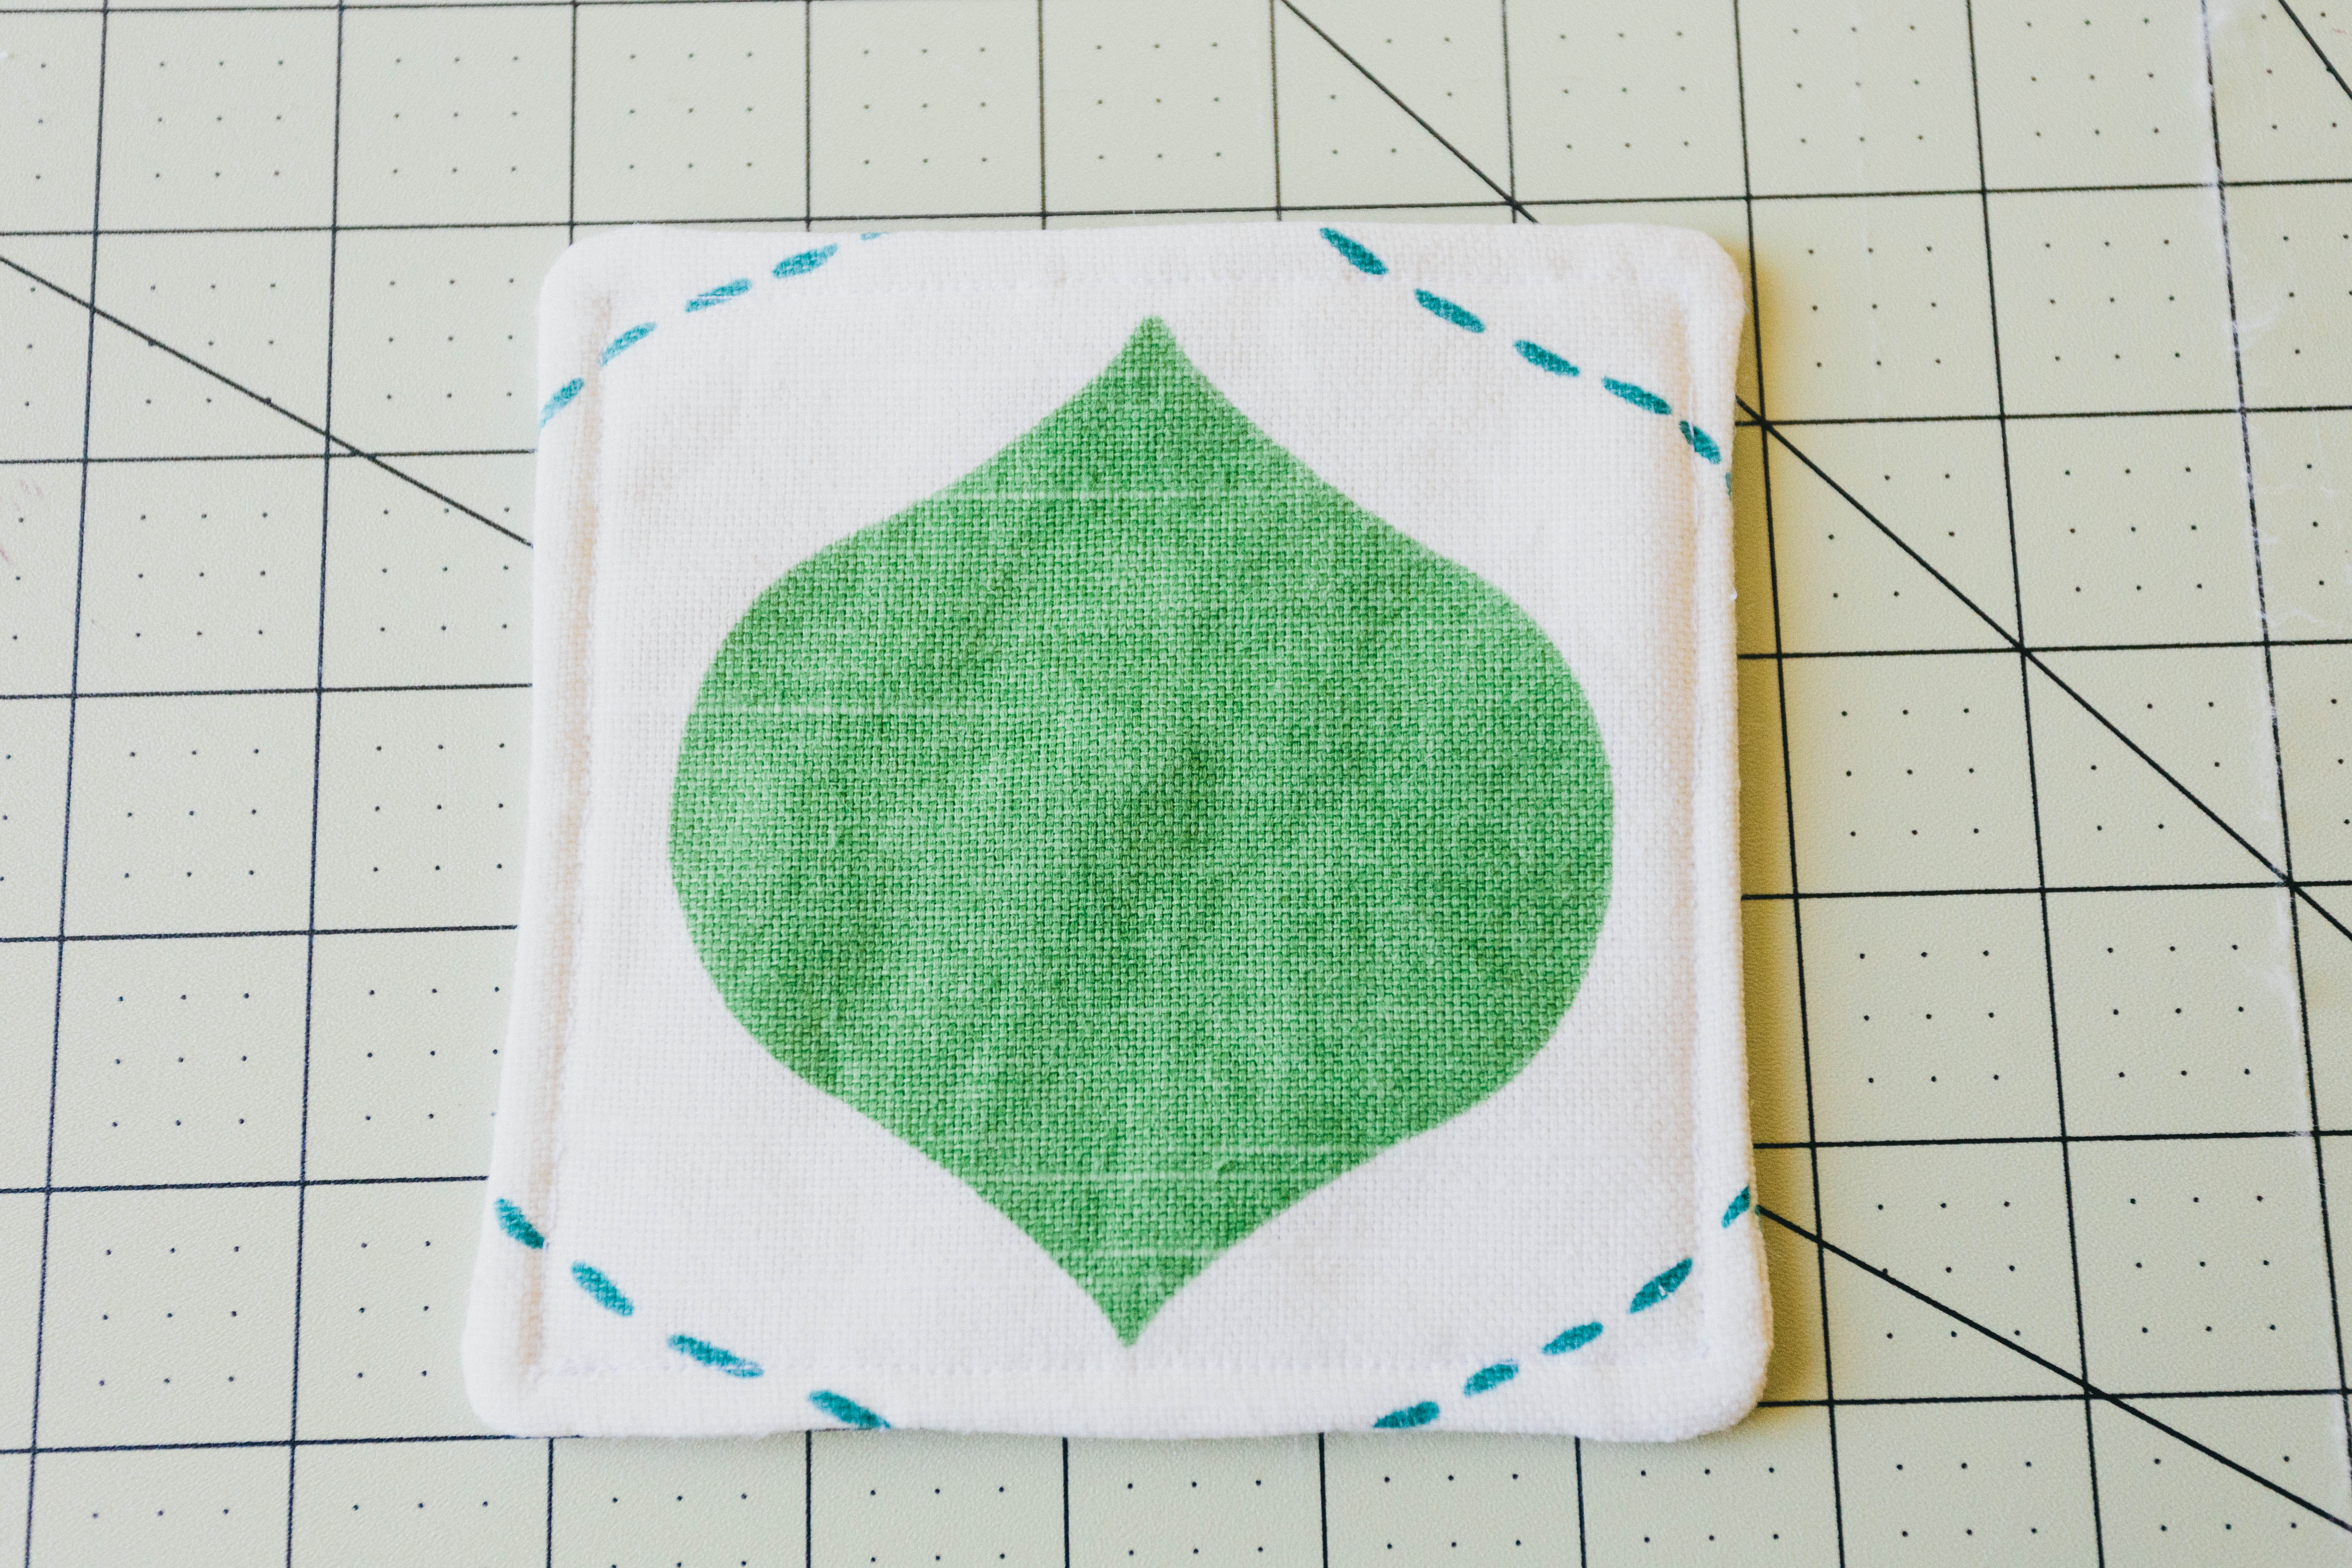
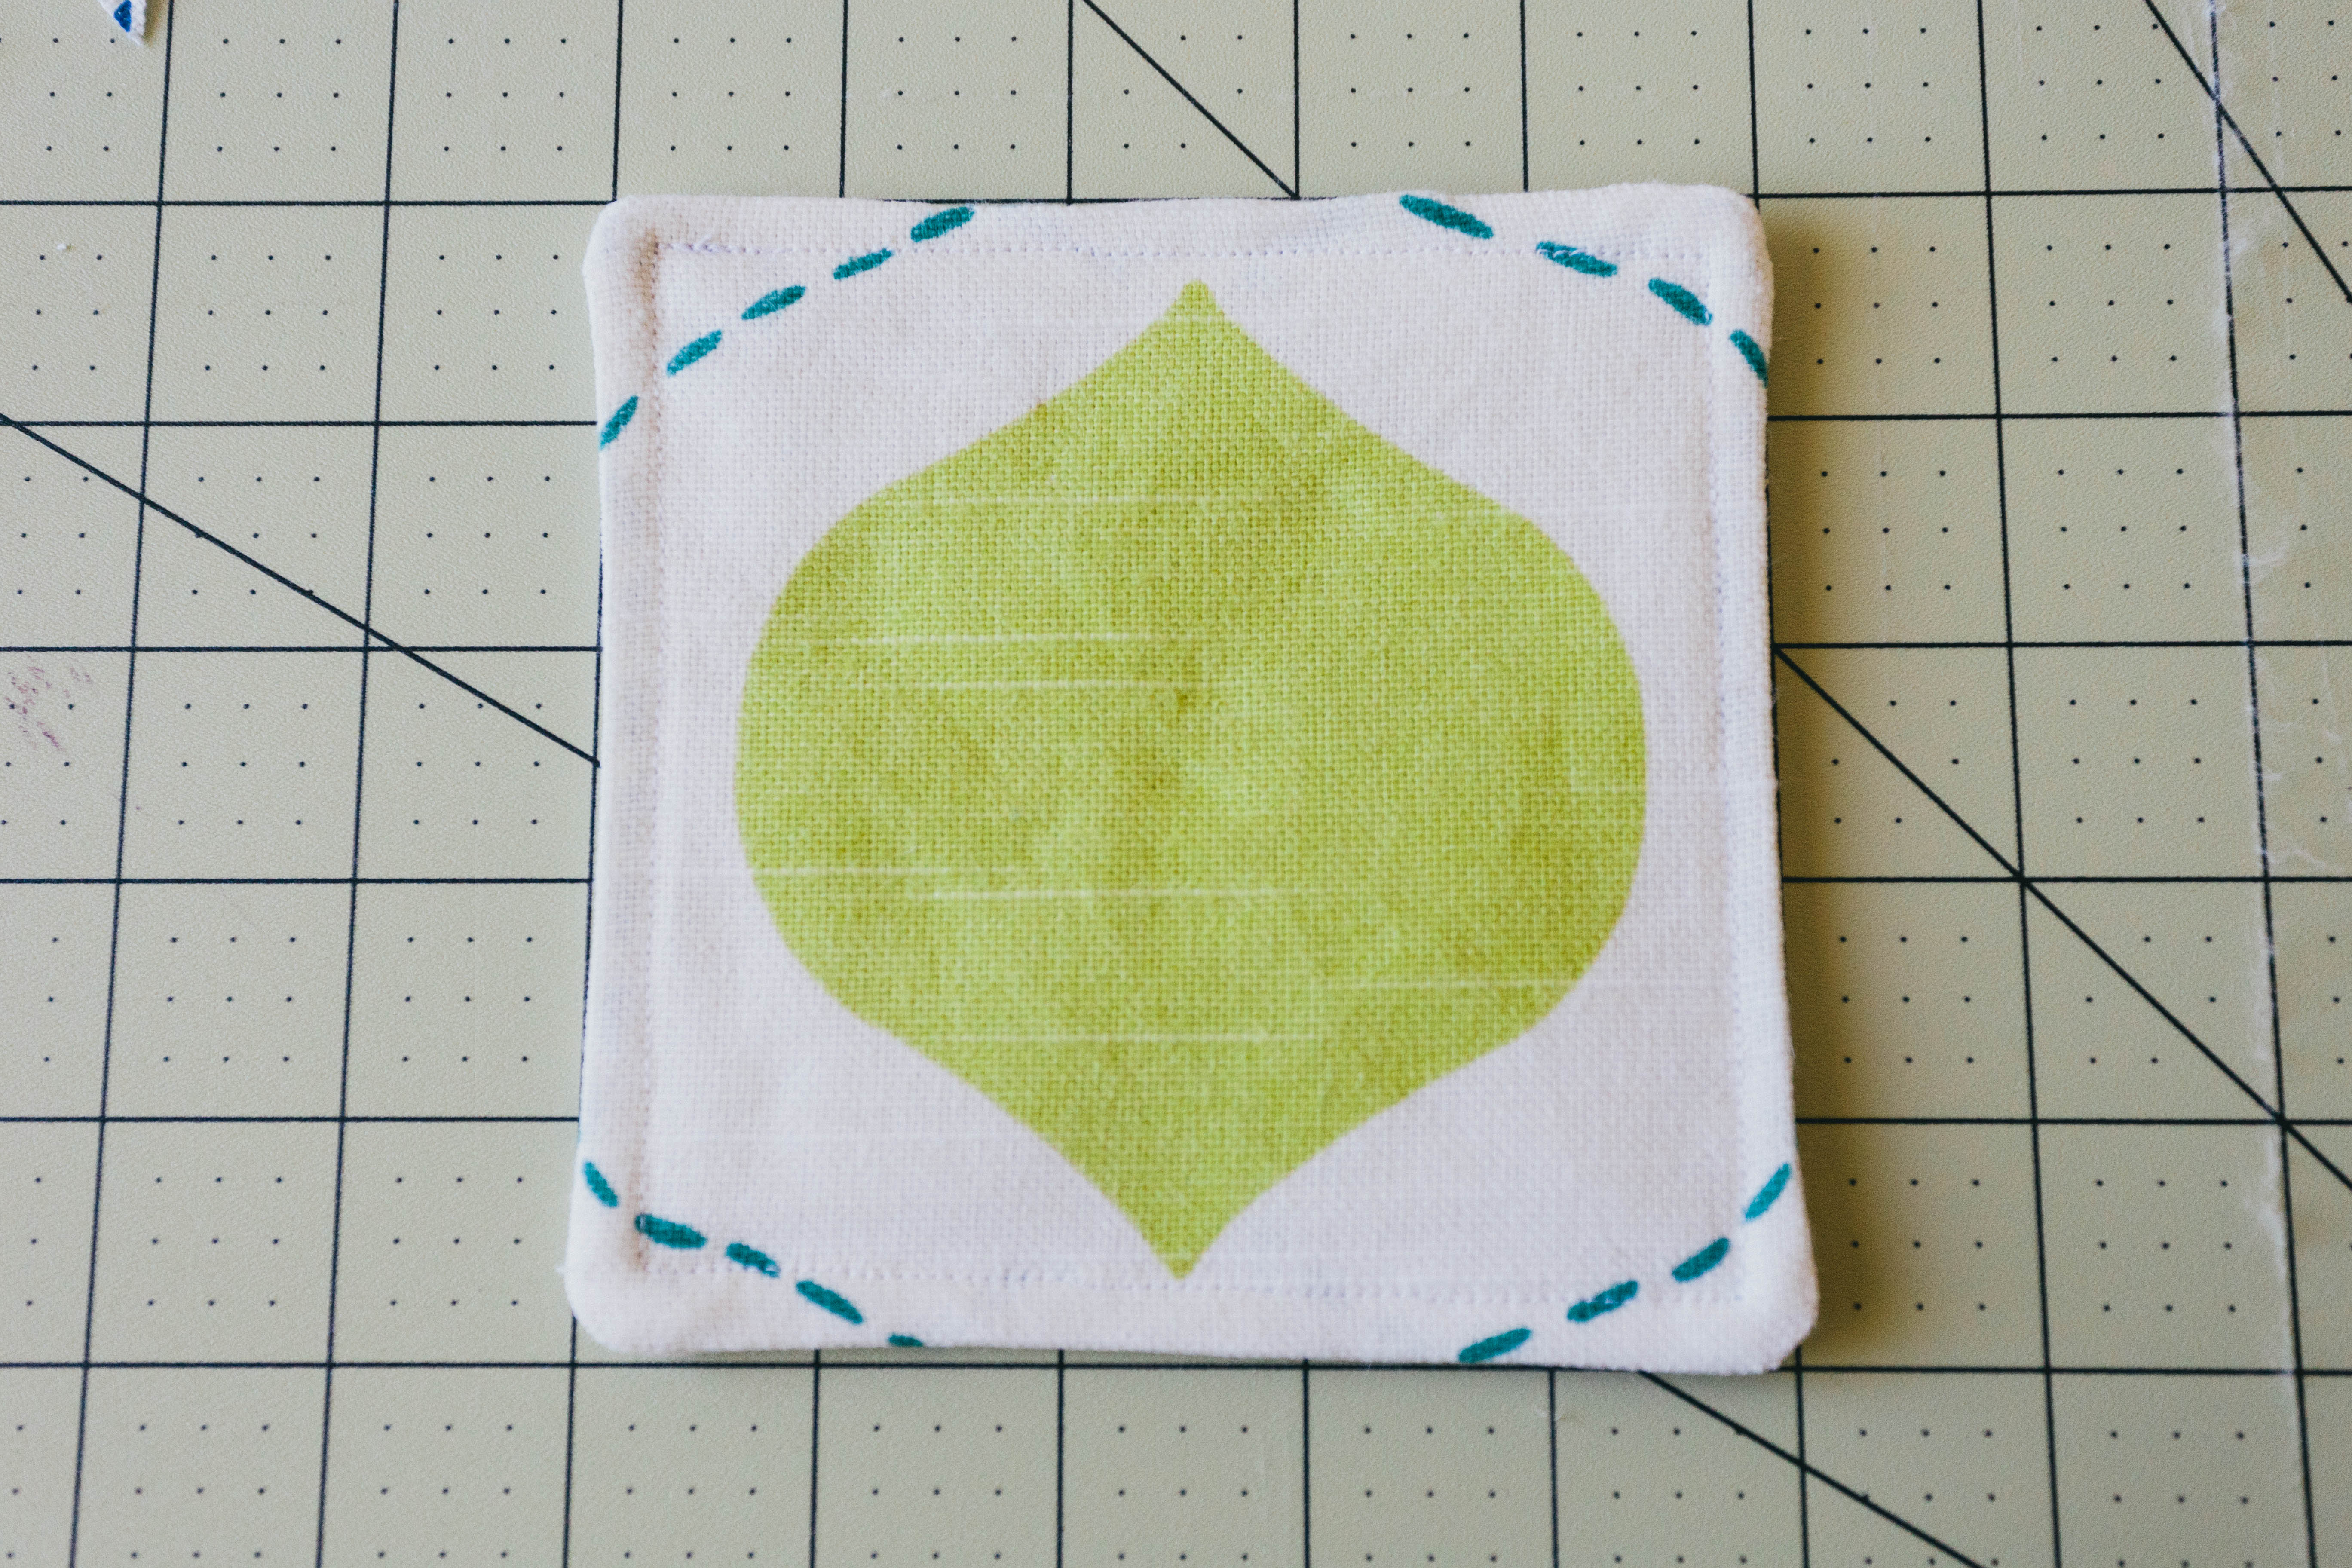
This week, I thought I’d share something simple, yet totally functional- coasters! I chose the Manna Kiwi for this because I wanted to make these reversible, and I just loved that both sides are similar, but different colors.
Here’s what you’ll need:
1/4 yard (to ensure enough of each colors on the pattern repeat) of Manna Kiwi, quilt batting (for 4 coasters I would have at least 1/4 yard on hand), thread, a rotary cutter, cutting mat, scissors, and your sewing machine.
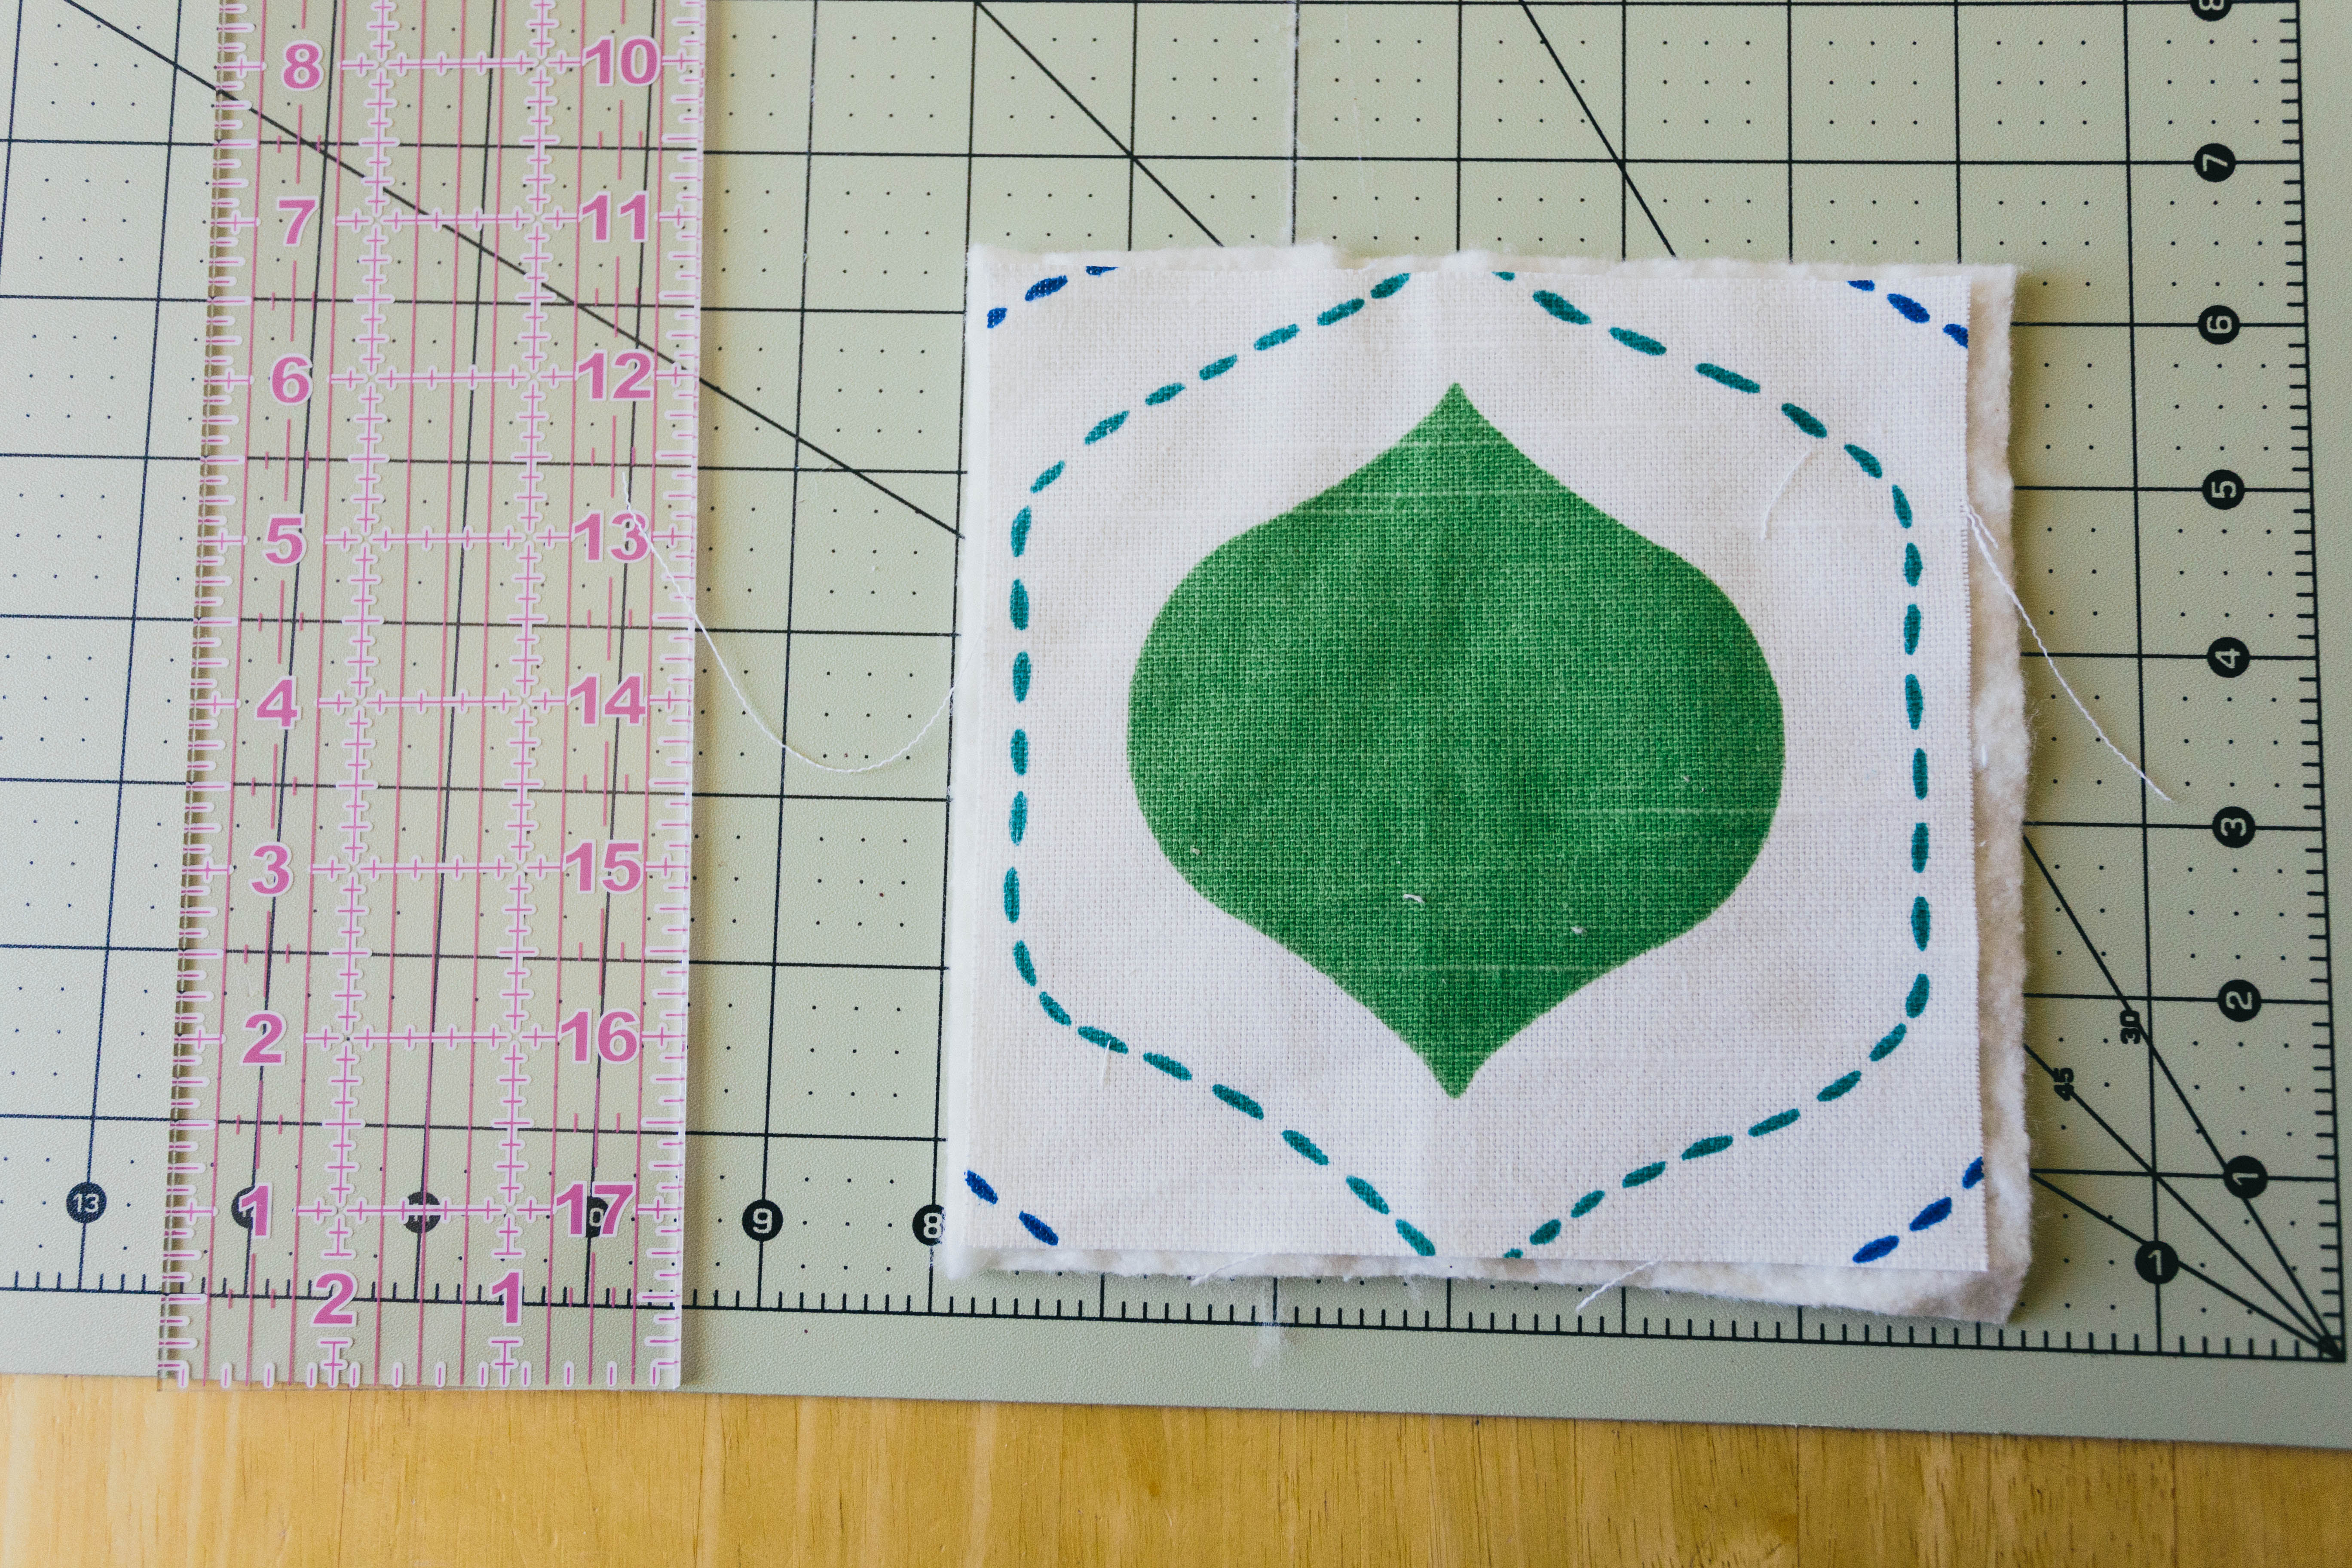
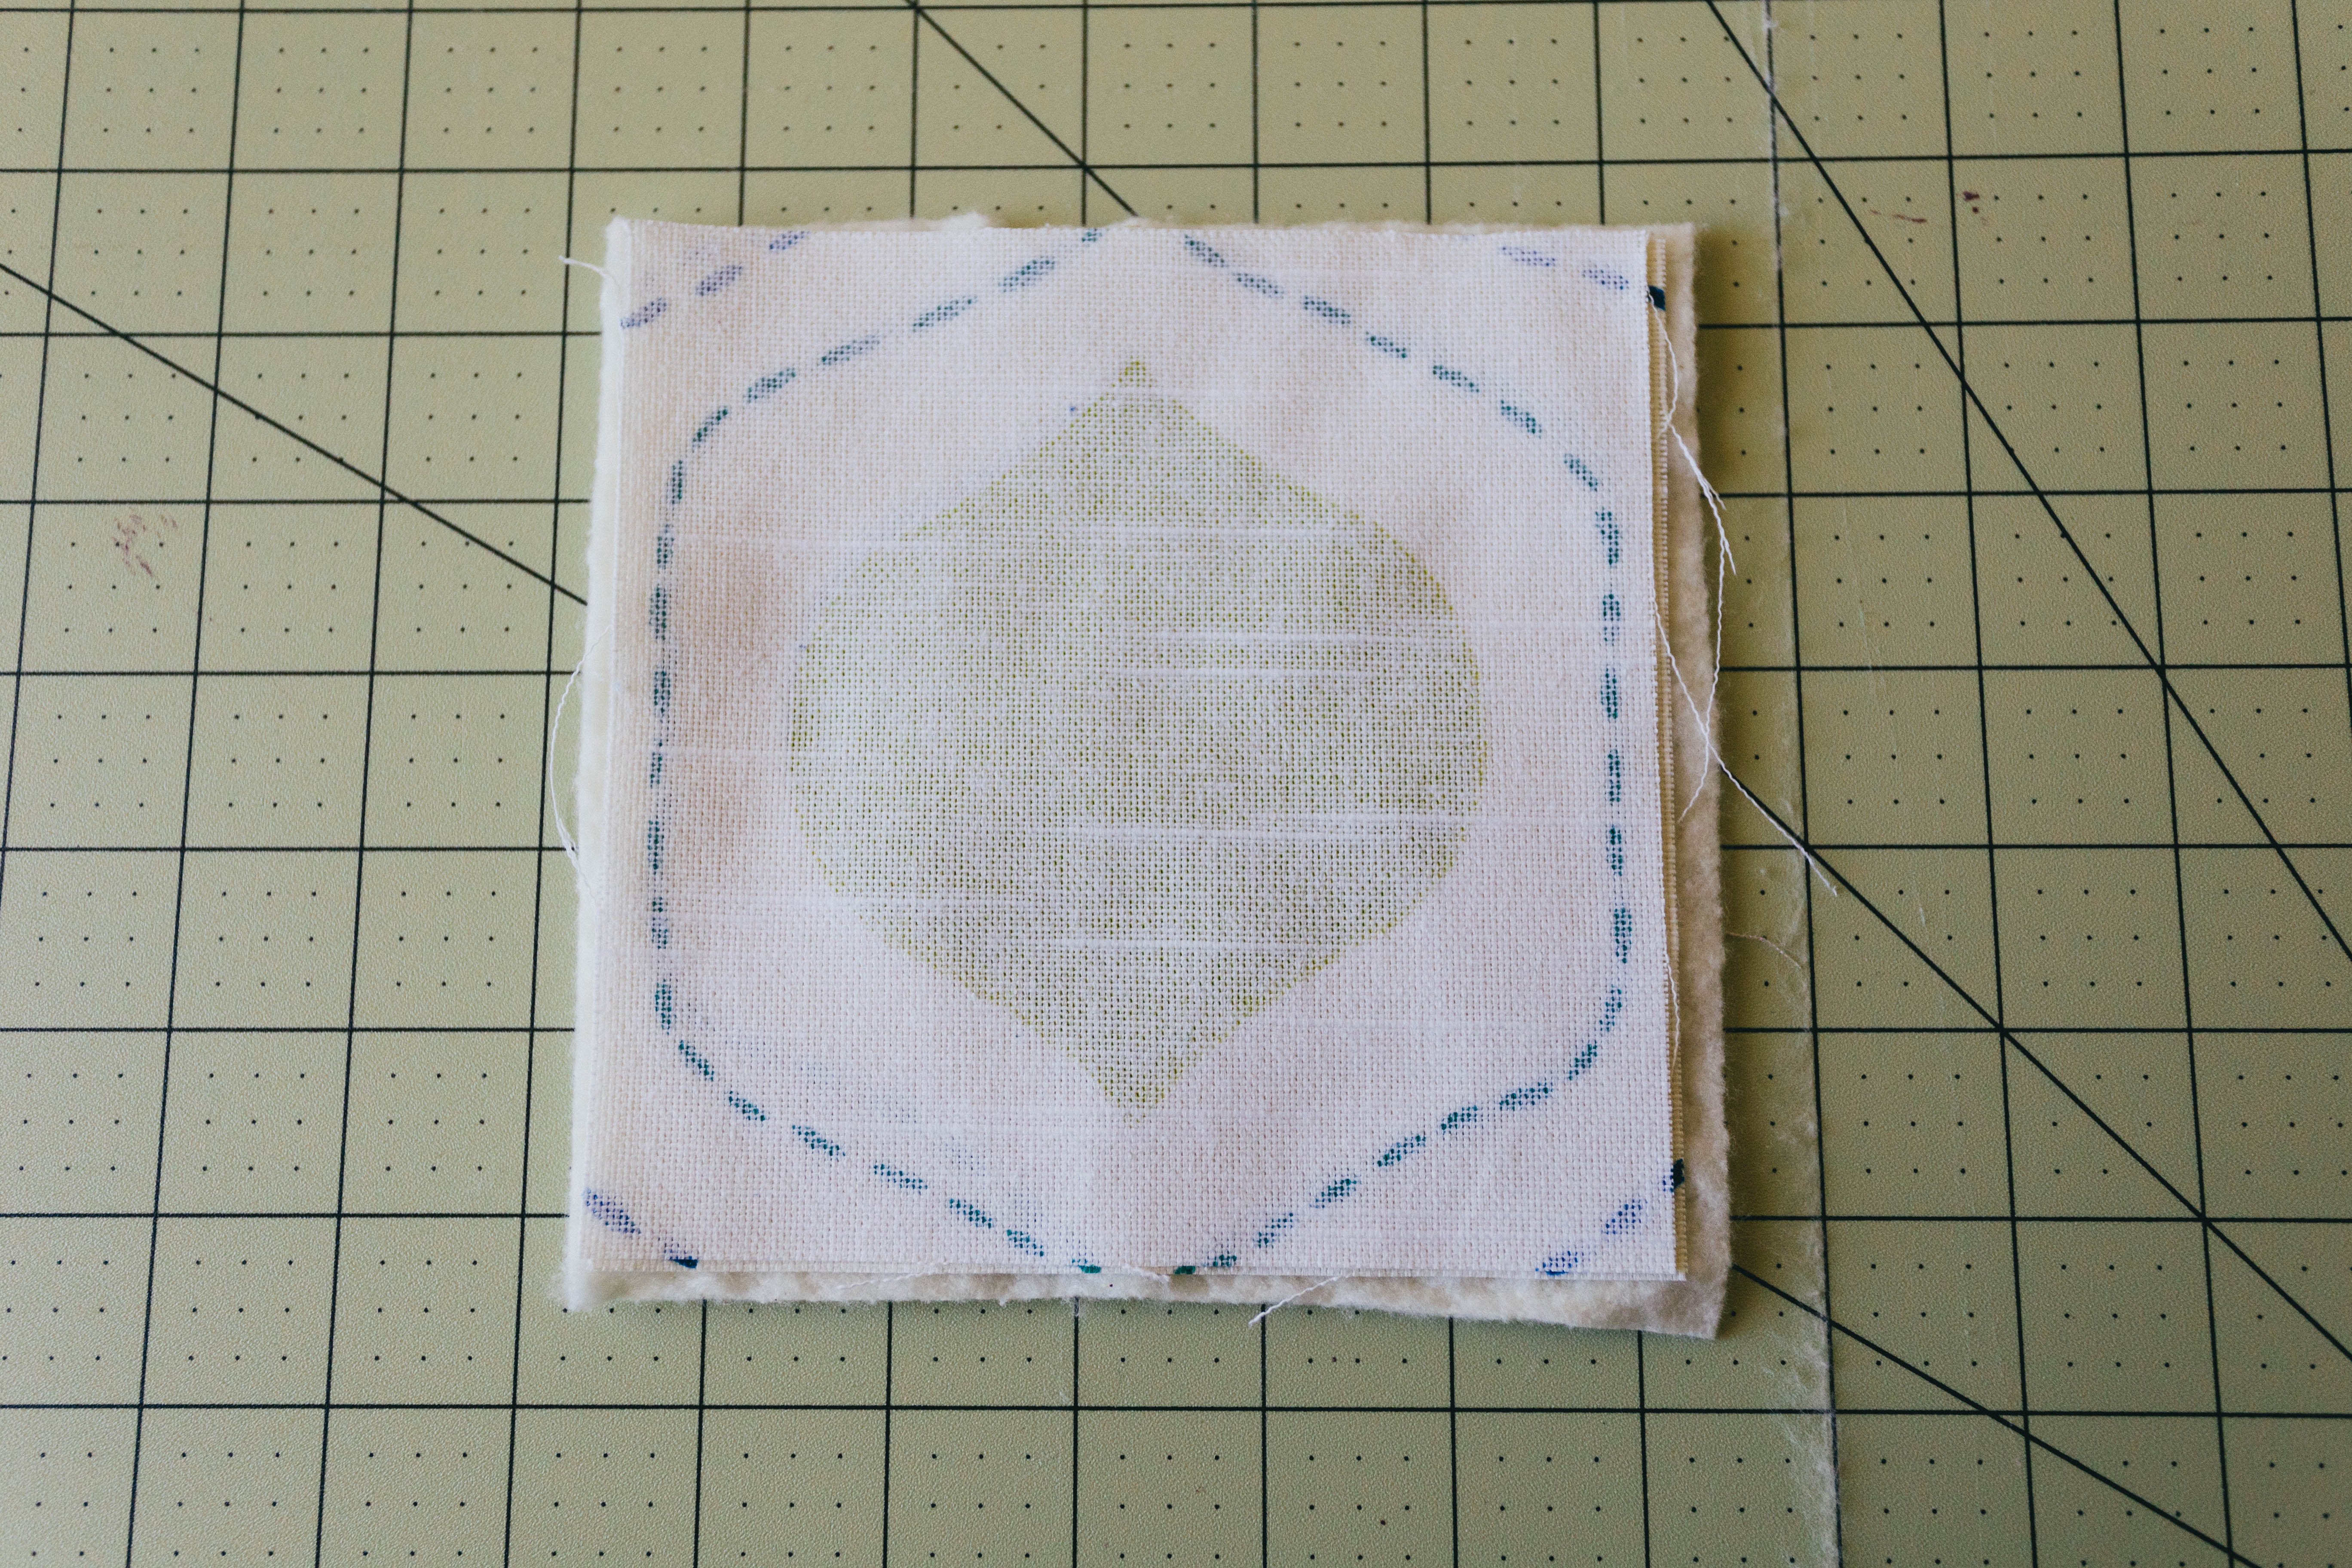
I cut my pieces out very deliberately, paying attention to the pattern placement. Because of the pattern I chose, my pieces were 5 3/4 square, and finished turned out to be just about 5″, which seems just right to me. If you prefer something a bit larger, adjust your measurements to scale.
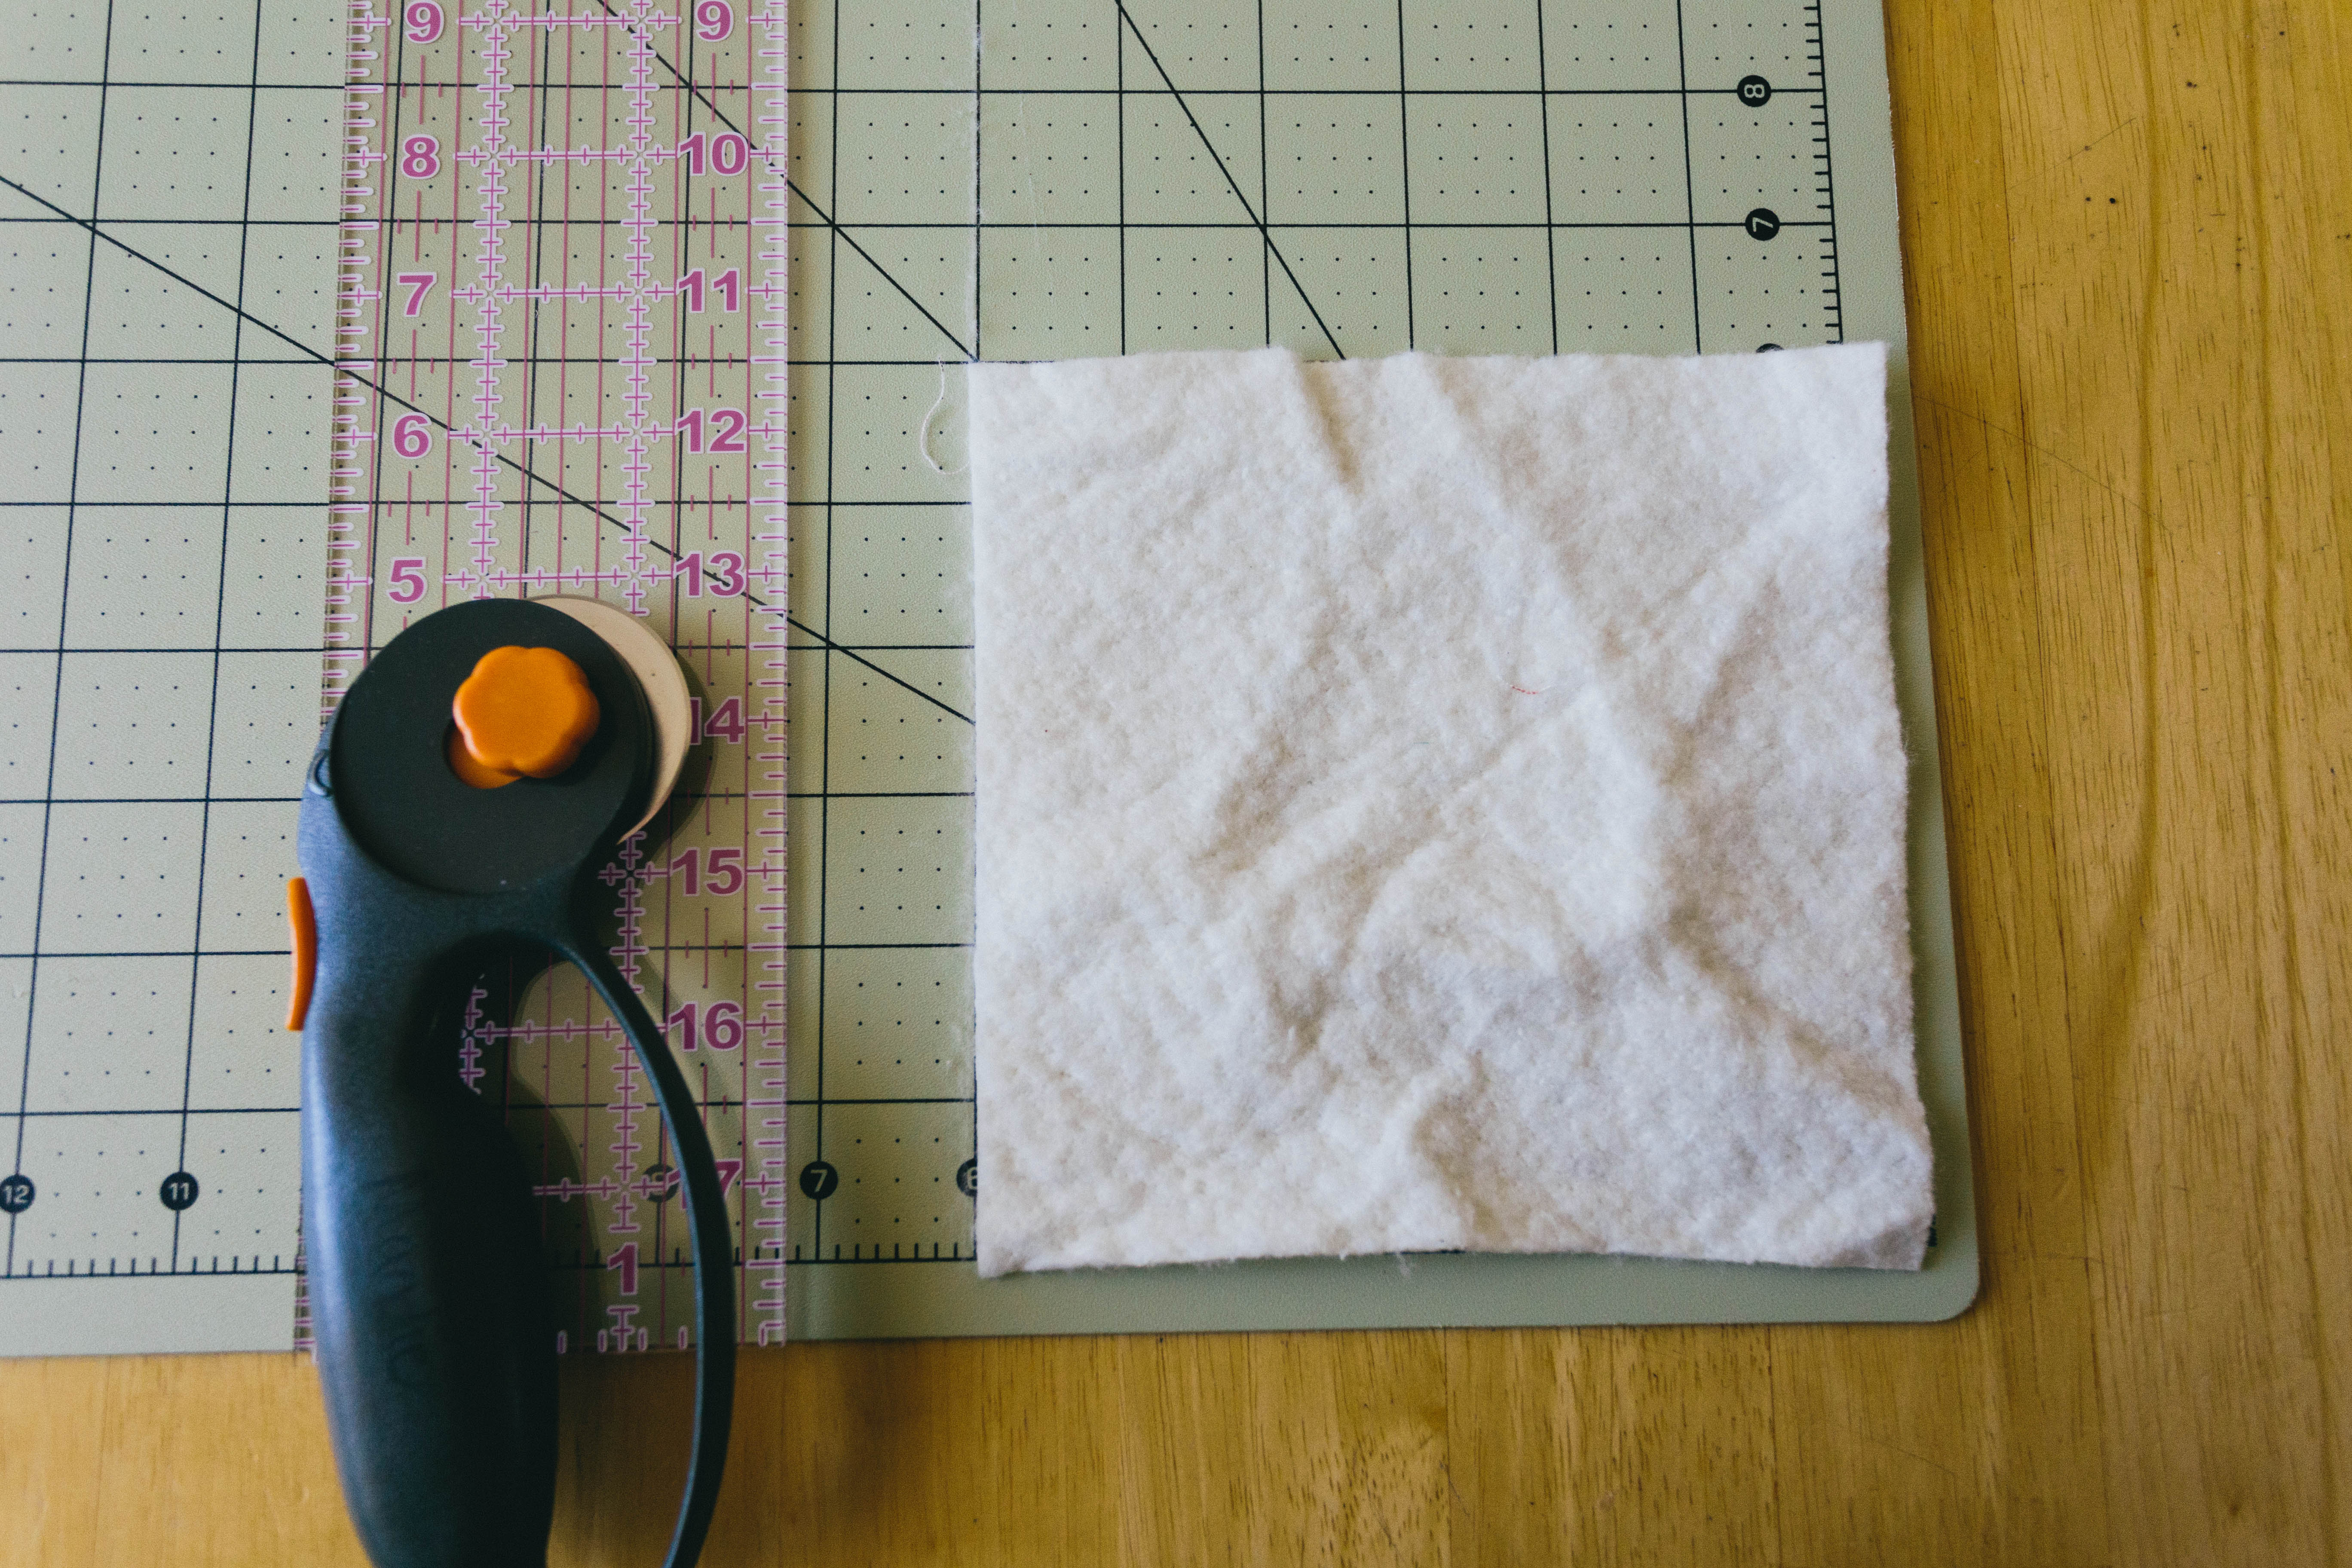
I cut my batting just a smidge larger than the fabric pieces to allow margin for error. Then, put your front and back pieces together, right sides together. Place the wrong side of one piece onto the batting. Your other piece should be wrong side up at this point.
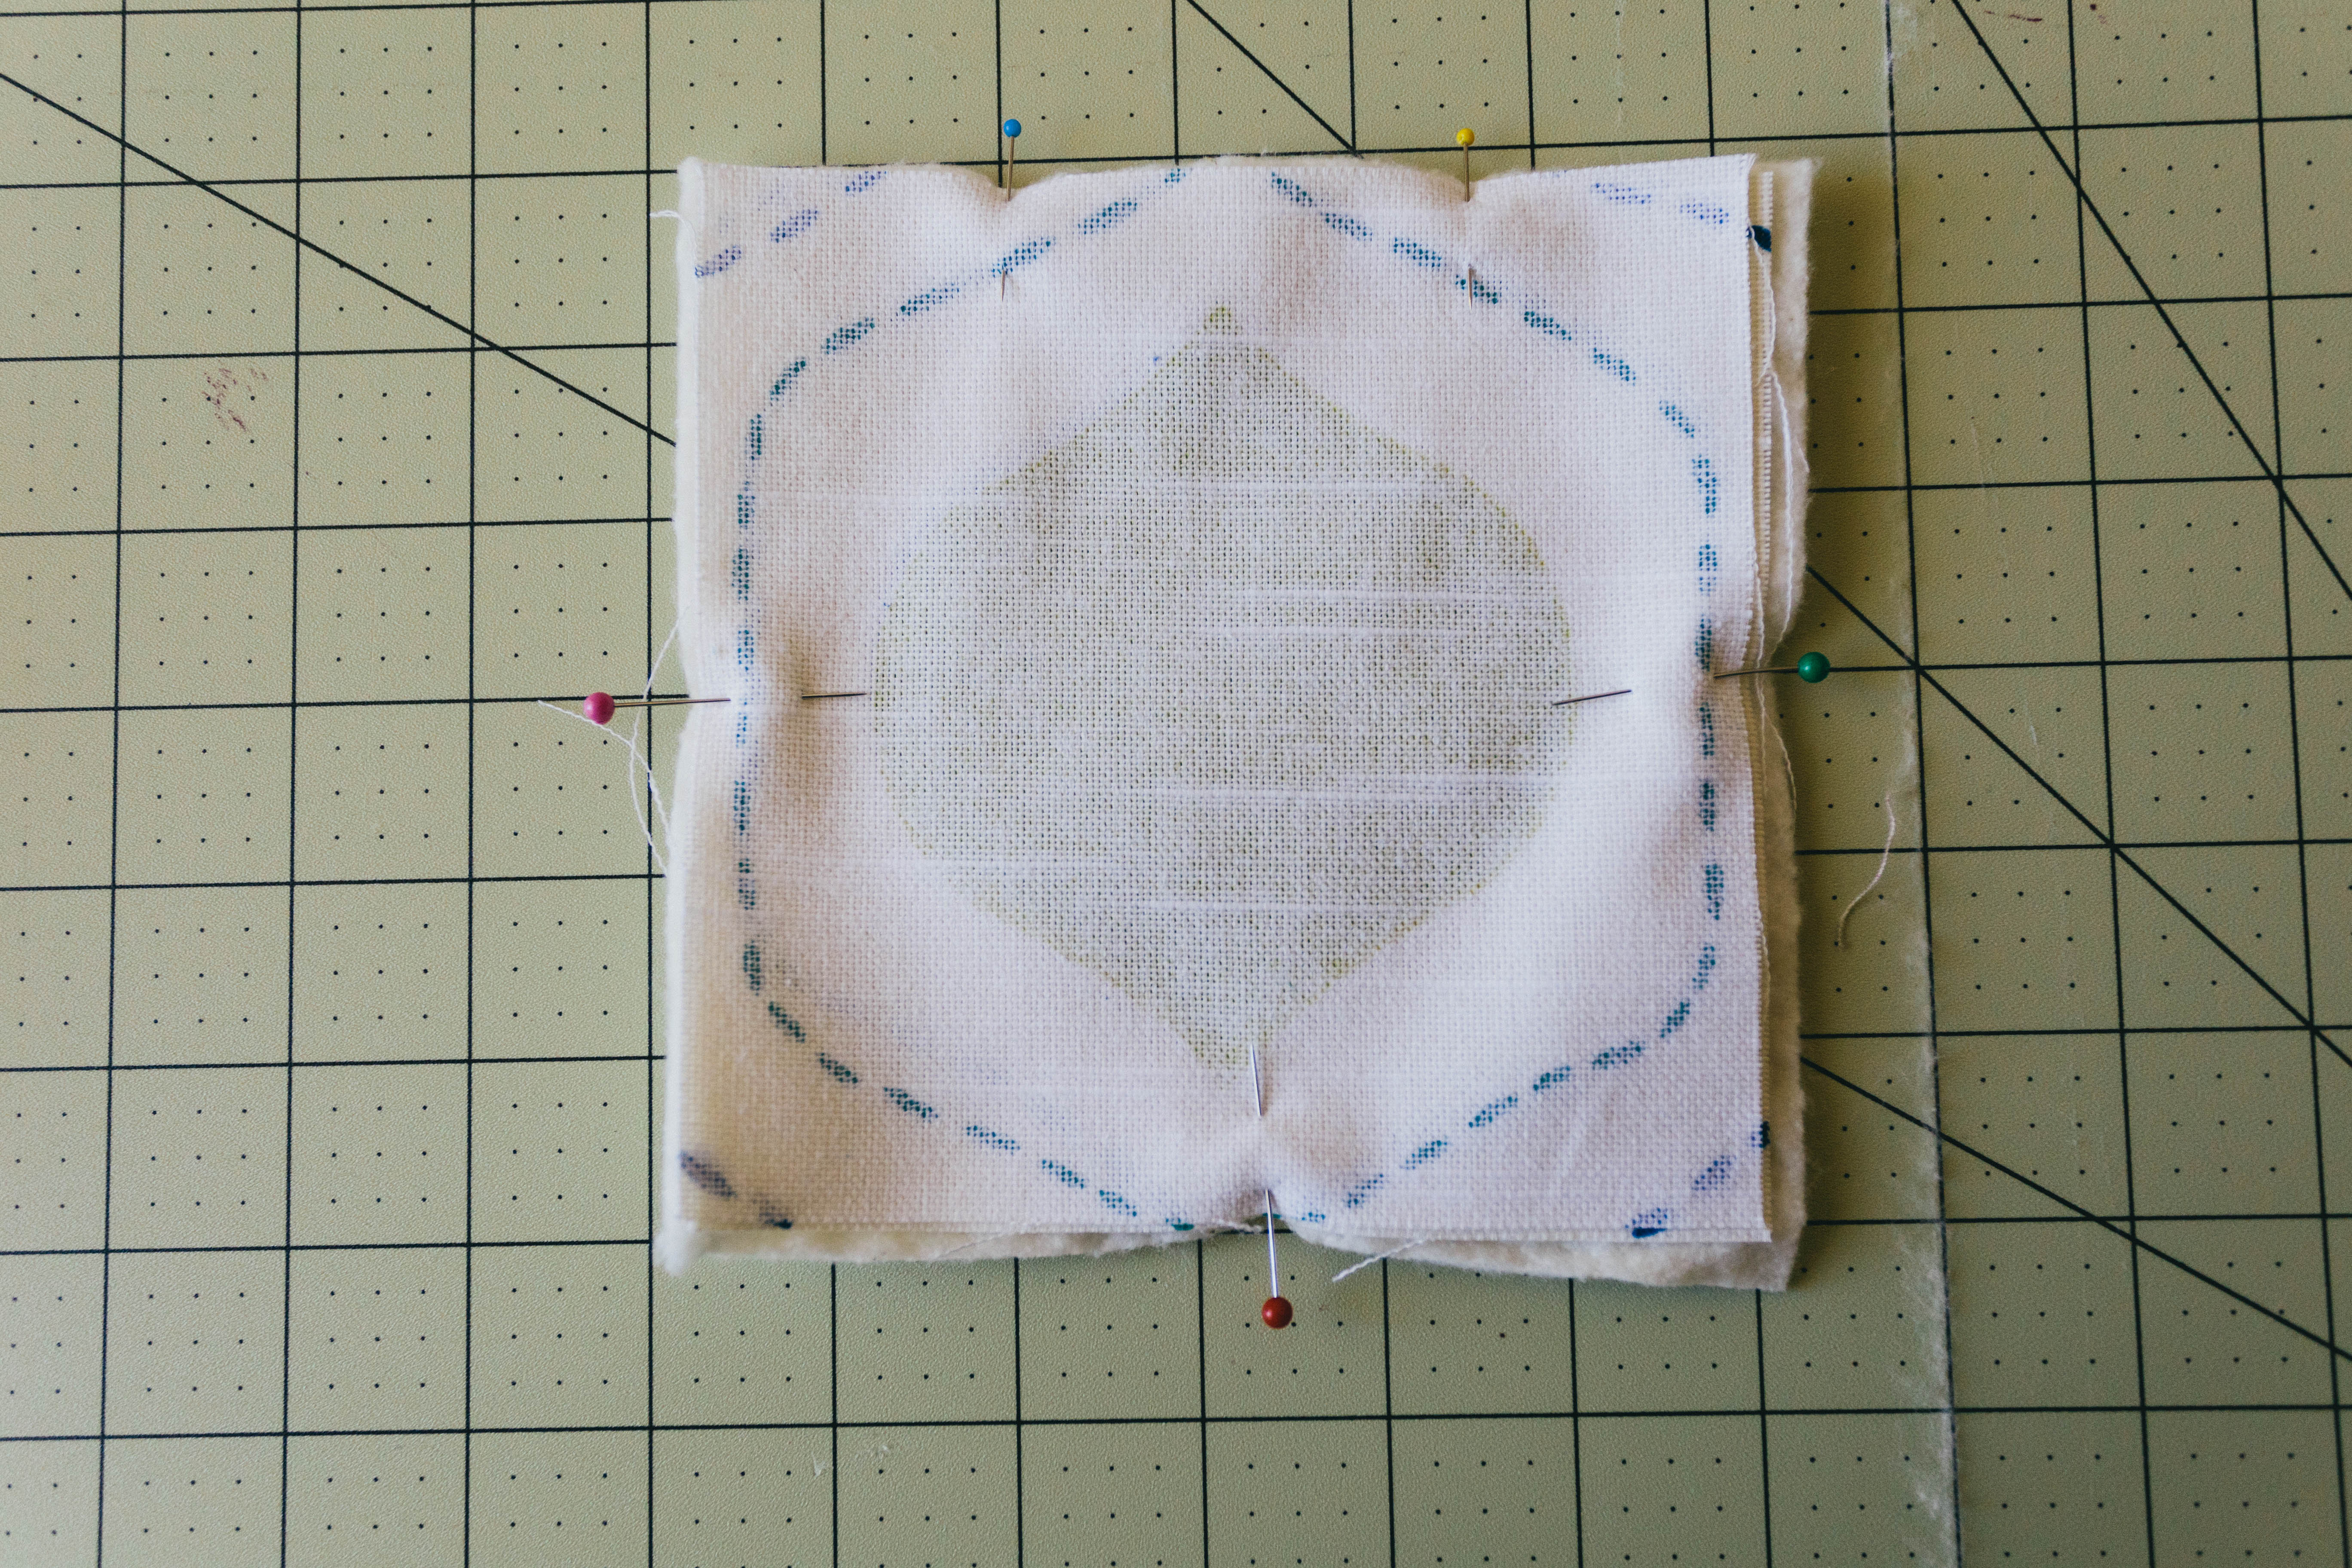
Pin all 3 pieces together, beginning 1 1/2 inches from the upper right corner. I pinned once on each other side, and then again 1 1/2 inch from the upper left corner. I suggest double pinning on top (though I didn’t remember to do so myself), as a reminder not to sew between the double pins- that’s the opening that you’ll pull through.
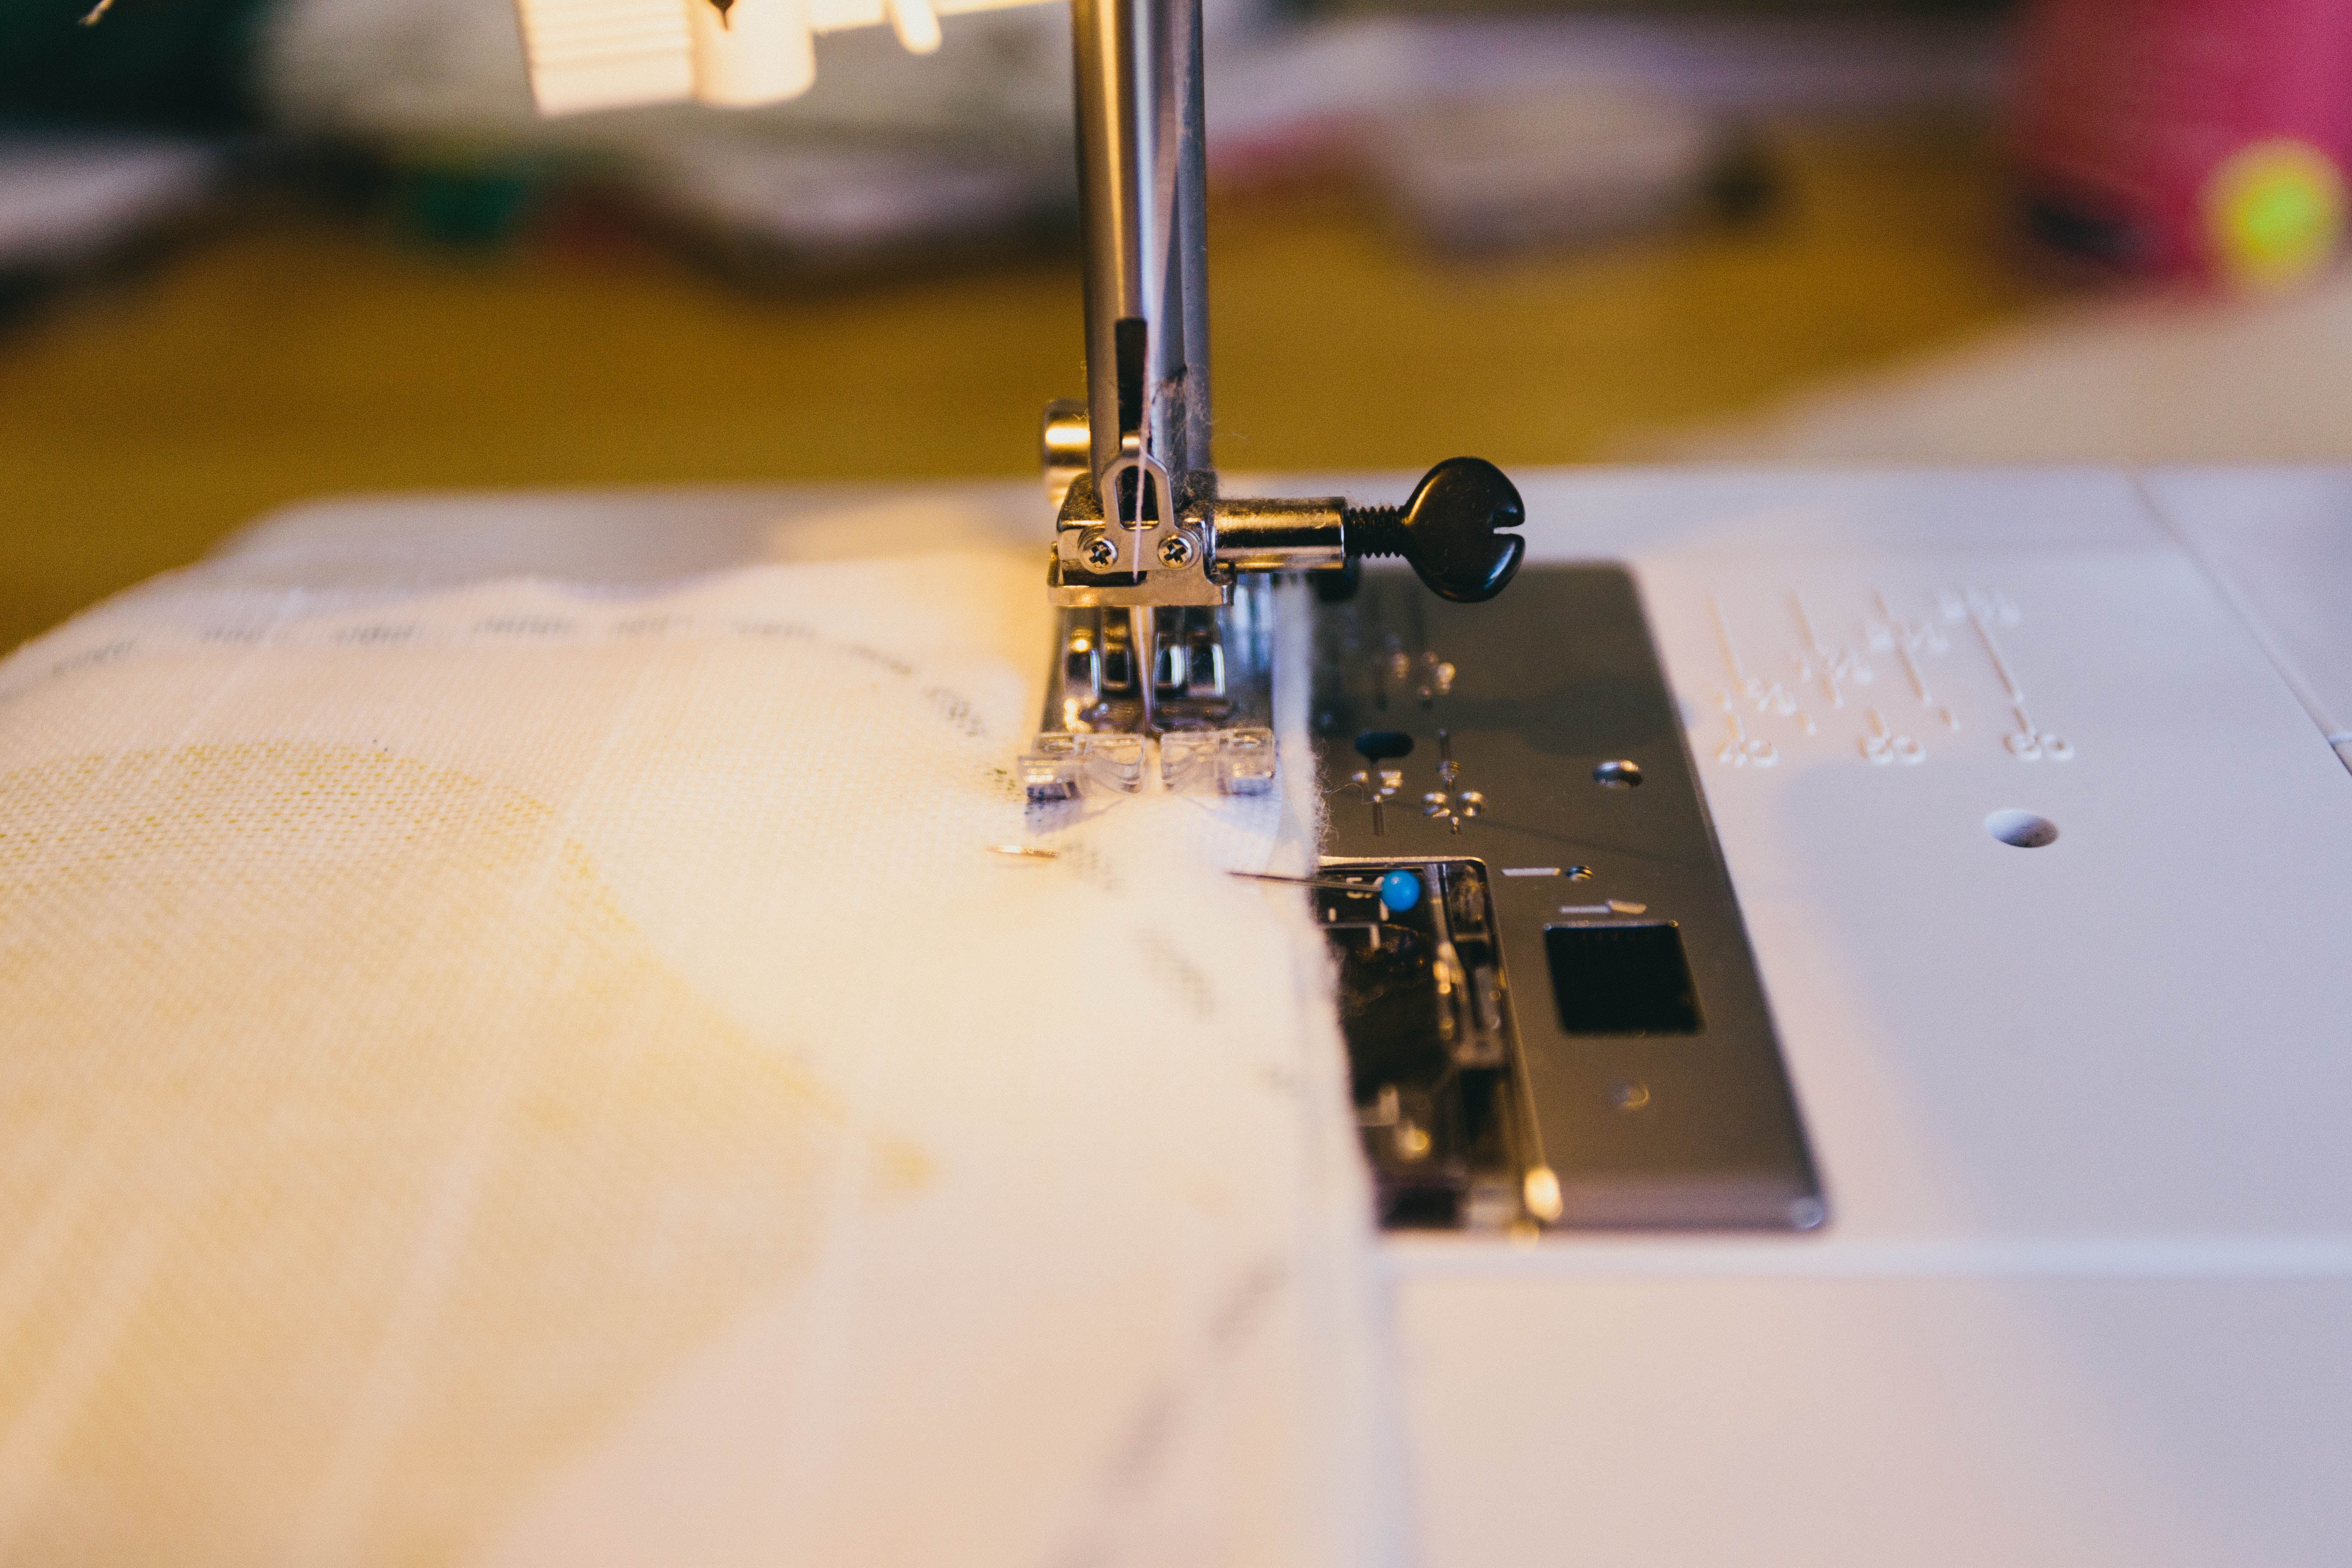
I started stitching just to the left of the pin on the upper right corner(& back stitched to make a knot), made about 4 or 5 stitches, and then pivoted to the right and sewed all the way around until I got to the pin on the upper left corner. I went just past the pin, then pivoted to the left and back stitched to make a knot.
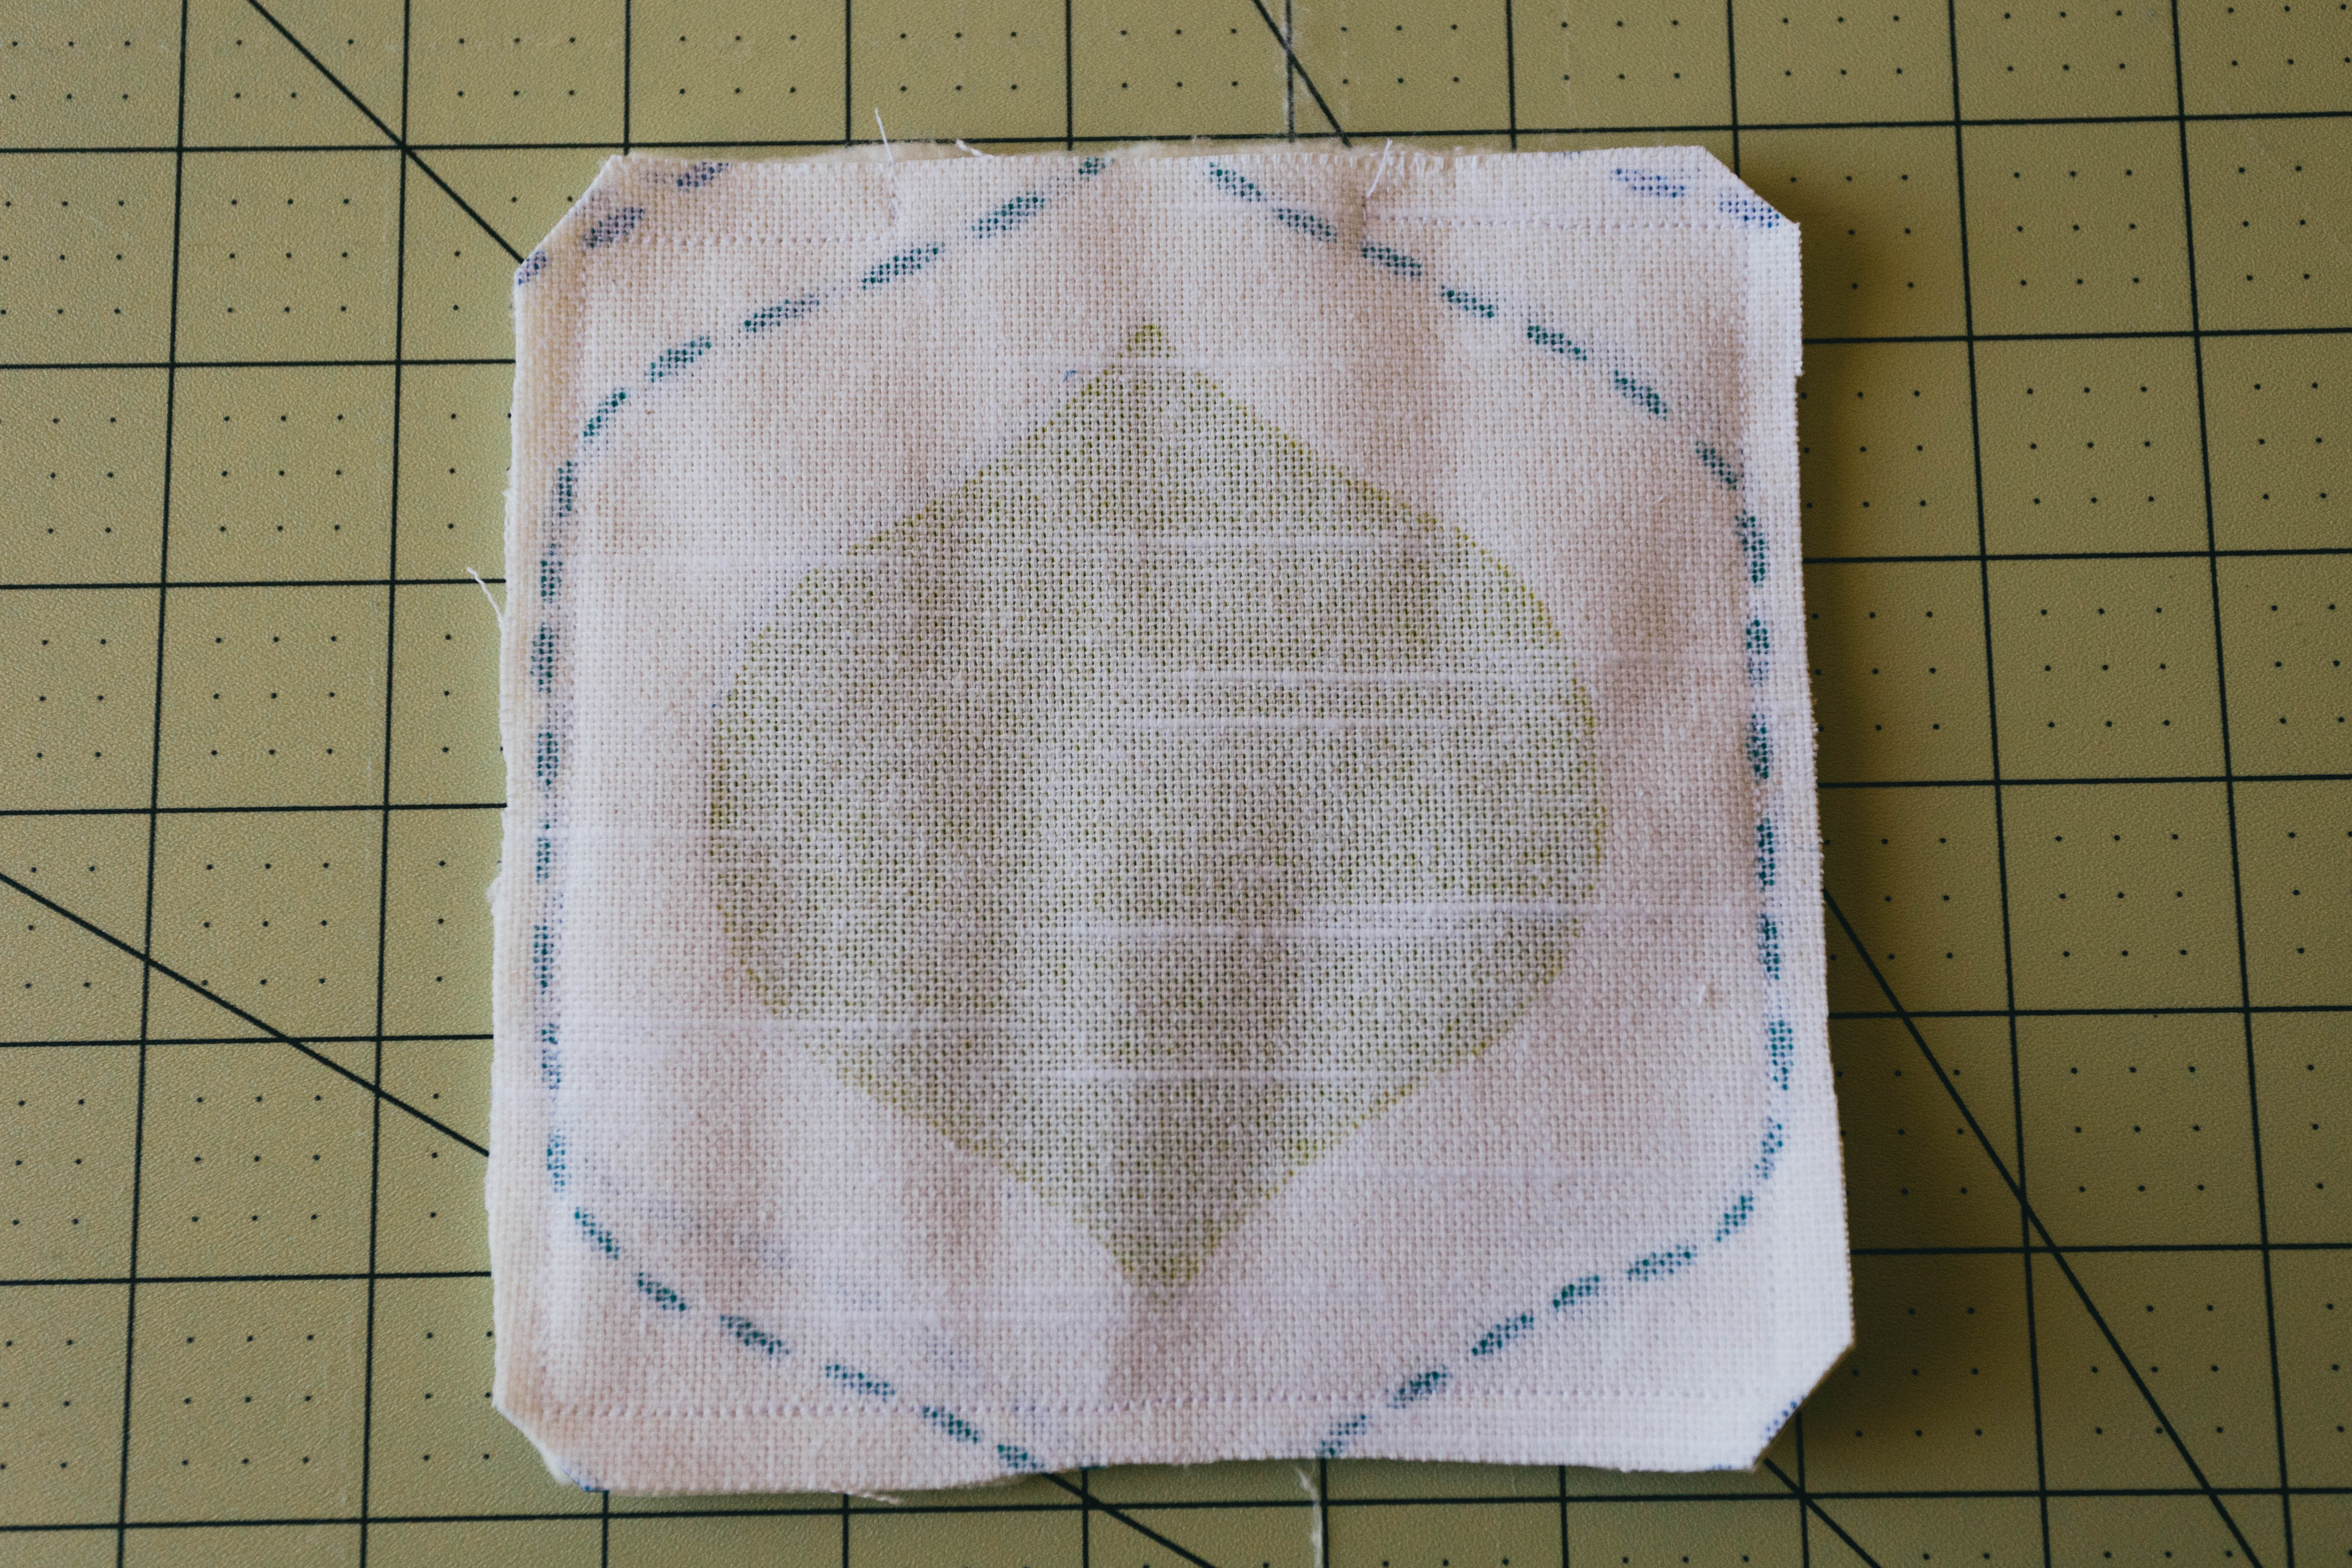
At this point, I trimmed all of the pieces about 1/4″ outside of the seam, plus I trimmed the bulk off of the corners. Turn right-side out, paying special attention to the corners. Use a pen or dull scissors to make the corners as neat and pointy as possible. Iron out wrinkles, and press the opening flaps closed.
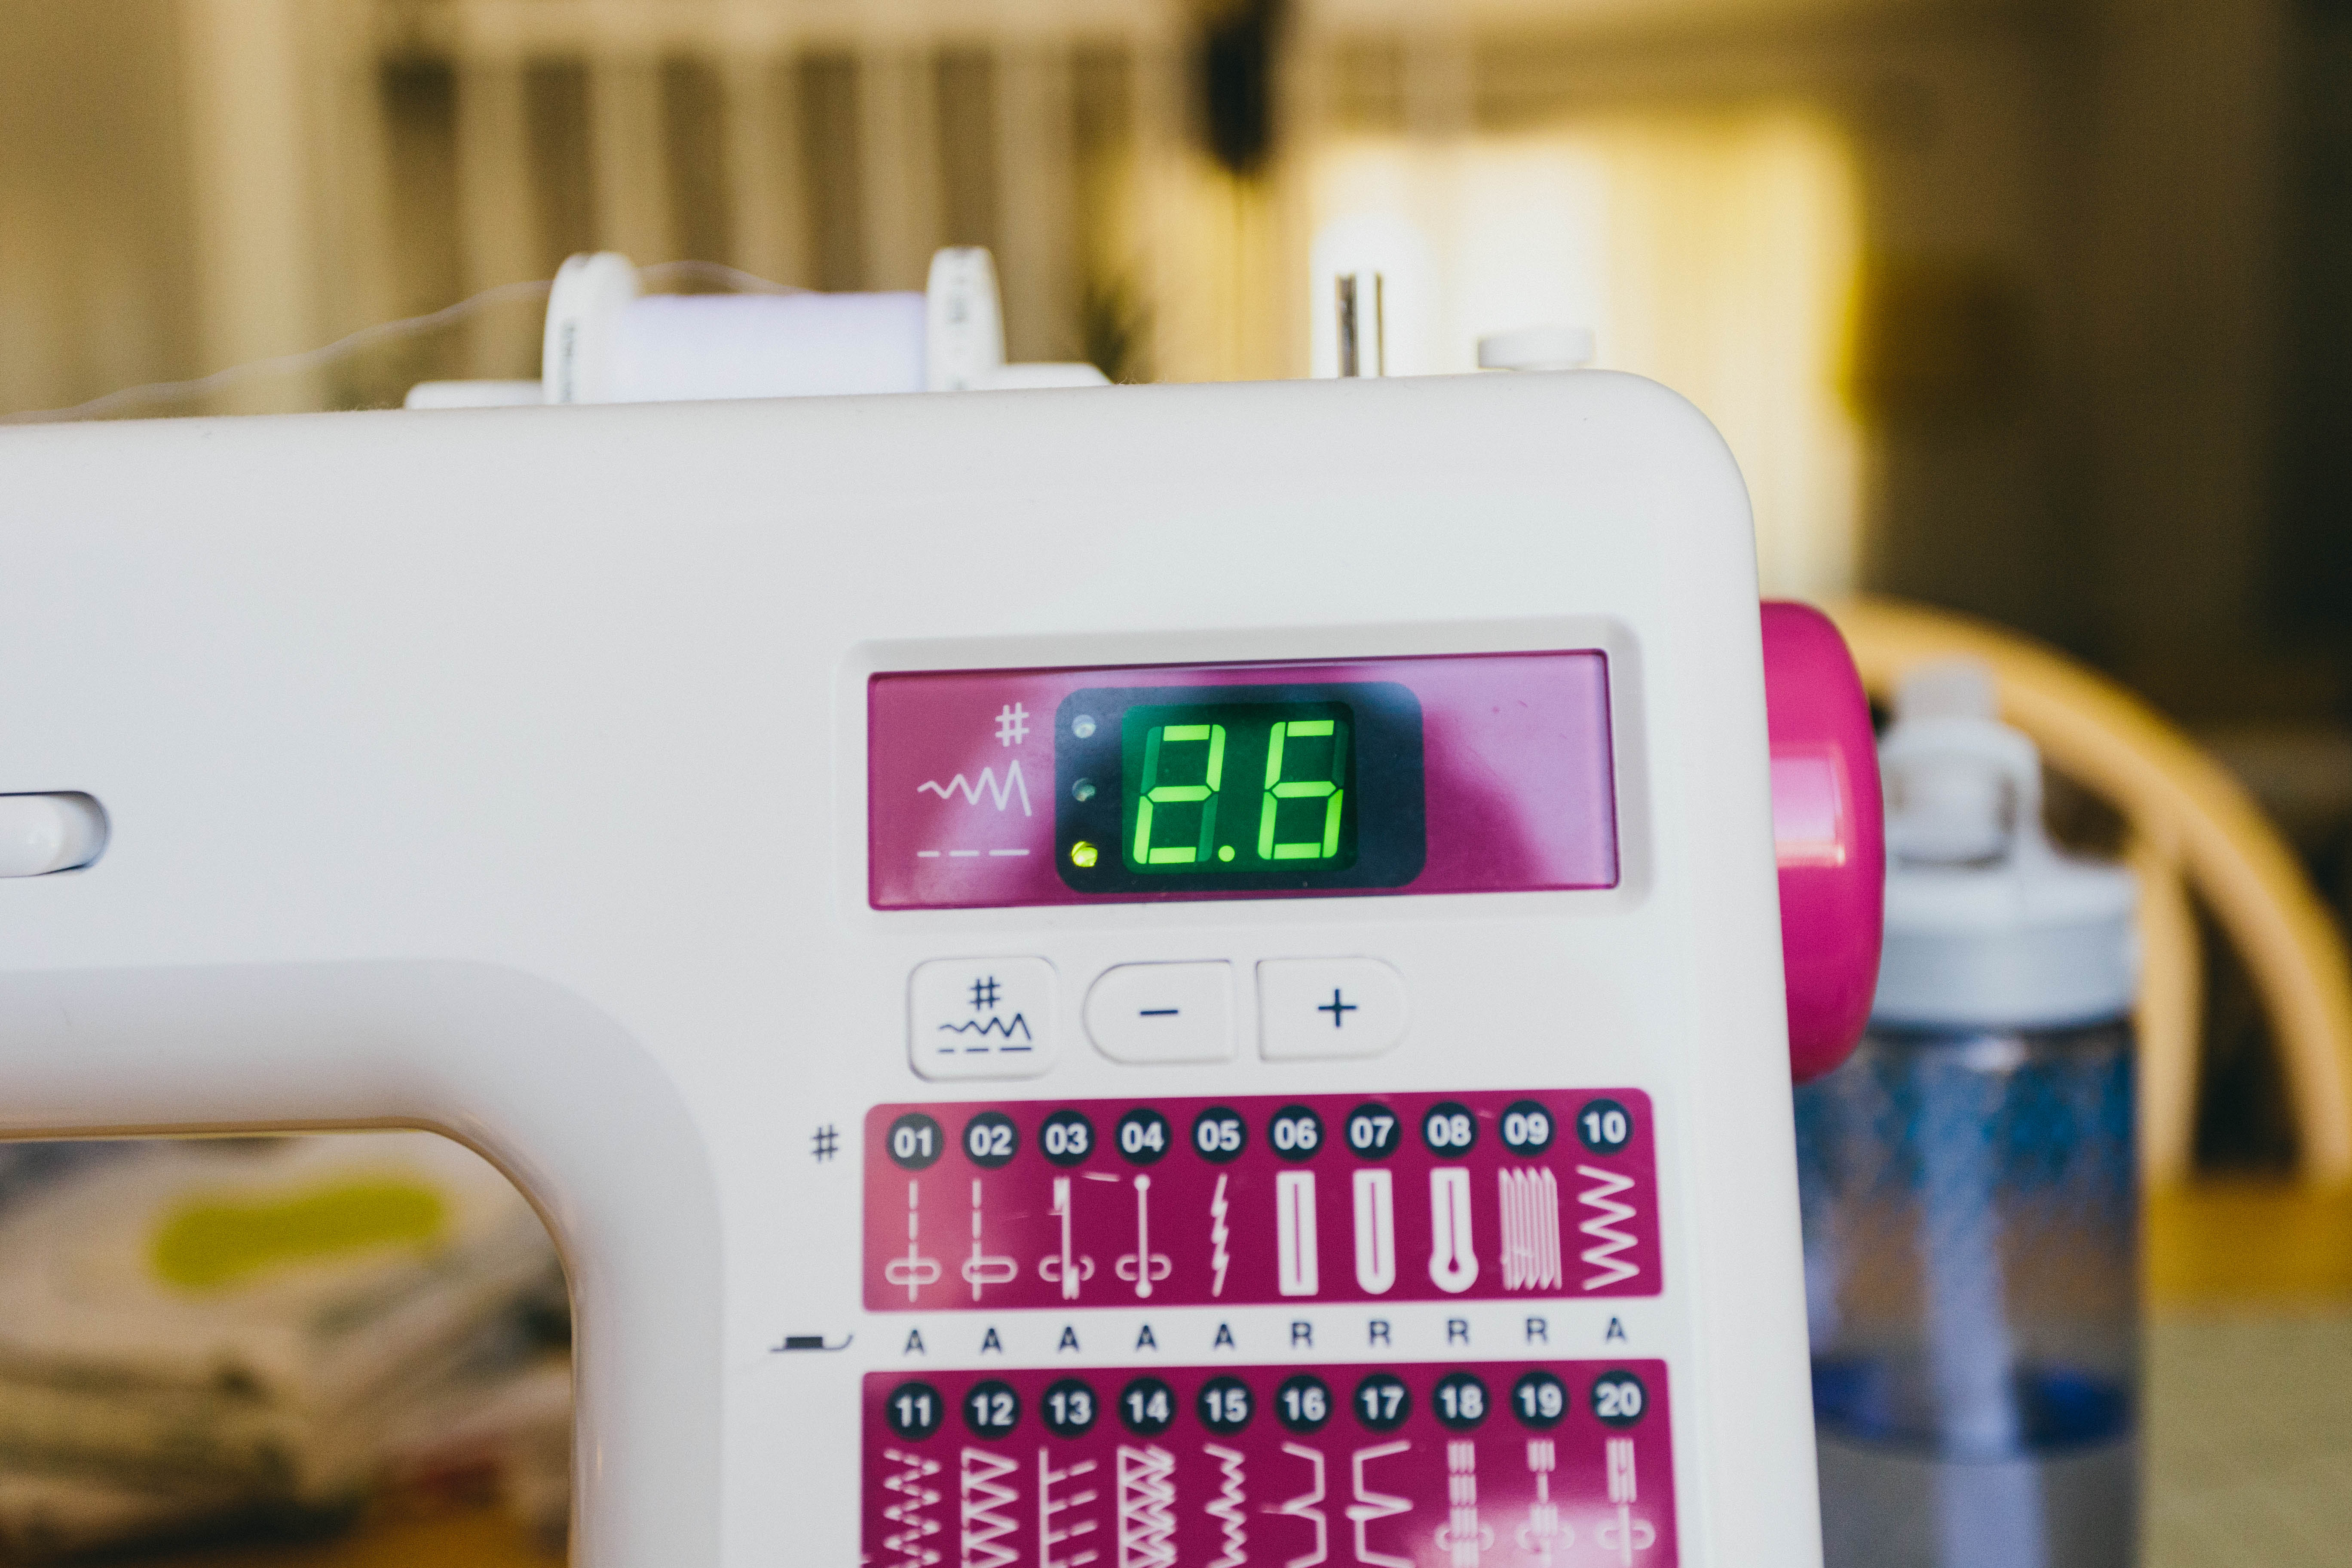
Adjust your stitch length (I prefer 2.6) for a nice top stitch. Doing this not only gives a nice, polished look, but closes up the opening on the side.
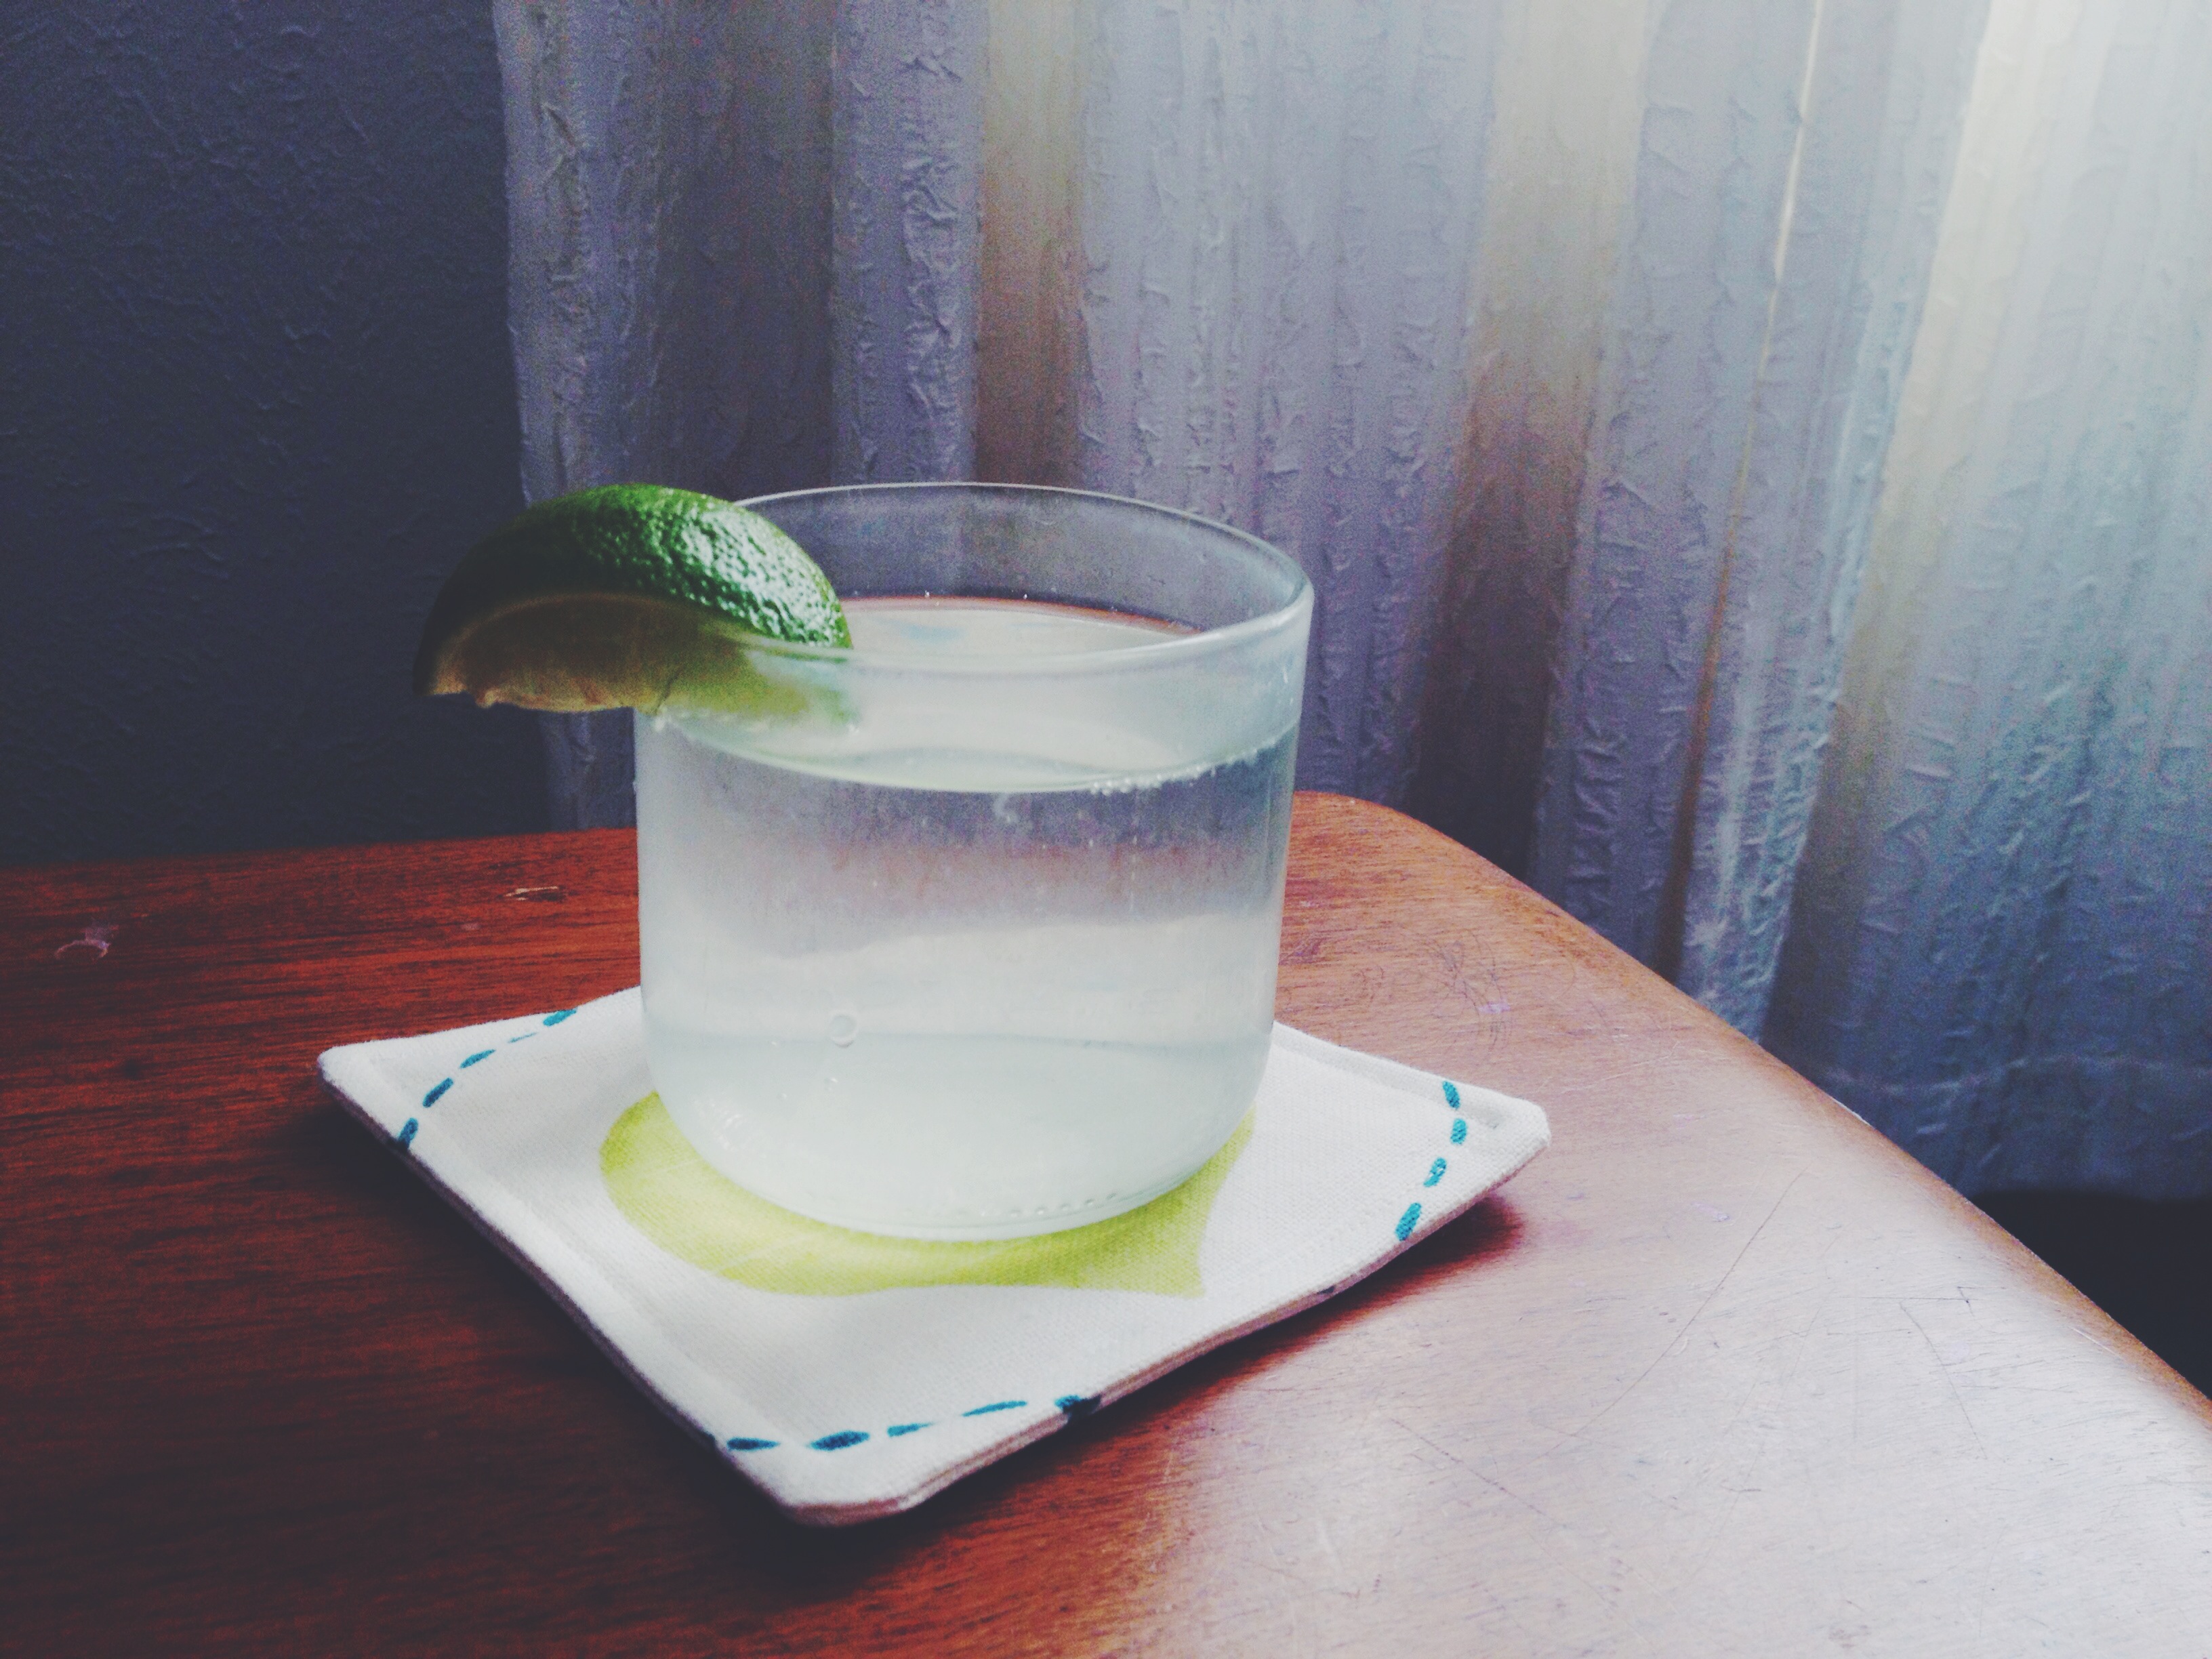
Now sit back, pour yourself a nice, cool drink, and relax!