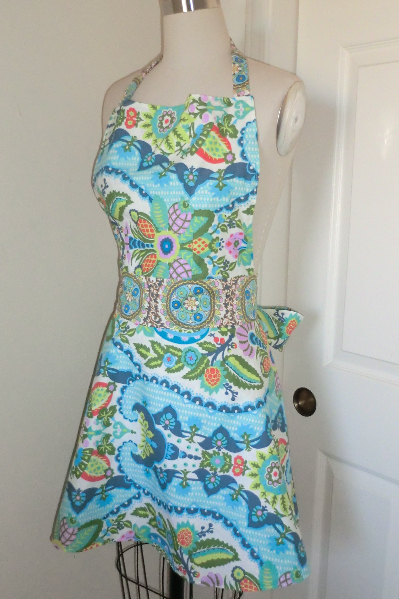
Reversible full apron
 Whether you think being in the kitchen is a drudgery or a blast, a flirty apron can be divine. This tutorial is for a reversible full apron with bib, but if you’d like a half-apron, please try our scalloped apron tutorial.
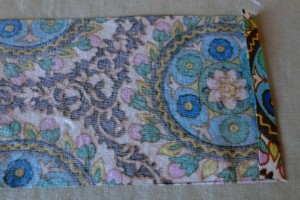
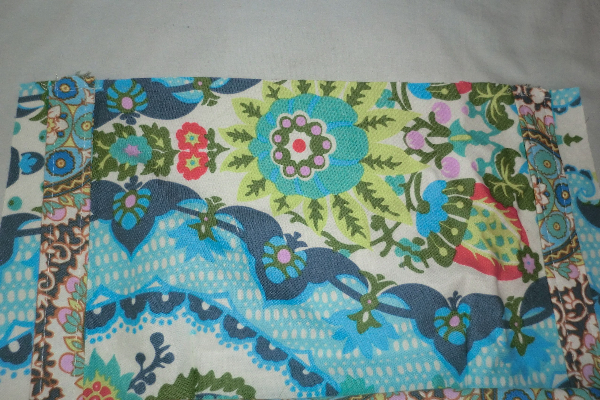
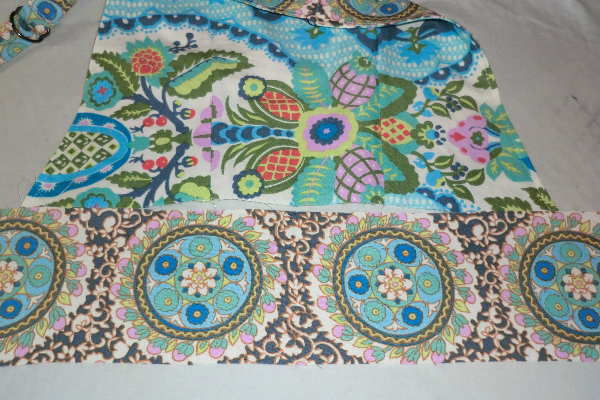
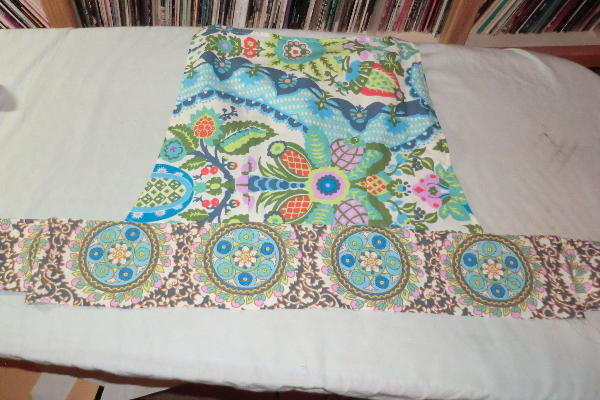
This apron is essentially one-size-fits-all, but of course you may need to alter it if you are particularly busty or if you are plus-sized. Use two different but complementary fabrics for a fun effect. On either side, use one fabric for the bib and skirt and the other fabric for the waistband and ties. This fabric is reversible and so the reverse fabrics would be on the other side.
Supplies
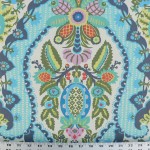
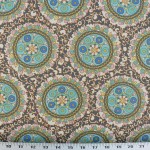
I started with 2.5 yards of each fabric and had some left over, but the more directional your print is, the more fabric you may need.
Please note that this swingy skirt is curved, and may be unsuitable for certain prints.
Pattern
To print this pattern, print each of the following 12 pattern pieces. Trim on the borders and tape together where the letters meet. Make sure you print at full size.
There are a few pattern pieces that are rectangular, so in the interest of simplifying the upload and download of the pattern, I have put dimensions for those pieces on the pattern paper.
Full apron 1
Full apron 2
Full apron 3
Full apron 4
Full apron 5
Full apron 6
Full apron 7
Full apron 8
Full apron 9
Full apron 10
Full apron 11
Full apron 12
**PREWASH YOUR FABRIC!**
1/2″ seam allowances throughout.
Process
First, make the waist ties. Take two different fabrics and place them right-side together. Pin and sew down one long side, up the slanted side and down the other long side. Do not sew the short, straight side closed. Turn it right-side out and press. Then top stitch.
Next, make the neck straps. You’ll make two straps of different sizes using our Non-Turn Strap Tutorial. Fold over one edge before starting (as shown above) so that one of your ends on each strap is a finished end.
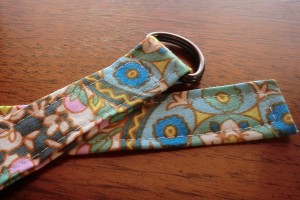
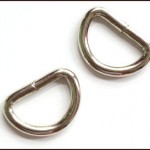
On the shorter neck strap, fold the finished edge over a pair of D-rings and sew.
Set the straps and ties aside for the time being.
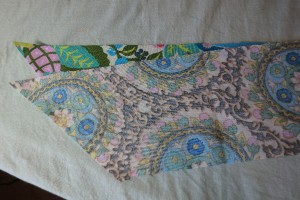
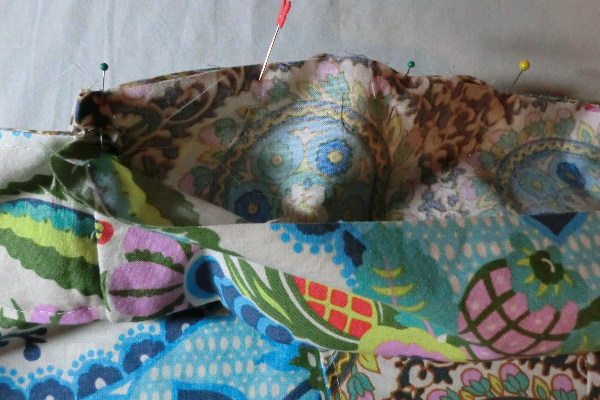
Sew the darts on your bib pieces. Transfer the pattern markings to the wrong side of your fabric. Just transfer the dots and then you can use a ruler to draw lines between them, forming a triangle. I know it’s a bit hard to see in the photo above, but you can click to enlarge it.

Fold your fabric in the center of the dart. The pin at the very right on the photo above marks the point of the dart.
Sew from the edge of the fabric toward the dot, on the lines you drew.

When you get to the end (point), simply stitch right off the edge without backstitching. Backstitching can make your darts look bad and really obvious. Simply stitch off the edge and cut the threads with enough room to tie them by hand. Repeat this process on all four darts (two on each bib piece).
On one bib piece, place your neck straps 5/8″ from either side, with the raw edge of the strap aligned with the top of the bib piece. Baste in place.
**My apologies — this next part was originally left out of the tutorial.
Next, place the other bib piece on top of this one (right-sides together and with the straps sandwiched inside) and sew around the sides and top, but leave the bottom open. Turn it right-side out and press. You should have a completed bib. **
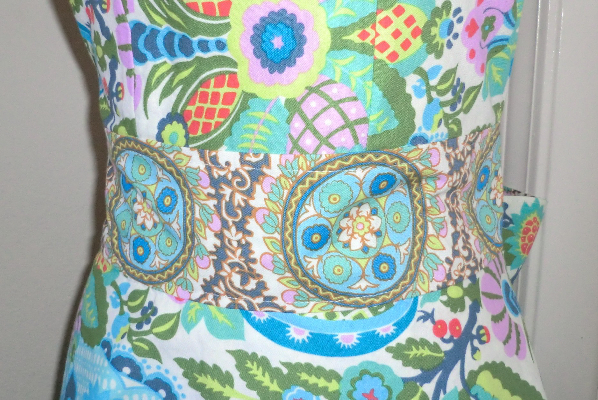
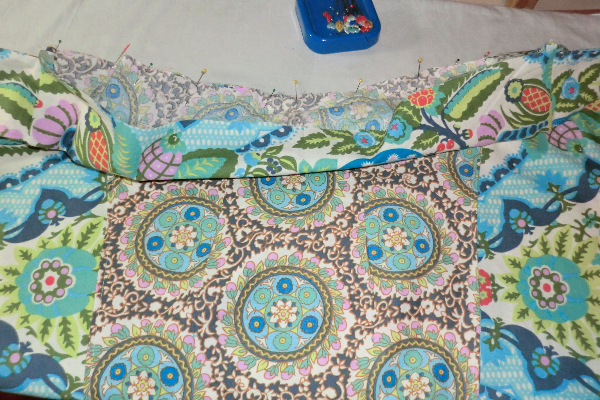
Find the center point of your waistband (different fabric than your bib/skirt on this side). Find the center bottom point of your bib. Line them up. Then flip the bib down so the fabrics are right-sides together and baste the bib and waistband together. Press open.
On either end of your waist band, baste a tie, raw edges together. Face like fabrics together and note the seam allowance left to either side of the tie.
Pin your ties as shown above, so that they are out of the way for the next step.

Fold the bib piece down, as well.

Take your other waistband piece and place right-sides together on the first one. Pin the short ends and the top edge, sandwiching your ties and bib piece inside. Sew along the sides and top, but don’t sew the bottom edge. NOTE: start sewing 1/2″ from the bottom edges of the waistband. Leaving this last 1/2″ unstitched will allow for easier sewing later.

Here’s another view from farther away.
Open it up and you have this. Now we just need to add the skirt.
Here’s a close up of the tie and waistband. Notice that the bottom of the waistband is open (unsewn) and there is a 1/2″ below the tie that will serve as the seam allowance for the bottom of the waistband.
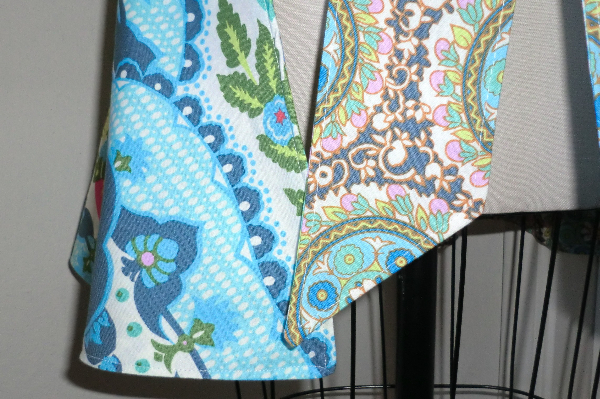
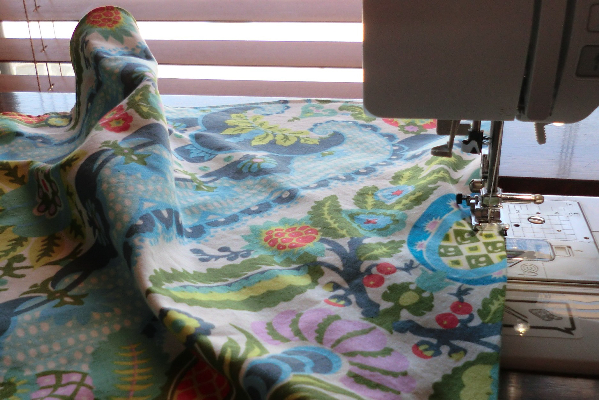
With skirt pieces right-sides together, stitch the sides and bottom. Leave the top open.

Turn and press the edges neat.
Find the center points of your waistband and skirt. Align ONE edge of the waistband with the top of the skirt (treat the two layers of the skirt as one piece for this step). Leave the other waistband piece hanging free. NOTE: you’ll want to make sure the skirt fabric matches the bib fabric for this step. So the skirt and bib are the same from each side and the waist/ties are the contrasting fabric, then the reverse is true on the other side.
Here’s a close up. Stitch the skirt to the waistband.
Afterwards, you have this nearly finished apron.

The only thing unfinished is the waistband on the other side where the bottom edge is unsewn.
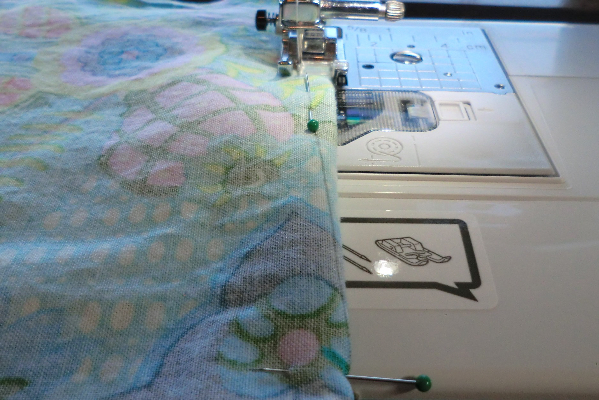
Press under the seam allowance and pin. You have two choices now. You can try to machine stitch this by stitching in the seamline on the other side and trying to catch this edge. Or you can slip-stitch it by hand. I find I get much better results doing it by hand, as much as I hate hand-sewing anything.

Now all you have to do is top-stitching. At the top of the photo above is the waist tie, and the waistband at the bottom. Continue the top-stitching from the tie across the waistband. Do this at the top and the bottom of the waistband.
Top-stitch the sides and bottom of the skirt. This top-stitching not only makes the apron look nicer and more professional, but it also makes it hold up better in the washing process, though a cotton apron will likely get a bit wrinkled no matter what.
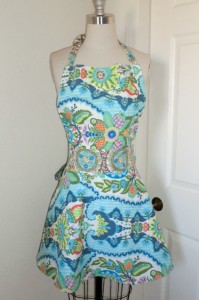
Other views