Reversible scalloped apron tutorial
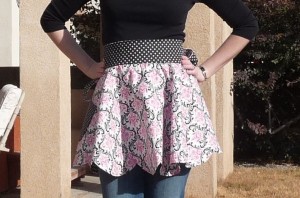 |
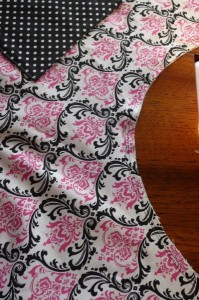
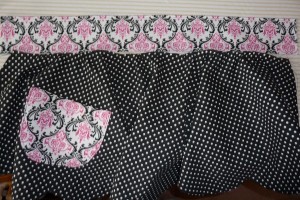
Fancy, flirty aprons are all the rage, and they sell for good money at a lot of stores. But if you can sew, you can make your own, and I’ll show you how. Seem a little too frilly? Use it any old time, but especially when you have guests. People get a kick out of them! And don’t be afraid to use it; it’s just fabric, and you can wash it. This pattern is for a fully reversible, gathered, scalloped apron with pockets. Have fun with the fabrics and mix them up to make it more interesting. This apron uses the same fabrics on both sides, but in opposite placement. EDITED TO ADD brief description on making this a full apron. See below. |
| NOTE: This is one of our more popular projects. If you make it, please share pictures with us on our Flickr page! Also, submit anything made with fabrics from Warehouse Fabrics Inc. to our gallery page. Simply click “Add Photo to Gallery” just above the pictures. |
Supplies
(Click fabrics for direct links for purchase at Warehouse Fabrics Inc.)
| Main fabric and lining fabric, 1-1/2 yards each. |
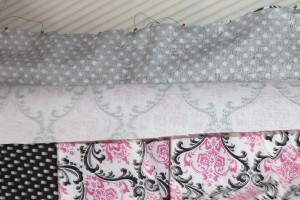
|||
The pattern
Scalloped apron pattern piece 1
Scalloped apron pattern piece 2
Scalloped apron pattern piece 3
Scalloped apron pattern piece 4
Scalloped apron pattern piece 5
Scalloped apron pattern piece 6
Scalloped apron pattern piece 7
Scalloped apron pattern piece 8
Scalloped apron pattern piece 9
Scalloped apron pattern piece 10
Scalloped apron pattern piece 11
Scalloped apron pattern piece 12
Scalloped apron pattern piece 13
Scalloped apron pattern piece 14
Scalloped apron pattern piece 15
Here is a picture of the layout before I took the pages apart so you can see a basic idea of the end result.
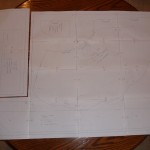
| I have provided the pattern pieces in a manner that allows you to print from home on regular computer paper. Due to the large size of the skirt of this apron, the pattern requires 15 pages. You’ll see a border around each page; you can either fold or trim, but you’ll see that the pattern pieces are marked where you should tape them together. You’ll tape from the border, and not from the edge of the paper. I have used letters and lines to show which pieces line up where. Make sure you print at full size. The border allows you some space in case your printer tries to cut a bit off.
FOR A FULL APRONA few people have asked how to turn this into a full apron, meaning how to add a top portion. Here are some brief directions: You’ll need a rectangle for the top. I don’t have exact dimensions for you. This could depend on how busty you are. You’ll need two rectangles. Decide how big you want them and then add 1/2″ seam allowances. You’ll need two straps to go around the neck. You can either tie them together or you can add two D-rings to one to thread the other strap through. That will make it adjustable but less bulky. You can use our non-turn strap tutorial to make the straps. On each strap, turn one side under before folding and pressing so that you don’t have a raw edge. Take one of your apron front pieces and baste your neck straps about 1/2″ from each side along the top, on the right side of the fabric. You basically want it just inside your seam allowance. Now place your other apron front piece right sides-together and sew along the sides and top. Turn right side out and press. Now your apron top is finished except for the bottom edge. When you get to the step where you make the waistband, center your apron top between the top edge of the apron waistband pieces when you sew those pieces together. Then when you turn the waistband right-side out, your top is all finished. Proceed from there as directed. I have marked below where this step is. |
The process
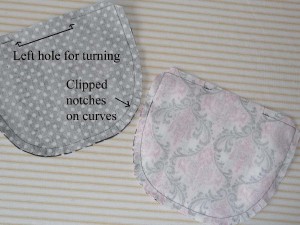
| Start with the pockets. You’ll place the pieces right-sides together and sew all the way around except for a hole for turning. Use a 3/8″ seam allowance. Normally, I try to leave the turning hole on the bottom of an item, but due to the curves on these pieces, I chose the straight-edged top instead.
Clip the curves by snipping the seam allowance up close to the stitching, but don’t cut through the stitching. |
|
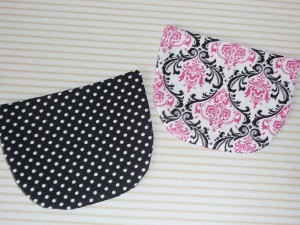
| Turn the pockets right side out through the hole and press. Then top stitch 1/4″ from the top edge. This adds a nice visual touch and simultaneously closes up that turning hole. |
|
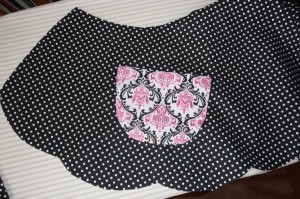
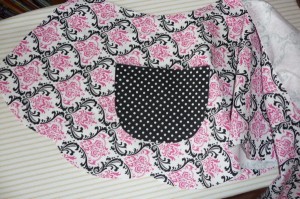
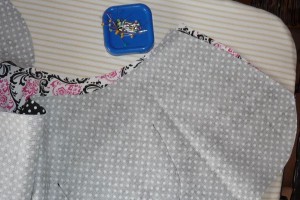
| Apply the pockets to the skirt pieces. I chose to match the pockets to the waist band I’d be using for each side. On this apron, it can be a bit tricky because it hasn’t been gathered yet and it’s hard to tell just how the skirt will fall when finished. I got it right on one pocket, and in the end my other pocket was at a bit of an angle. I totally fudged this in the photos with my pose so you couldn’t tell. But, heck, I just told you anyway.
See the pocket to the left? In hindsight, I would have tilted it just a little bit to the right on the bottom. |
|
| Pin your pockets in place and sew around the sides and bottom, close to the edge. |
|
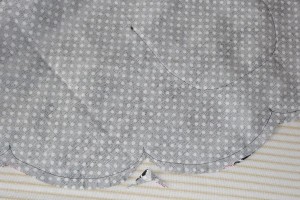
| Place the skirt pieces right sides together and pin around sides and bottom. Line up all the scallops. |
|
| After sewing (1/2″ seam allowance) all the way around the sides and bottom, clip each scallop to just below the stitches and trim some of the bulk away. |
|
| Turn and press. With the scallops, this will take a little time. |
|
| Top stitch along the sides and bottom. |
|
| The top of your apron is still open. Now you need to make some gathering stitches. Set your machine on the longest stitch and sew two parallel lines (aim to get them within the 1/2″ seam allowance) near the raw edge. With this heavy fabric, I recommend two sets of stitches running from the center to either edge (my thread broke and I had to redo my gathering stitches; it seems to take some of the pressure off this way). It’s thick and much heavier than your thread, so when you start to pull, be very gentle so you don’t break the thread.
We’ll get to the gathering in a minute.
|
|
| But first we need our waist band. Take your waistband pieces, right-sides together, and stitch along one long side. NOTE: If you are adding an apron top, this is the step where you add it. Please see the top of this post under “Pattern” for more directions on this. Flip around and press.
NOTE: I hadn’t made one of these in a while, and I made the mistake of top stitching at this point. I shouldn’t have. That comes later, so you may see some top stitching in the next few photos, but don’t do it until I tell you to. I had to remove some stitches to finish the next few steps. |
|
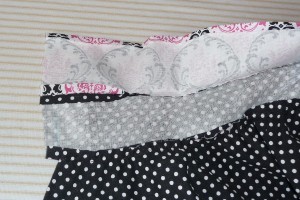
| (again, ignore the top stitching along the top of the band. Oh, and the horribly blurry picture. Sorry)
On either end of your waist band, it is helpful to mark off the 1/2″ seam allowance with some sort of fabric pen or pencil. |
|
| Now you’ll gather your skirt a bit. You won’t have to gather too much, but try to evenly distribute the stitches. Your goal is to have it be the exact length of the waist band WITHIN the seam allowances you just marked. The skirt should stop 1/2″ from either end. | |
| Open up your waist band and pin one raw edge to the raw edge of your skirt, right-sides together. In this case, I wanted the polka-dot band with the pink fabric, so that is what I pinned together. The other side of the band just hangs there. |
|
| Sew and press band away from skirt of apron. Set aside. | |
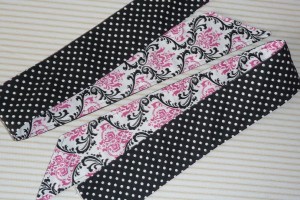
| It’s time to make the ties. Place your tie pieces right-sides together and sew a 1/2″ seam around the whole thing, except the small, straight end. |
|
| Turn the tie through the end and press it smooth. | |
| Top stitch the ties. I think it looks nicer this way, but also, when you wash the apron, everything will stay in place much better. |
|
| Press under the seam allowance 1/2″ on the loose end of the waist band. |
|
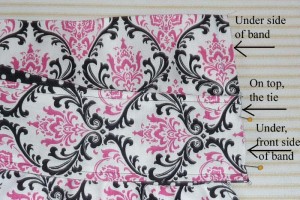
| This one is hard to see, so I labeled it. I have turned it so the right sides of the band are facing up. At top, you see the side of the waist band that is not yet sewn down. Below that in the photo is the polka dot band, but it is covered by the tie. The polka dot side of the tie is face-to-face with the polka dot waist band. The raw edges of the tie and waist band are lined up. | |
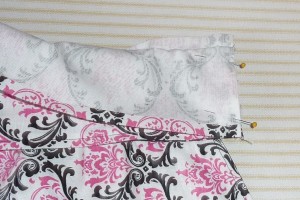
| Now I’ve flipped over the loose part of the waist band. Essentially, I’ve made a sandwich:
pink waist band Now sew a 1/2″ seam allowance on that raw edge. This is easy to do since you made sure the skirt of the apron stopped 1/2 inch from the end. |
|
| Flip the band around right-side out, and this is what you’ll see. (Repeat with other tie.)
Now is when you should top stitch the top of the waist band. Your ties are already top stitched, so just continue that along the top of the waist band. Now, the only unfinished part of your apron is one side of the waist band. |
|
| You’ve already pressed your seam allowance, so everything should sort of fall into place here. Pin your waistband to the skirt and slip stitch closed by hand.
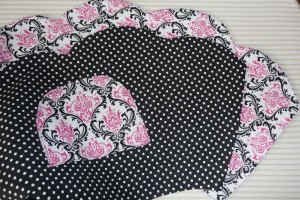
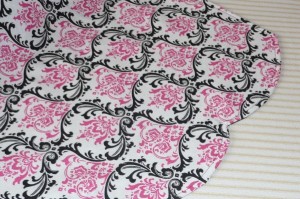
Now your apron is beautiful from either side, and it’s like having two aprons in one! |


