Teacup pincushion
I’m a sucker for pincushions. I love the little teacup ones A LOT. I love tea, I love sewing, I love tea and sewing combined …
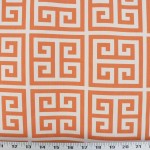
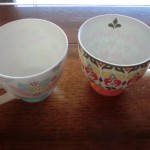
You can make these from vintage cups found in an antique store or any fun cup that you find. I bought these inexpensive but cute cups at Marshall’s for $4.99 each. You could go for a solid cup with a really fun fabric print or a very busy cup with a solid print. You could embellish it with ribbons or bows or beads. Go hog wild!
Supplies
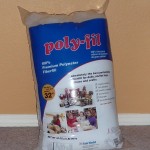
You’ll just need small, plate-sized pieces of fabric. Exact size depends on the size of your cup.
The process
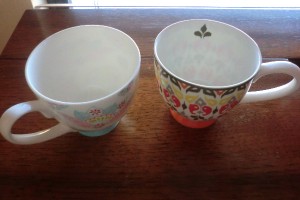
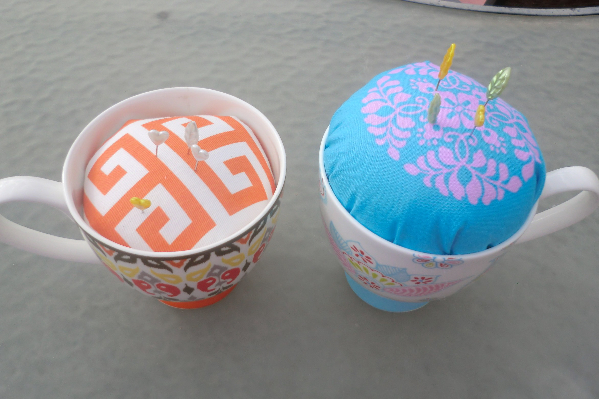
I had two fairly large tea cups.
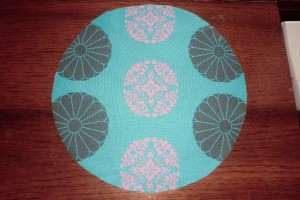
I used a dinner-sized plate to draw a circle on my fabric, then cut it out. Think about the pattern on your fabric — you may want to center something in the middle of the circle.
If you’re using a smaller cup, you may want to create a smaller circle. Or if you want a flatter or more smashed-in pincushion, use a smaller circle. On my orange cup, I trimmed the circle by about an inch all the way around just to see the effect it would have. It was flatter and more stuffed into the cup than this one.

Sew a long running stitch around the circle, then another one inside of that. This forms two rows of gathering stitches. This is much stronger and more likely to hold than a single set.
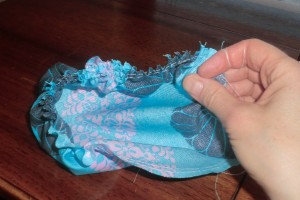
Holding the bobbin stitches, start gathering the fabric and spreading the gathers along the stitching.
It will make a little sack.
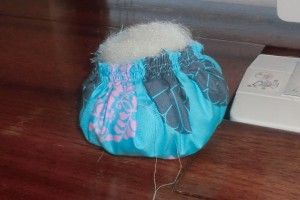
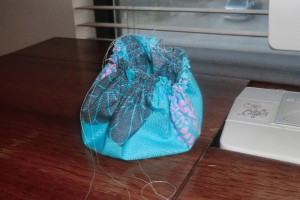
Start stuffing it.

Secure the threads as you do this, and keep stuffing and stuffing. Push the stuffing around the sides, forming a doughnut, and stuff some more into the center until it’s nice and taut.
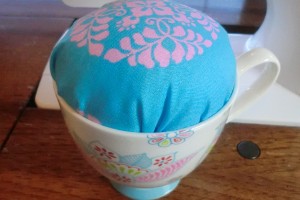
Using a needle and thread, secure the opening of the hole closed. Use some sort of glue (hot glue is good) to secure the pincushion to the cup.
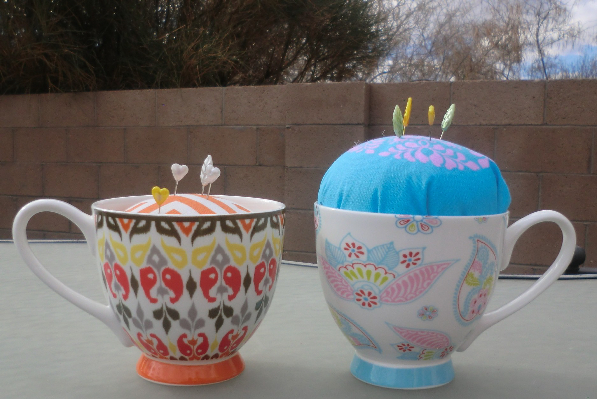
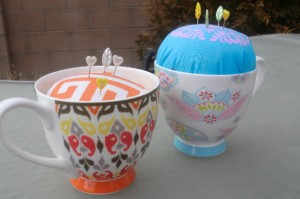
Other views