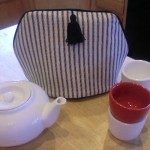
Teapot cozy
 It’s winter, and even teapots need a little snuggle to keep warm. Unless you’re my teapot, because, if I’m being honest, I always have to put ice cubes in my hot tea so I can drink it. But I hear that many people like their hot tea hot! Crazy, I say, but this one’s for you.
There’s a wonderful Victorian style tearoom in town called The St. James Tearoom, and they use these little cozies to keep the pots warm. I thought it was an excellent idea for some winter sewing!
Supplies
The Pattern
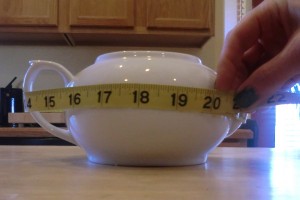
First, measure around the teapot. You’ll want to go around the largest parts.
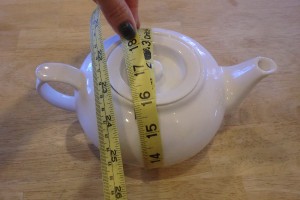
Then measure over the top.
I added 2.5″ to each measurement and then divided by 2.
My width was 11″ after this and my height was 9″.
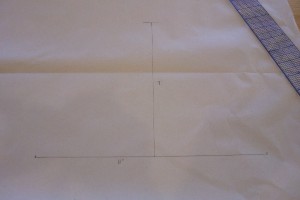
I drew a bottom line of 11″ and in the center of that a perpendicular line 9″ high.
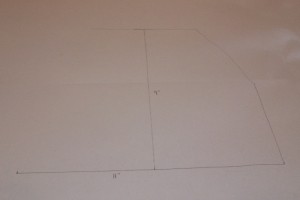
You can shape it kind of like a half-circle if you want, but I chose to shape mine more like this. Totally up to you. But I just drew one side and then folded it on that center line and cut it out. This way you’re more likely to get an even pattern.
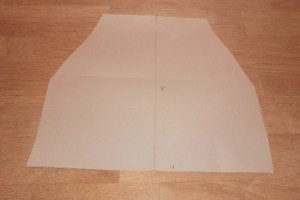
Here is what I got. But I whipped up a sample (just one layer, not the lining and everything) and it was a bit snug in width and it bit tall. So I widened it and shortened it. The pattern above is before my alterations. You may want to test your pattern, too, since teapots have different shapes. This one has a lid that’s flush with the top of the pot, while some have tall lids that will affect the shape of the cozy. In the end, my pattern was 12″ wide and 7.5″ tall.
The process
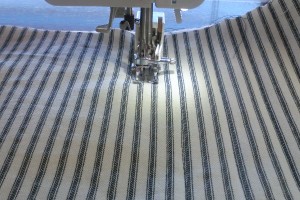
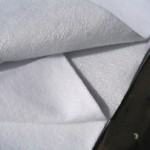
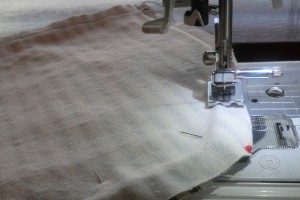
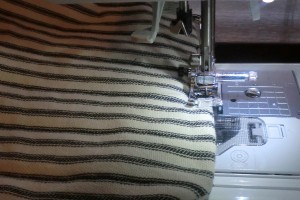
Match up one lining piece and one batting piece. Then, preferably using your walking foot, quilt the two together in any pattern you wish. I simply stitched up every third line.

Match up both lining pieces and stitch around the sides and top, leaving several inches open along the top edge for turning later. Turn it right side out.

Open the end of your piping by unstitching a few stitches and cut about 1/2 an inch of the piping from inside, leaving the fabric. This is meant to reduce bulk in your seam.
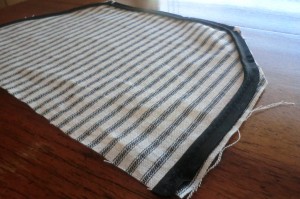
Stitch your piping all the way around using your piping foot or a zipper foot. I did my bottom piece separately. You want it about 1/2″ from the edge so you get a 1/2″ seam allowance later.
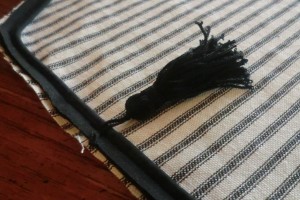
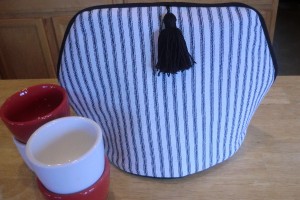
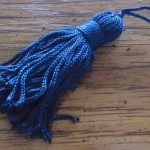
Sew your tassel in the center top of one piece.
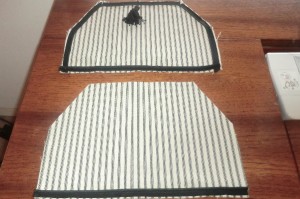
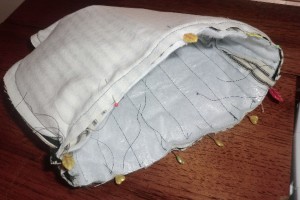
On the other outer piece, sew piping just on the bottom. You end up with the two pieces shown above.
Place the two pieces right-sides together and sew around the sides and top using your piping foot, preferably, because it will guide you along the piping even though you can’t see it.
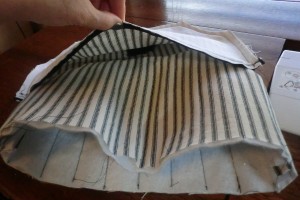
Place your lining inside your outer pouch so that right sides are together.
Pin all the way around and stitch.
Turn right-side out through the hole in the lining and then fold in the seam allowance and top-stitch.
Other views